Camera
Learn how to use the mobohubb mobile app’s camera features for taking pictures and recording videos. This guide details the camera interface and how to capture, discard, or confirm media for tasks like timeclock selfies and forms.
In this guide you'll learn
- How to take photos and record videos within the app
- How to discard or confirm your captured media
- How to switch between front and back camera modes
The mobohubb app offers an intuitive camera interface for capturing photos, videos, and scanning QR codes. Depending on your organization’s needs, you may be prompted to verify attendance for timeclock, and attach photos to forms.
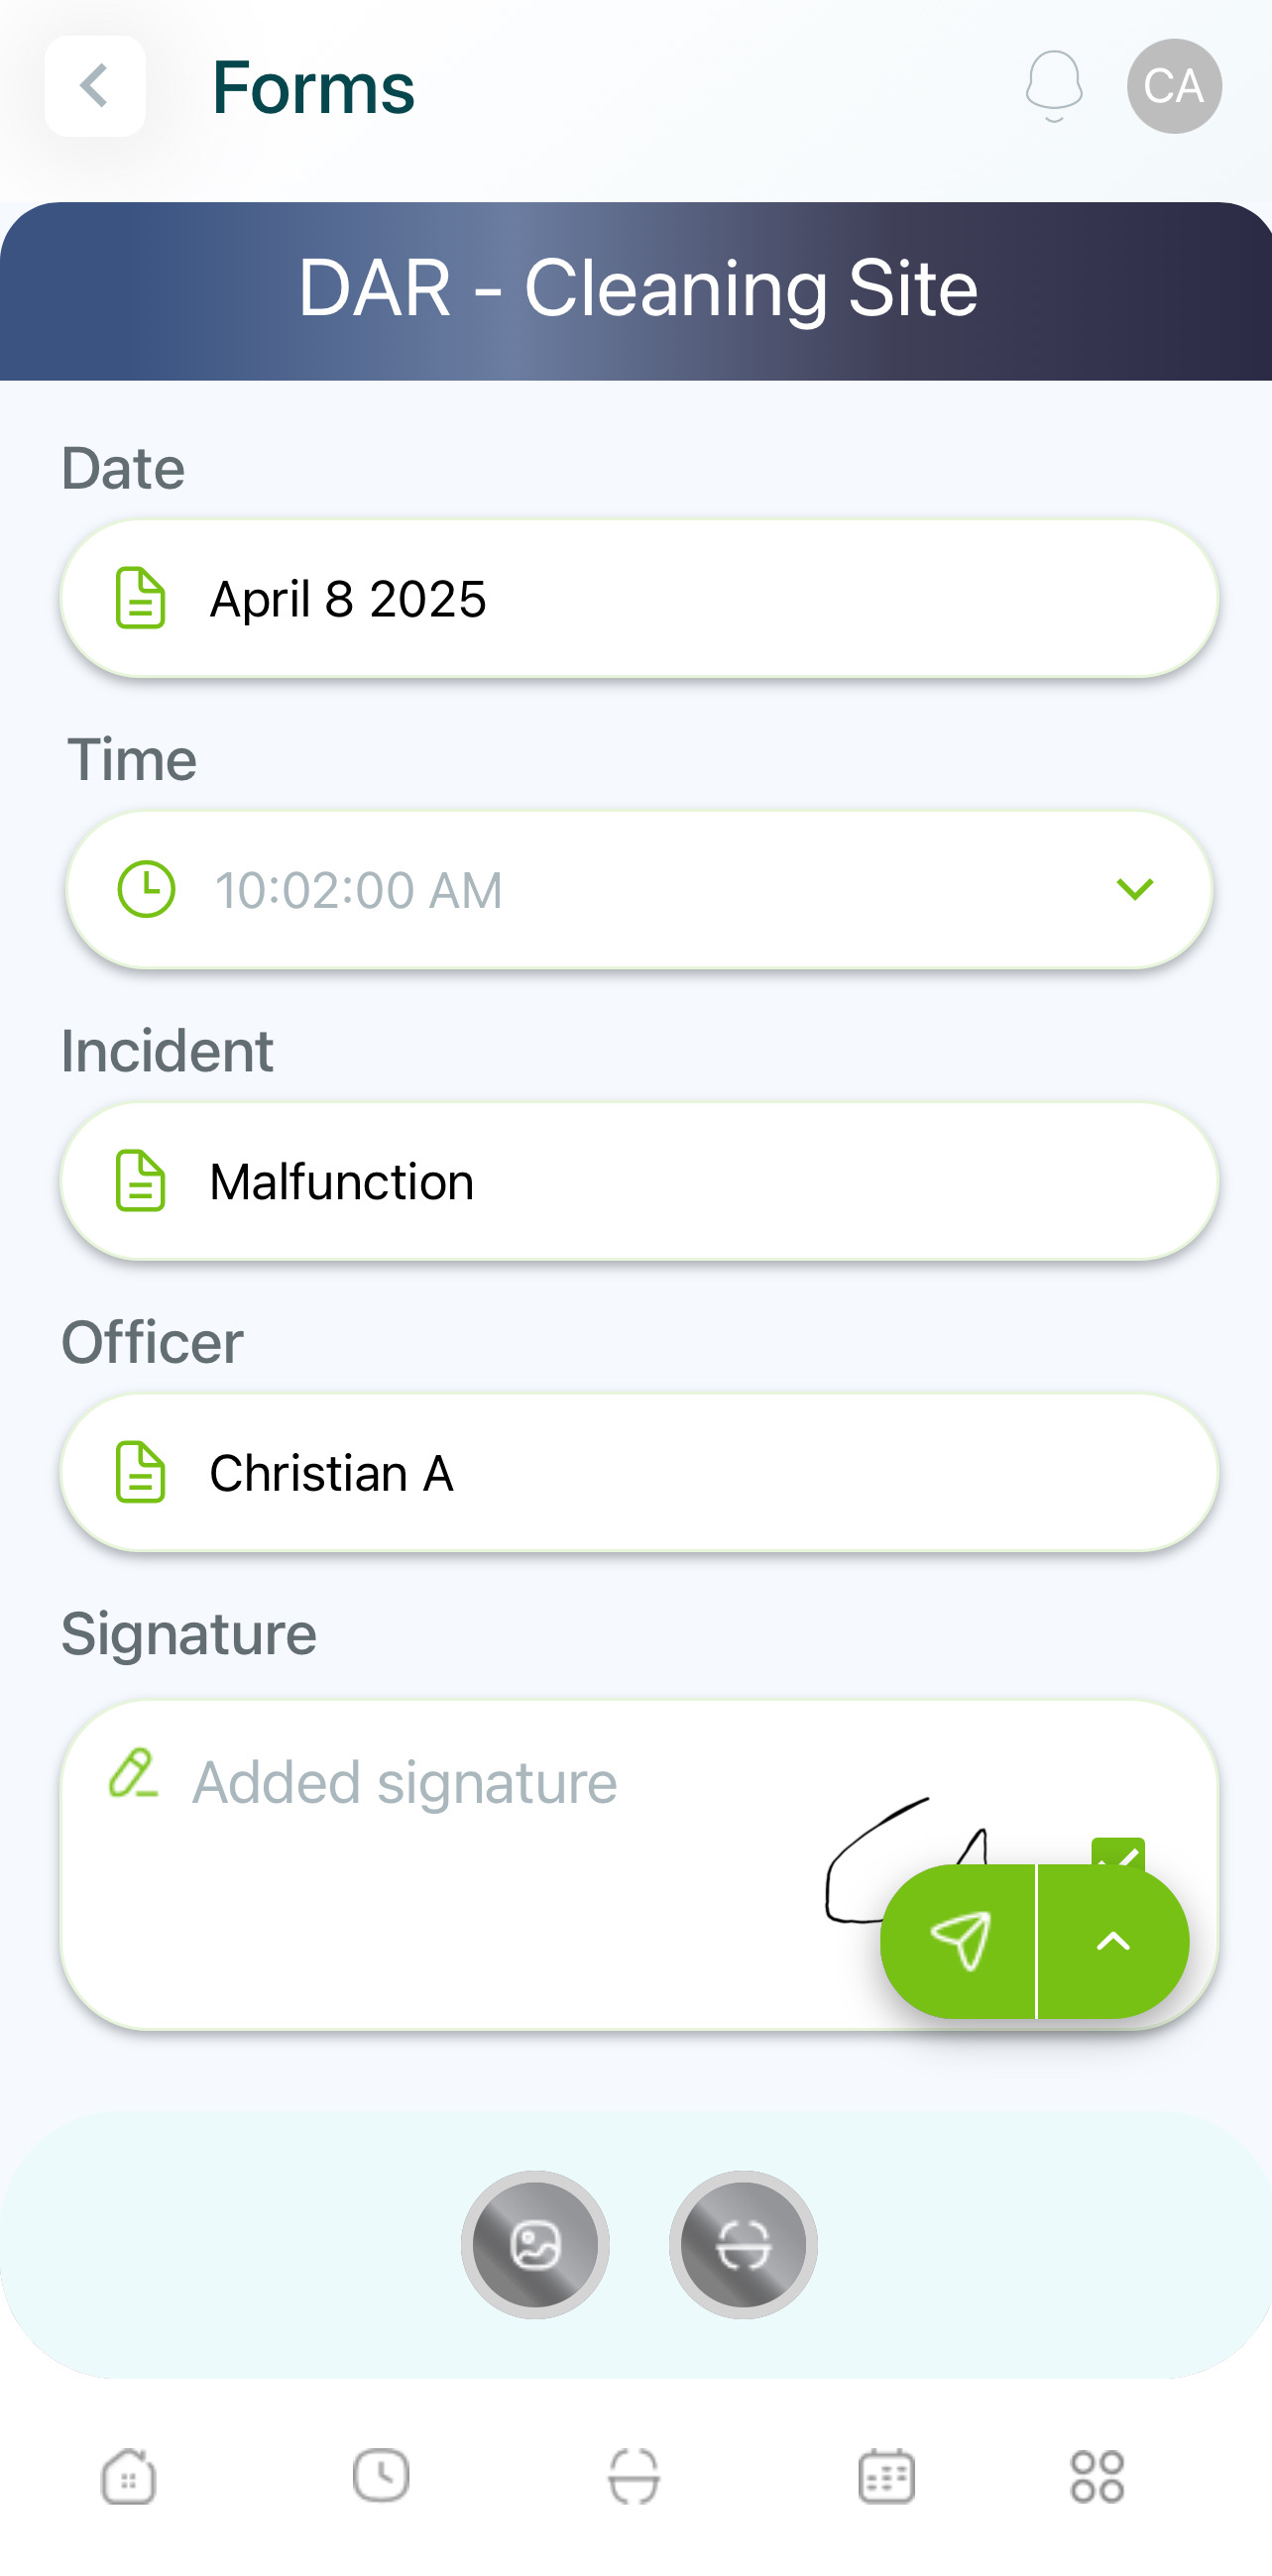
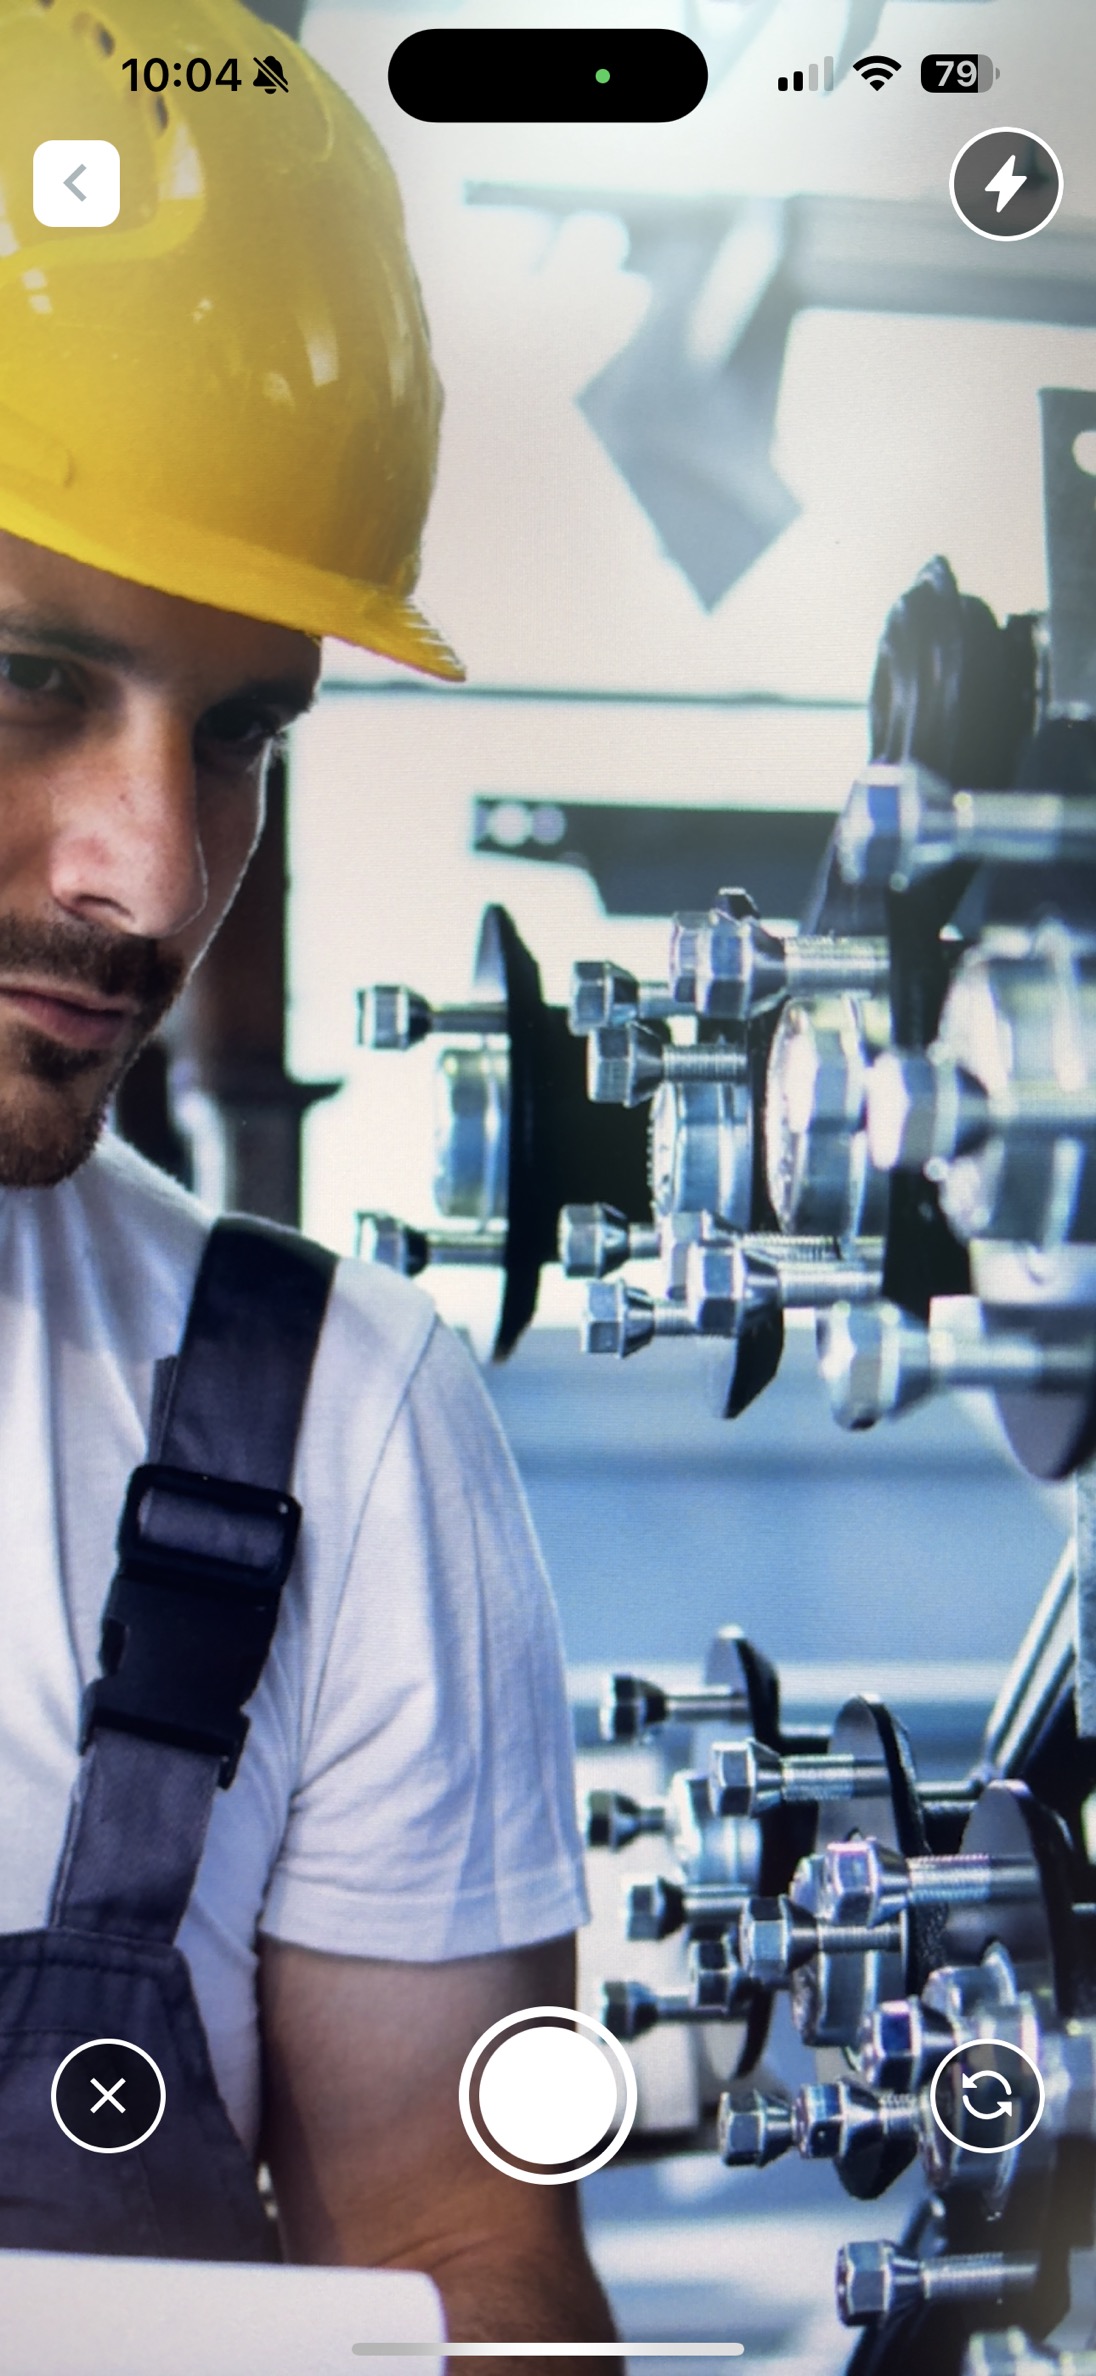
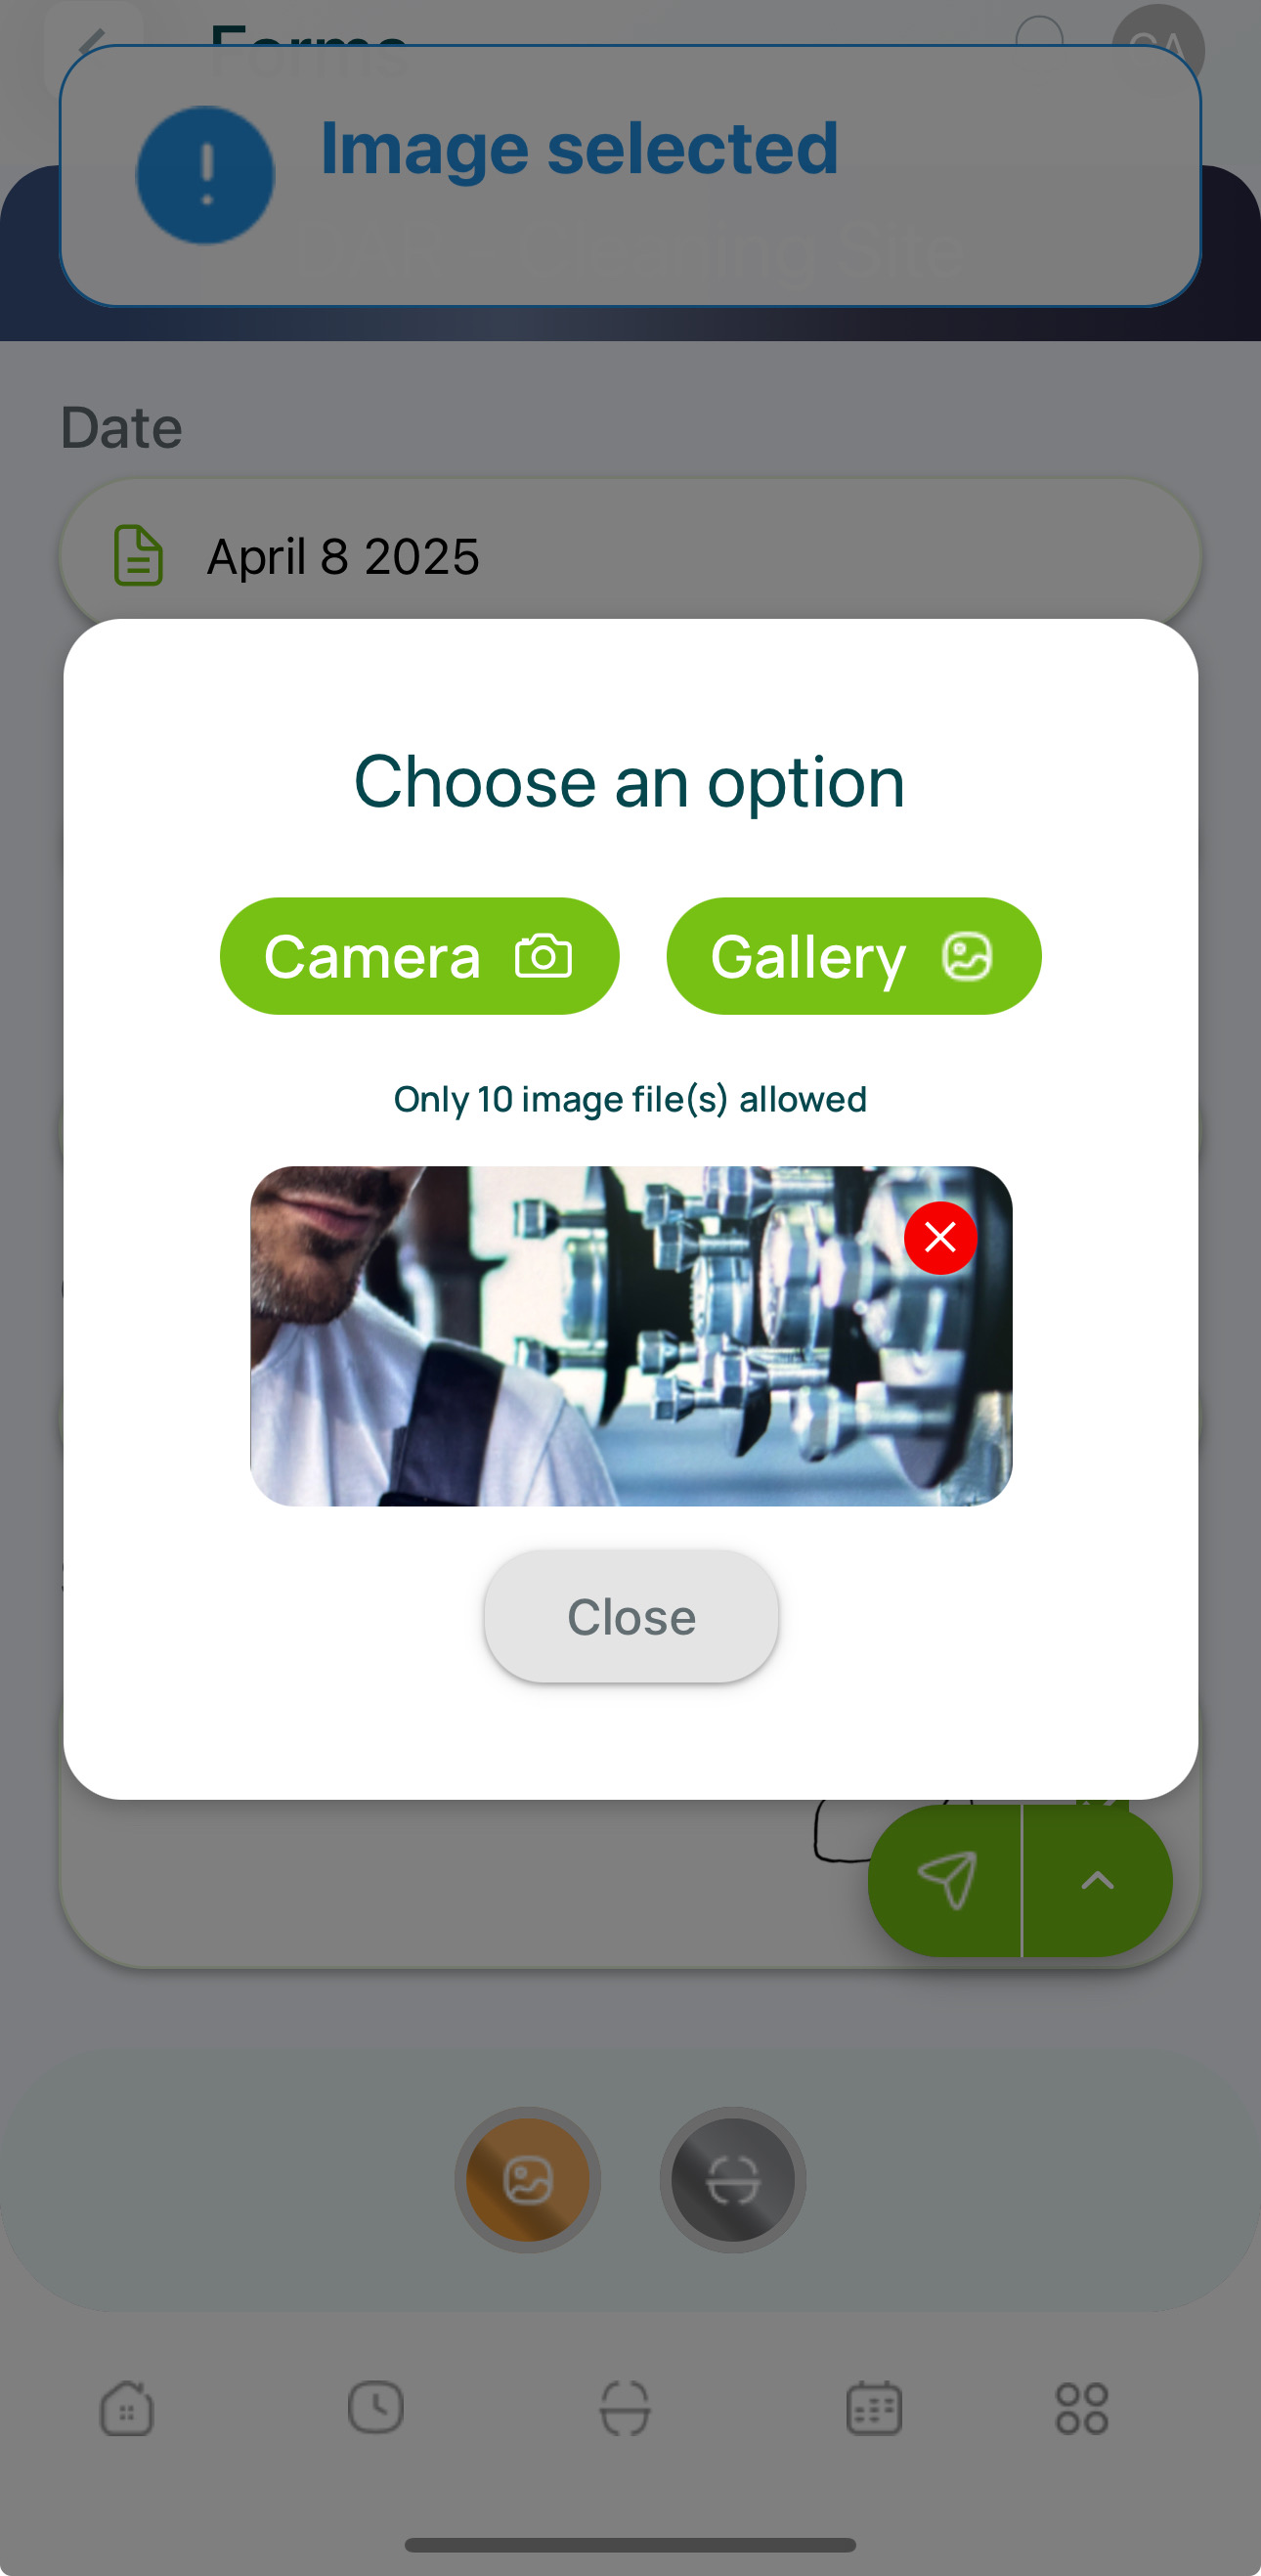
Taking a Photo or Video
When prompted to add a photo or video, the camera screen opens automatically:
-
Camera Activation
- The camera will launch within the mobohubb app, typically for timeclock selfies, form attachments, or scanning.
-
Capture Photo
- Tap the round button at the center/bottom of the screen to snap a picture.
-
Record Video
- Tap the red round button at the center/bottom to start recording.
- Tap again to stop.
-
Discard or Validate
- After capturing a photo/video, tap the “x” on the left to discard.
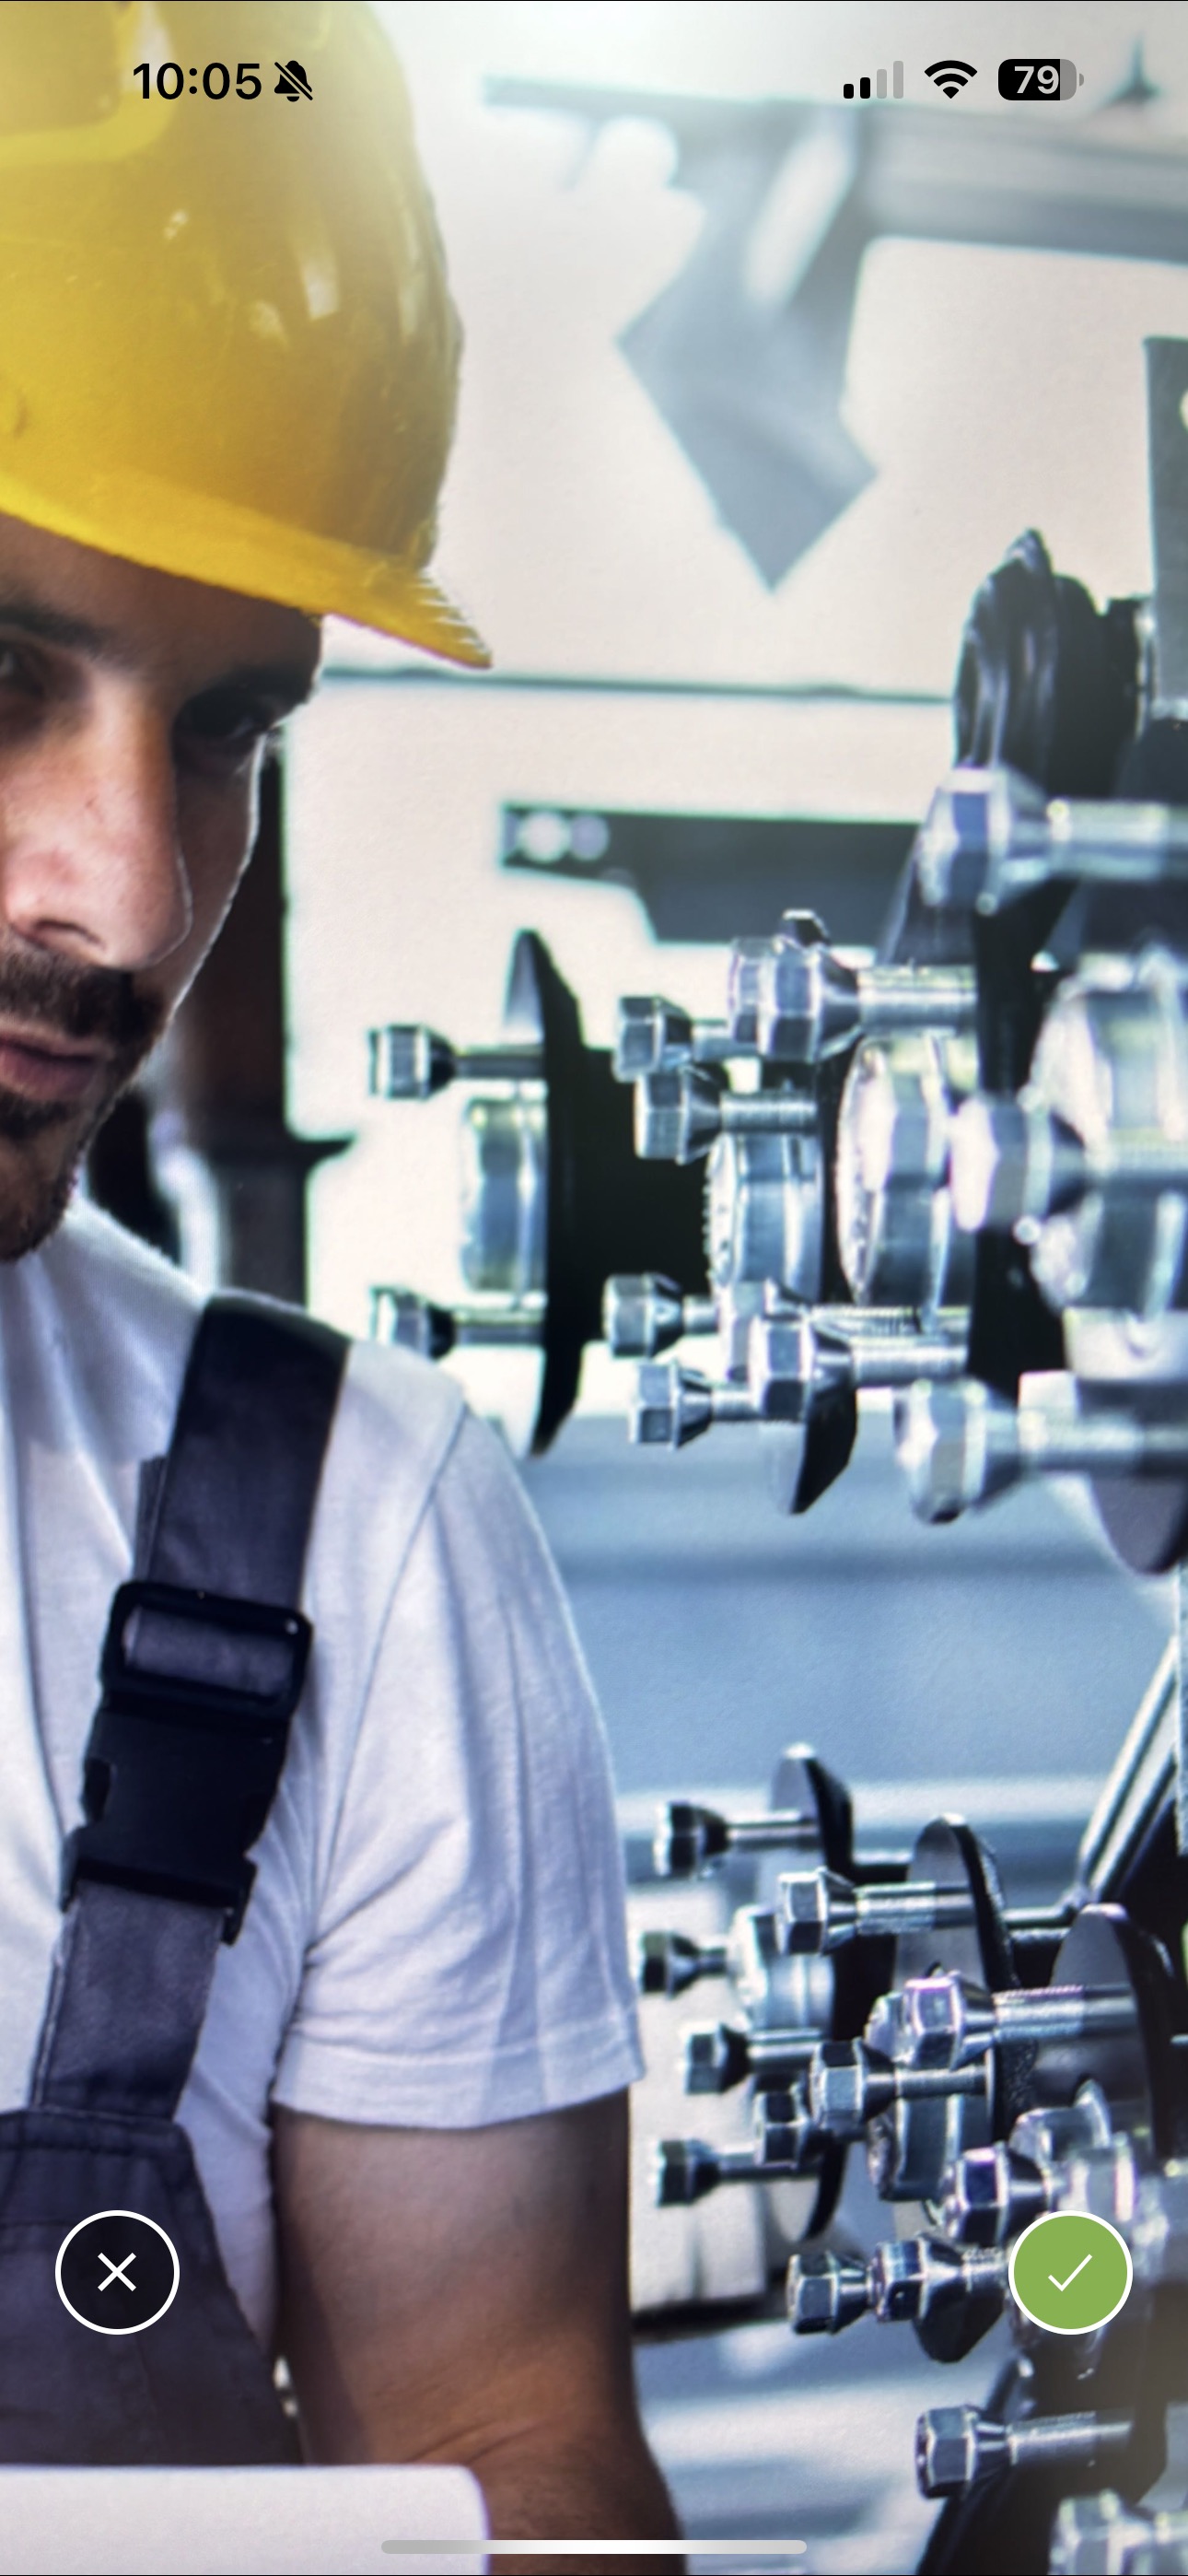
- Tap the green check on the right to confirm and attach it to the timeclock or form.
-
Switch Camera
- Tap the “change” button in the bottom-right corner to toggle between front (selfie) and back camera before capturing media.
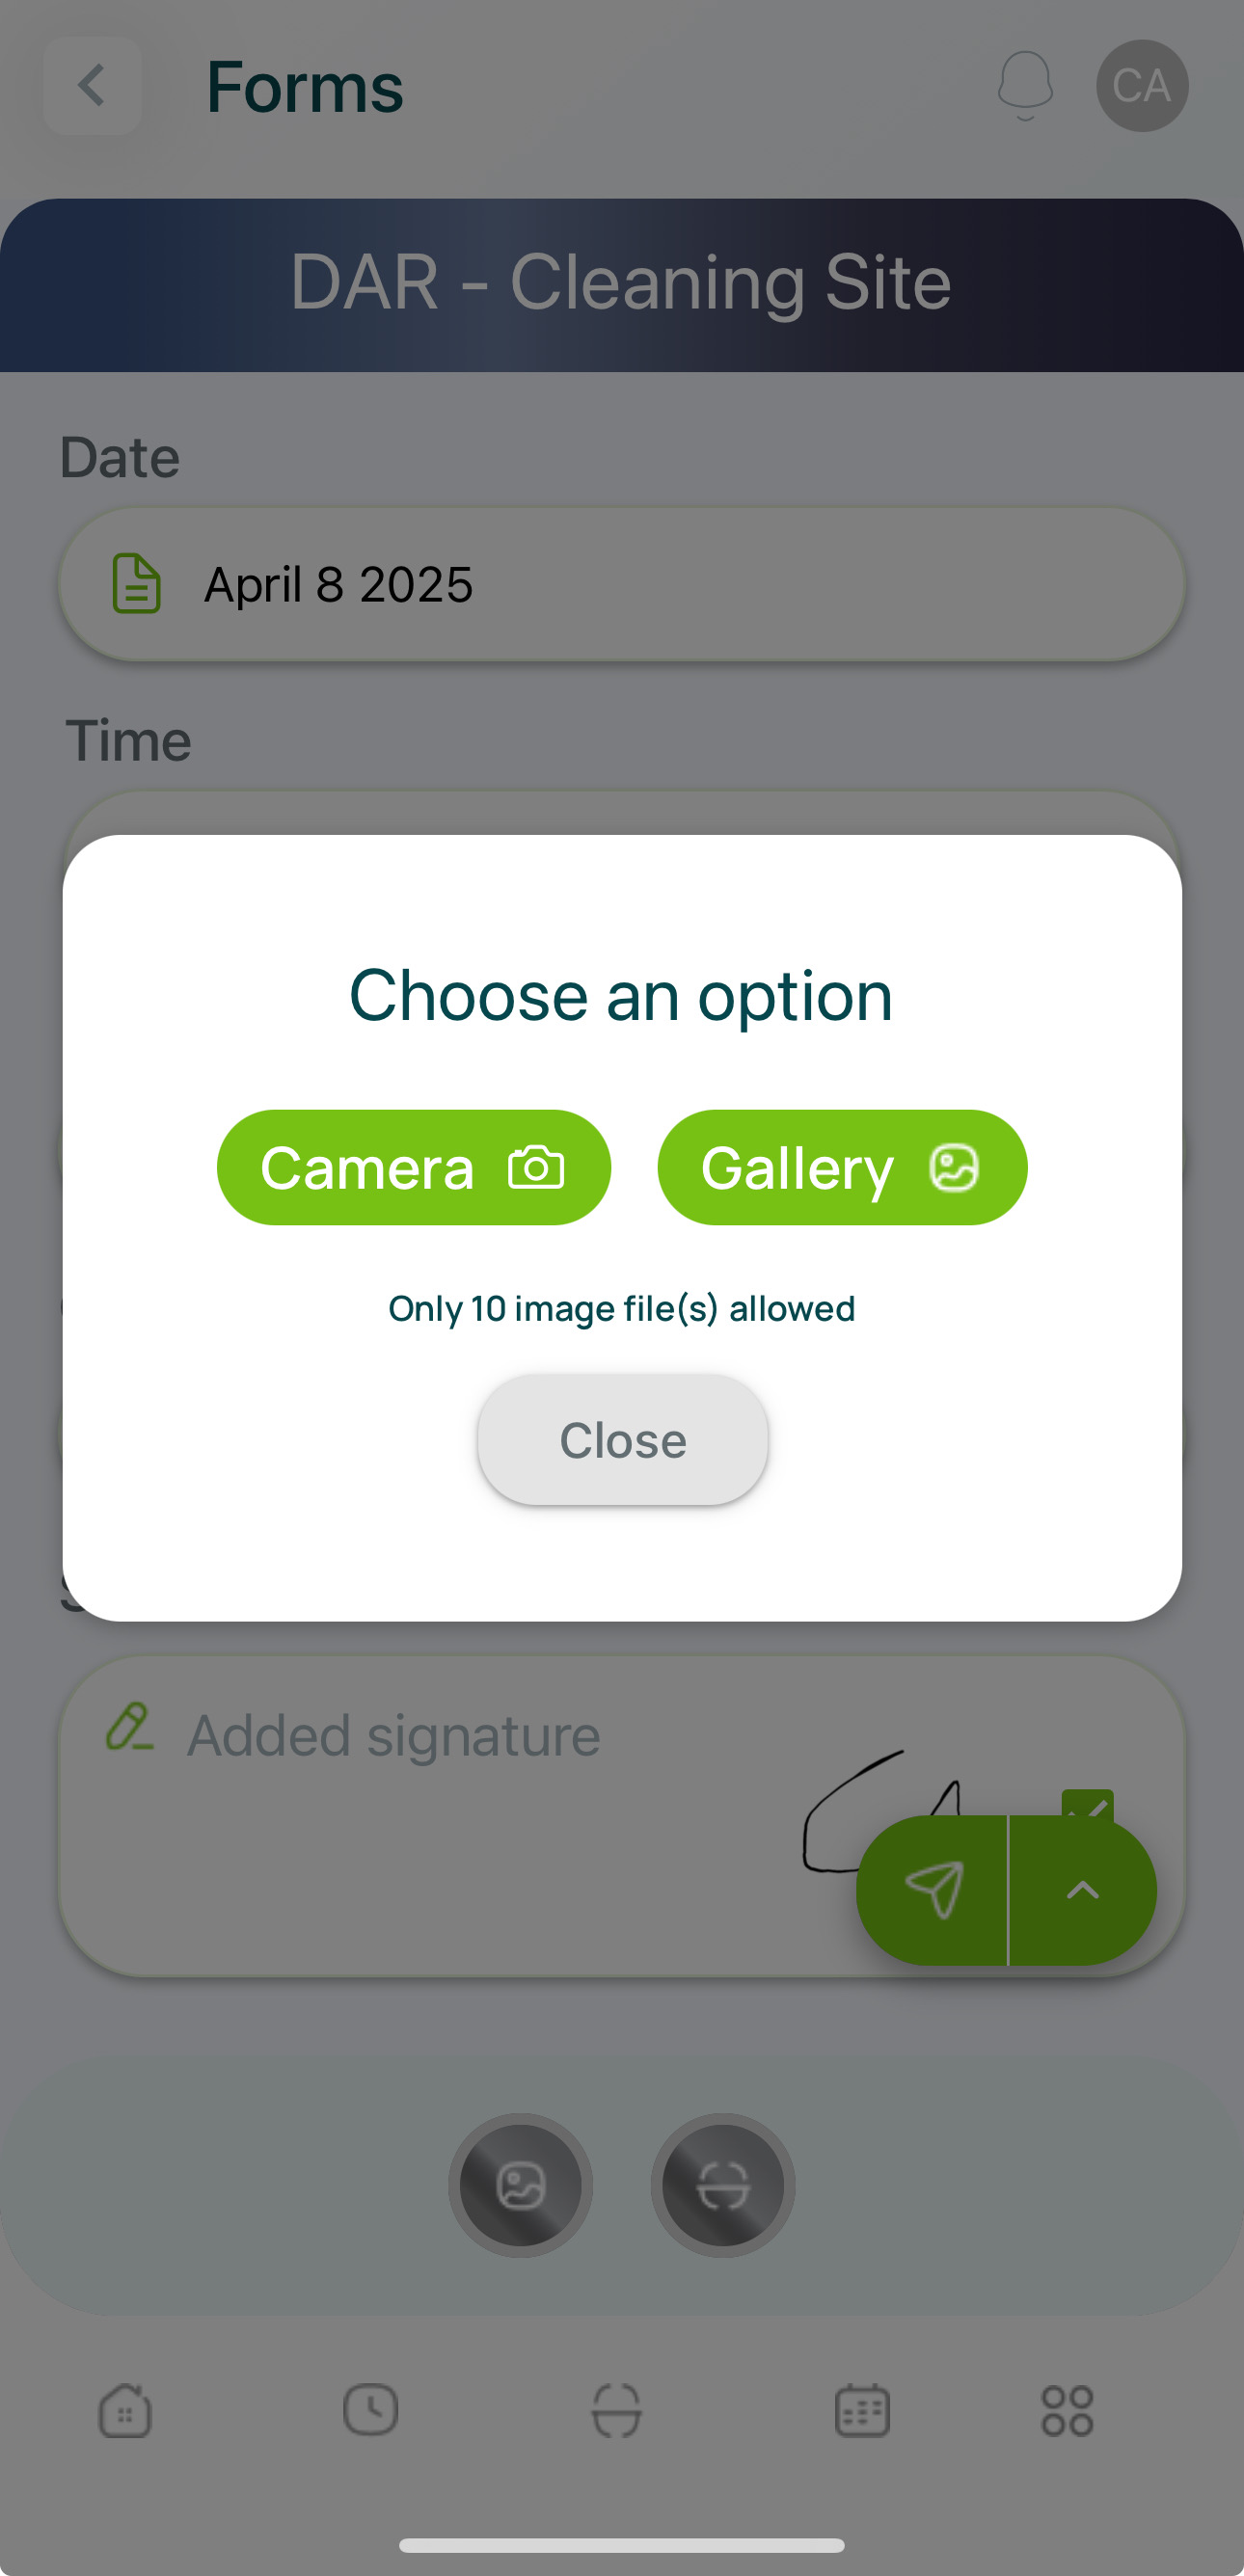
Common Camera Prompts
- Timeclock: Take a quick selfie to confirm your identity when clocking in/out.
- Forms: Attach supporting evidence (e.g., photos of an issue or environment) to enhance form submissions.
Finalizing Your Submission
Once you confirm the photo or video:
- It becomes attached to your activity (e.g., timeclock log or form field).
- If it’s a timeclock selfie, mobohubb logs the media with your clock-in or clock-out event.
- If it’s part of a form, it’s stored with your form submission data.
Tip: Double-check camera permissions in your device’s settings if you run into issues or can’t access the camera.