Forms and Checklist: Mobile
Discover how to use Forms and Checklists in the mobohubb mobile app to gather and track information. This guide explains the different field types, how to fill out and submit forms, and how to create and complete drafts when you can’t finish a form right away.
In this guide you'll learn
- How forms differ from checklists and how each is used
- What field types are available.
- How to fill out, submit, or save a form as a draft
- How to return to and complete a draft at a later time
Mobile: Forms & Checklist
Forms and checklists are essential tools for collecting and managing data:
- A form is a digital document used to gather structured information and store it for a specific purpose.
- A checklist is a detailed sequence of tasks or items to verify, ensuring proper completion and minimizing errors.
Form Field Descriptions
| Field Name | Description |
|---|---|
| Checkbox | Allows users to select or deselect options. Multiple boxes can be checked. |
| Colored Text | Displays text with a specific color for emphasis. |
| Date | Lets users enter or pick a date via an interactive calendar. |
| Device | Shows the name or type of device being used. |
| Ensures input is a valid email address. | |
| Hyperlink | Displays text linking to another webpage or resource. |
| Password | A secure field that masks the user’s input. |
| Personnel | Displays the name or role of a person. |
| Radius | A single-choice field (radio). Users can select one option from a group of answers. |
| Read-only | Displays text that the user cannot edit. |
| Scan | Lets users scan NFC tags or QR codes. |
| Select | A dropdown list for selecting one option from many. |
| Signature | Allows the user to enter a signature by drawing or uploading an image. |
| Tags | Lets the user enter or select one or more tags or keywords. |
| Text | A single-line free text input. |
| Text Area | A multi-line text input. |
| Time | Lets users enter or select a time via an interactive clock. |
| User | Displays the user’s username in a dropdown menu. |
Sending Forms or Checklists
-
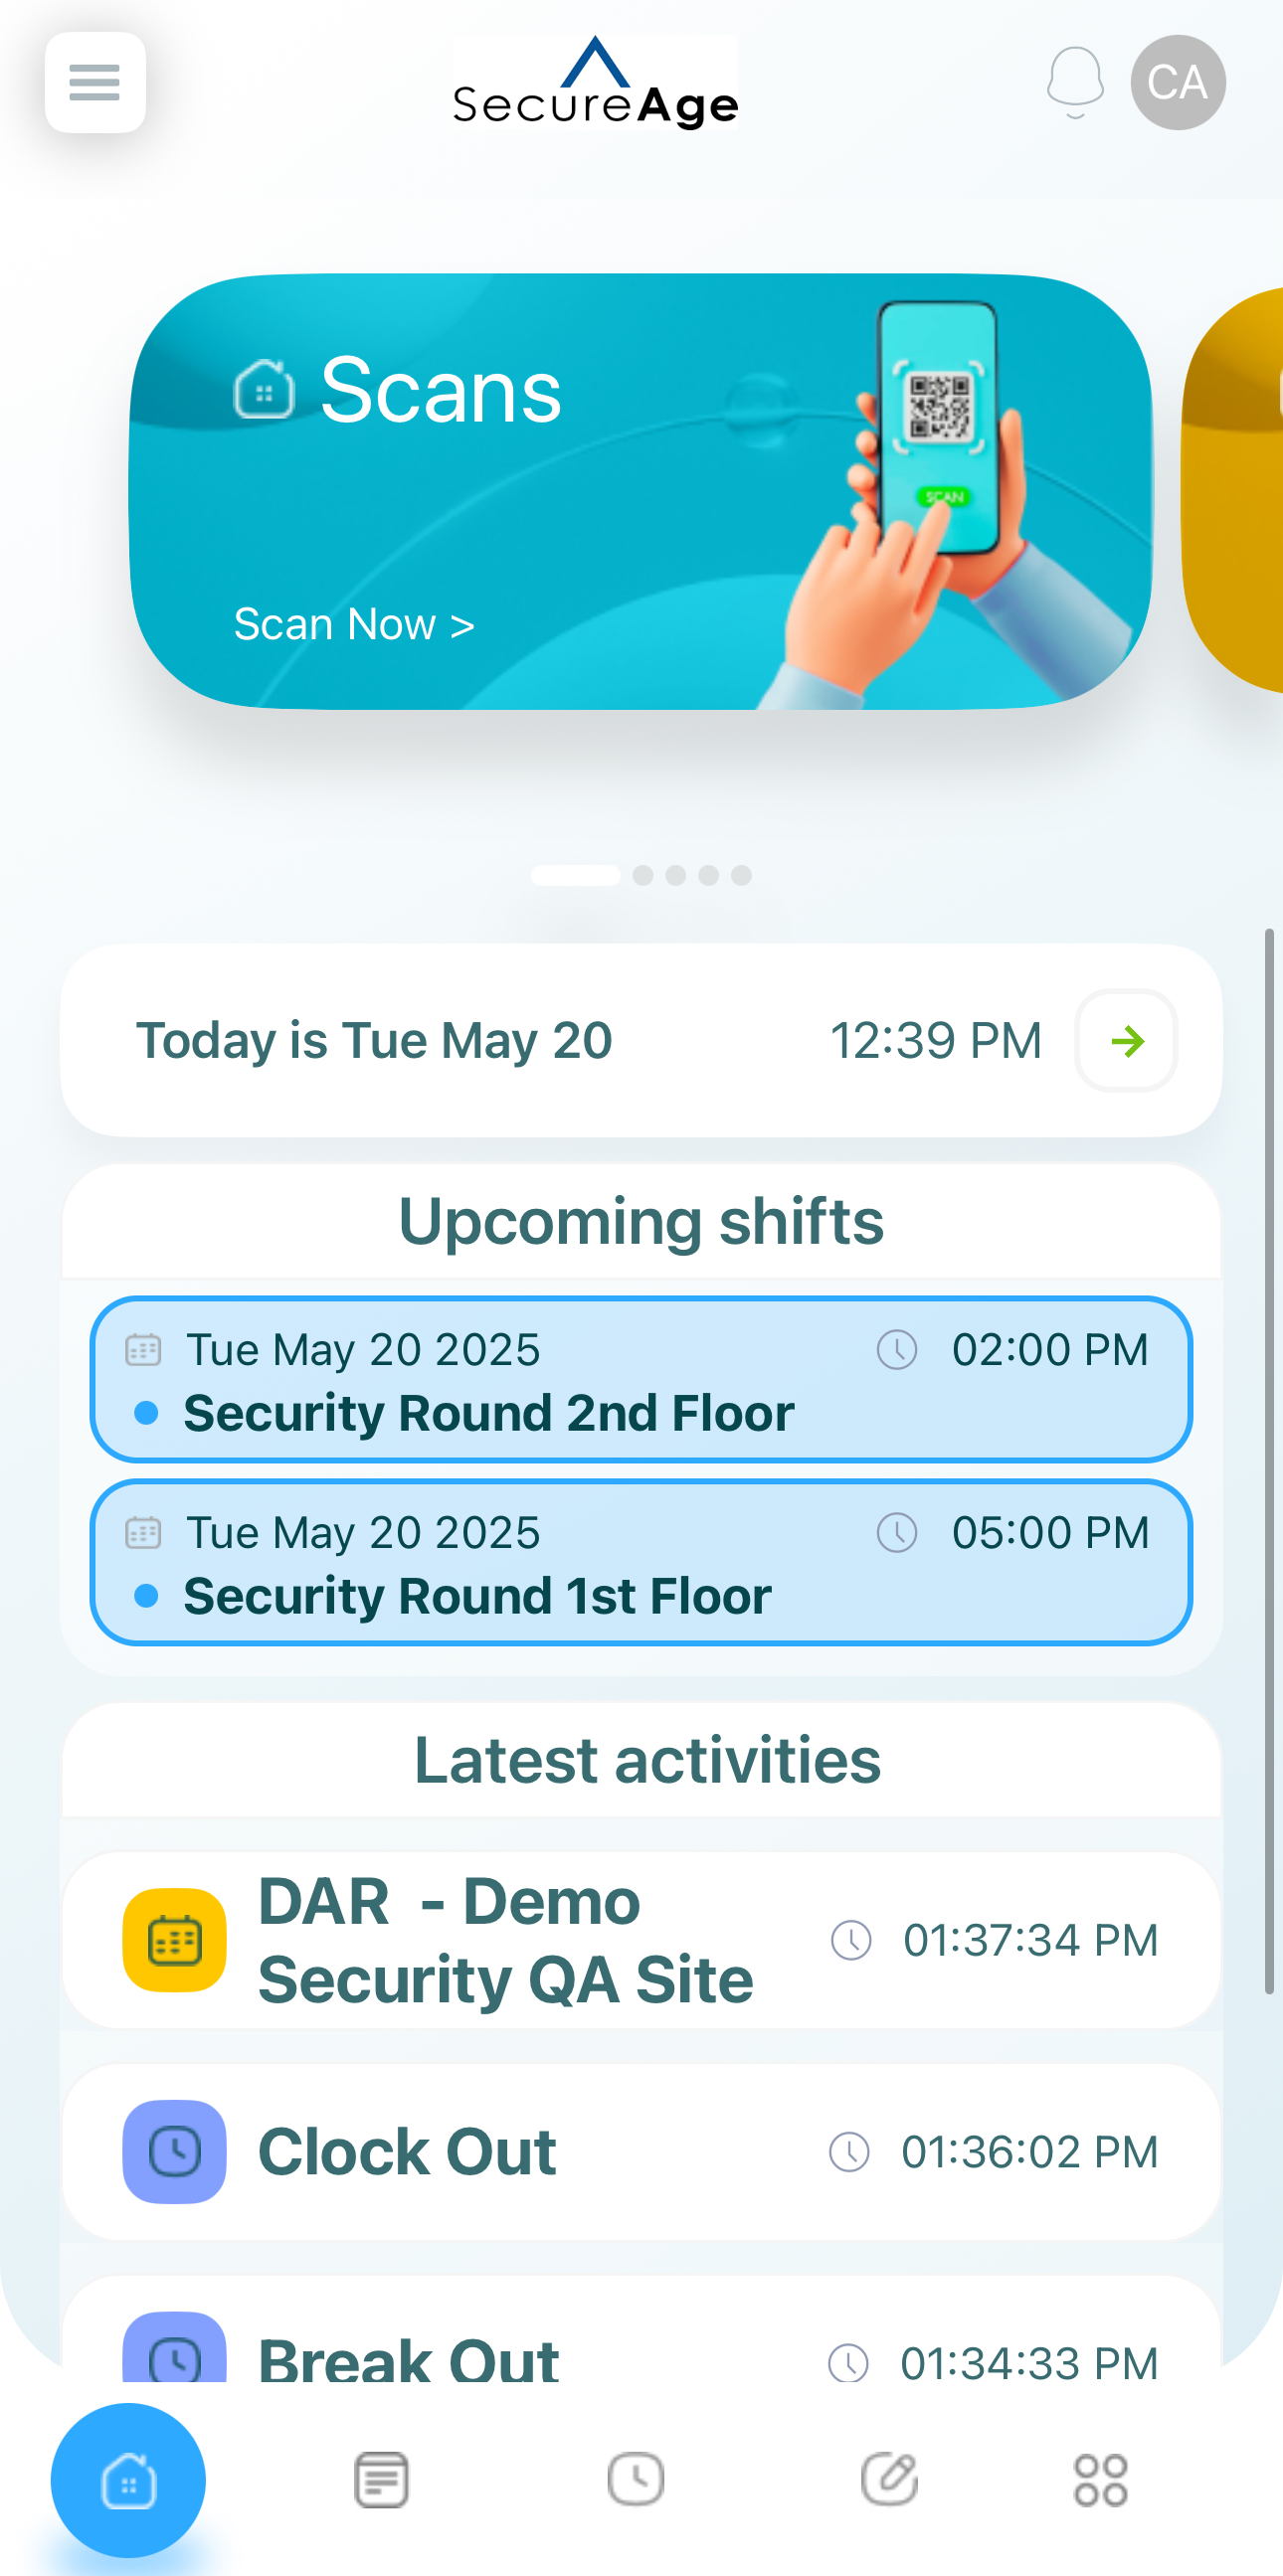
Locate the Landing Screen: The portal administrator may customize the landing screen differently for each site. Available landing screens include:
-
Scan/NFC
-
Dashboard
-
Forms
-
Tasks
-
Time clock
-
Schedule
Note: Even if your landing screen differs from the example below, the steps remain the same.
-
-
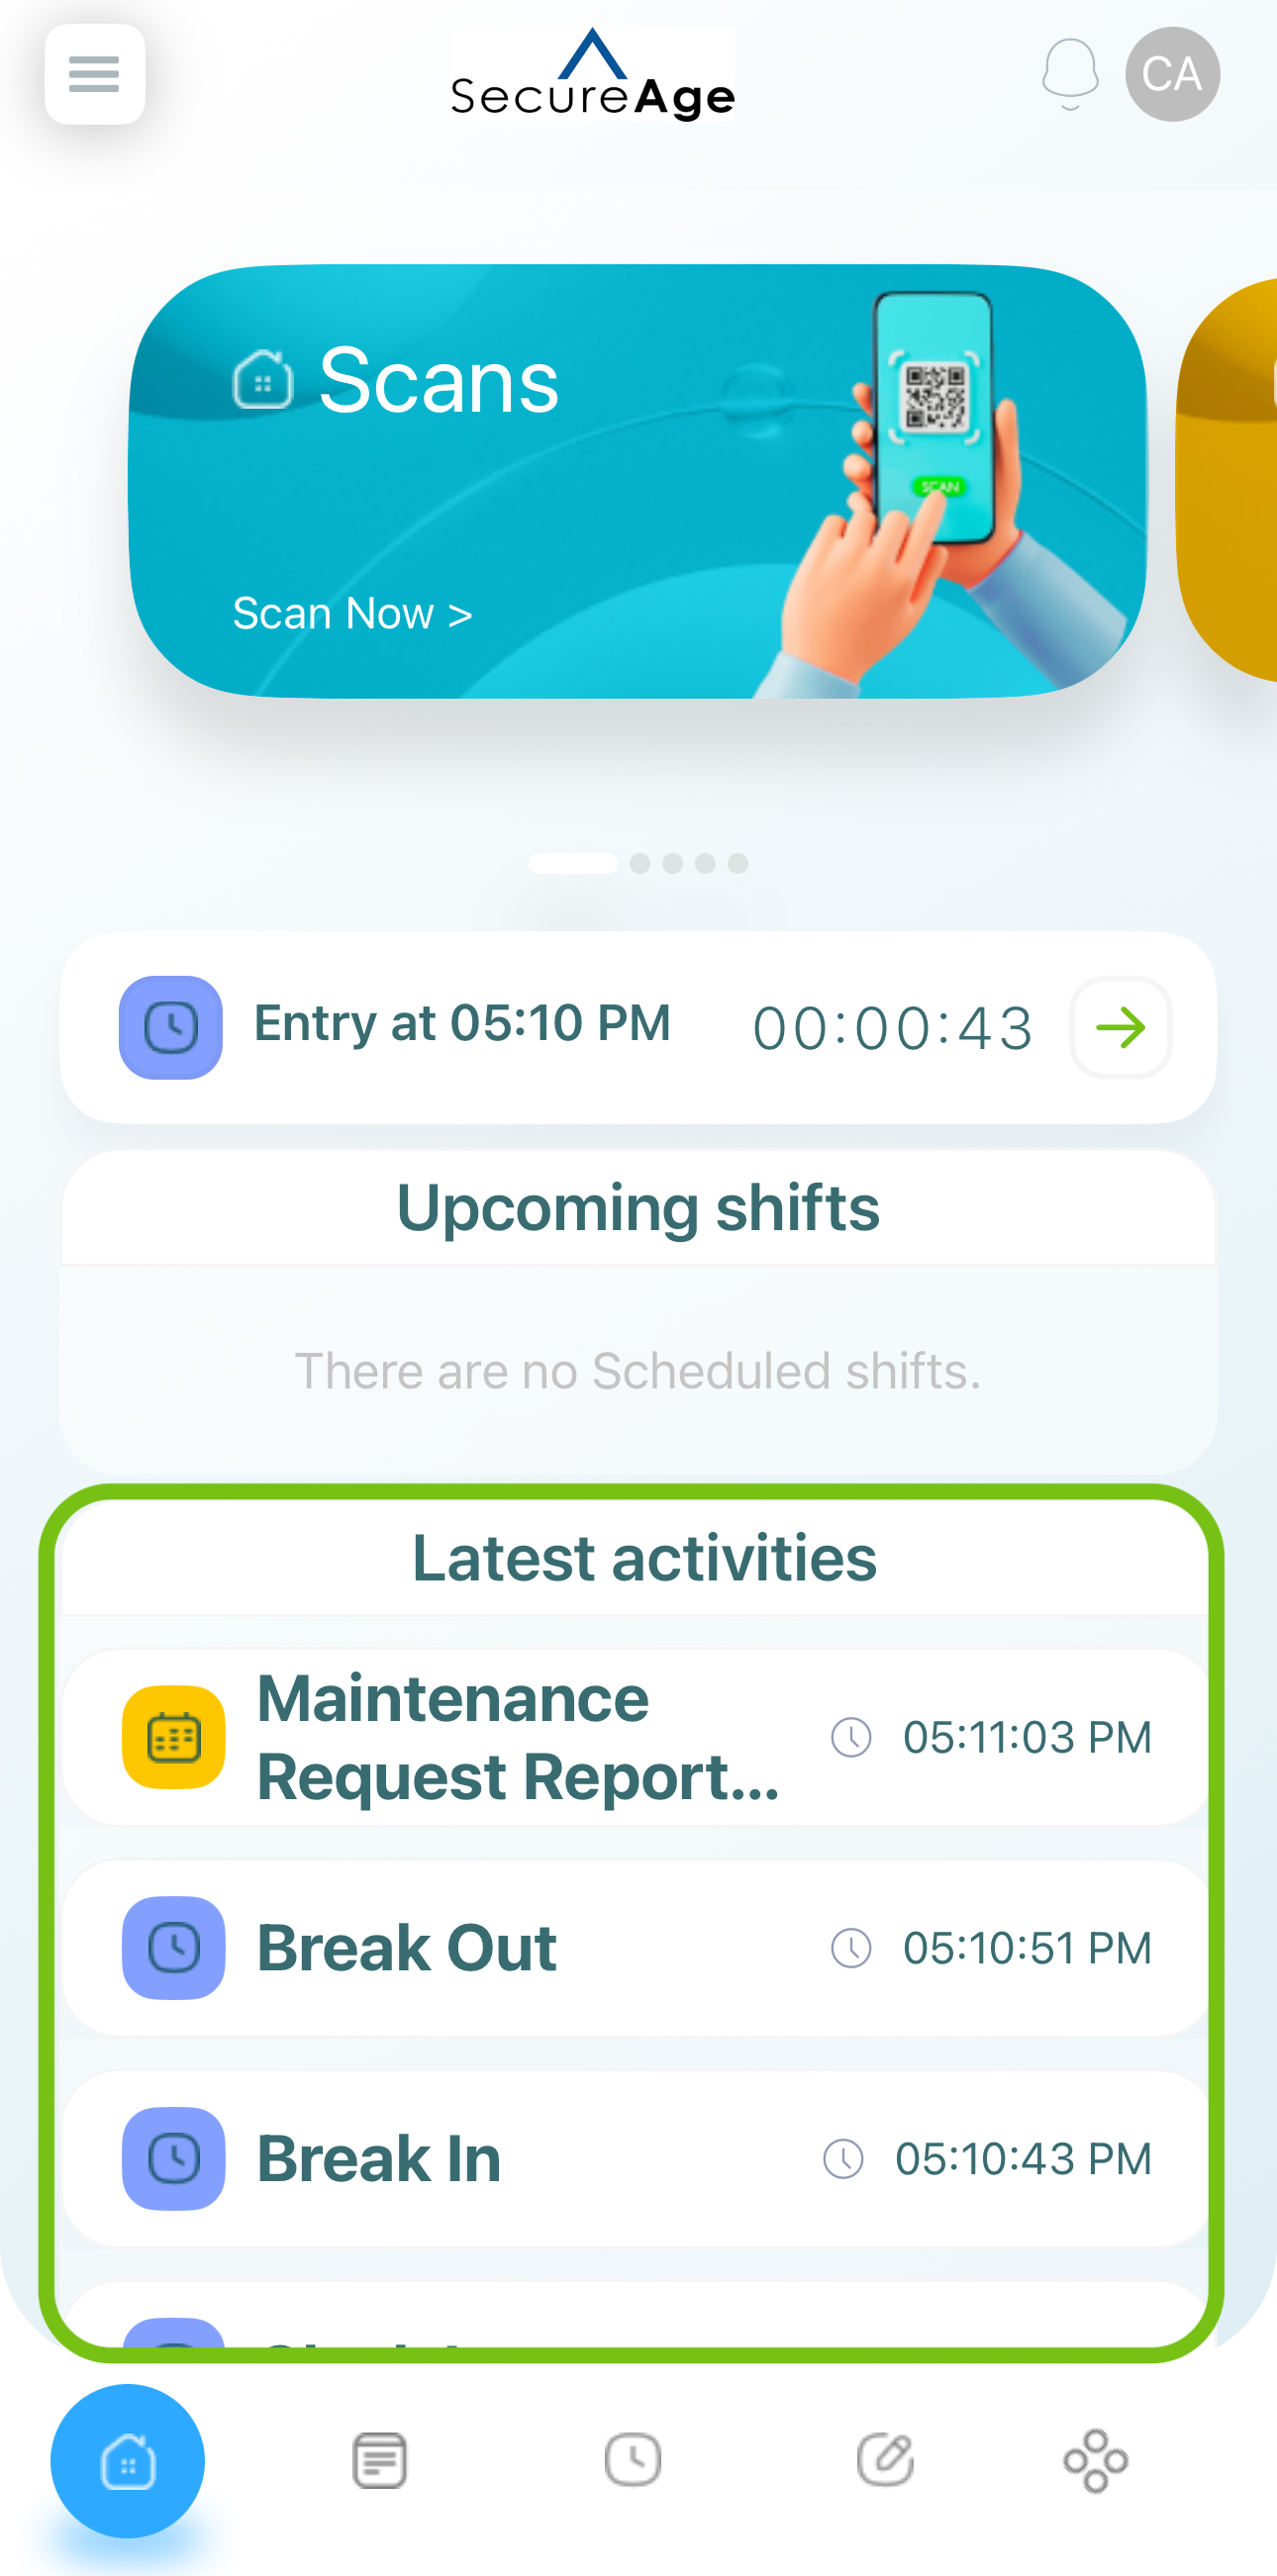
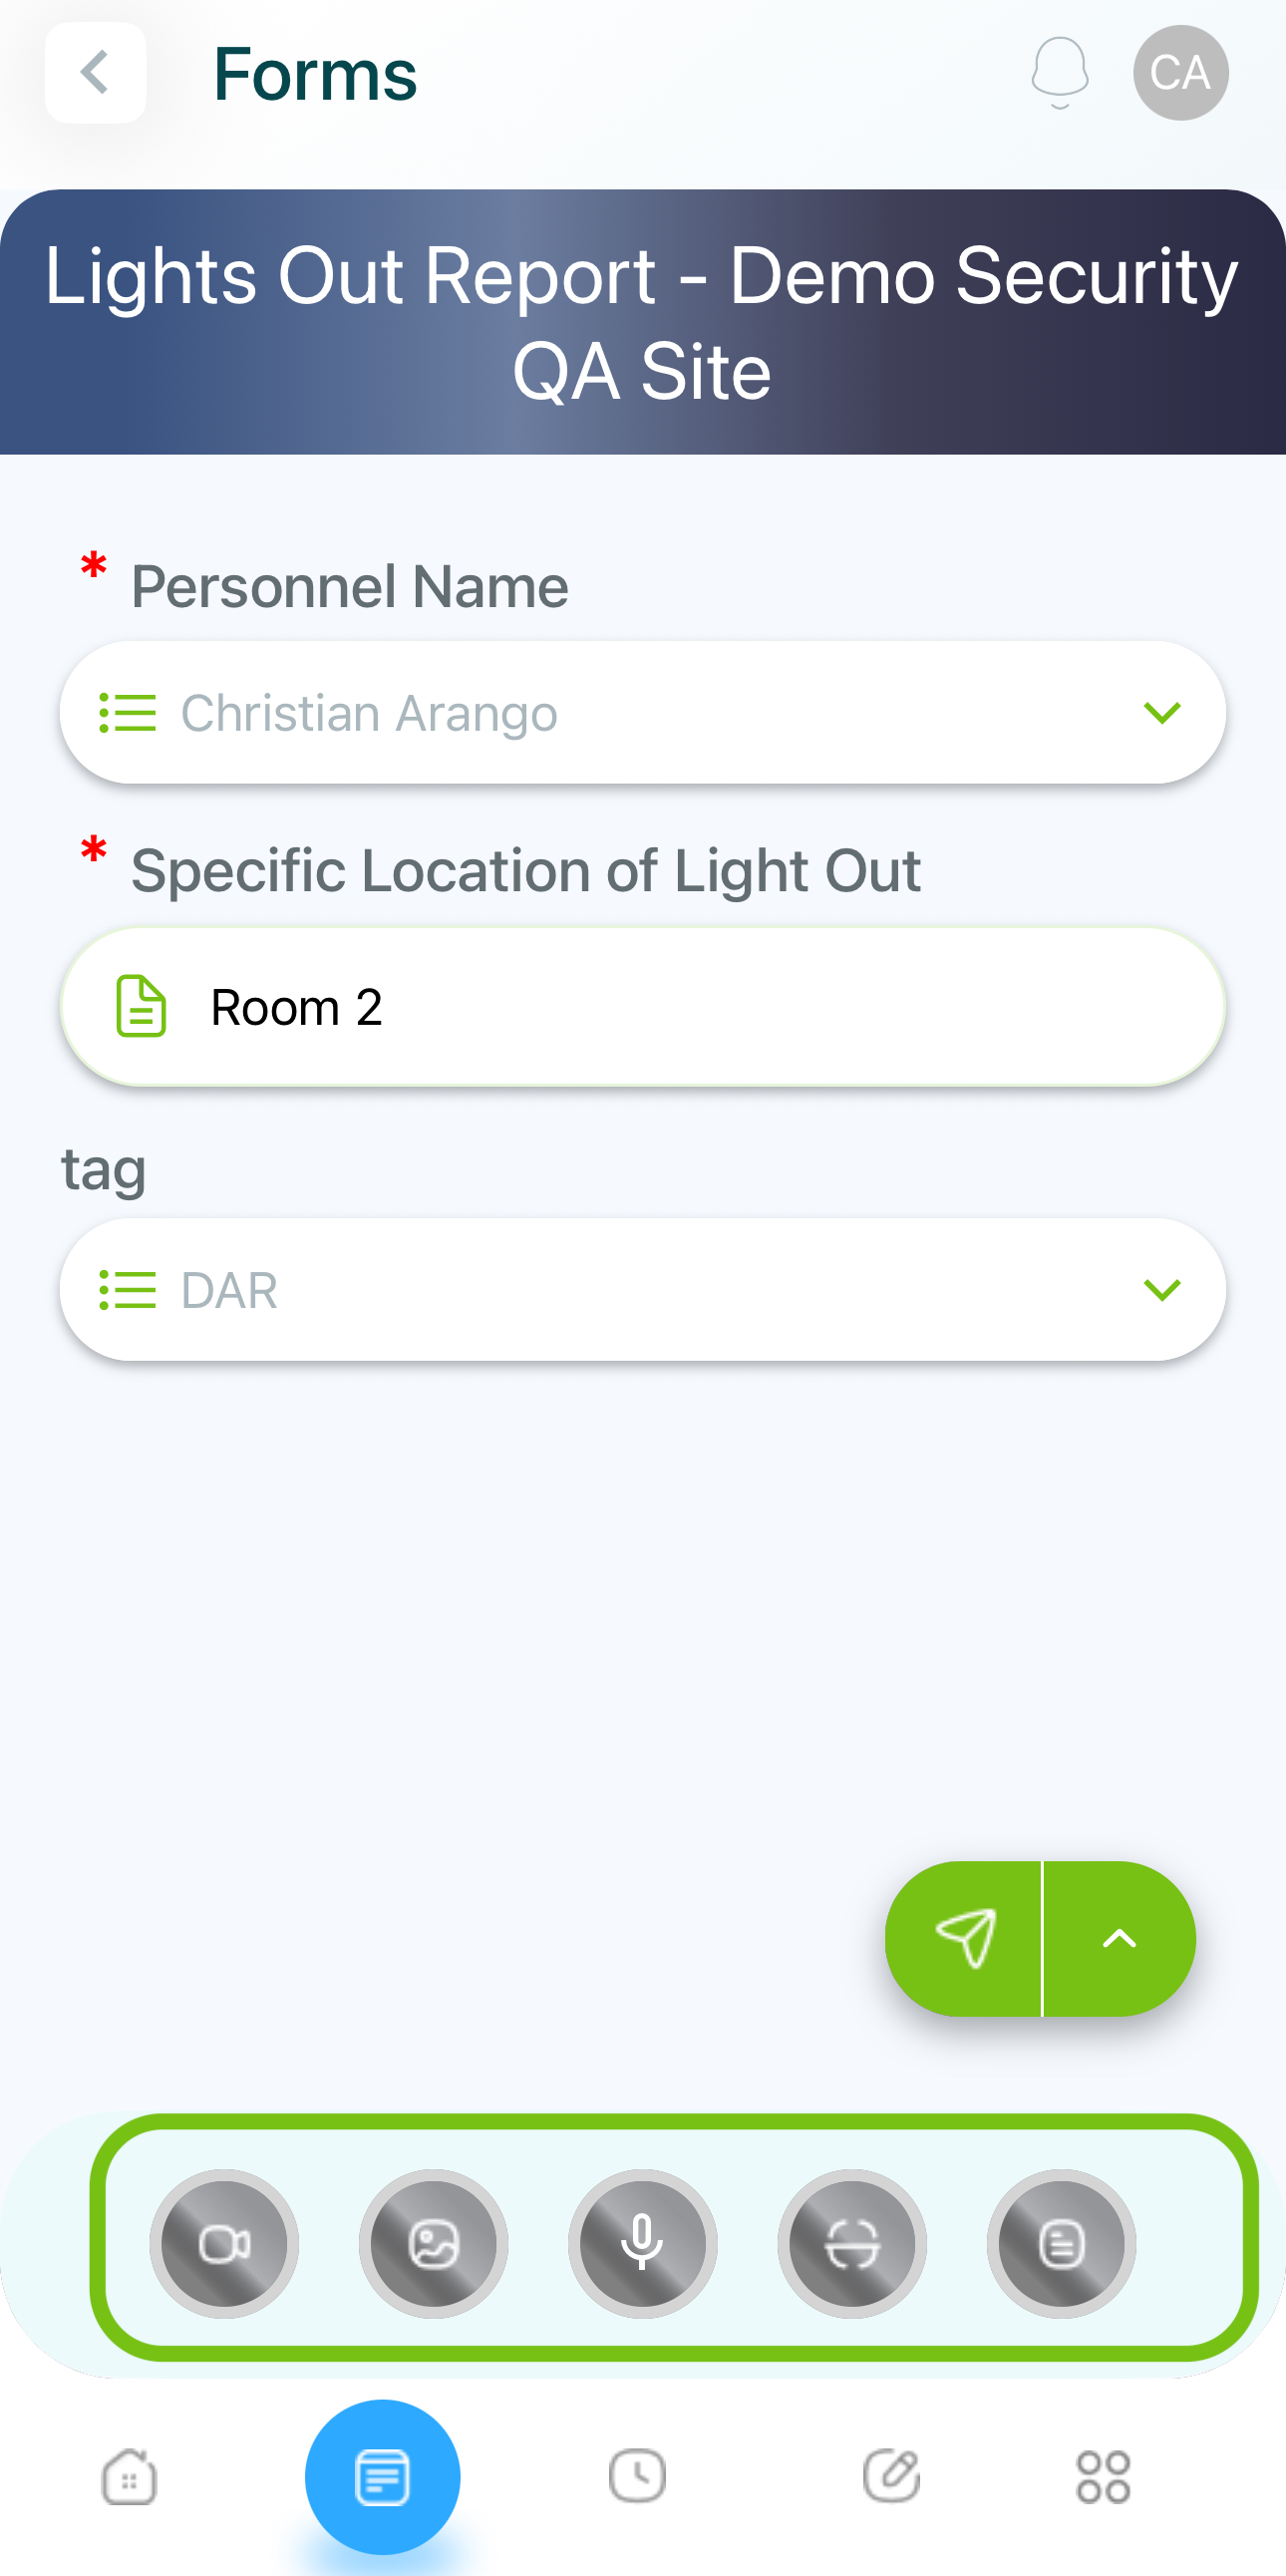
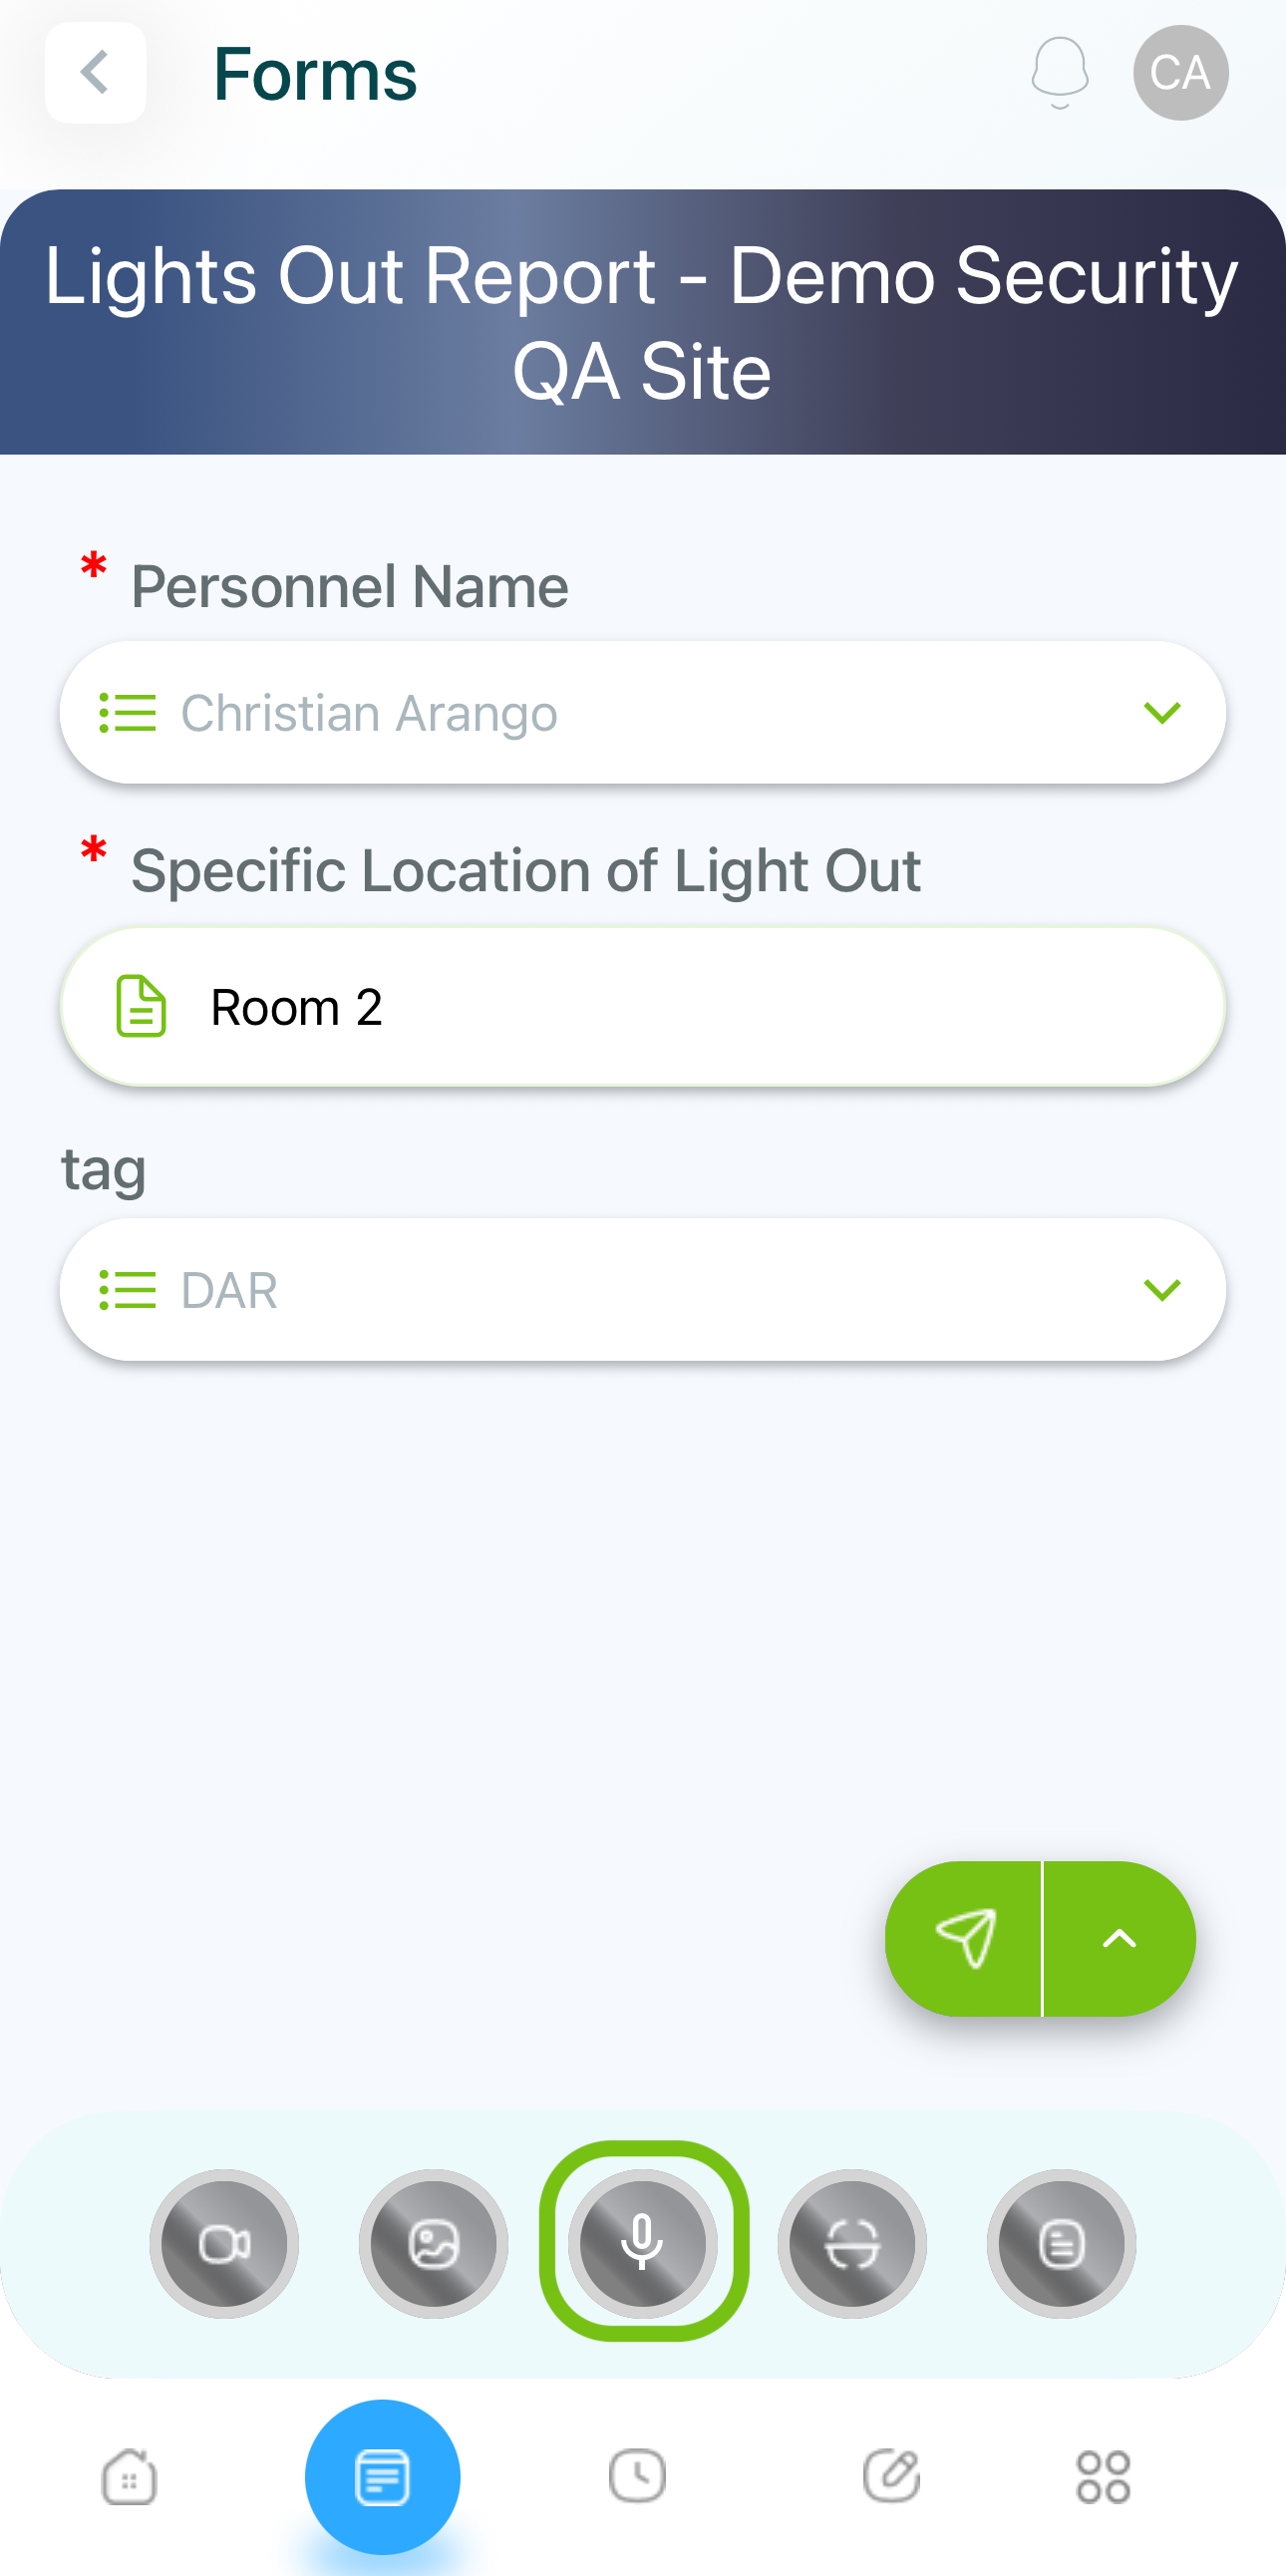
Tap the Forms icon.
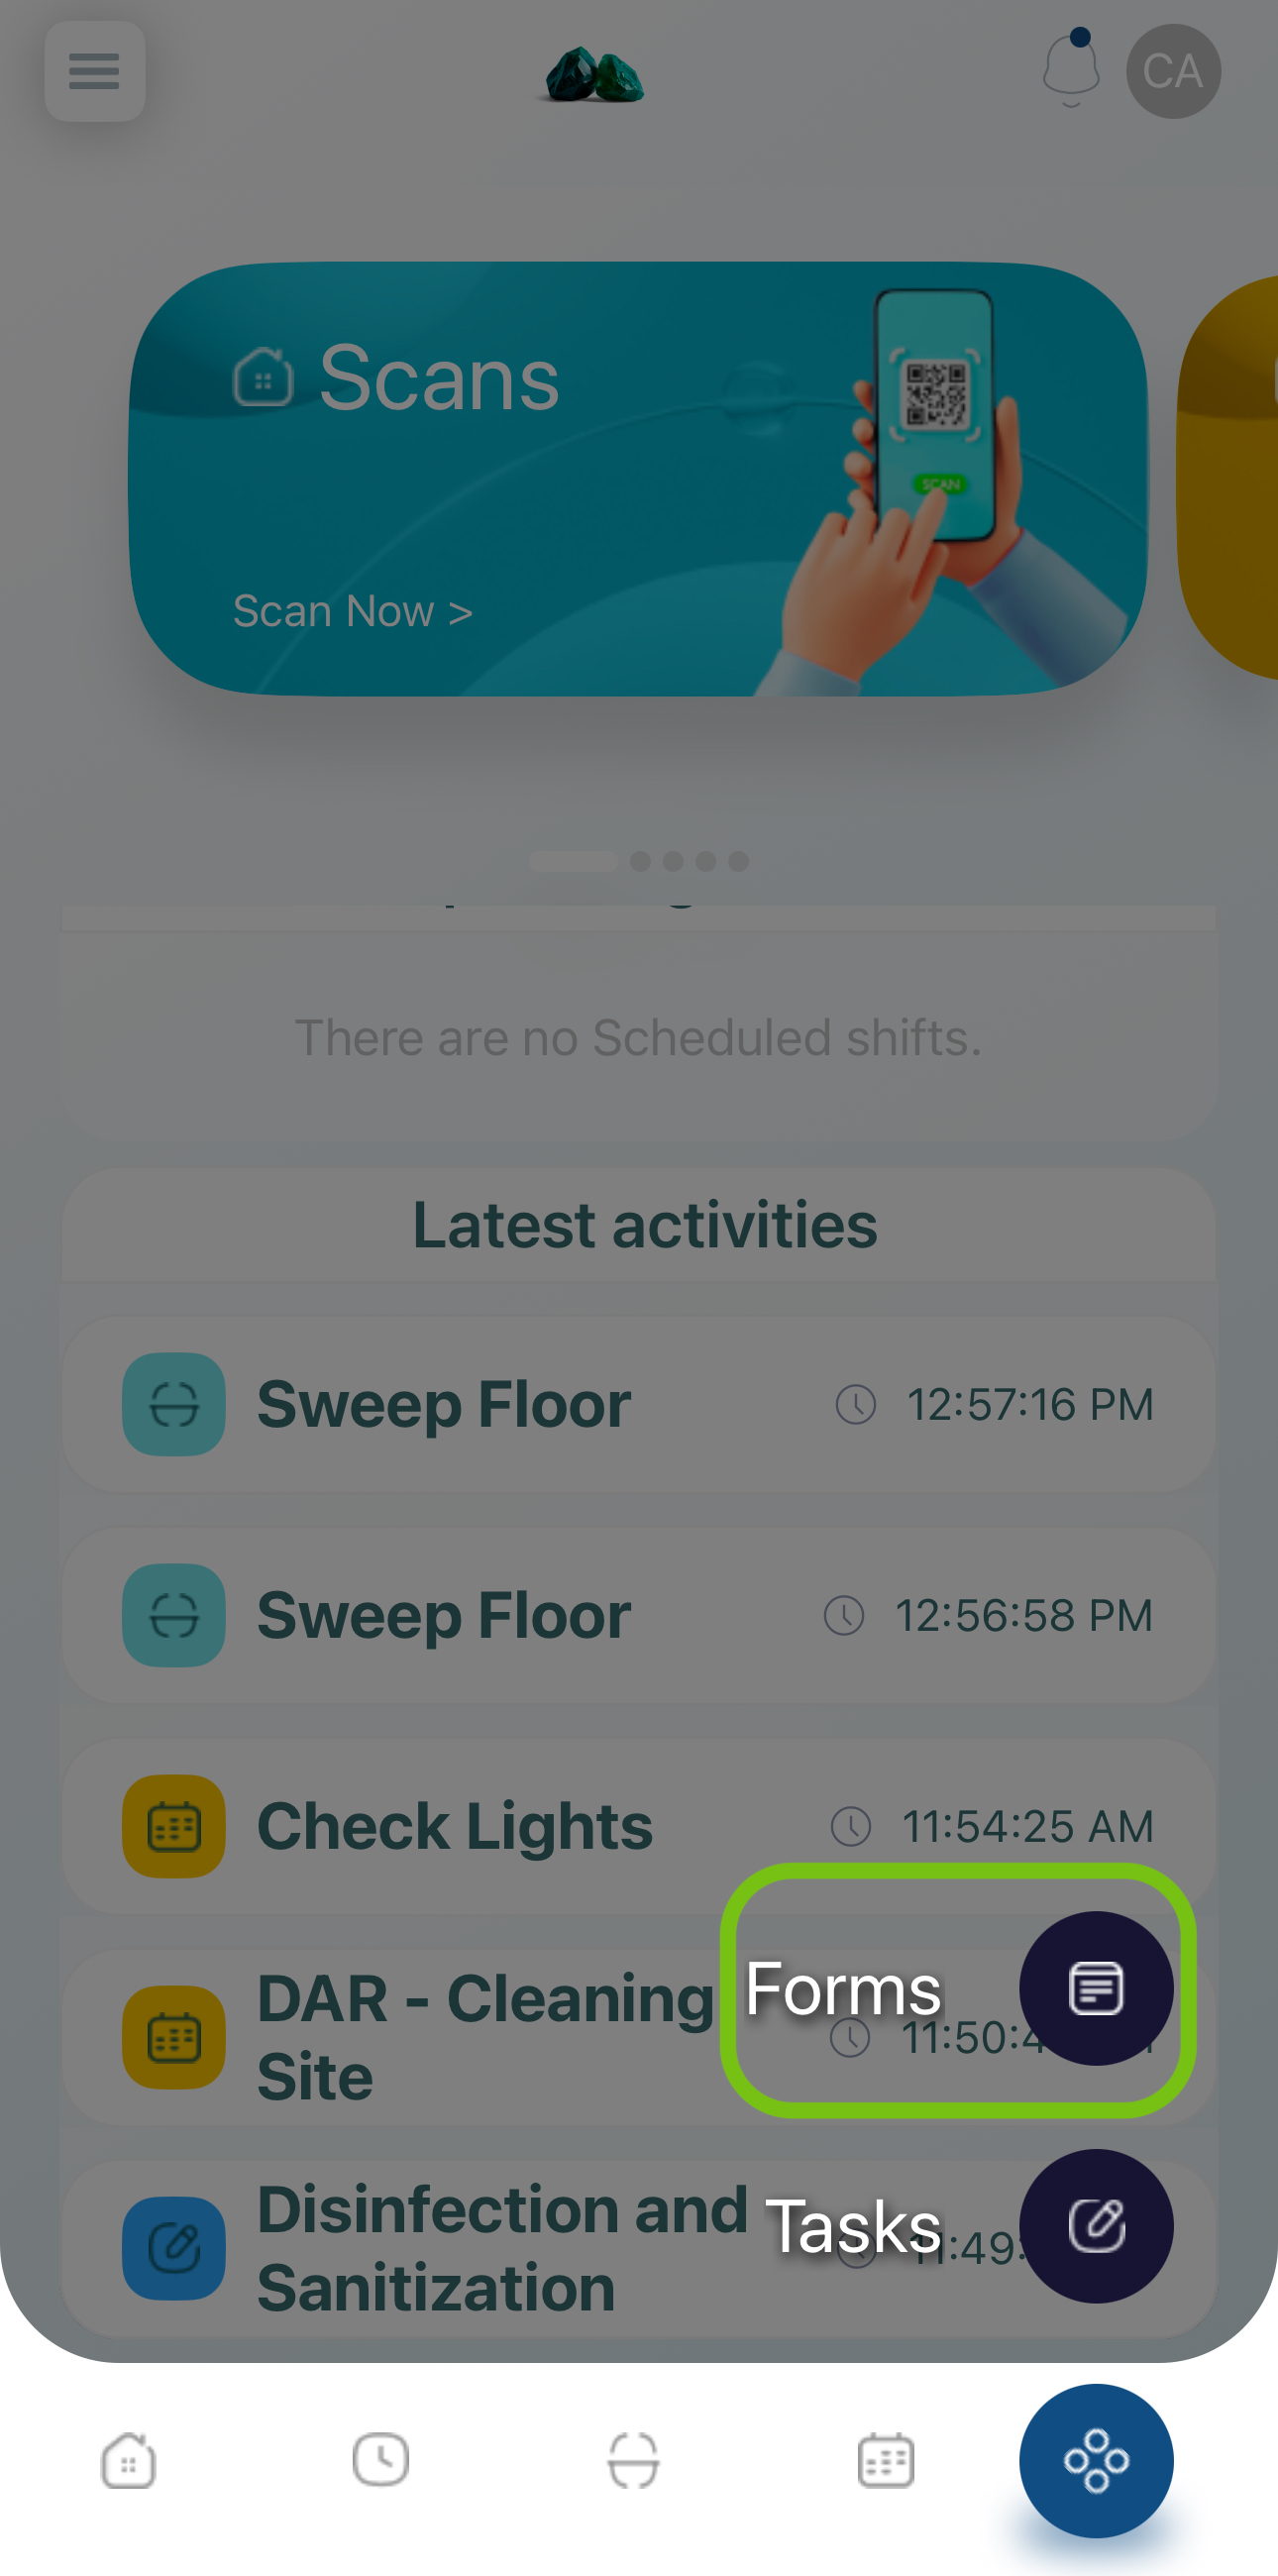
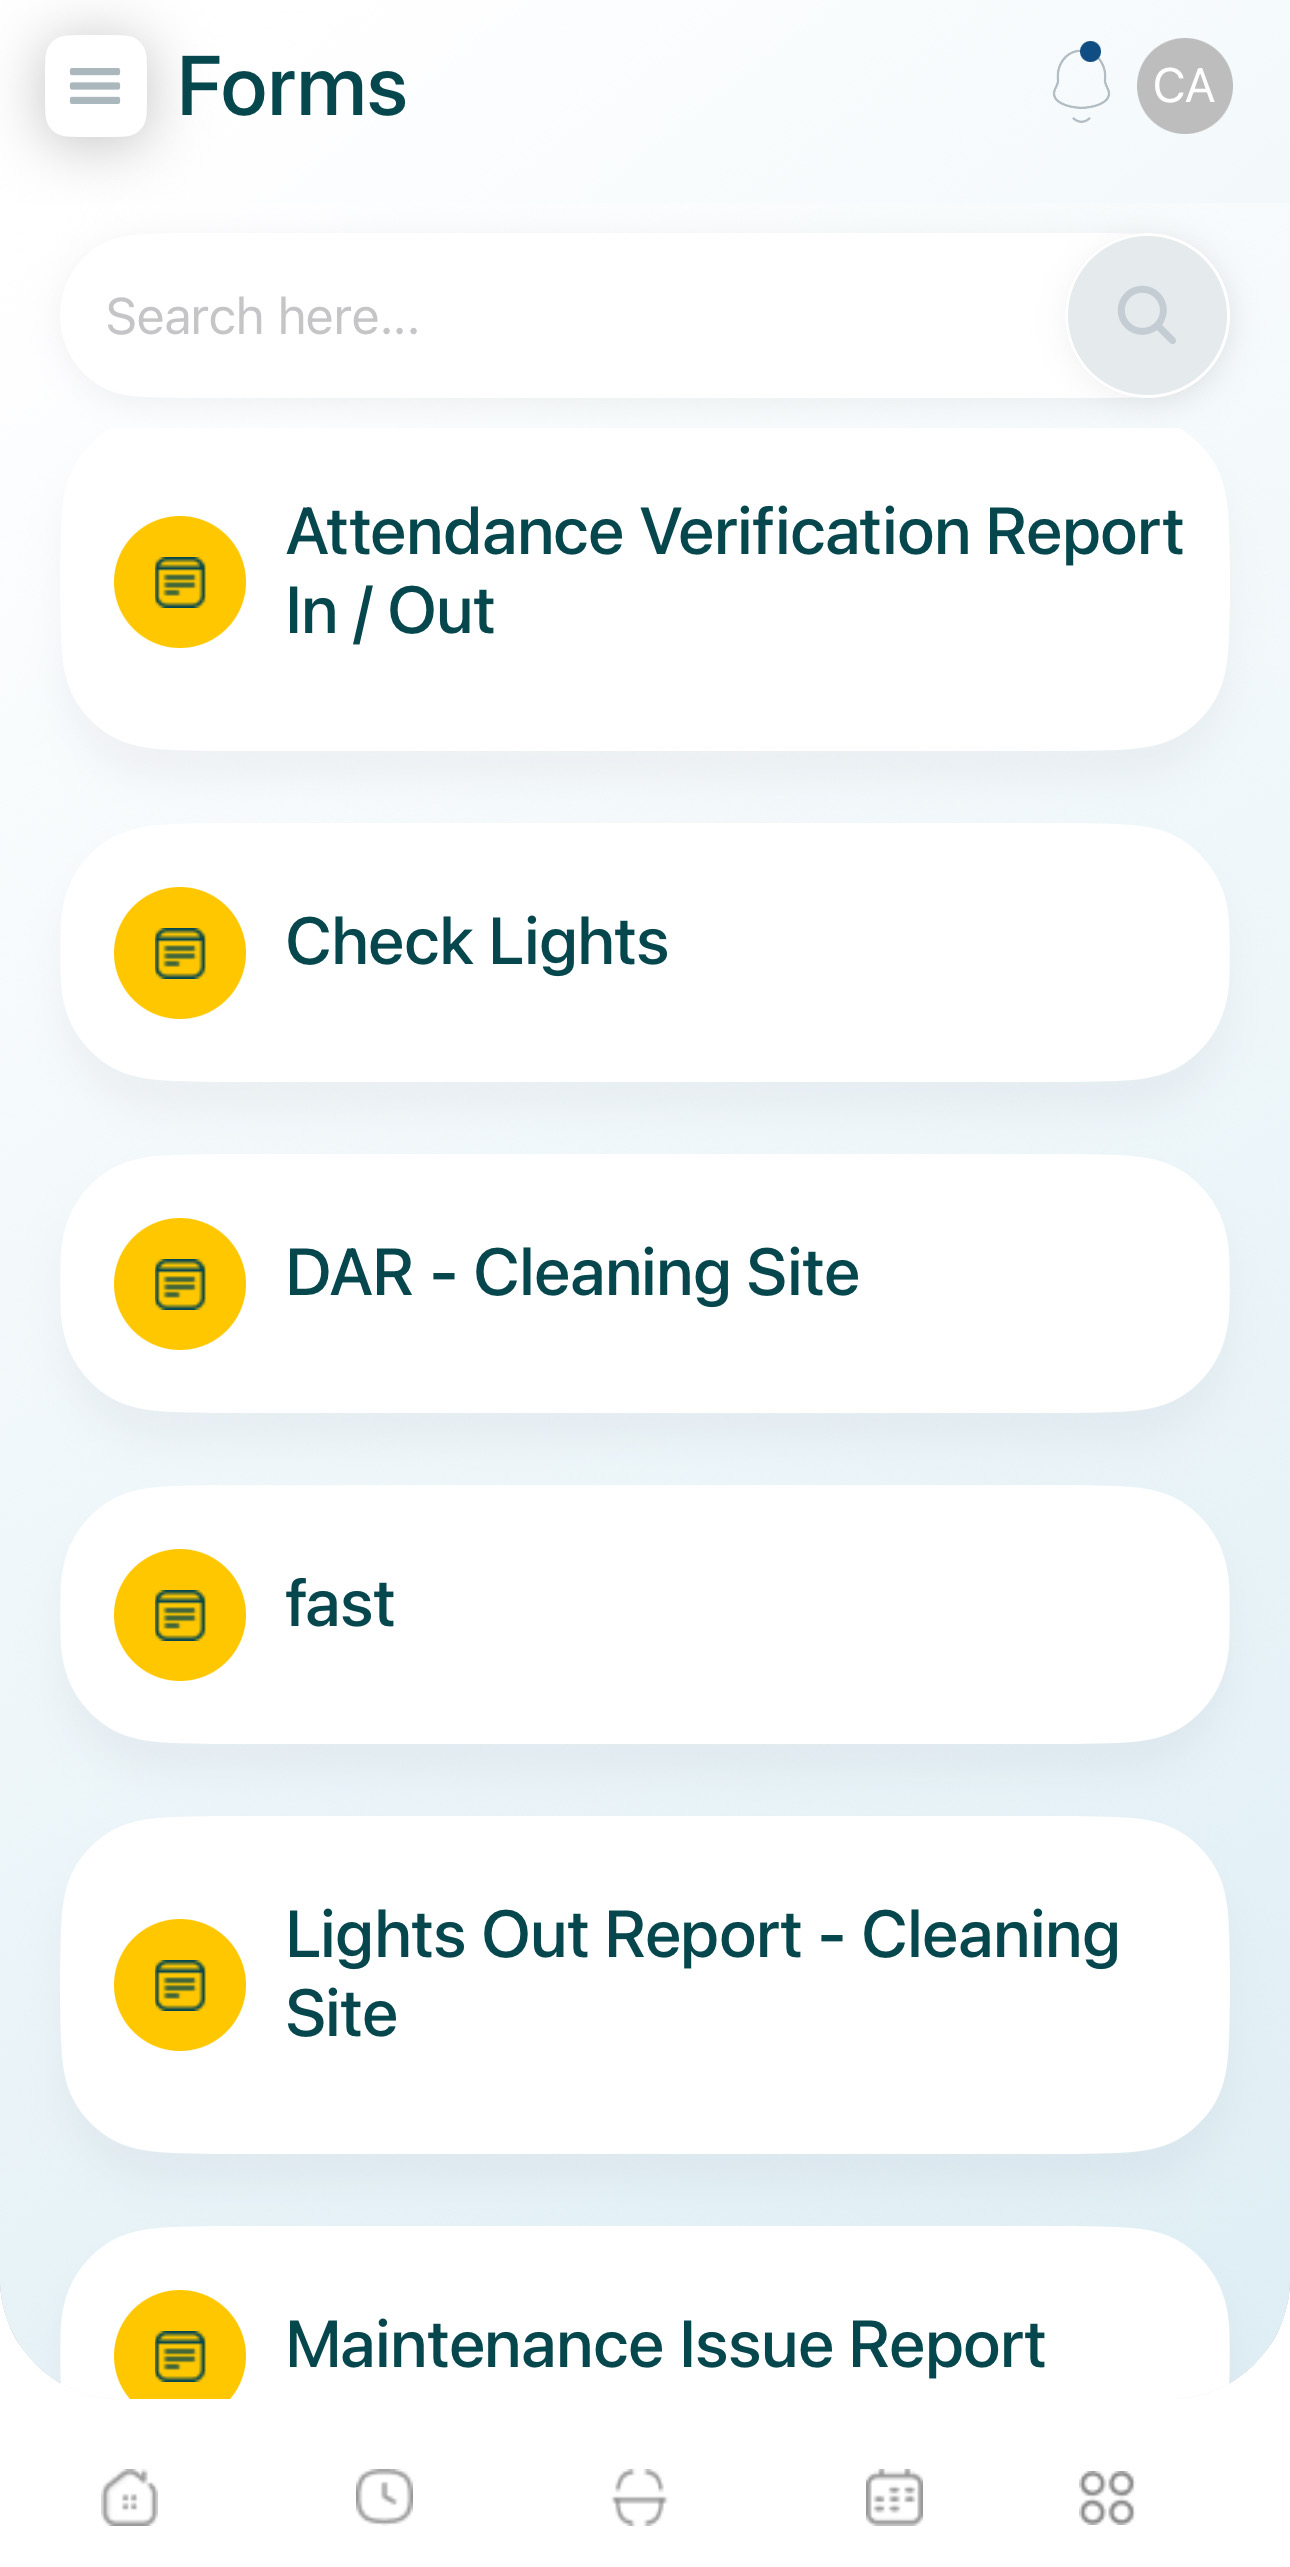
- Select the form or checklist.
- Use the search bar at the top to find it quickly.

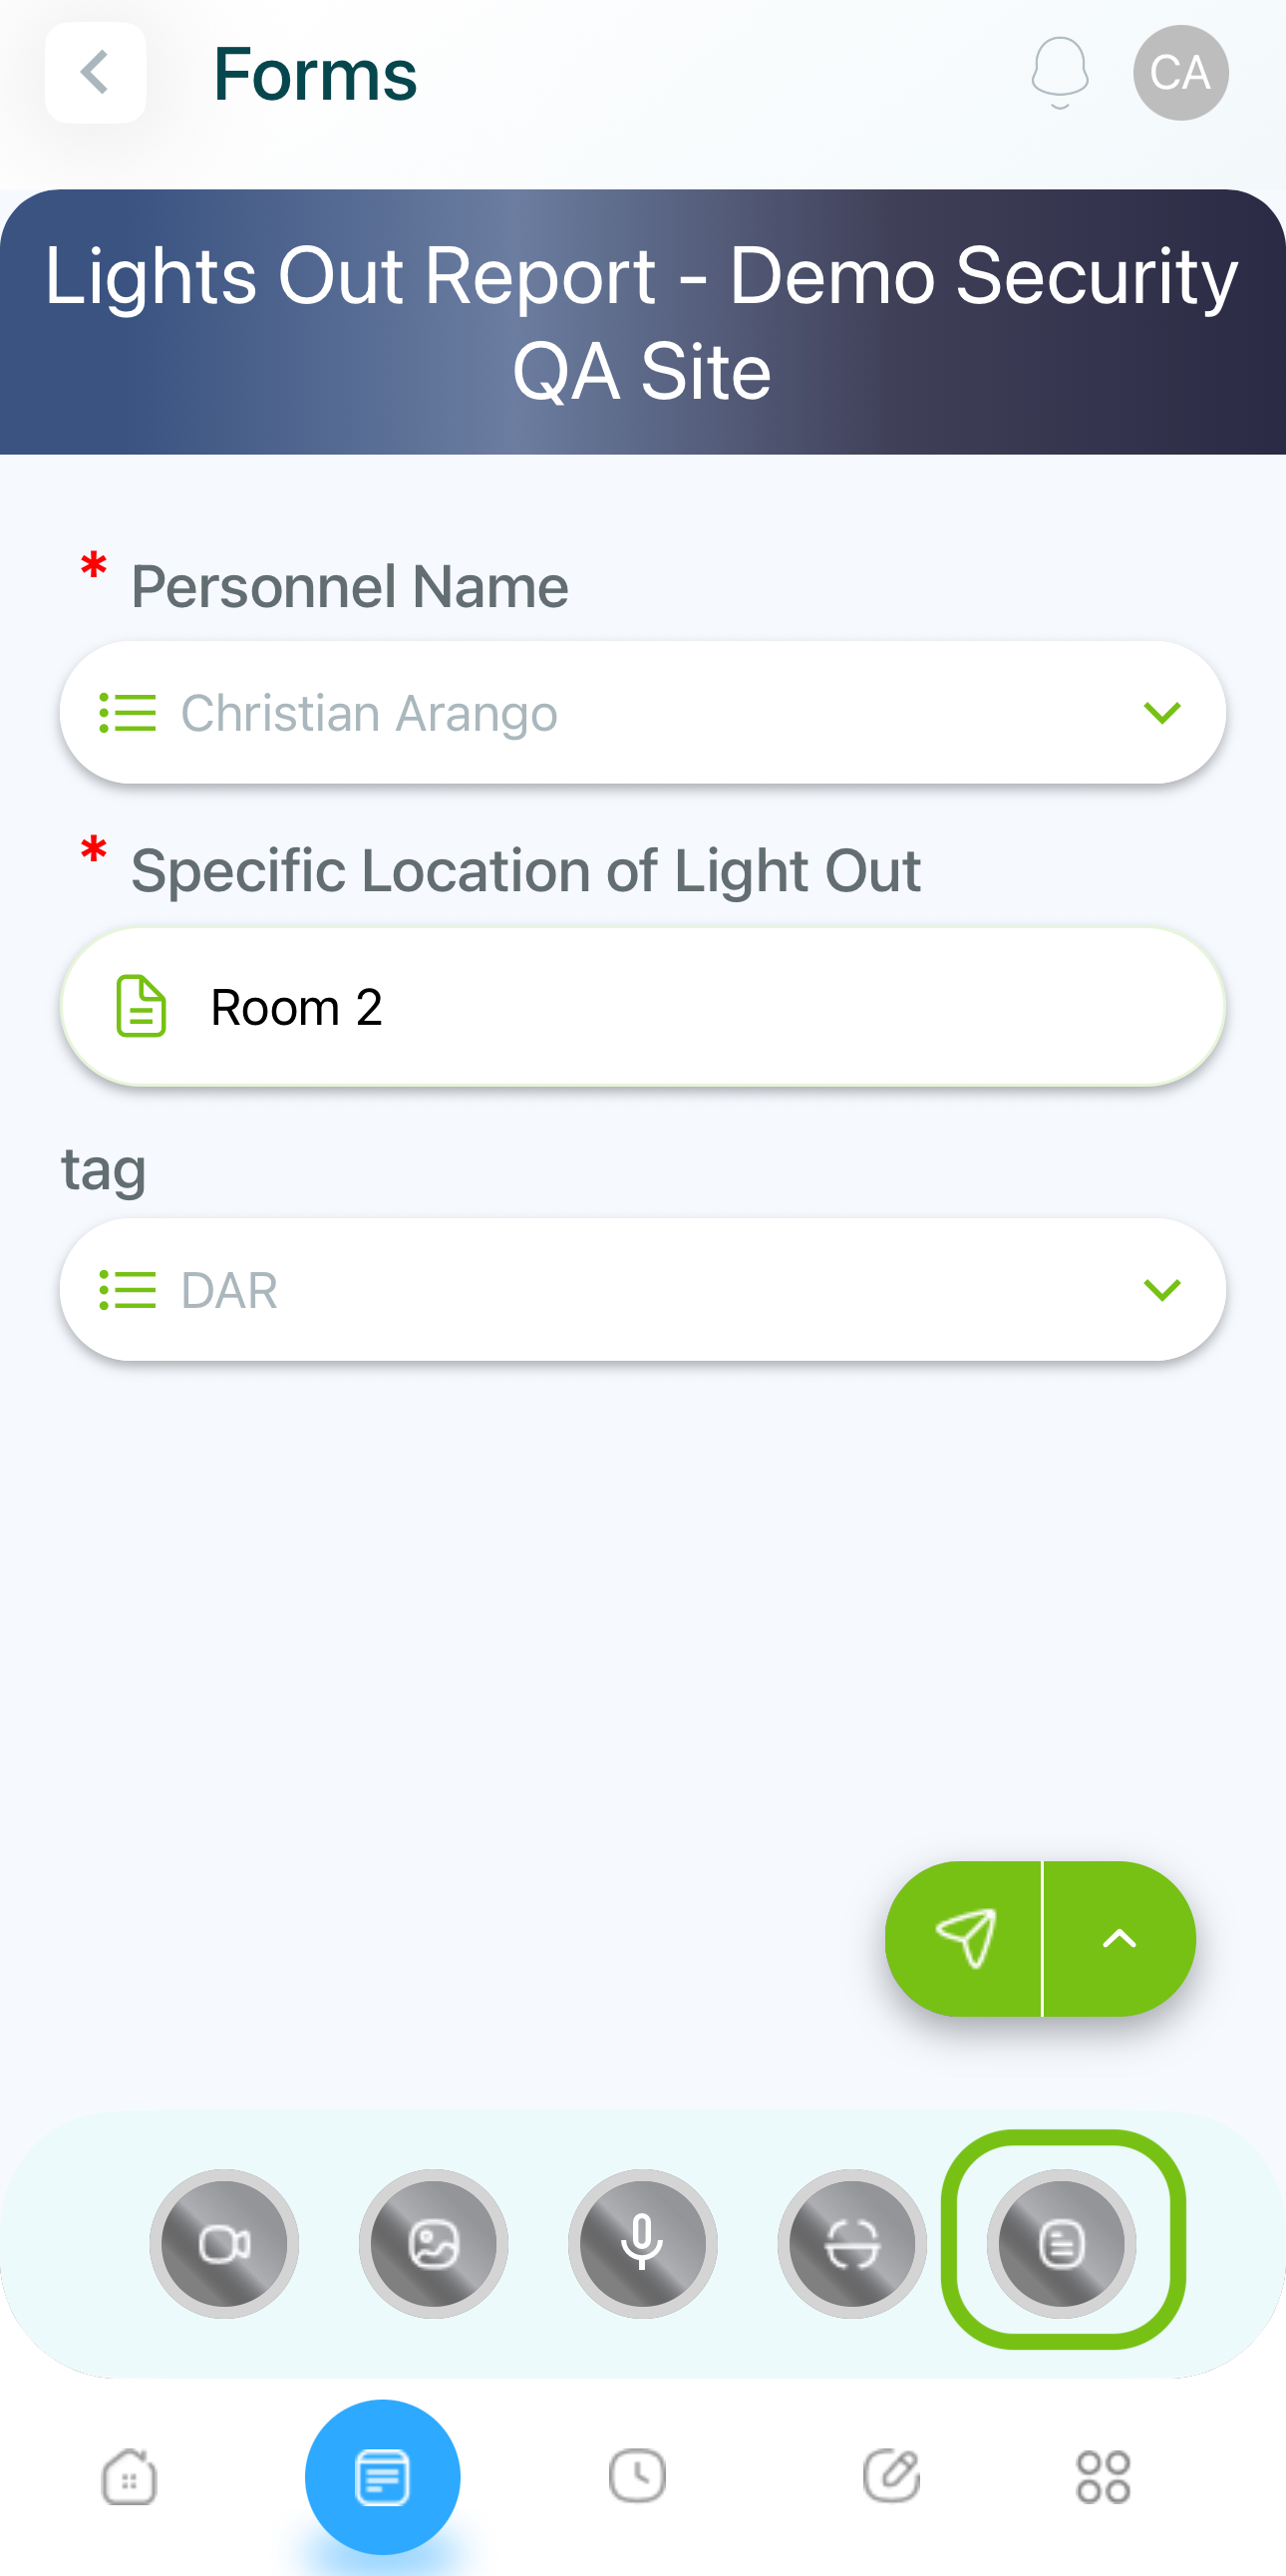
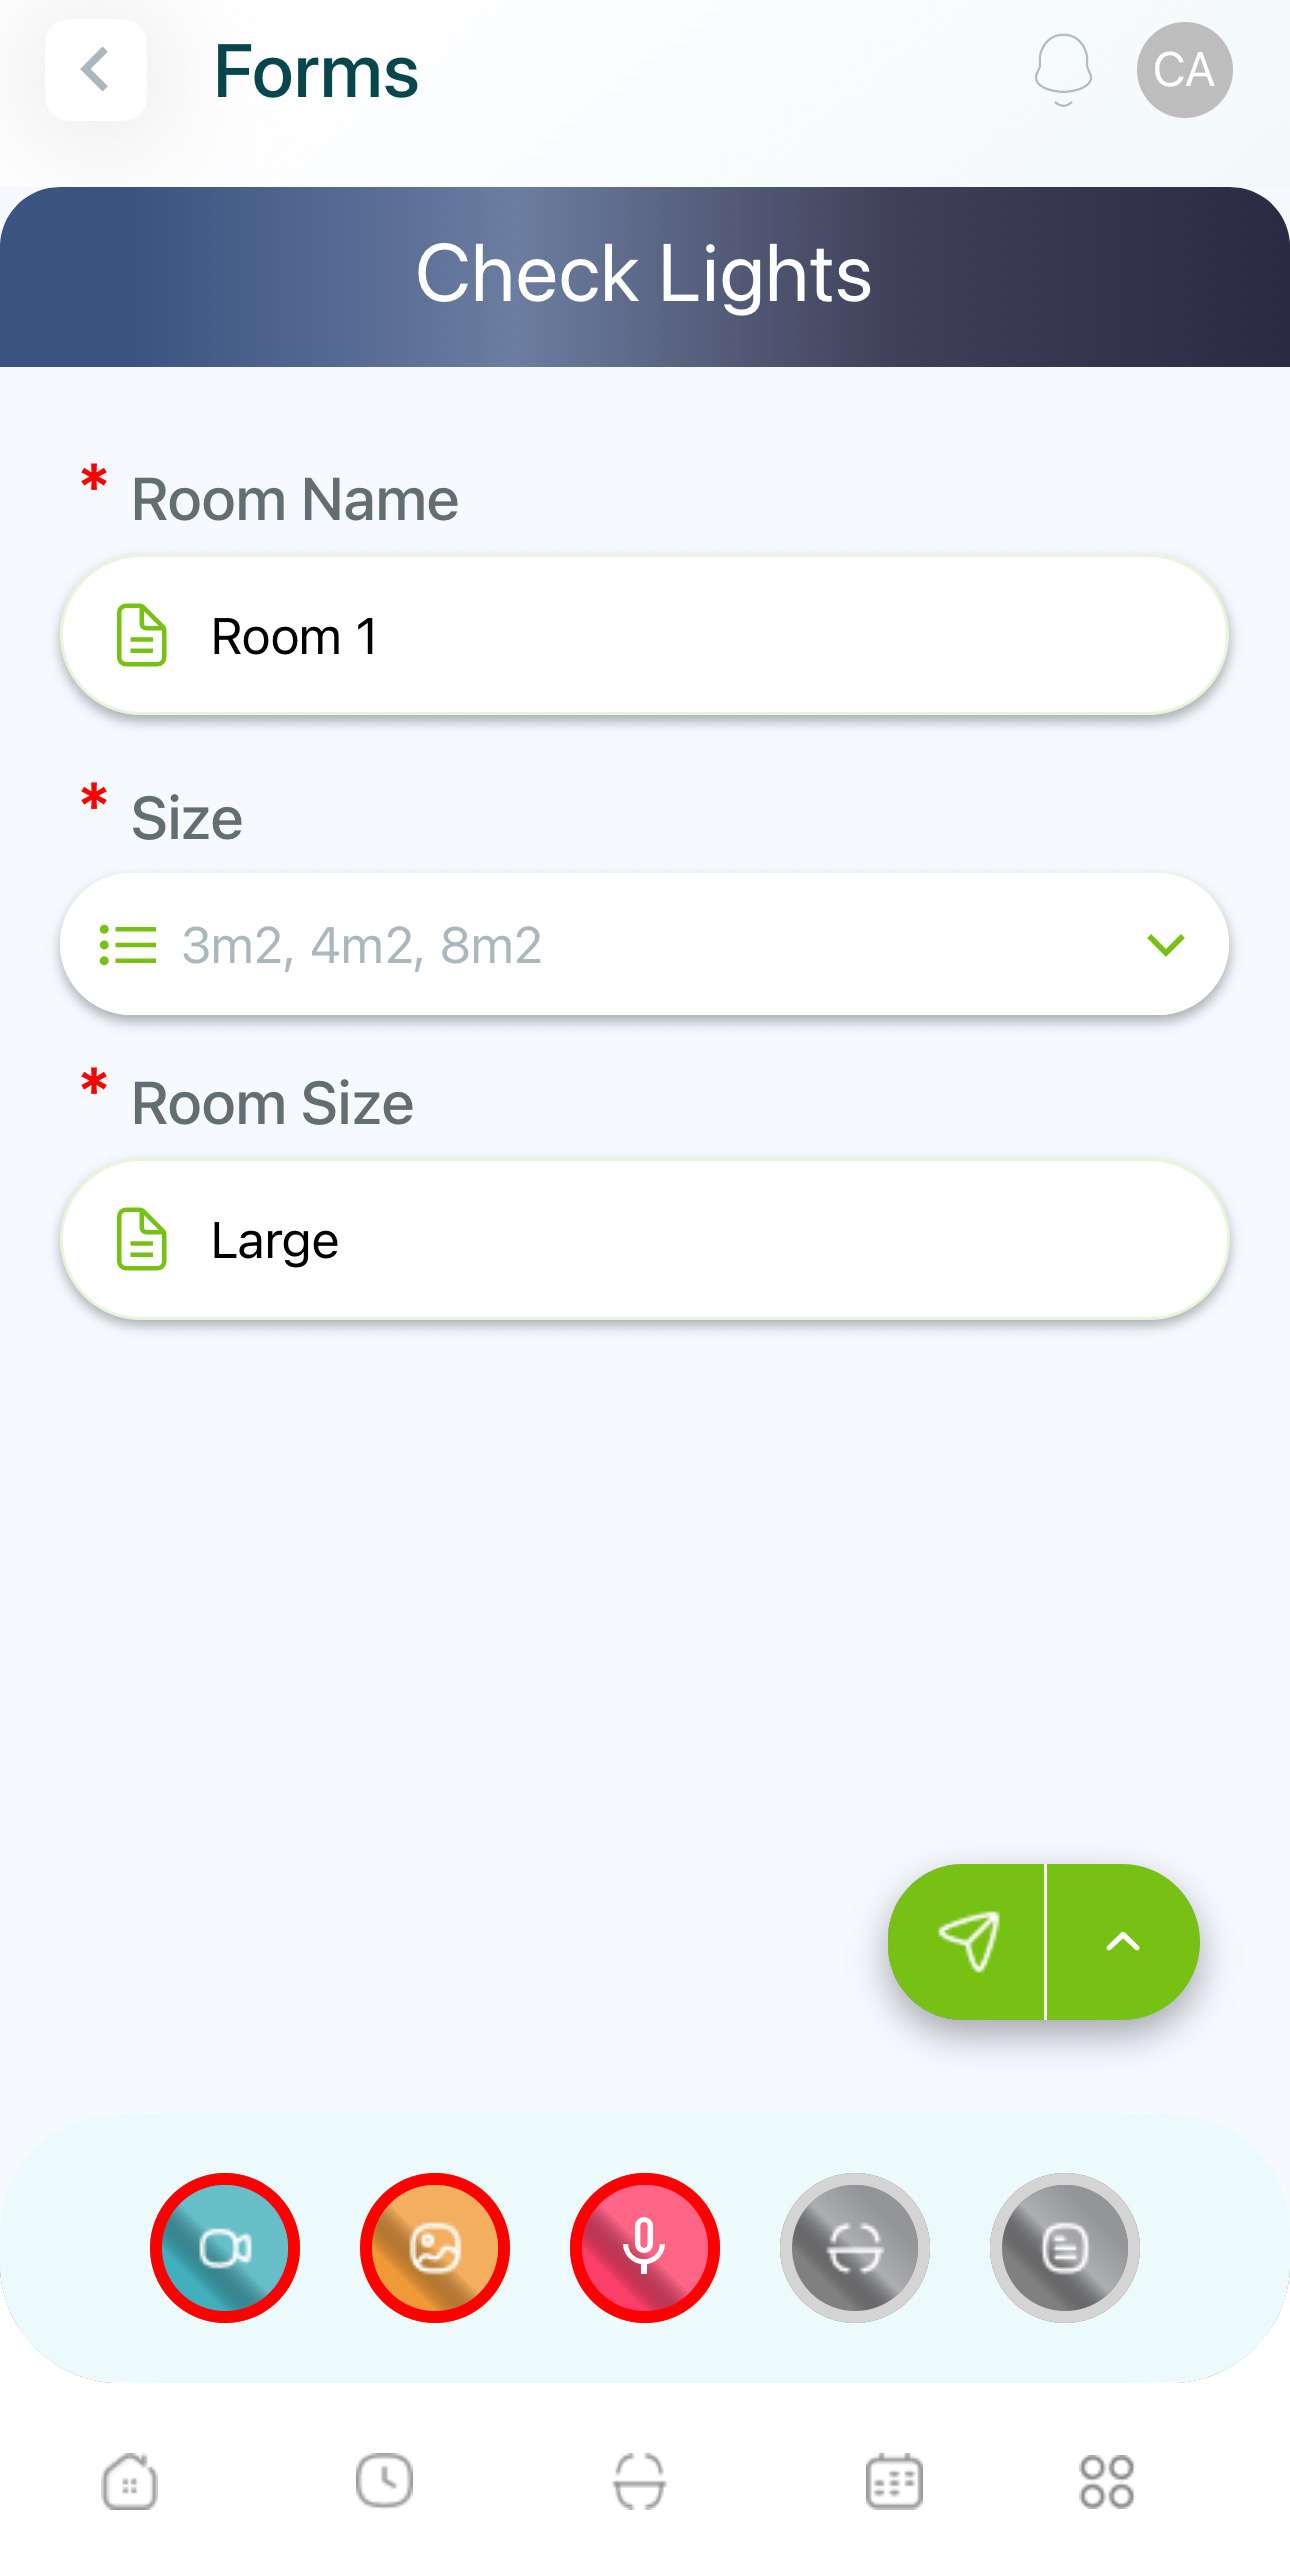
- Fill in the form, noting the fields marked with an asterisk.
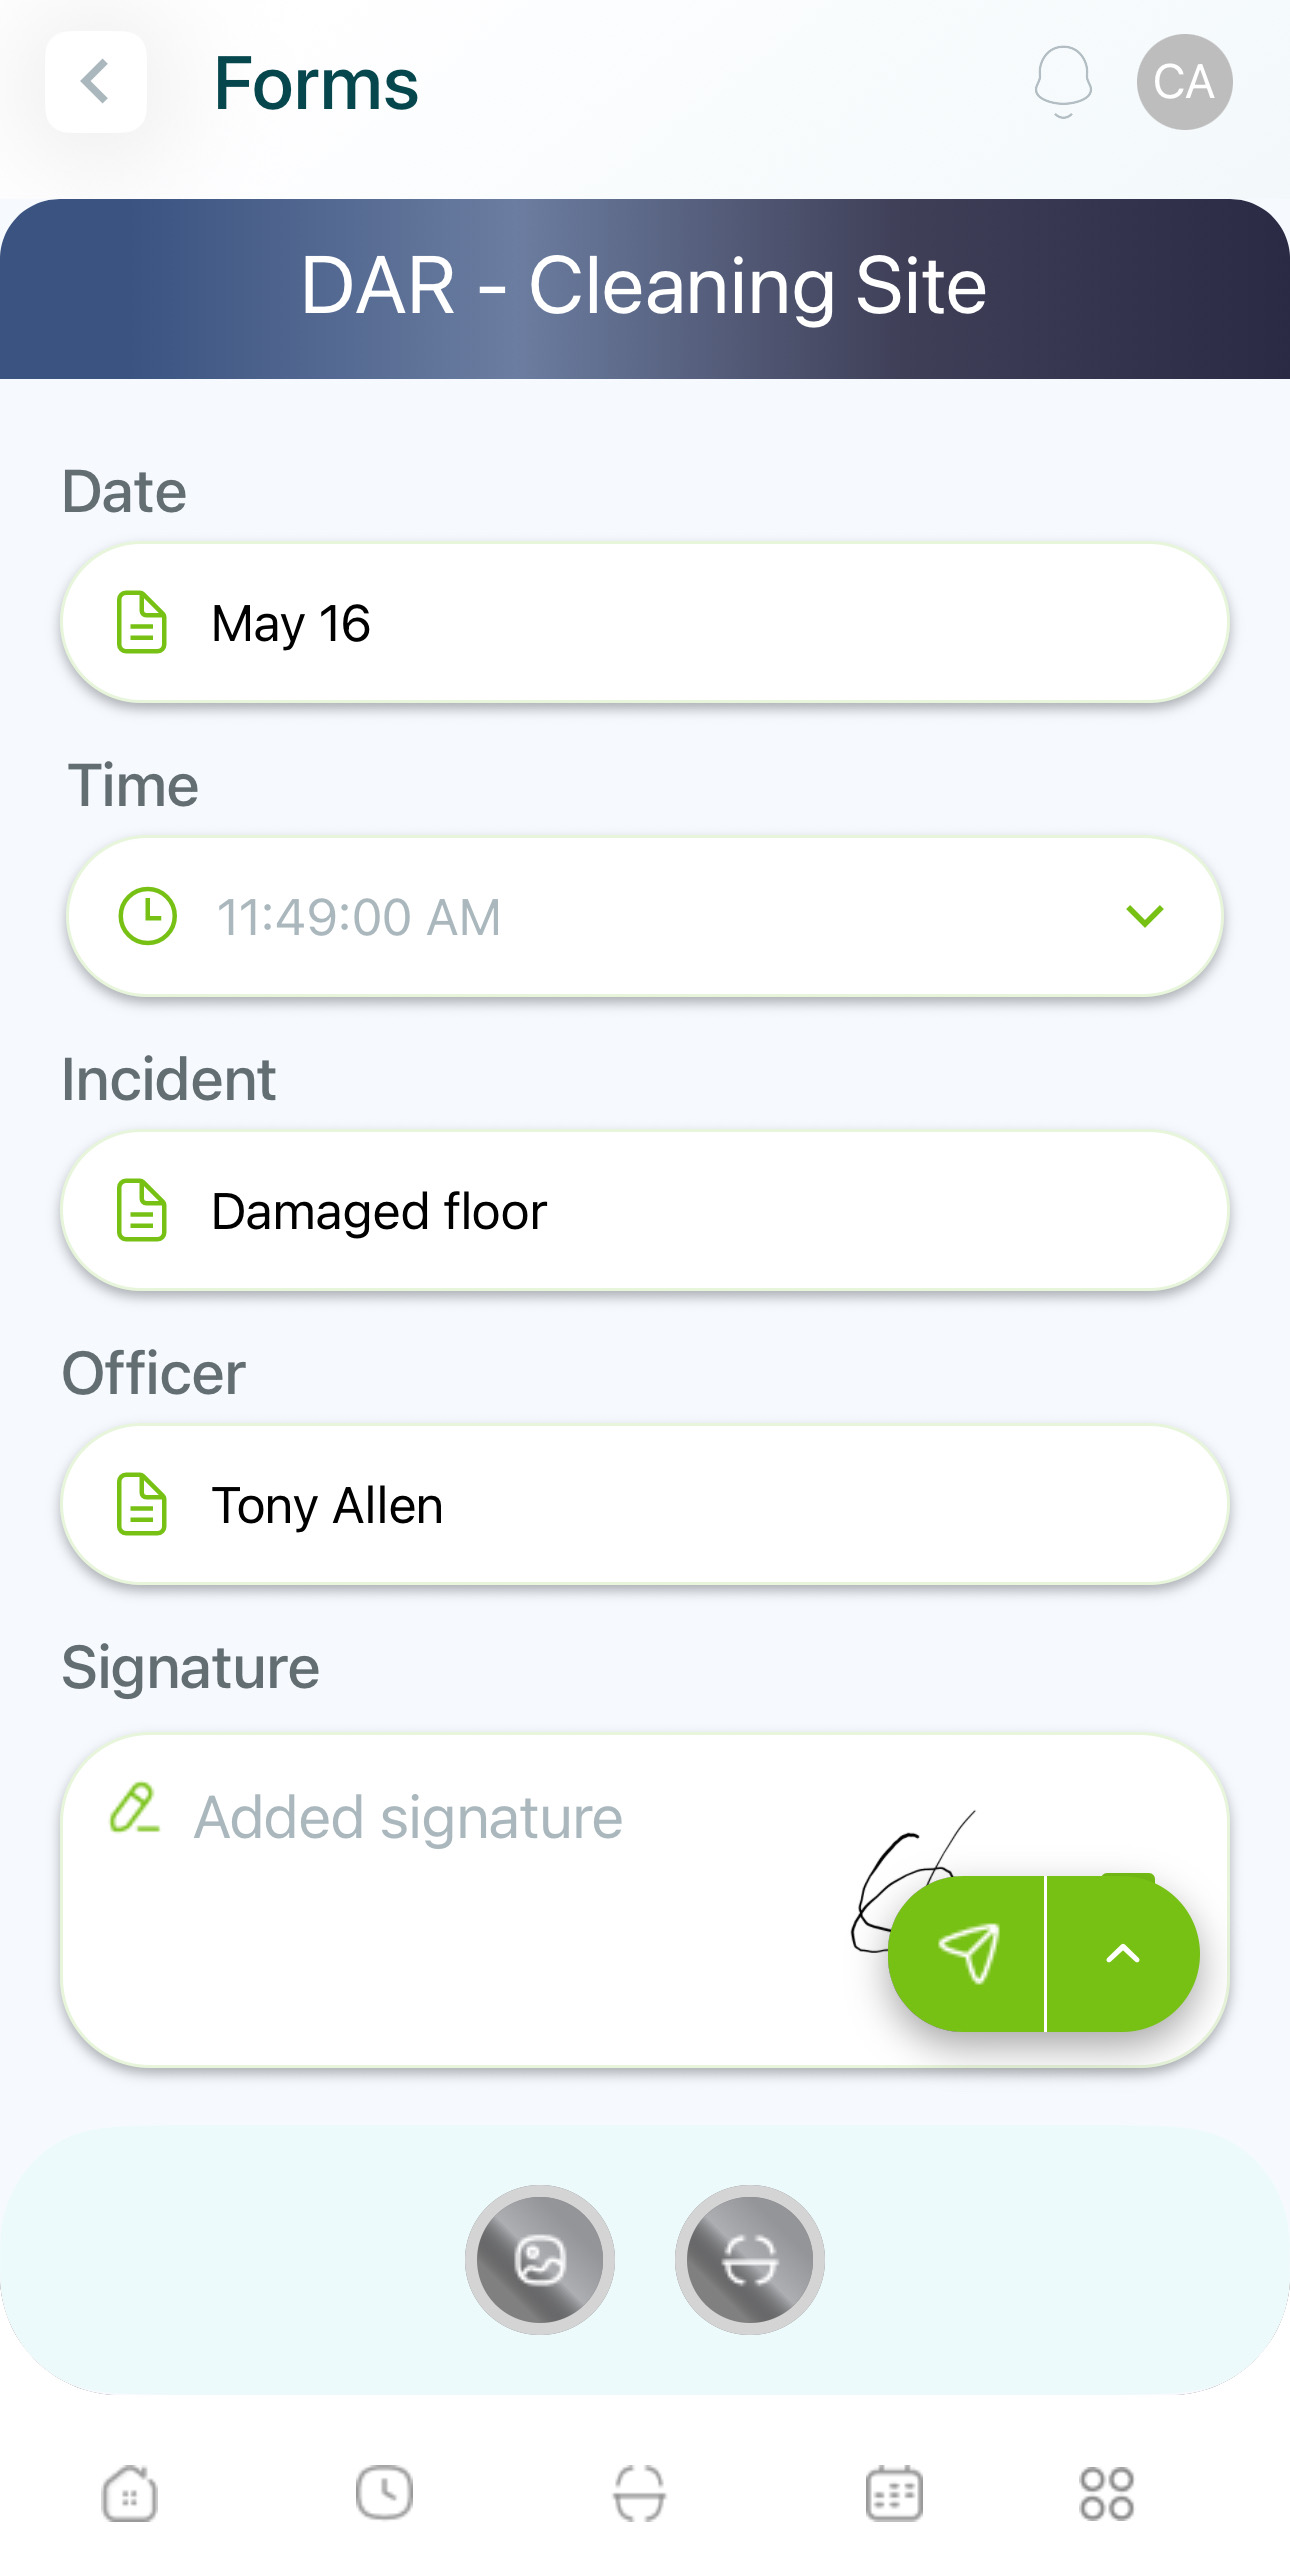
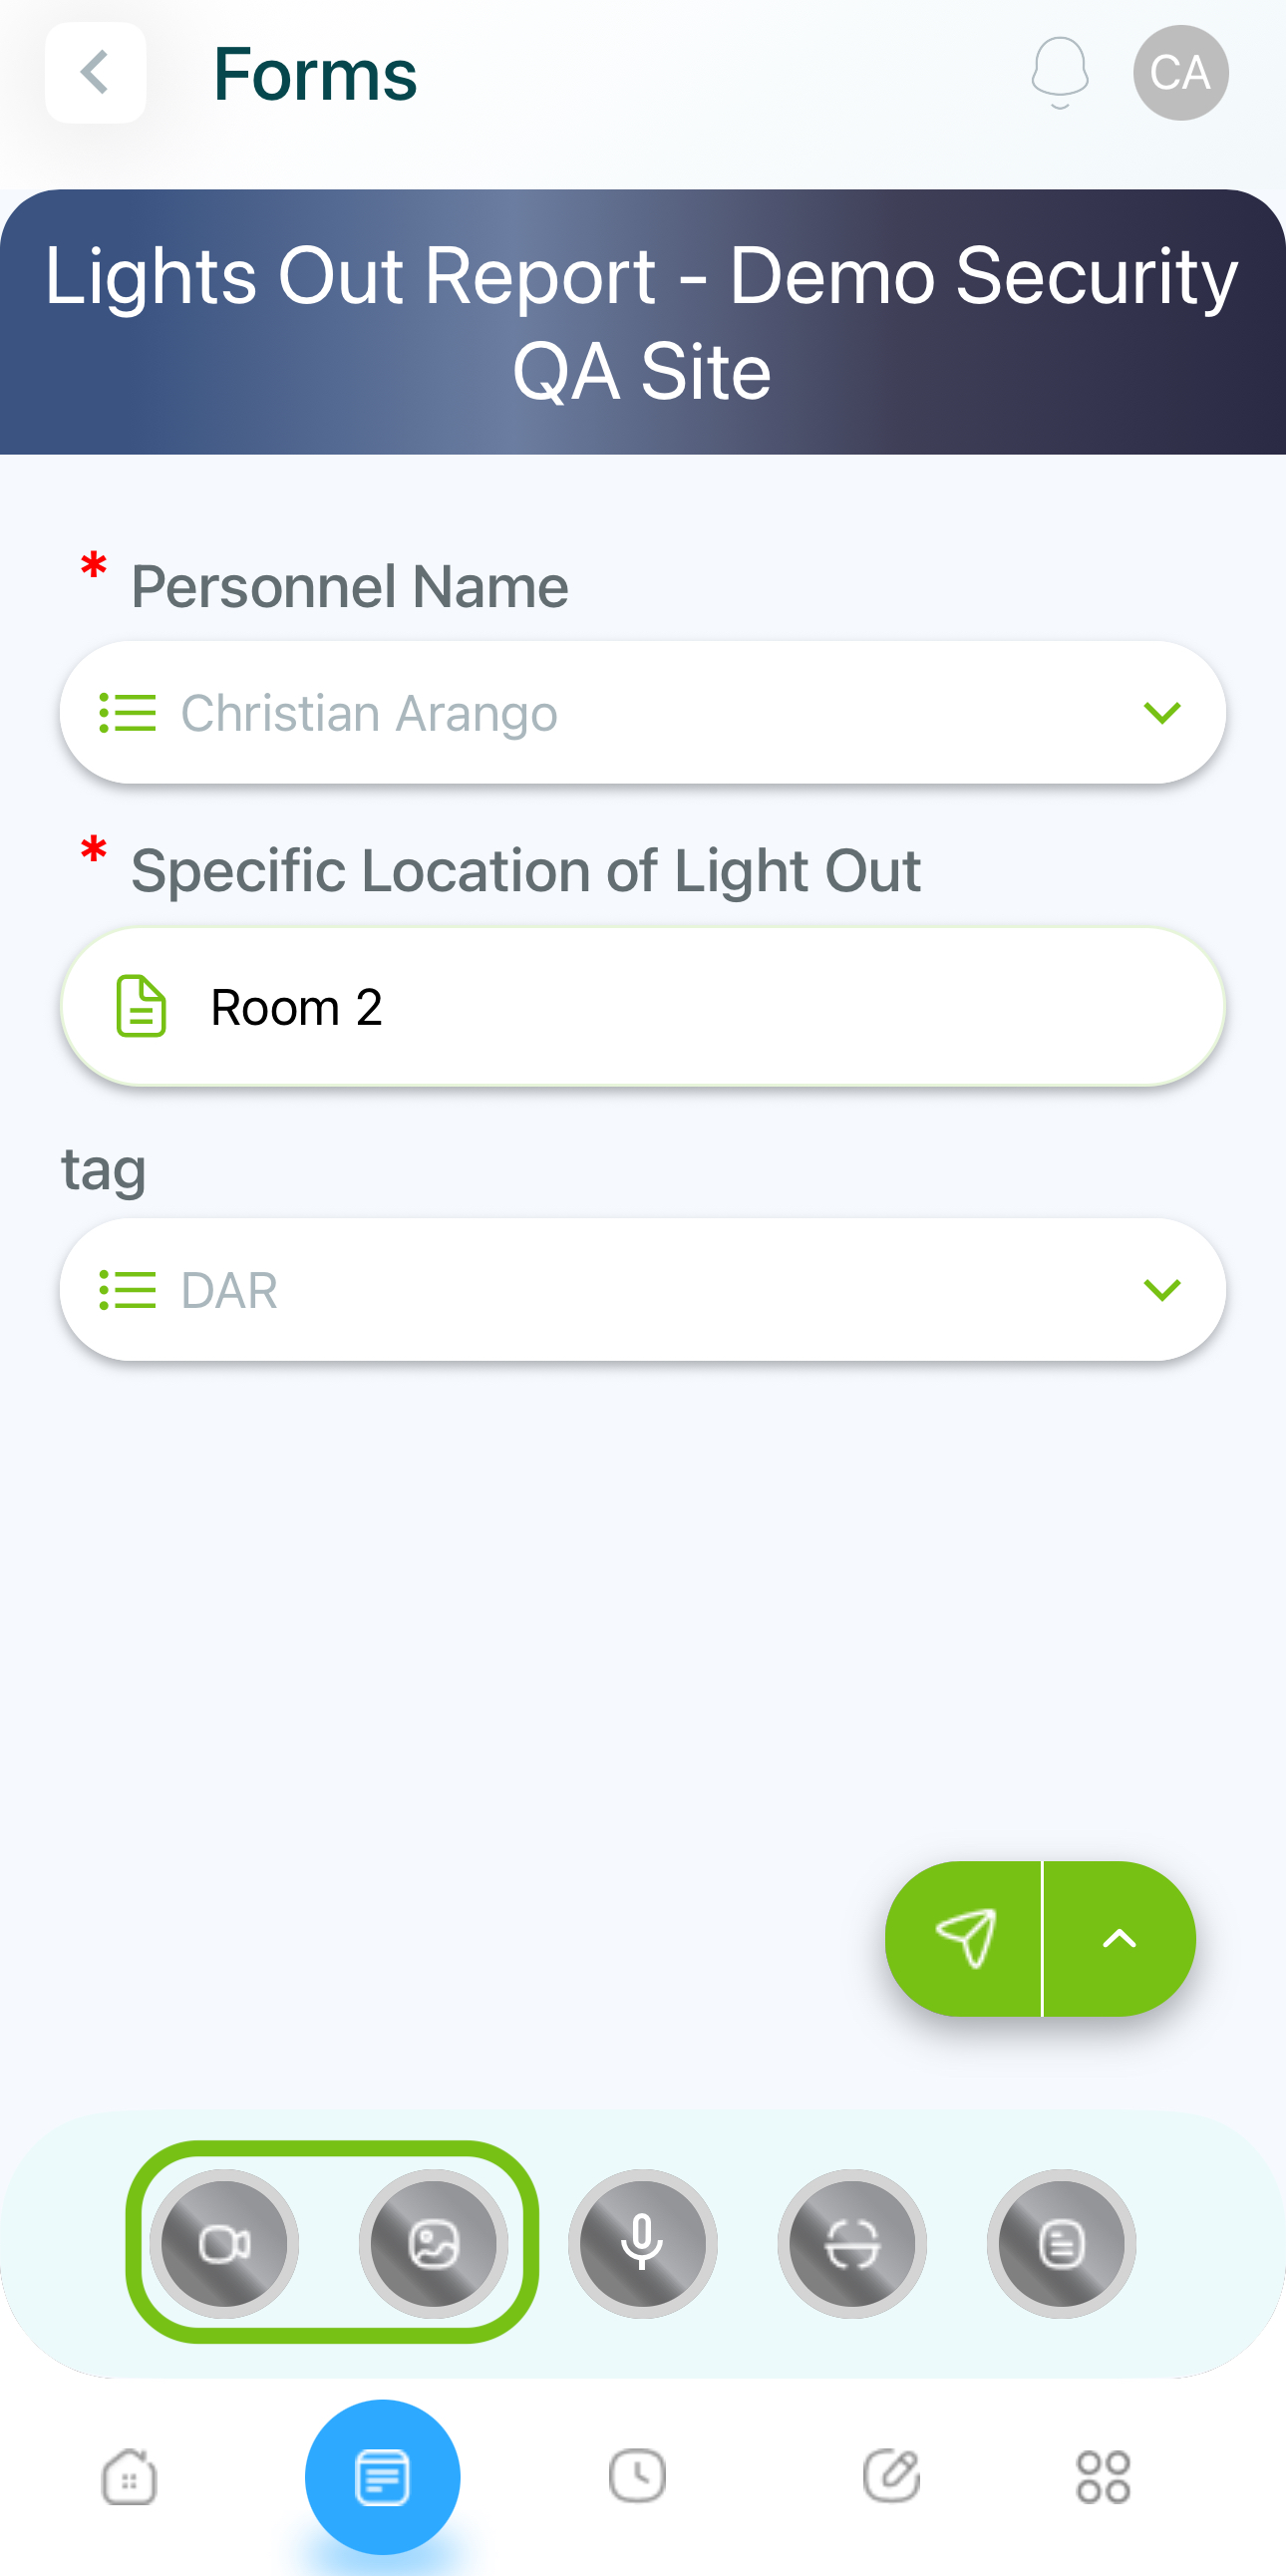
- A menu at the bottom allows you to attach images, videos, audio notes, or scans. A red indicator means a field is mandatory.
- Videos and pictures: You can take a picture, record a video, or use your gallery to retrieve media. Click the video or image button, select camera or gallery and add your media, press Close to continue.
Video and images.
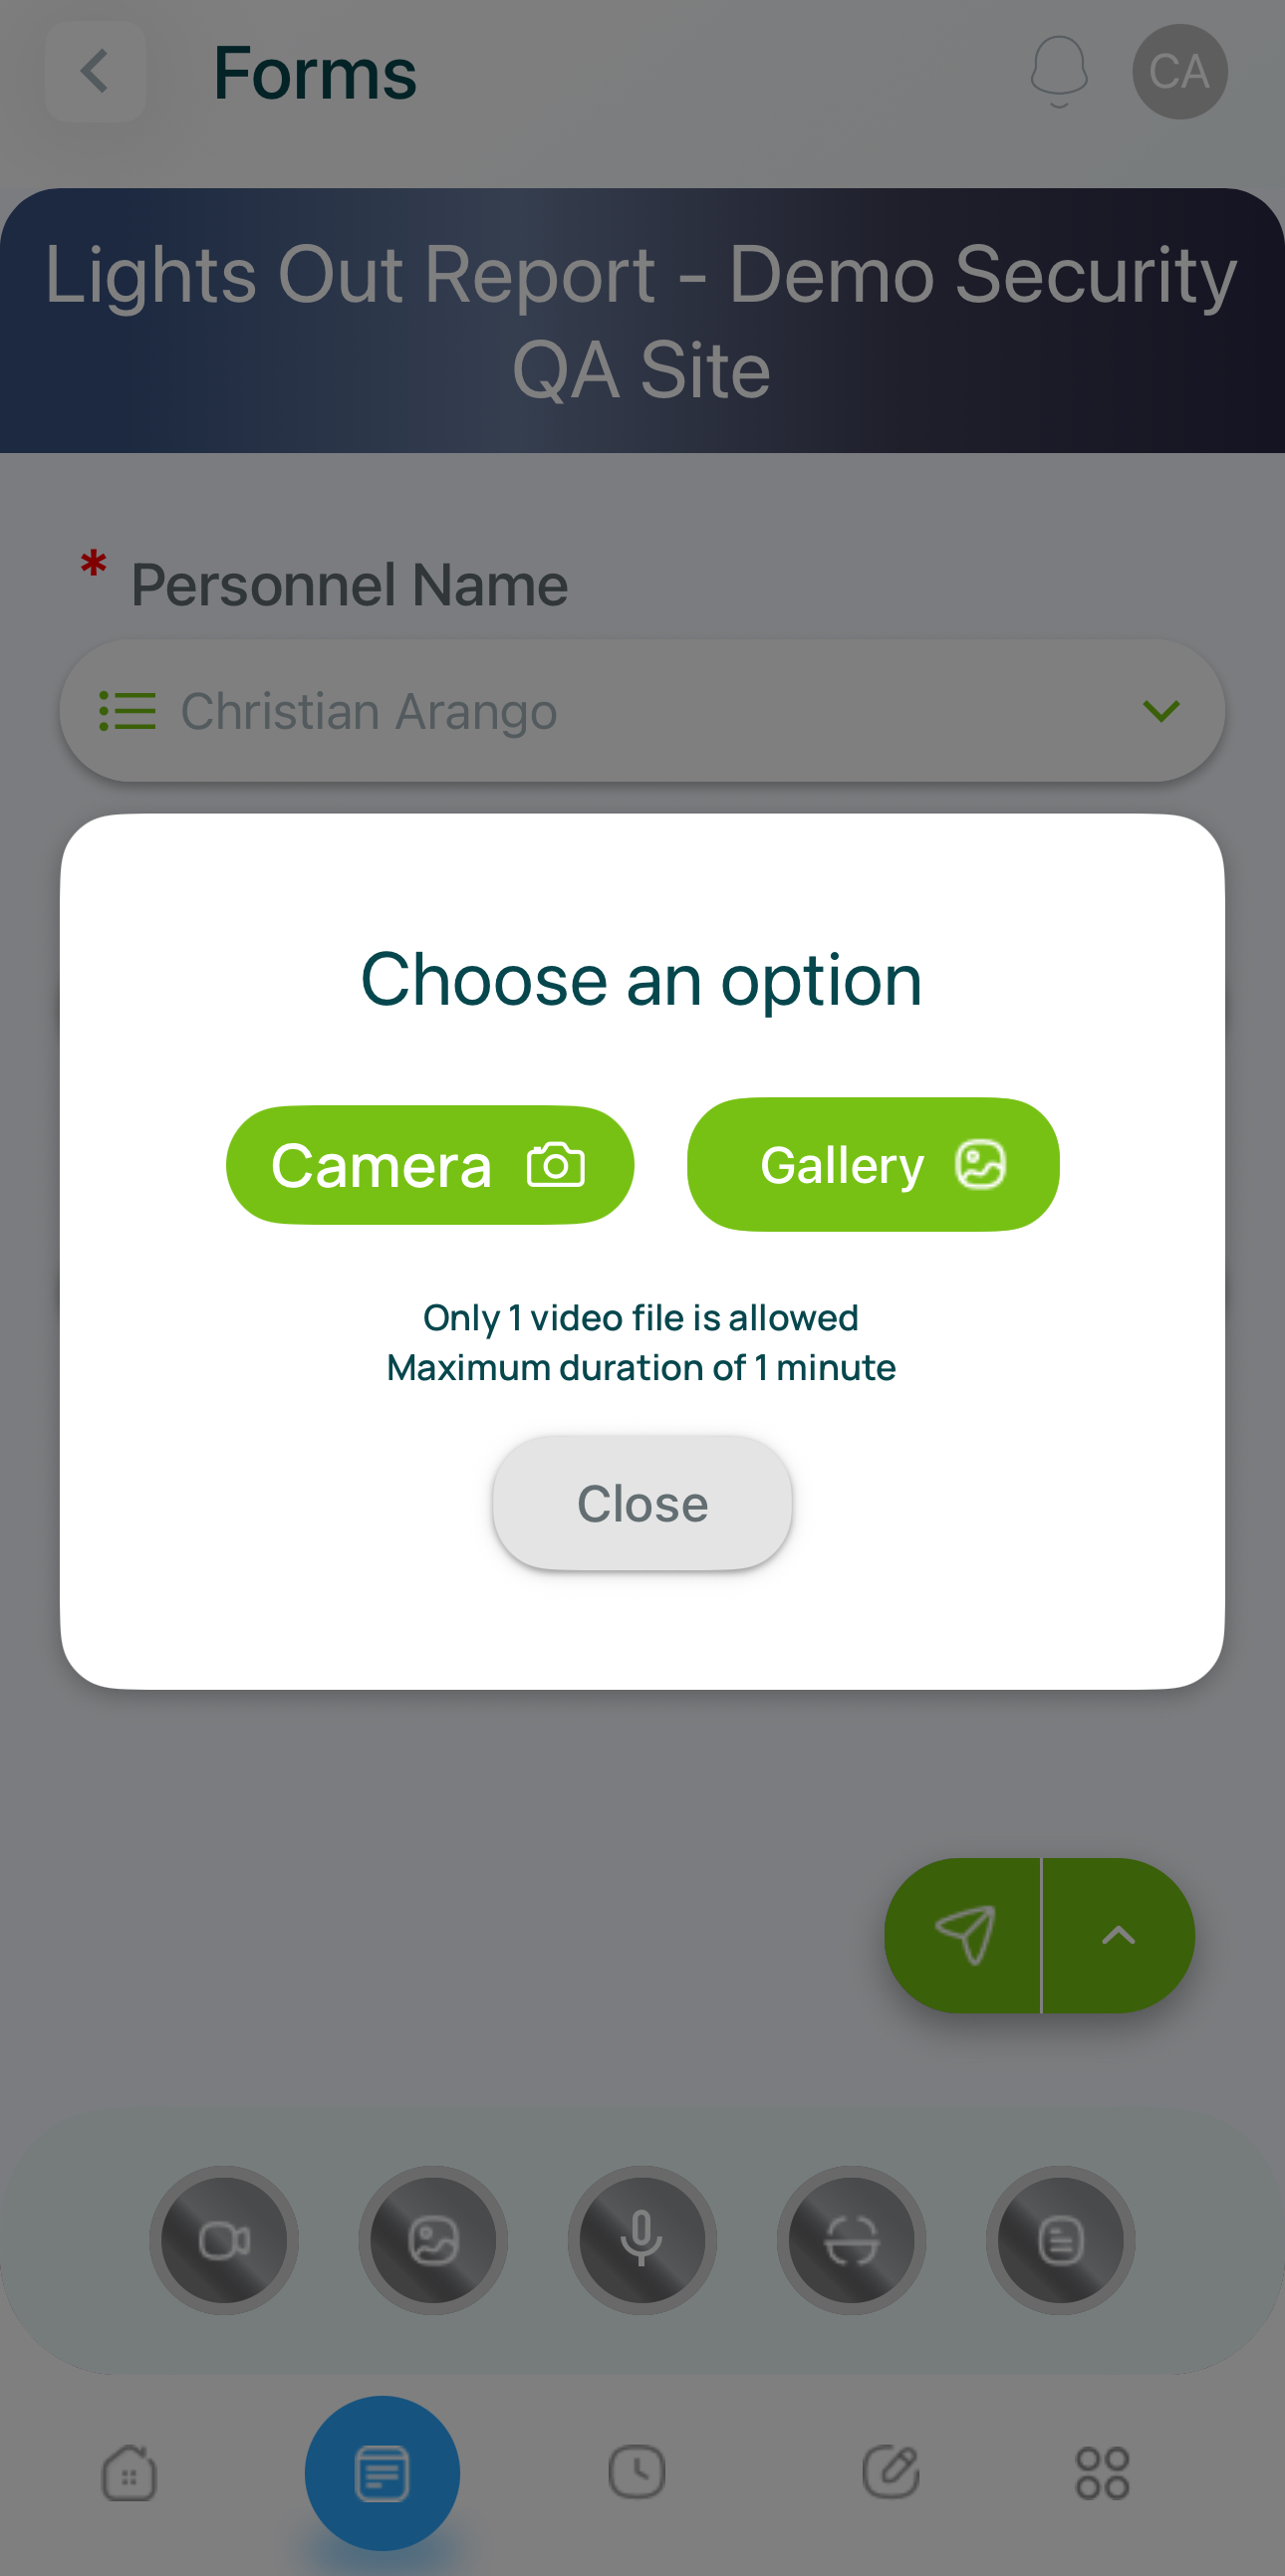
You can record or select a video of a maximum of 1 minute.
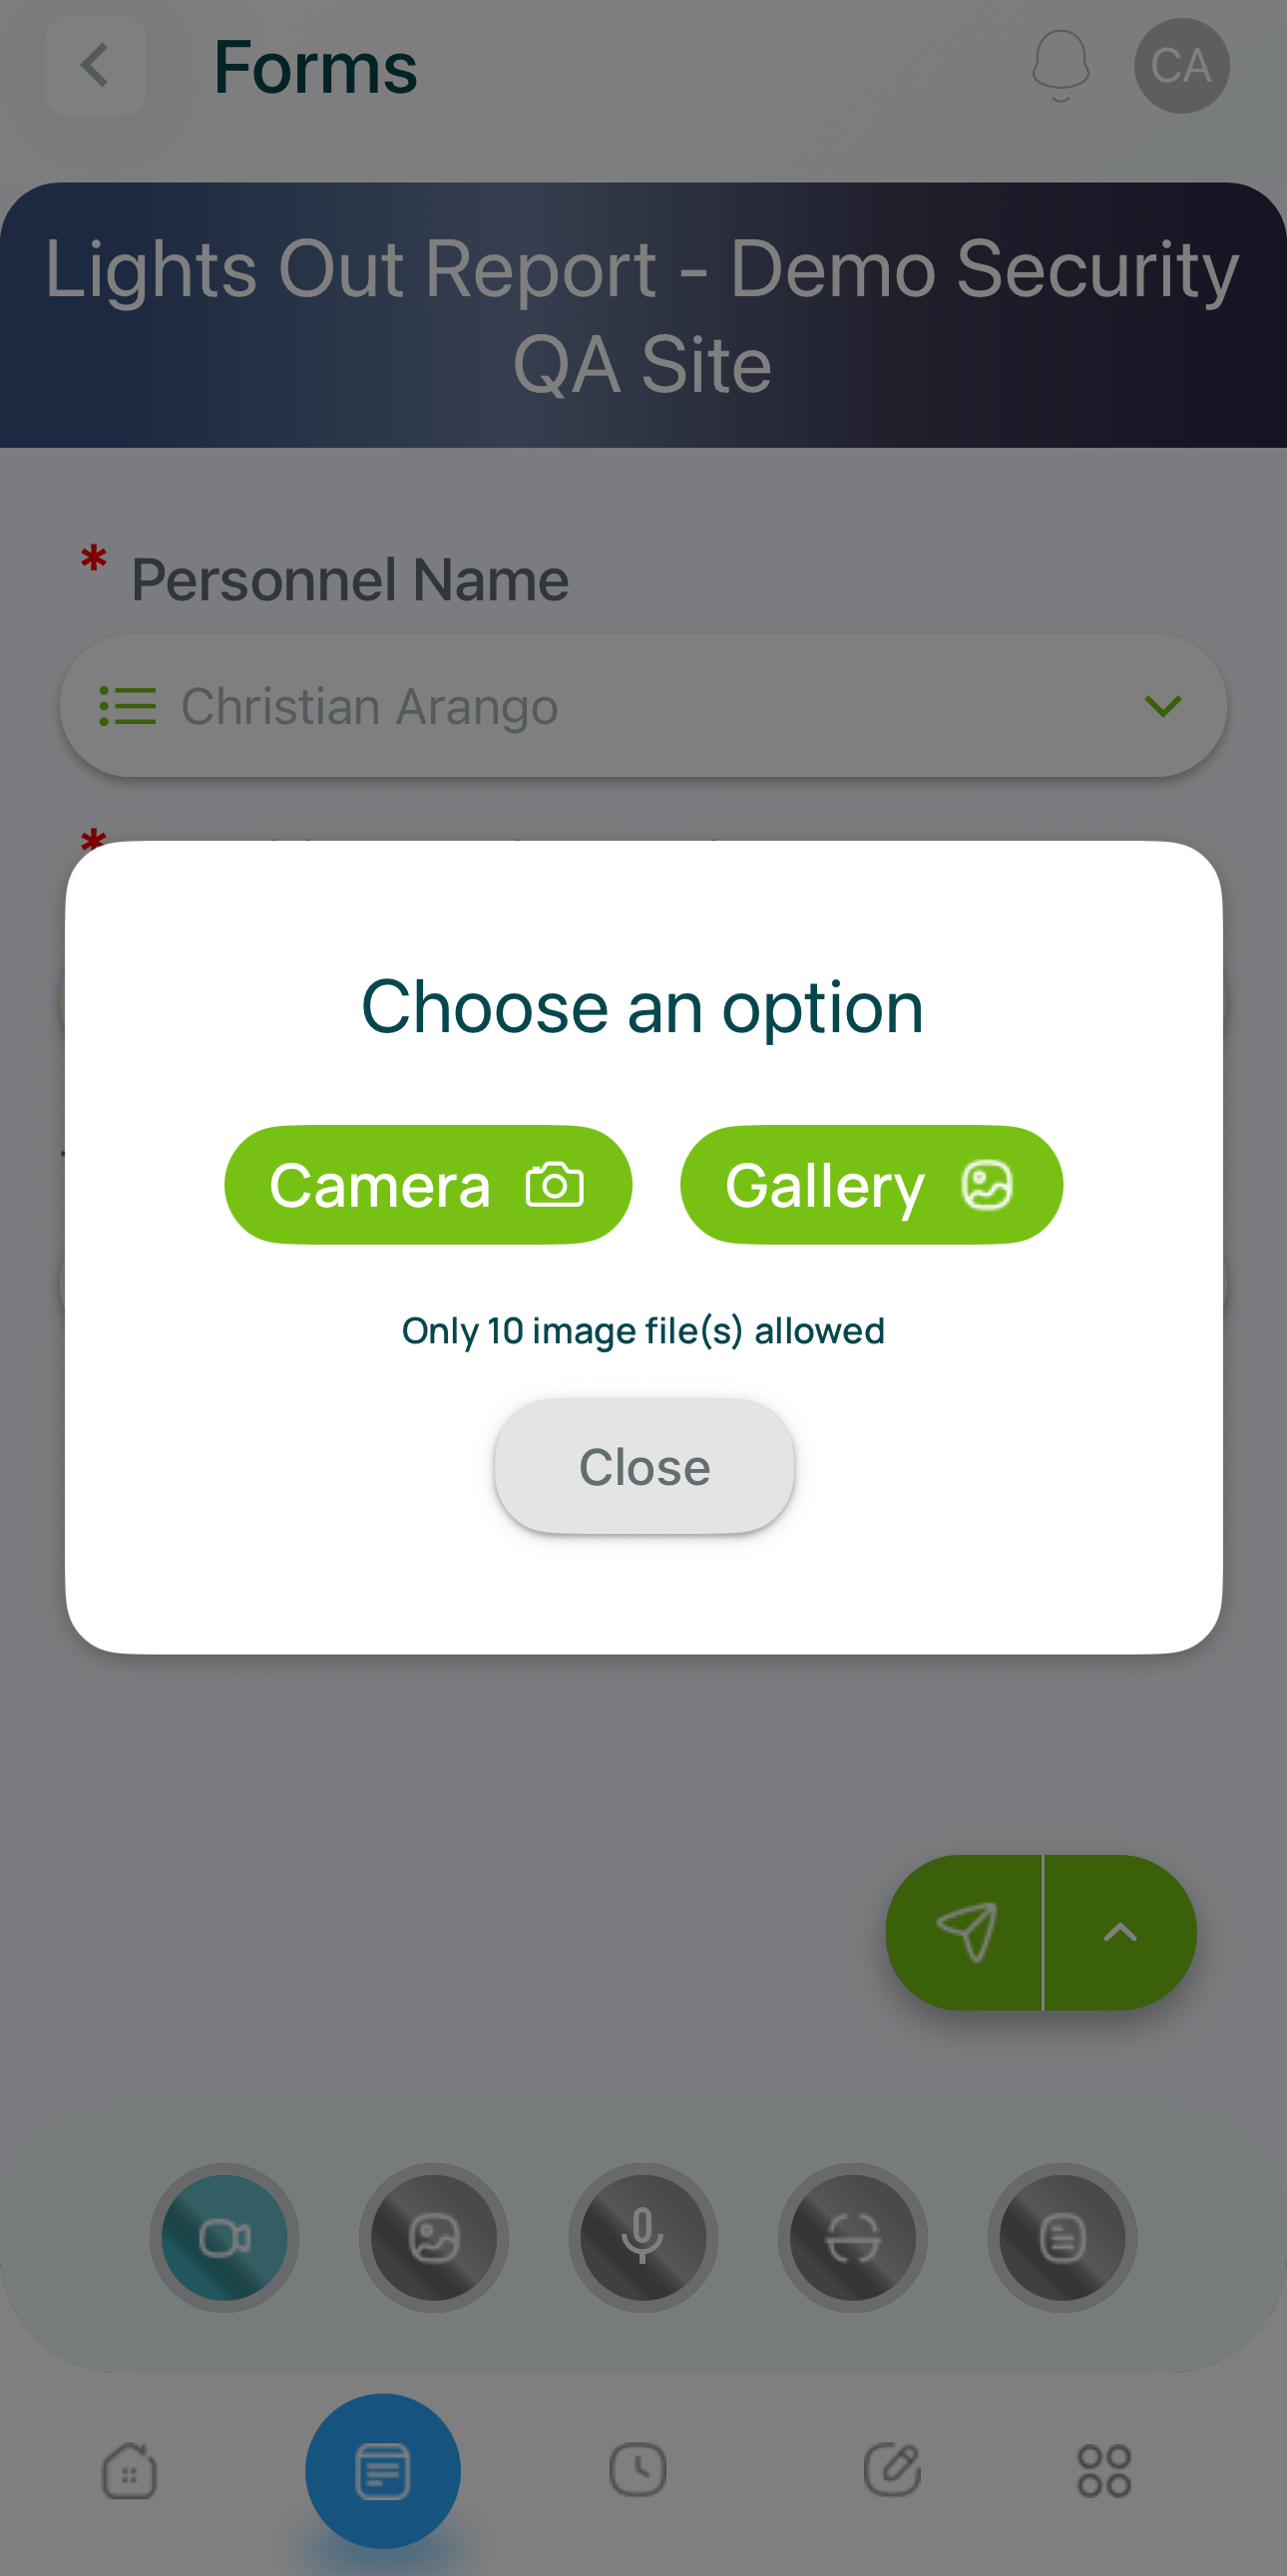
You can select/take up to 10 images.
- Audio: You can record audio using your device's microphone.
Select audio recording.
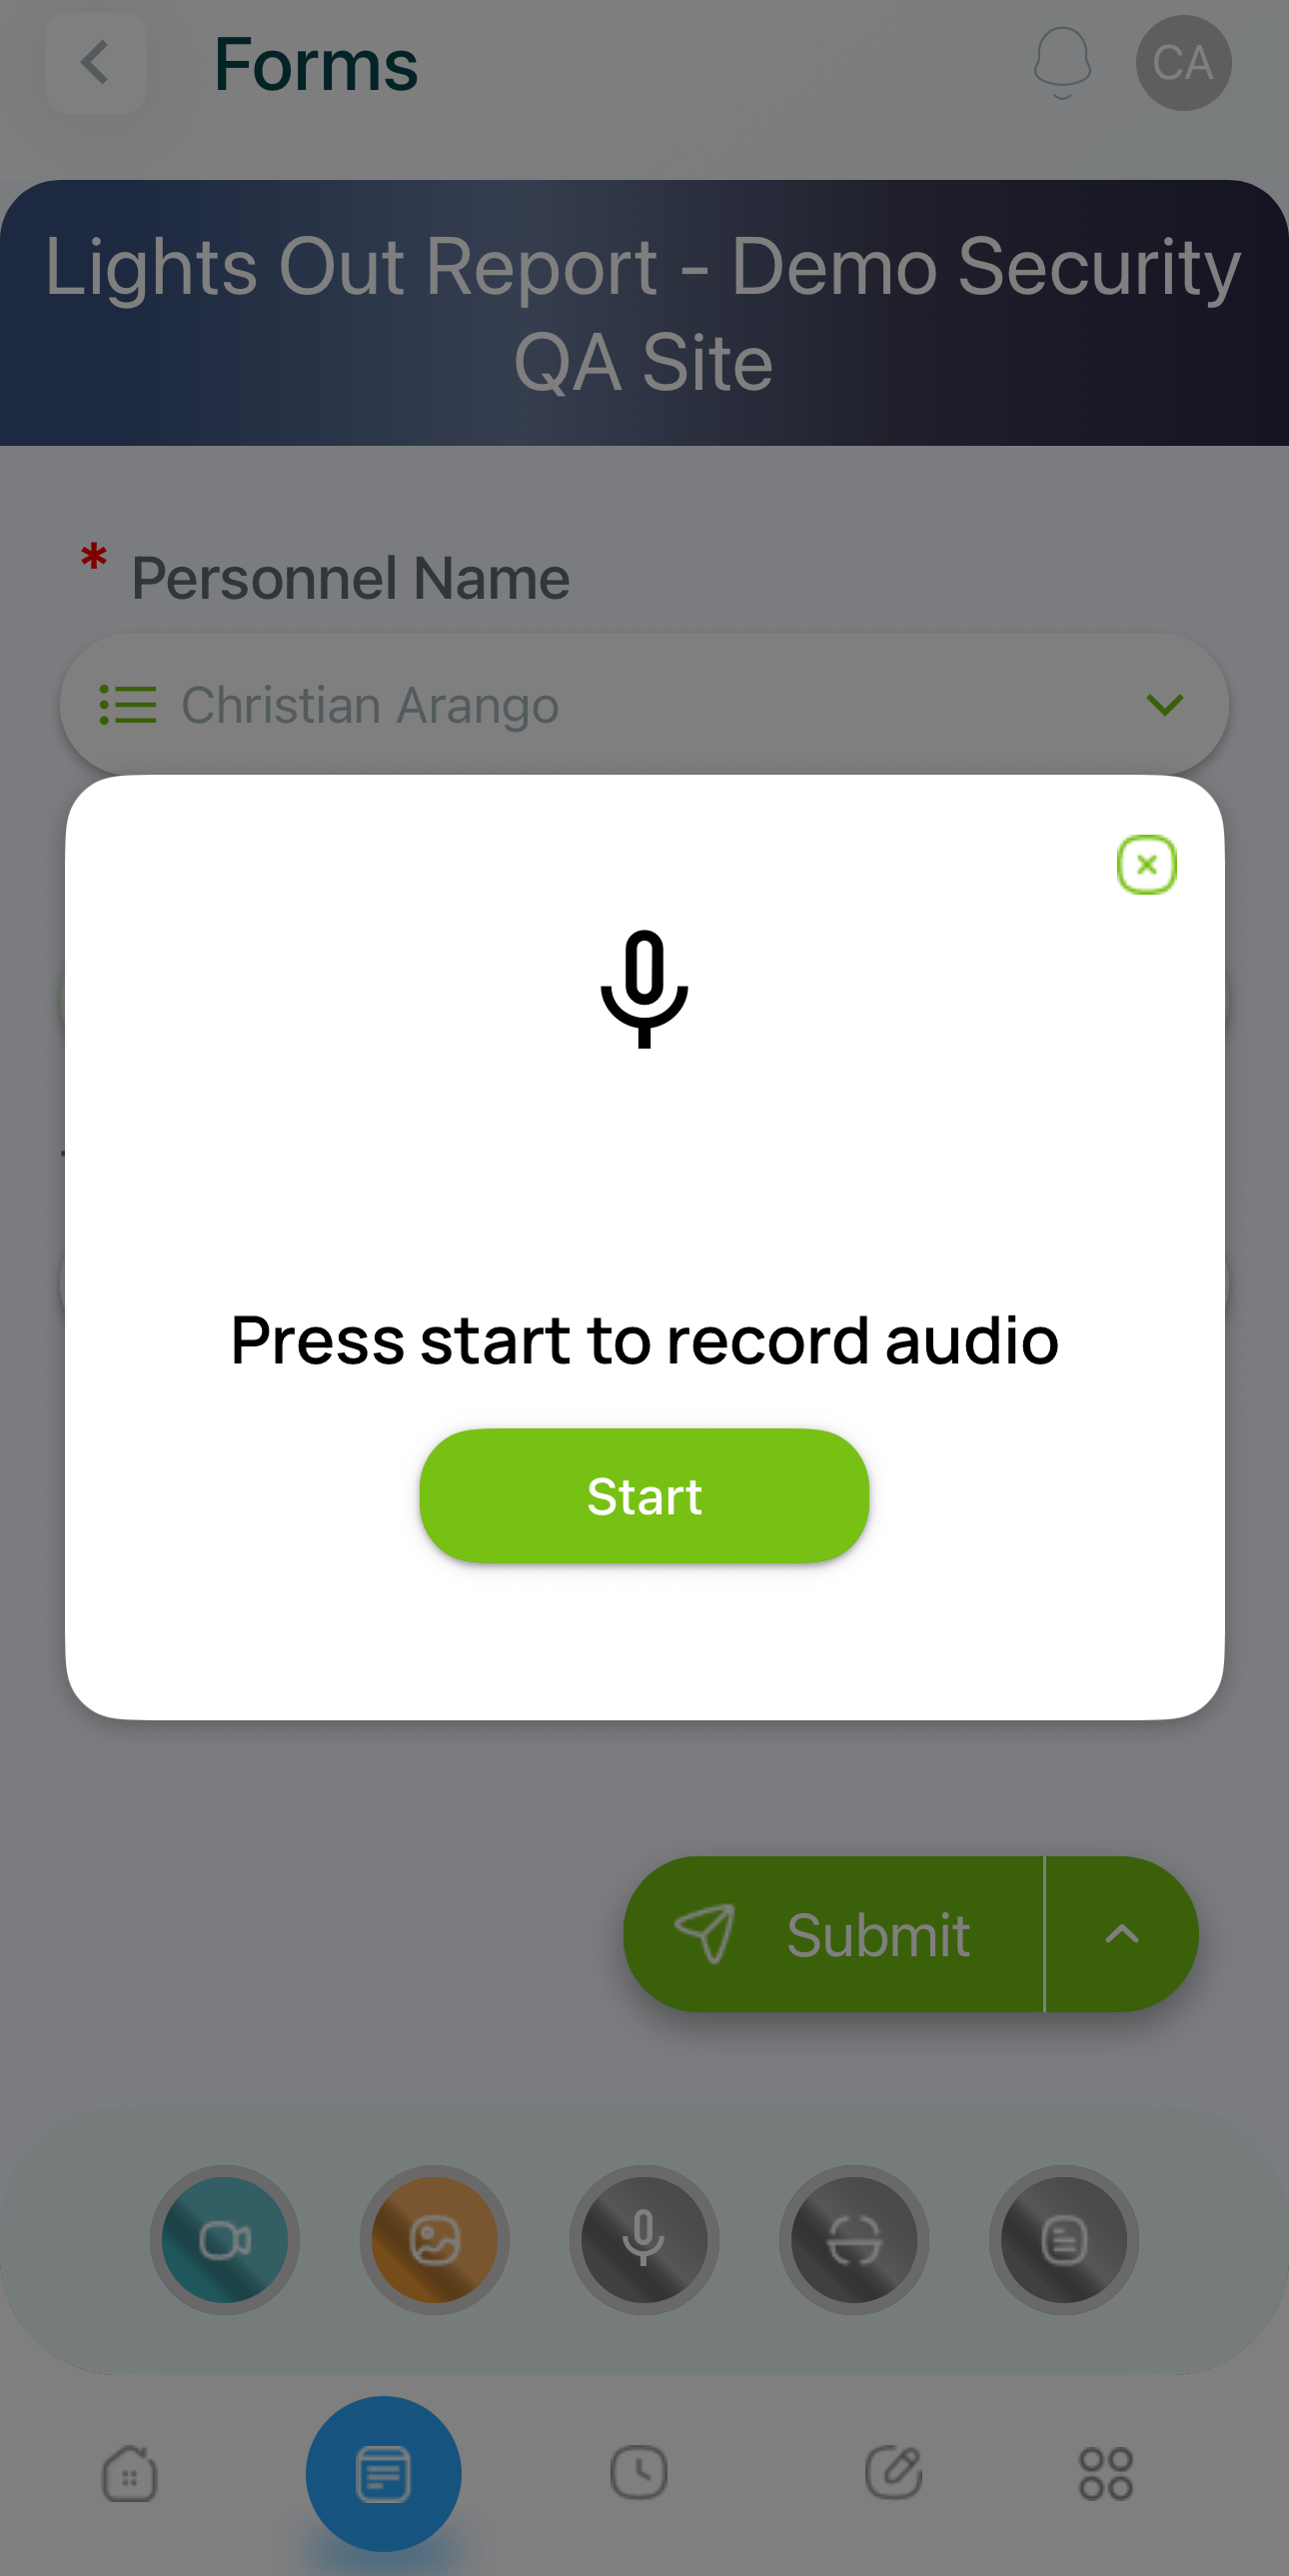
Press Start to record your audio.
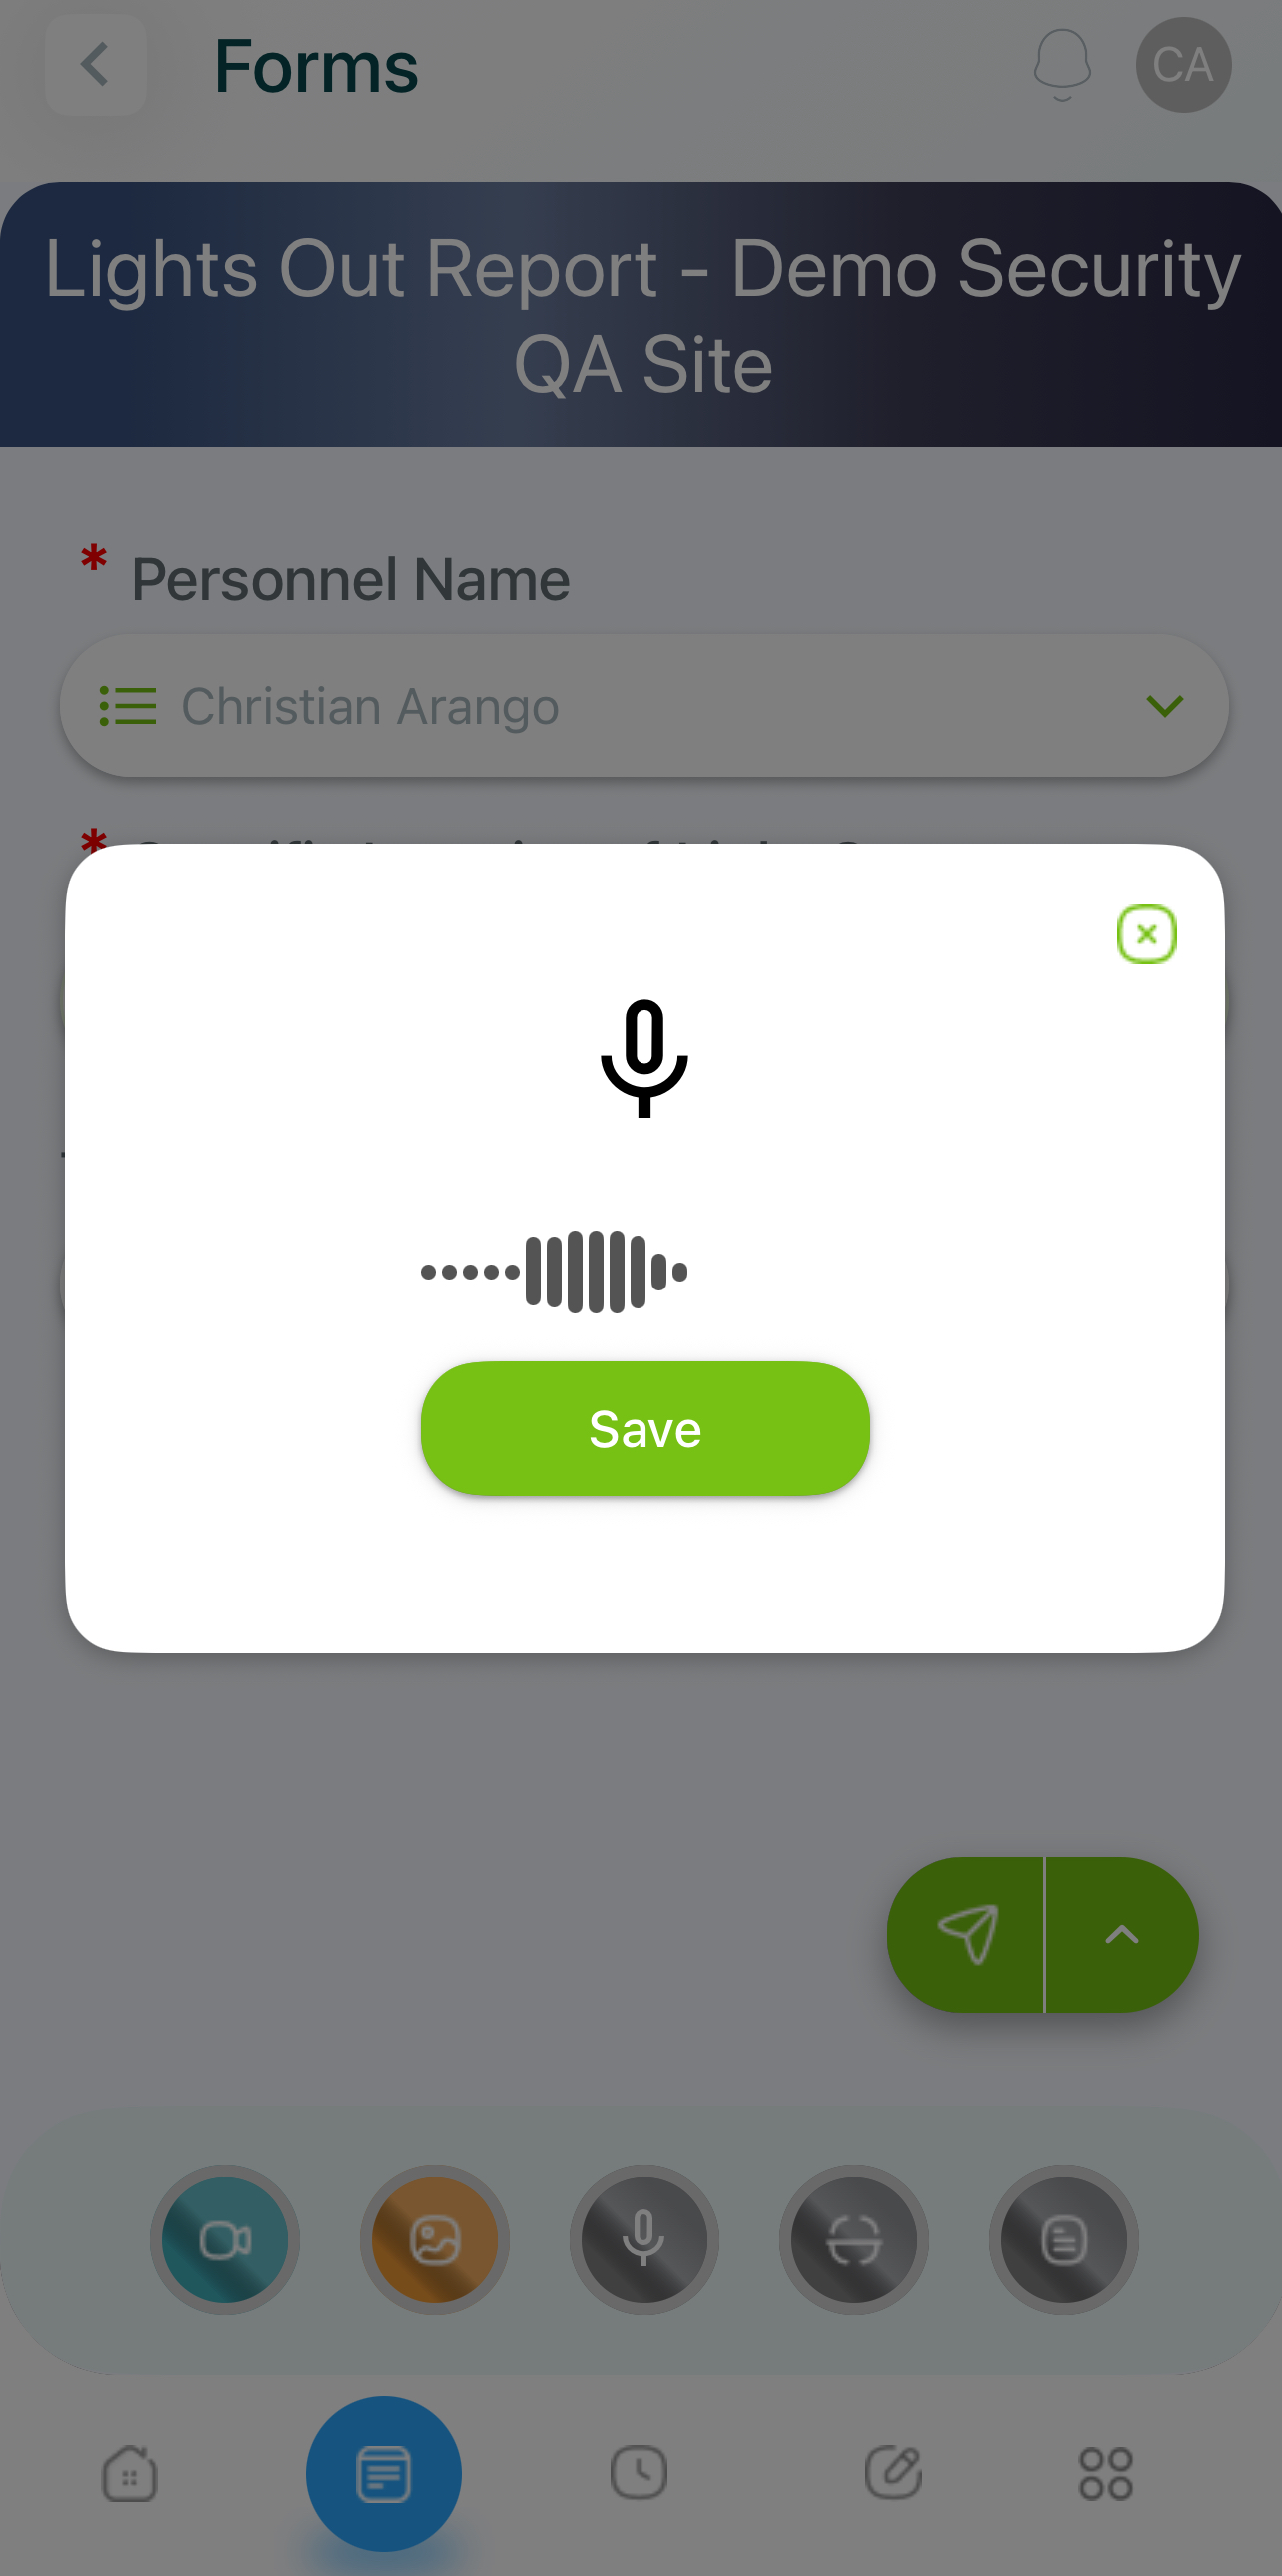
Press Save when finished.
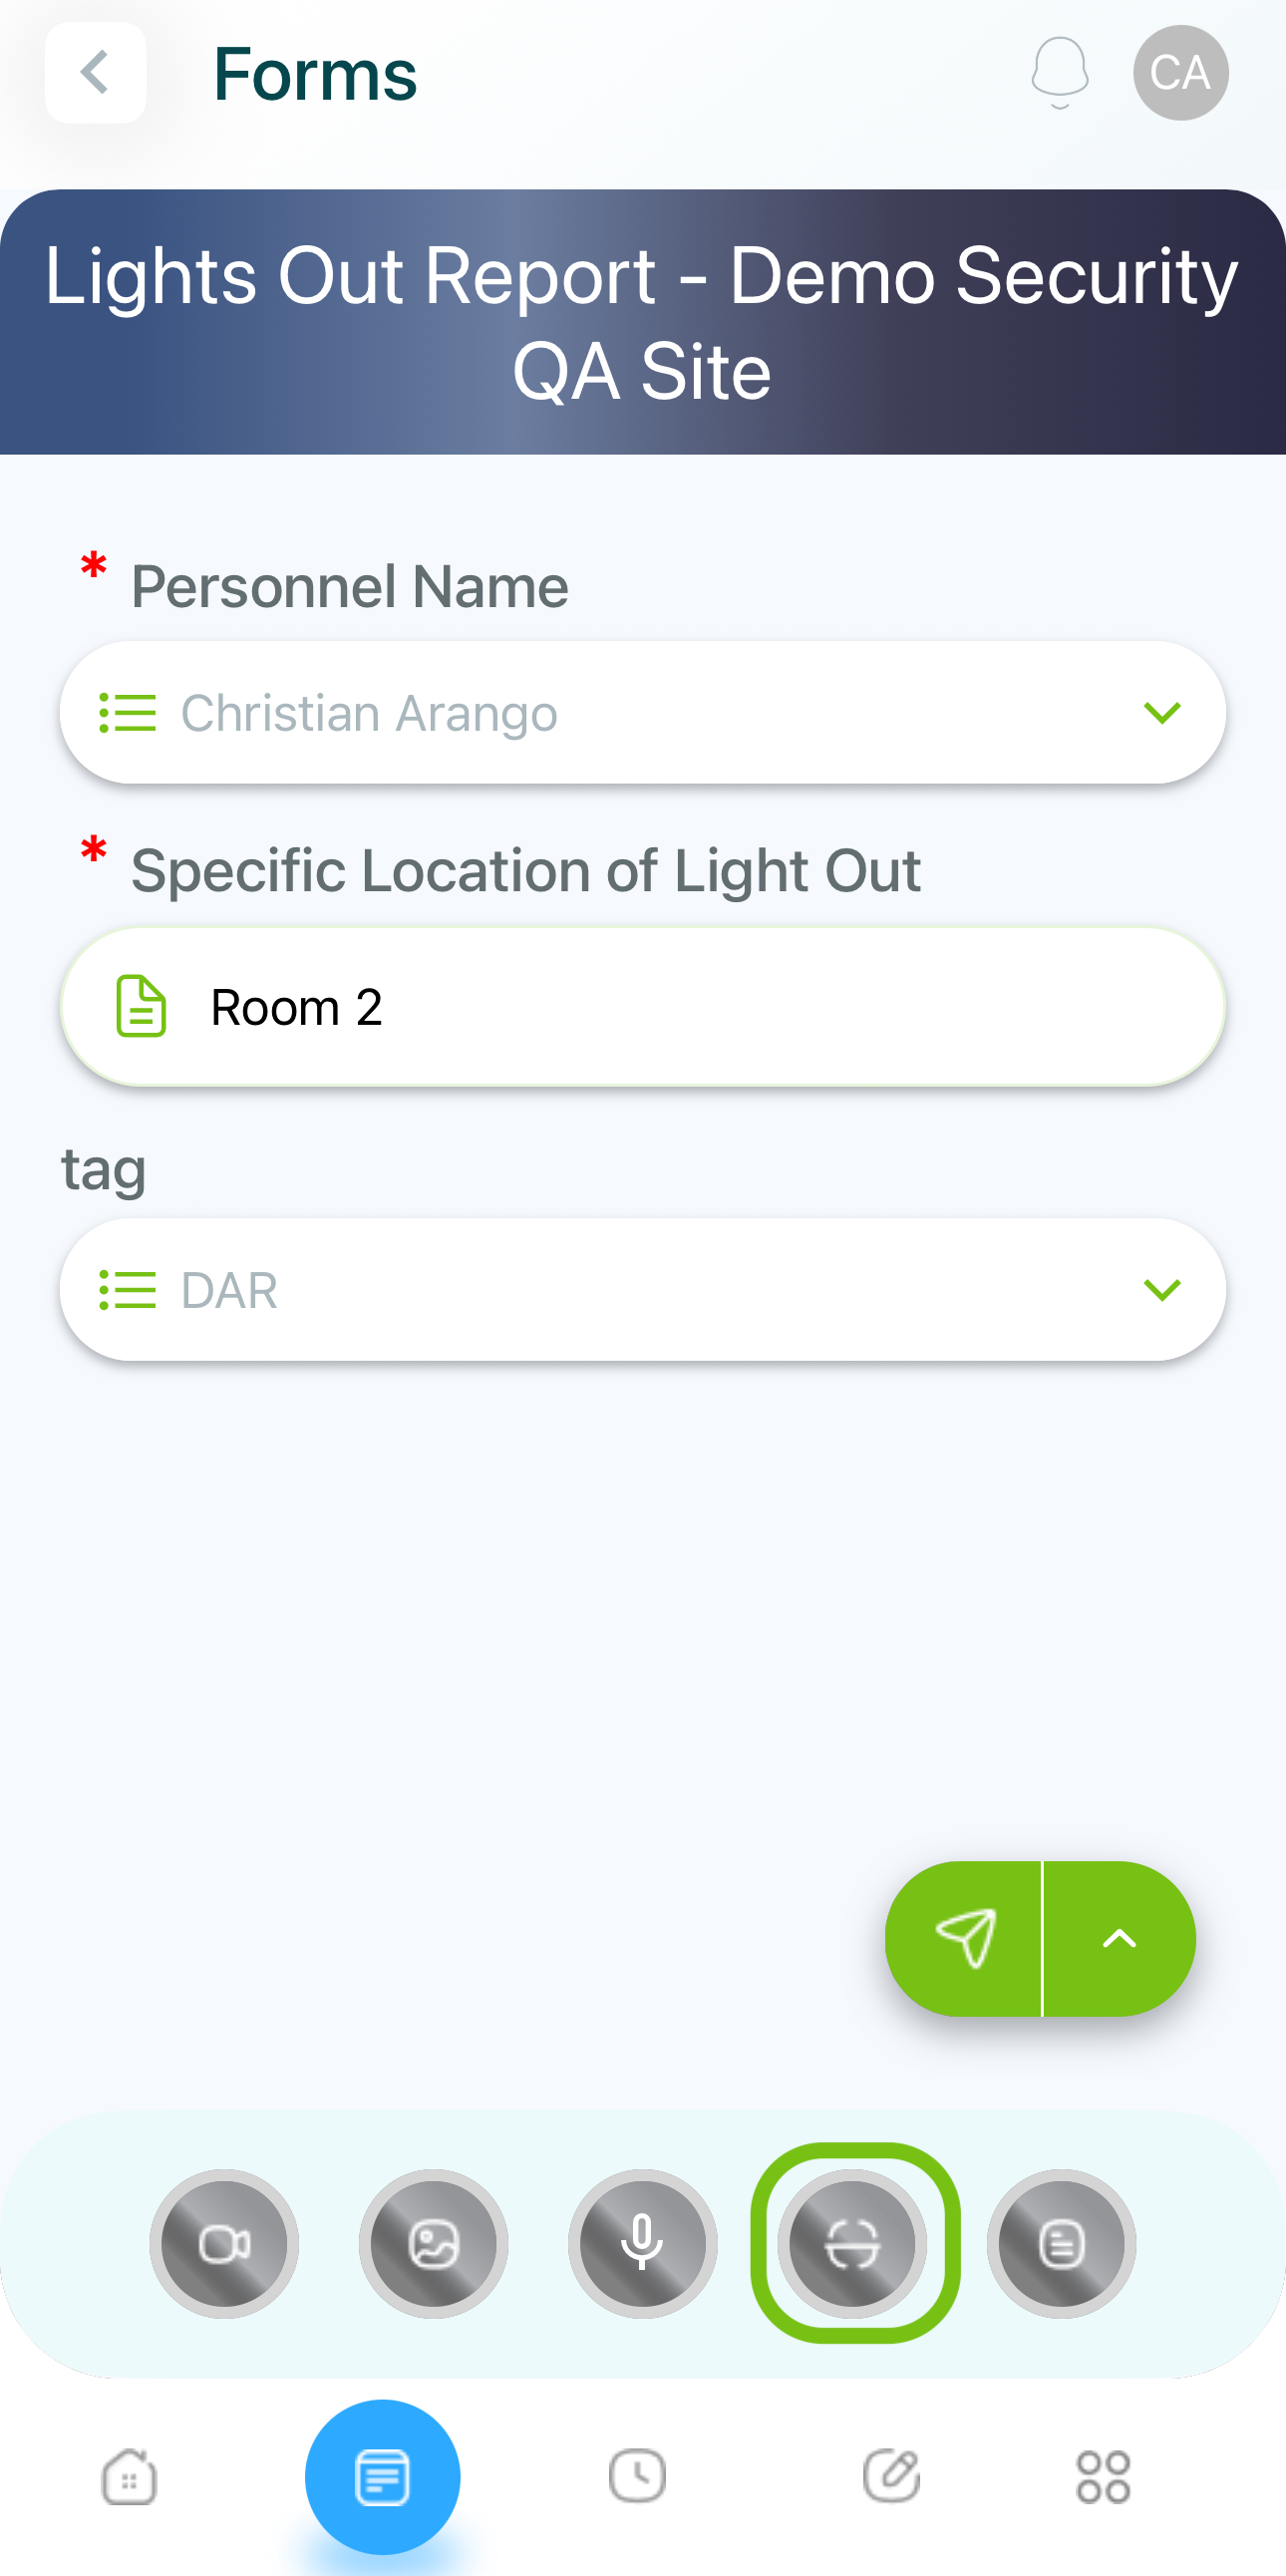
- Scan QR/NFC: You can scan a QR/NFC based on your site's configuration.
Select Scan.

Use your camera to scan a QR.
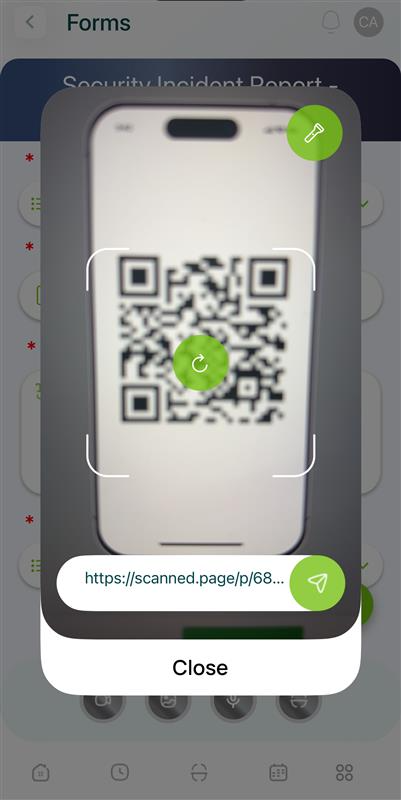
Save your scan.
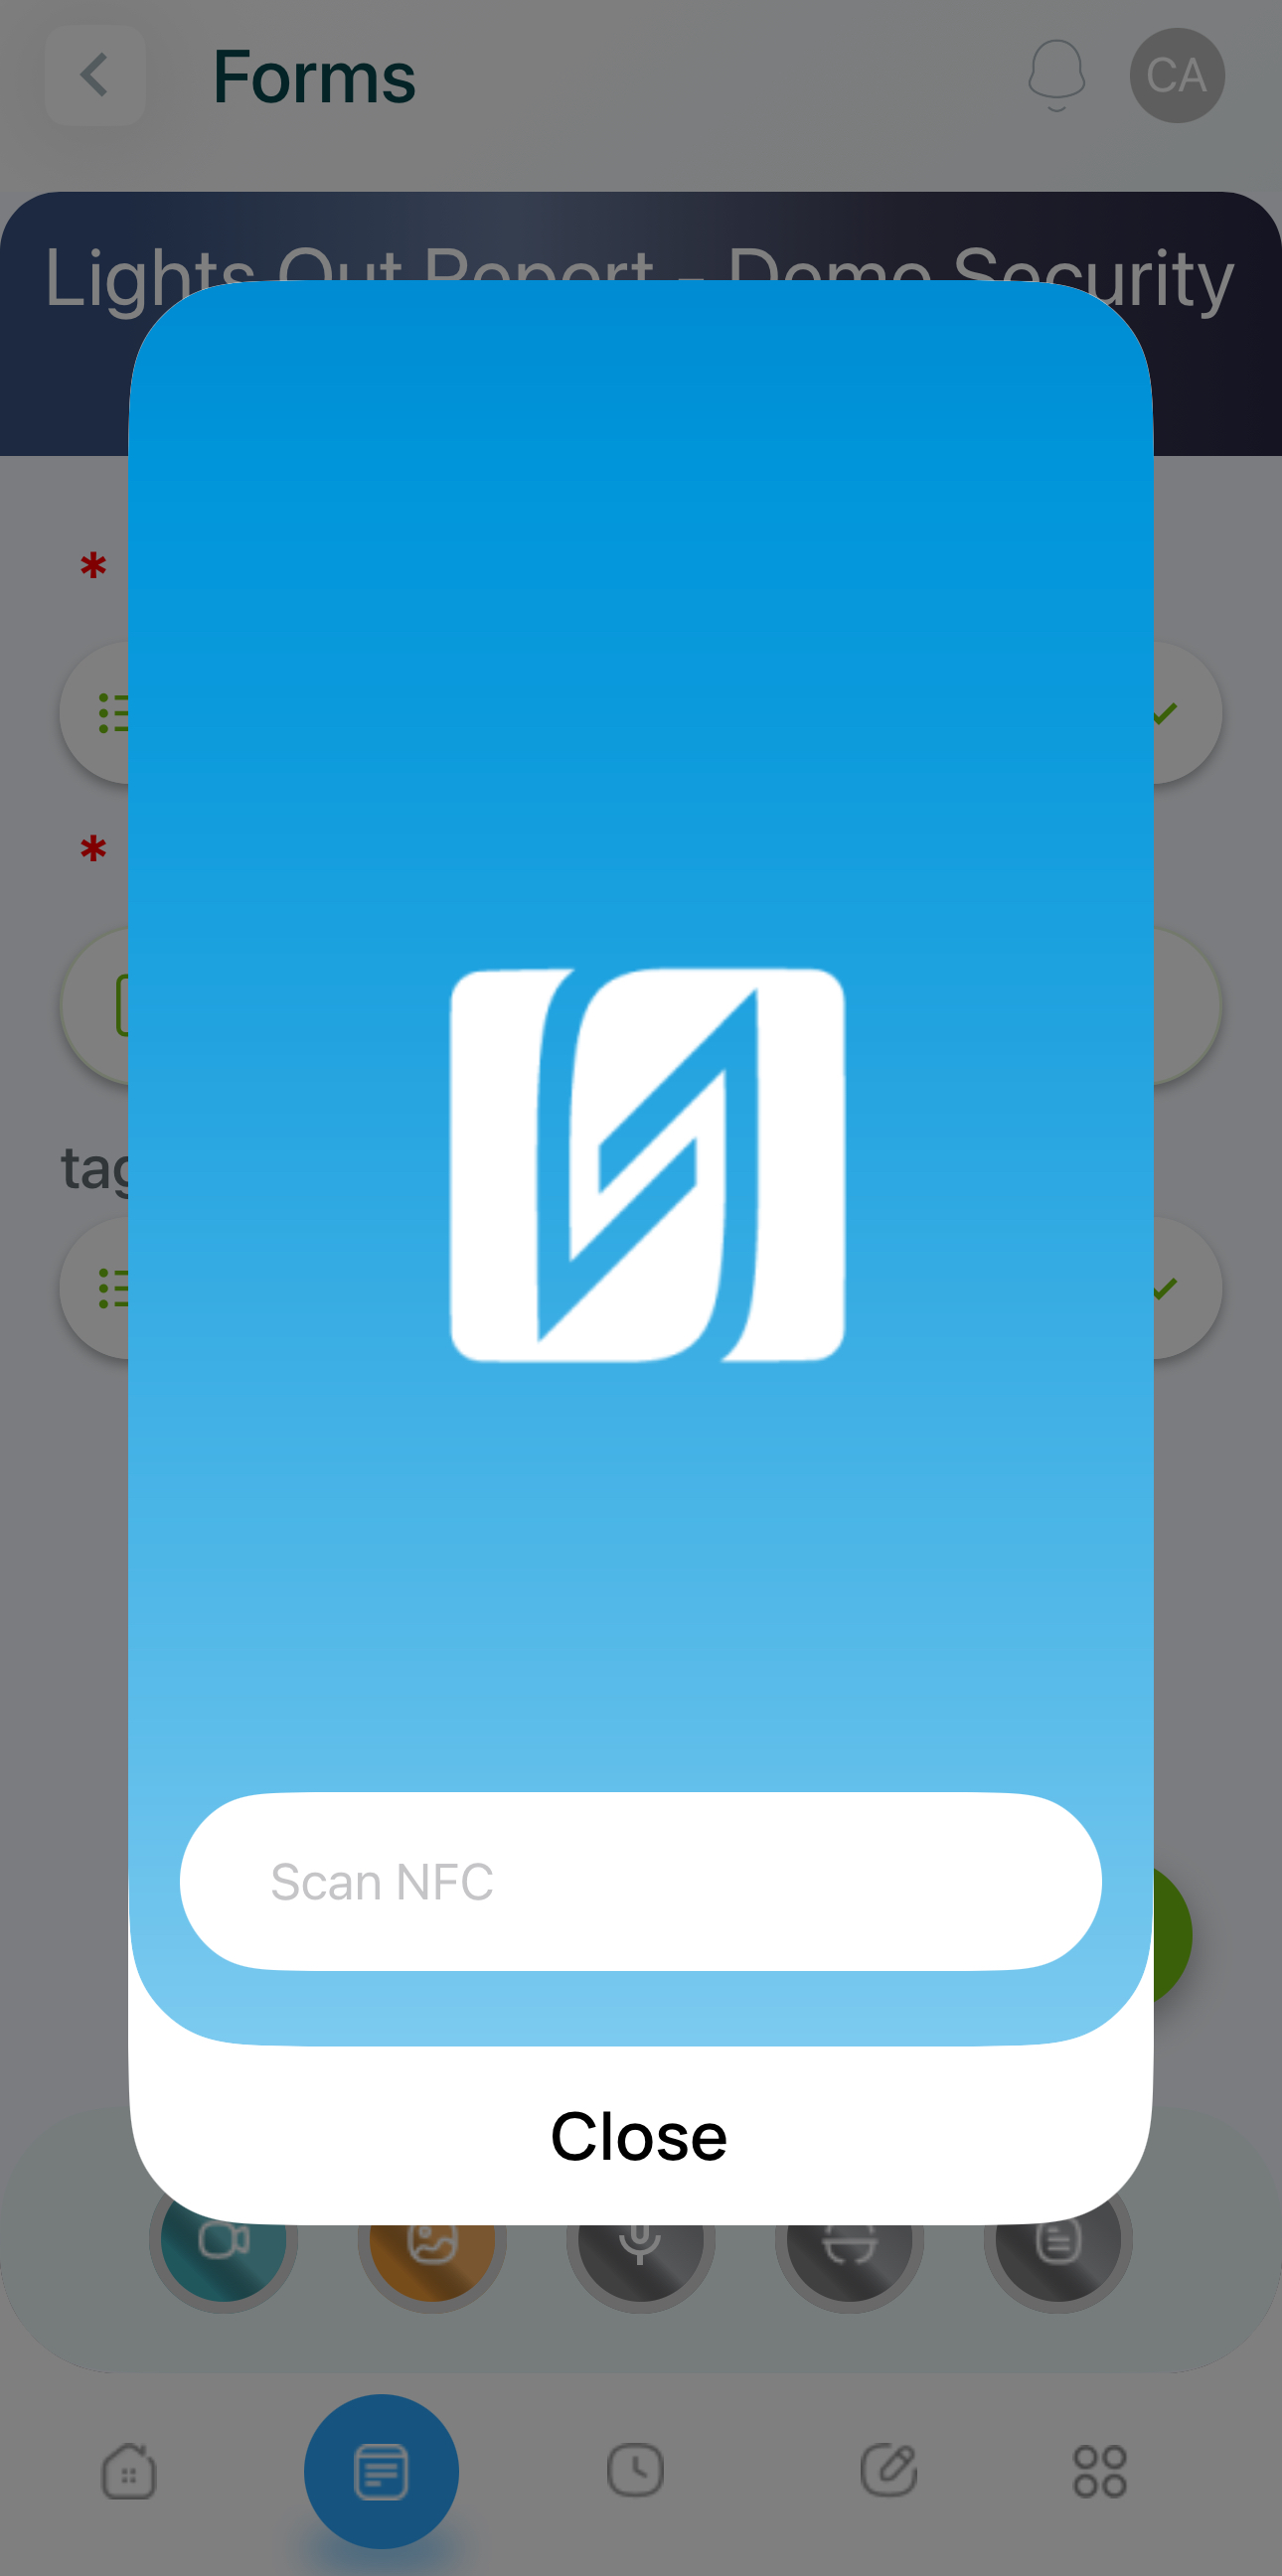
Put your phone close to the NFC.
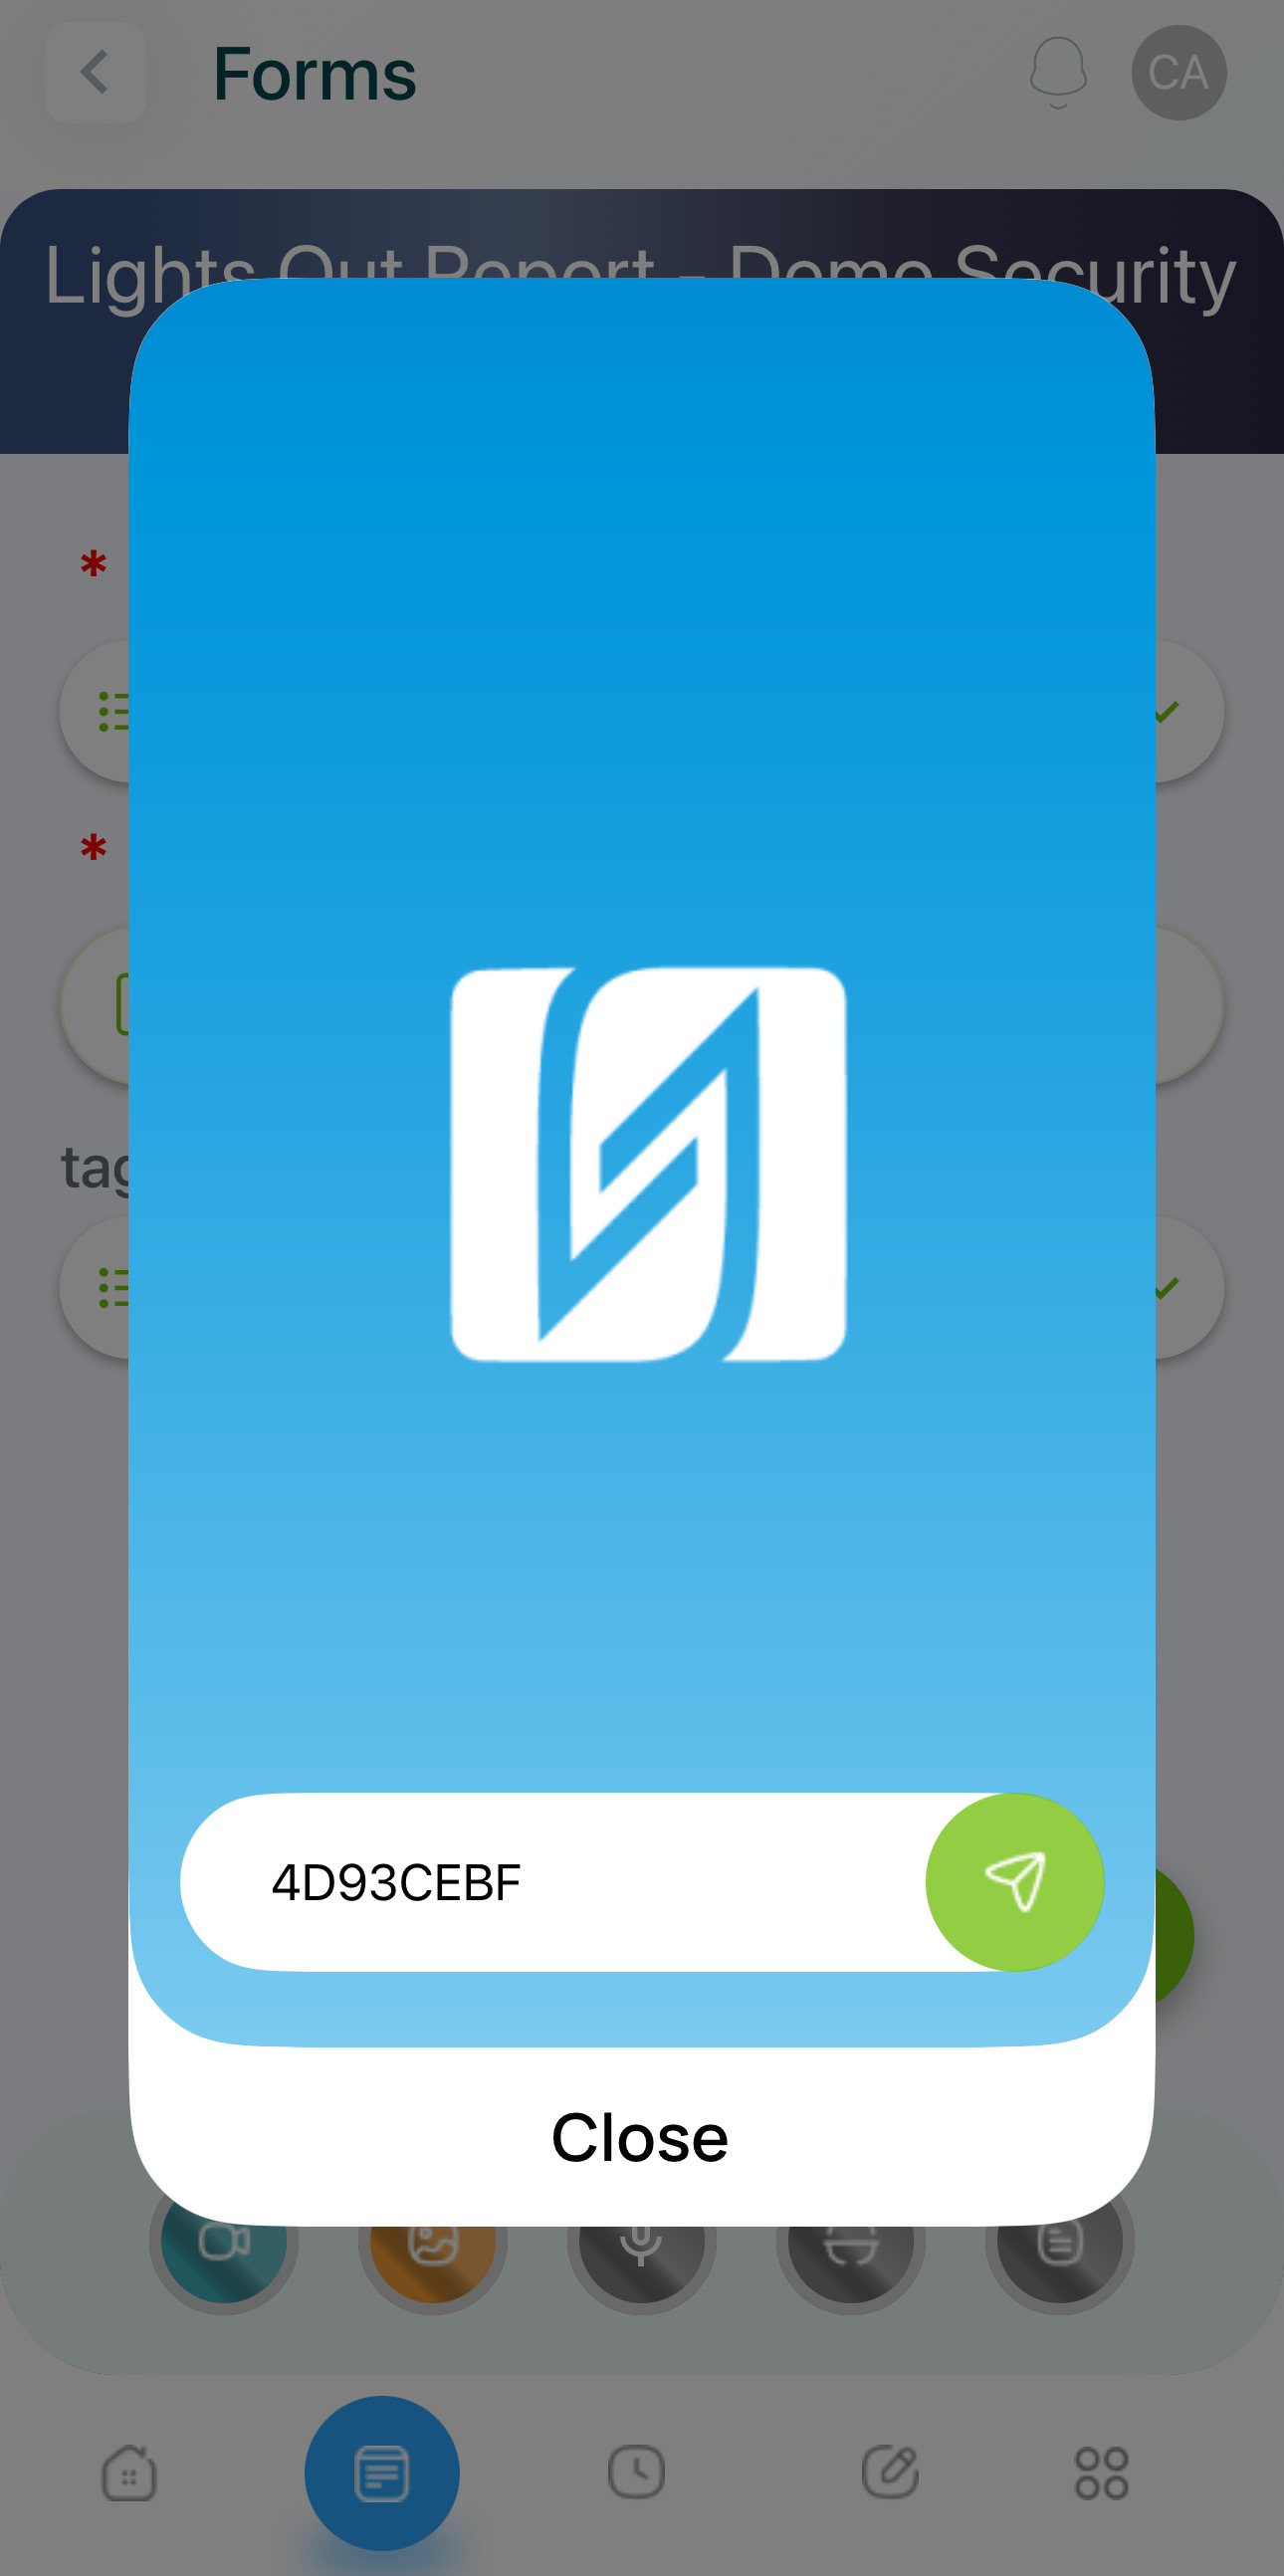
Save your scan.
- File: You can attach one (1) document.
Select Attachments.
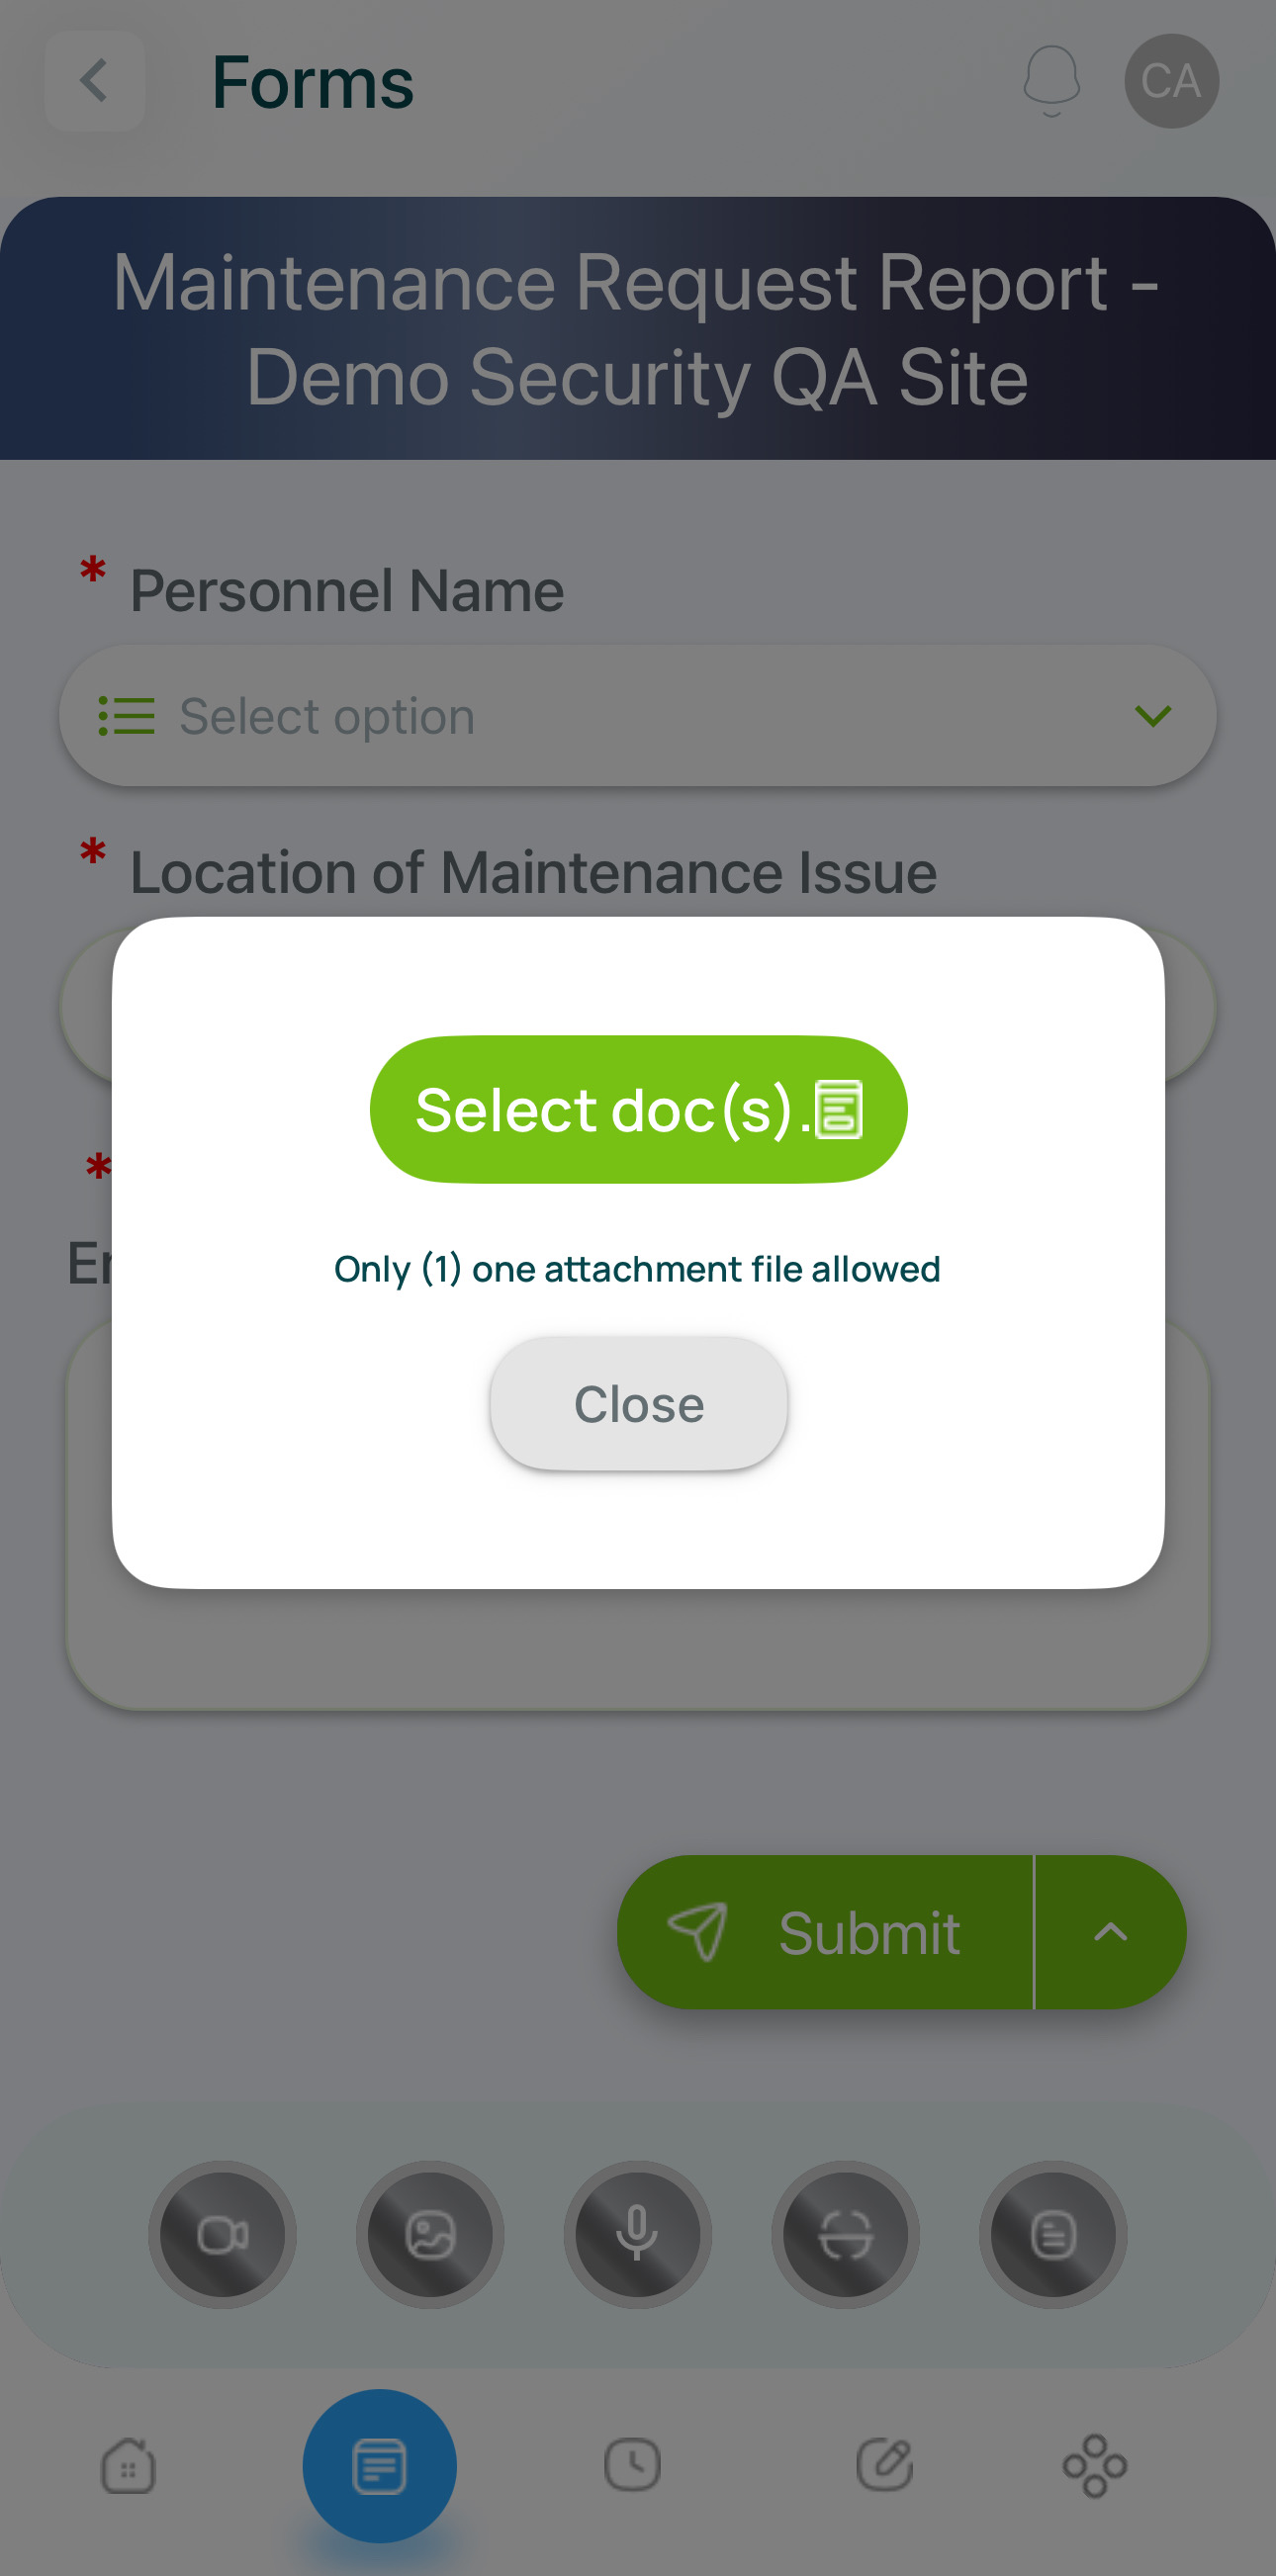
Include your file.
- Submit the form or checklist.

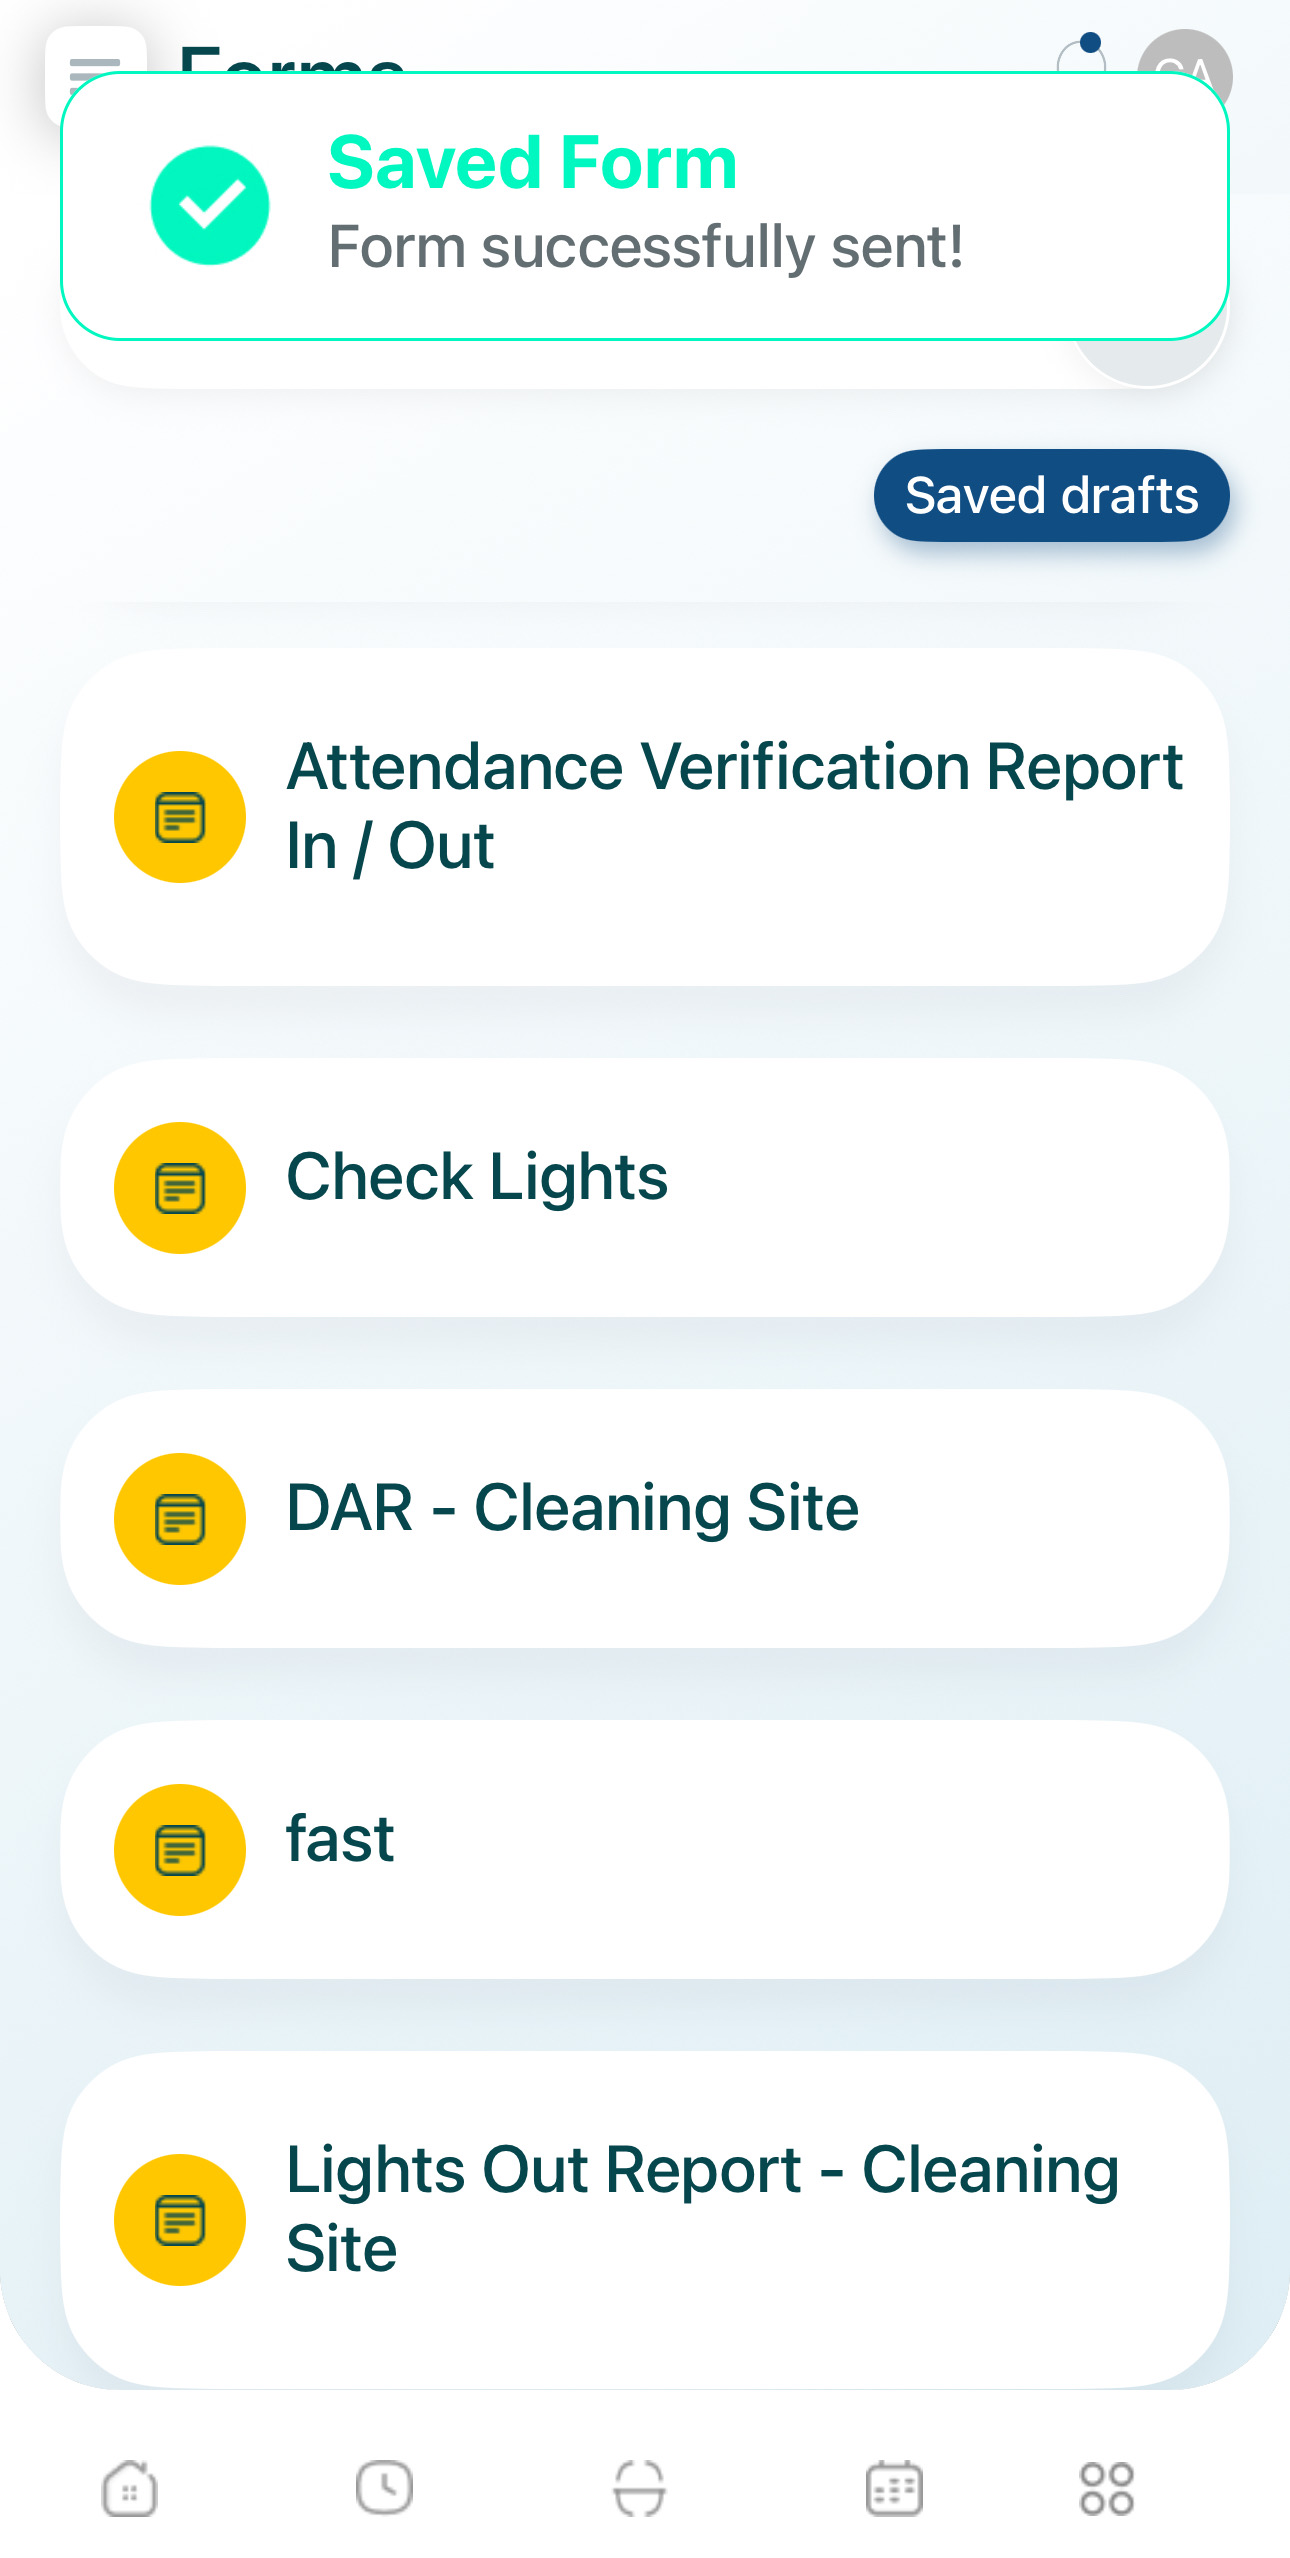
- You'll receive a confirmation.
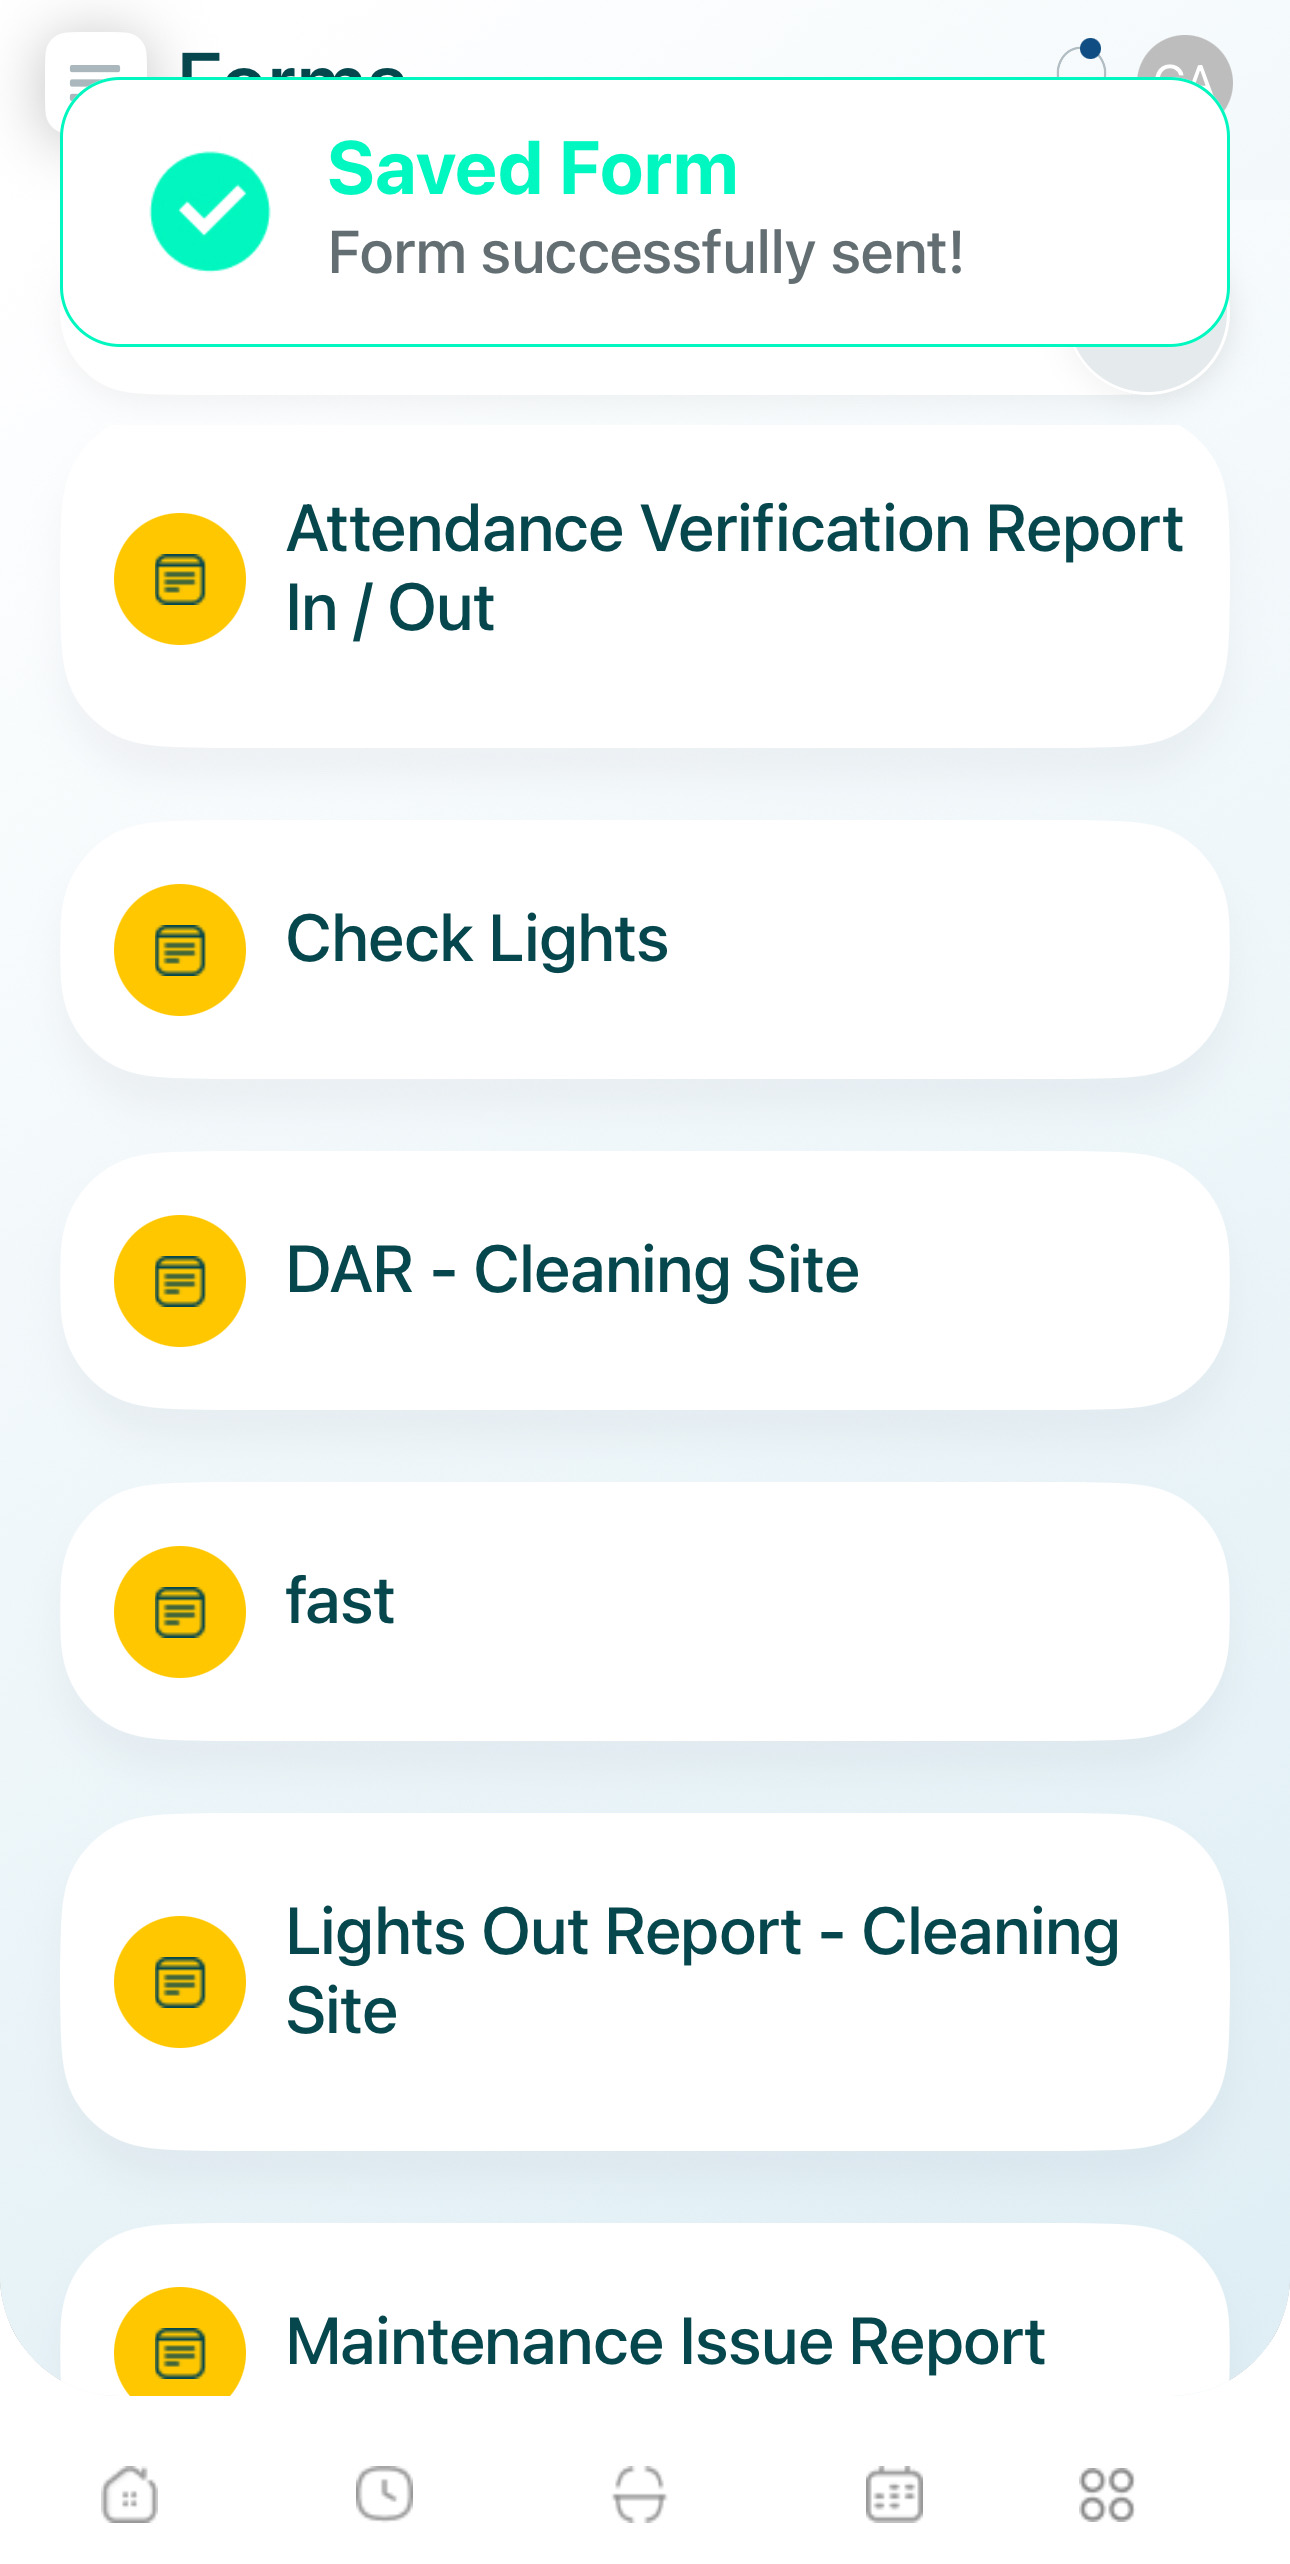
Wait for the validation process to complete.
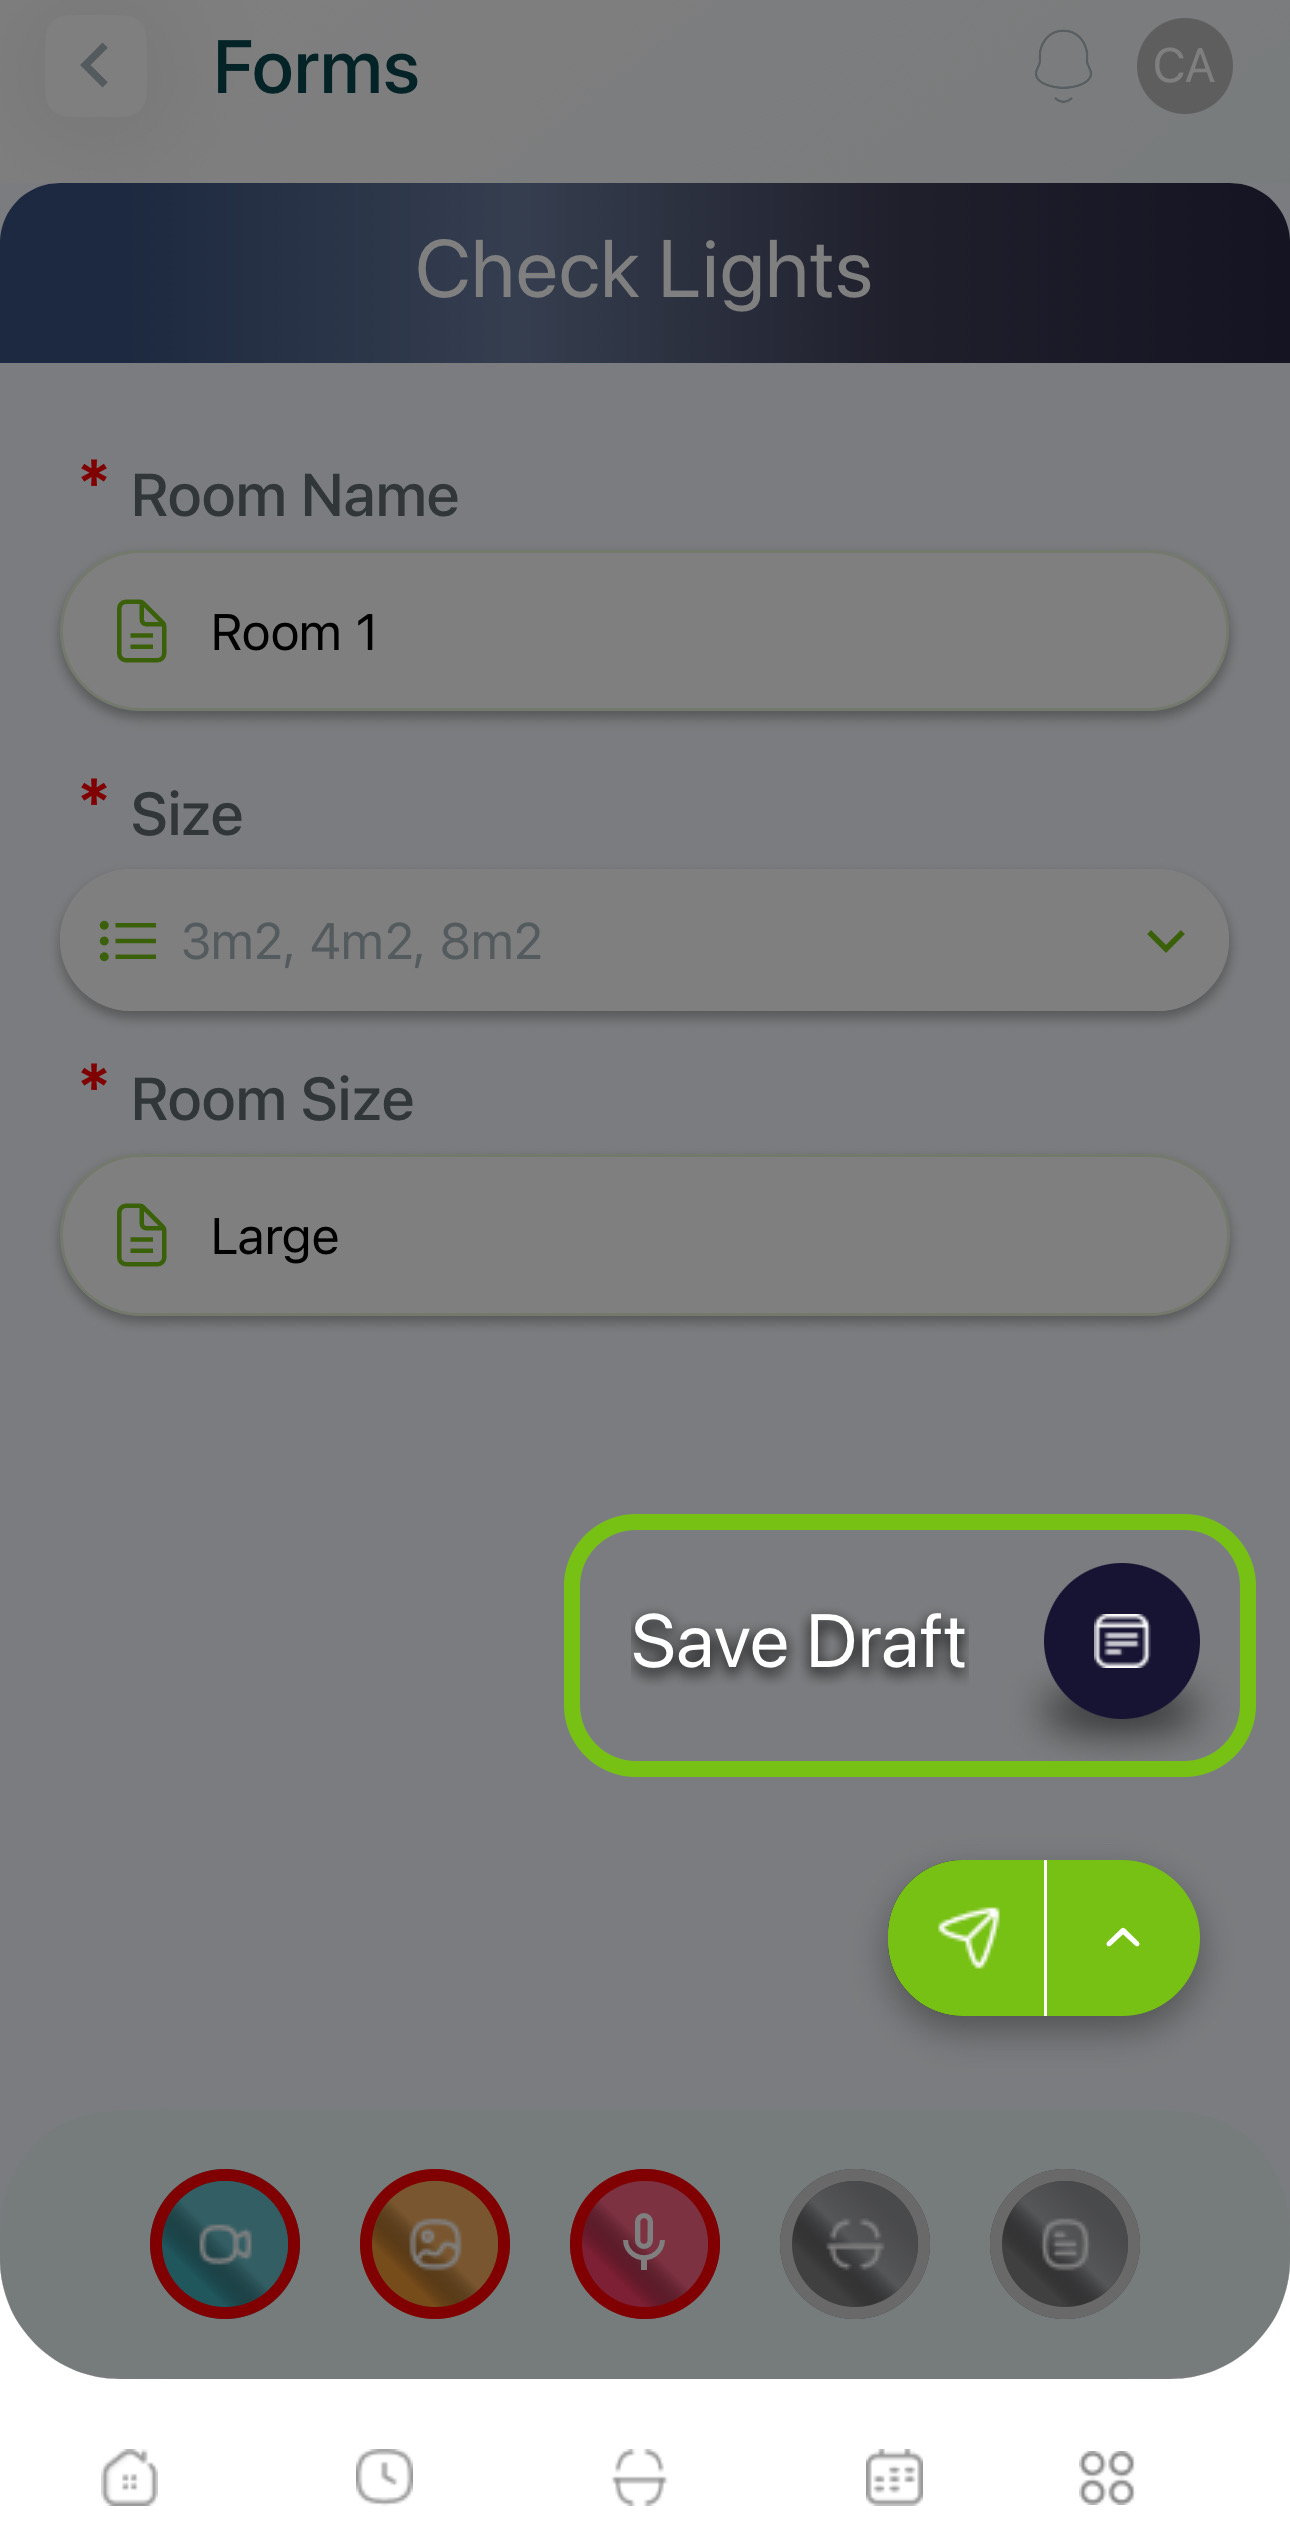
Drafts
Saving a Draft
-
Select the form or checklist.
- Use the search bar at the top to find it.
-
Fill in the form, keeping in mind required fields.
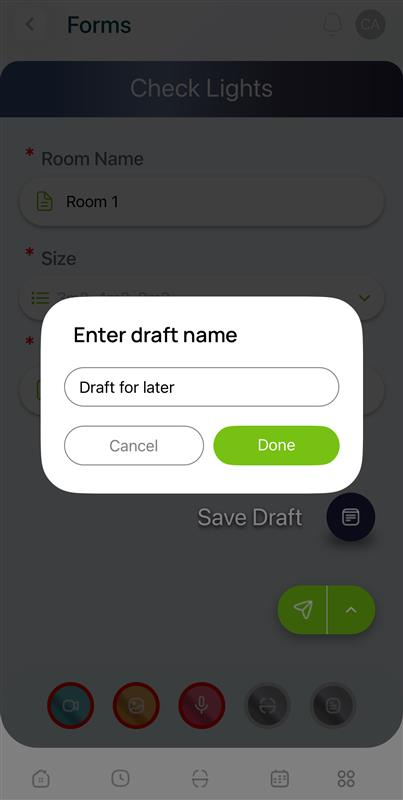
- Tap the drop menu, and select Save Draft.
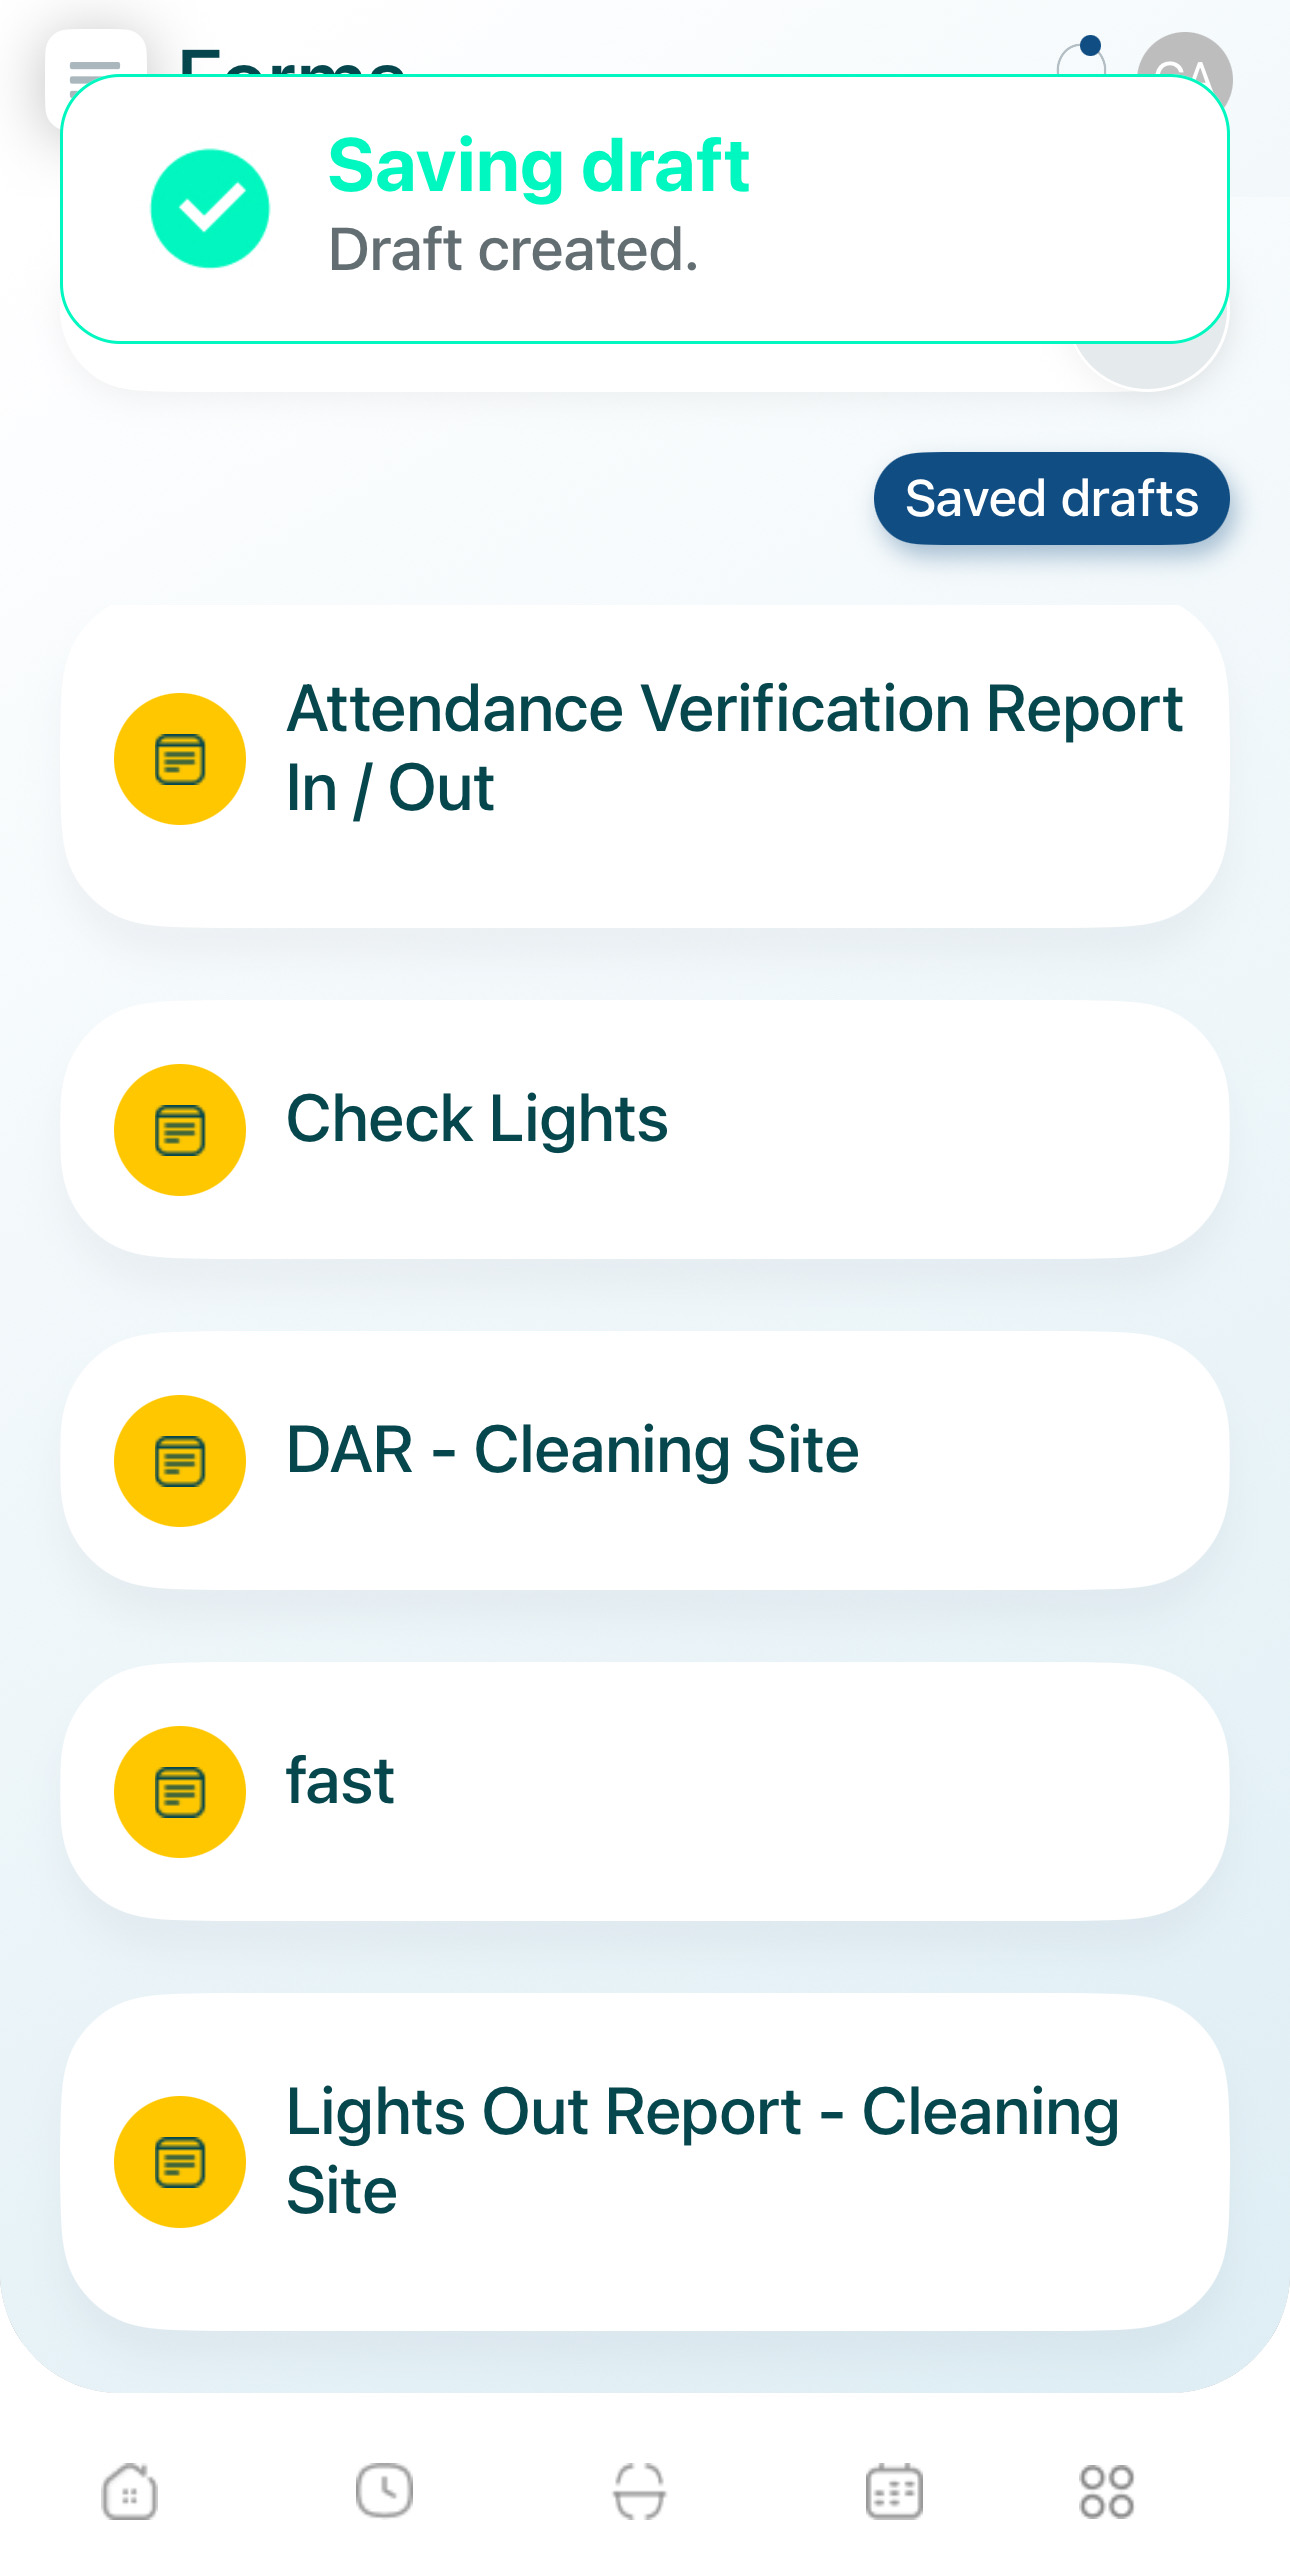
- Provide a name for the draft and press Done.
- You'll get a confirmation.
Completing a Draft
- Tap on Saved Drafts.
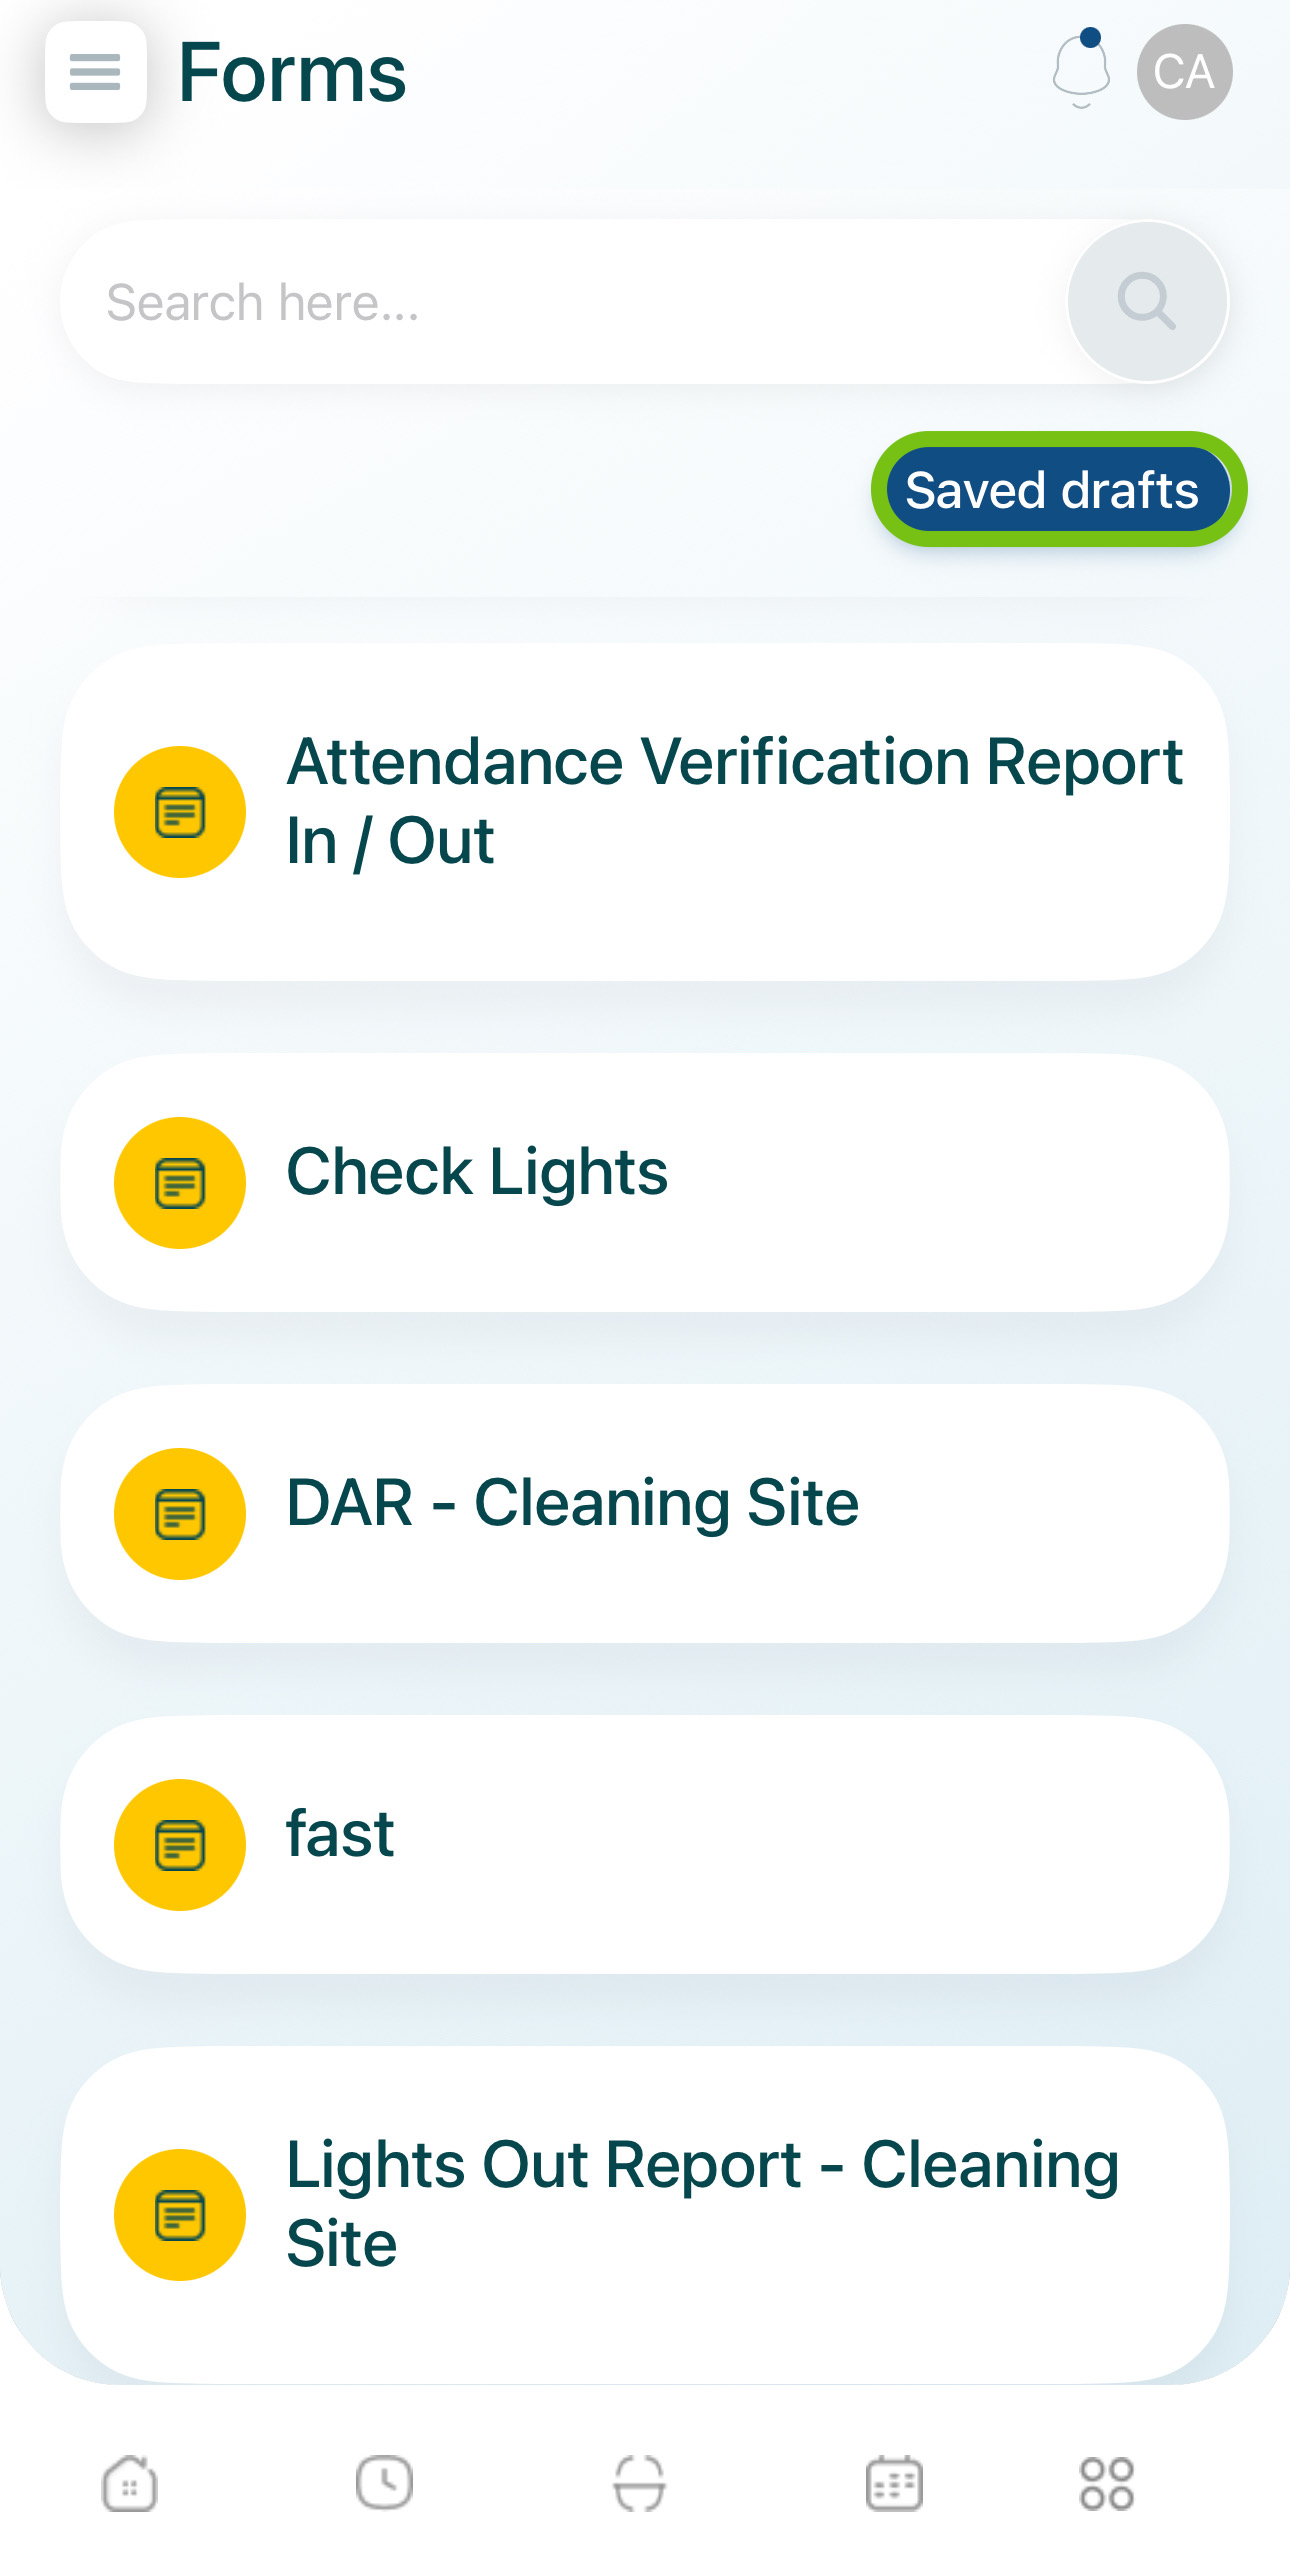
- Select the draft form.
- You can use the search bar to find it by the name assigned.
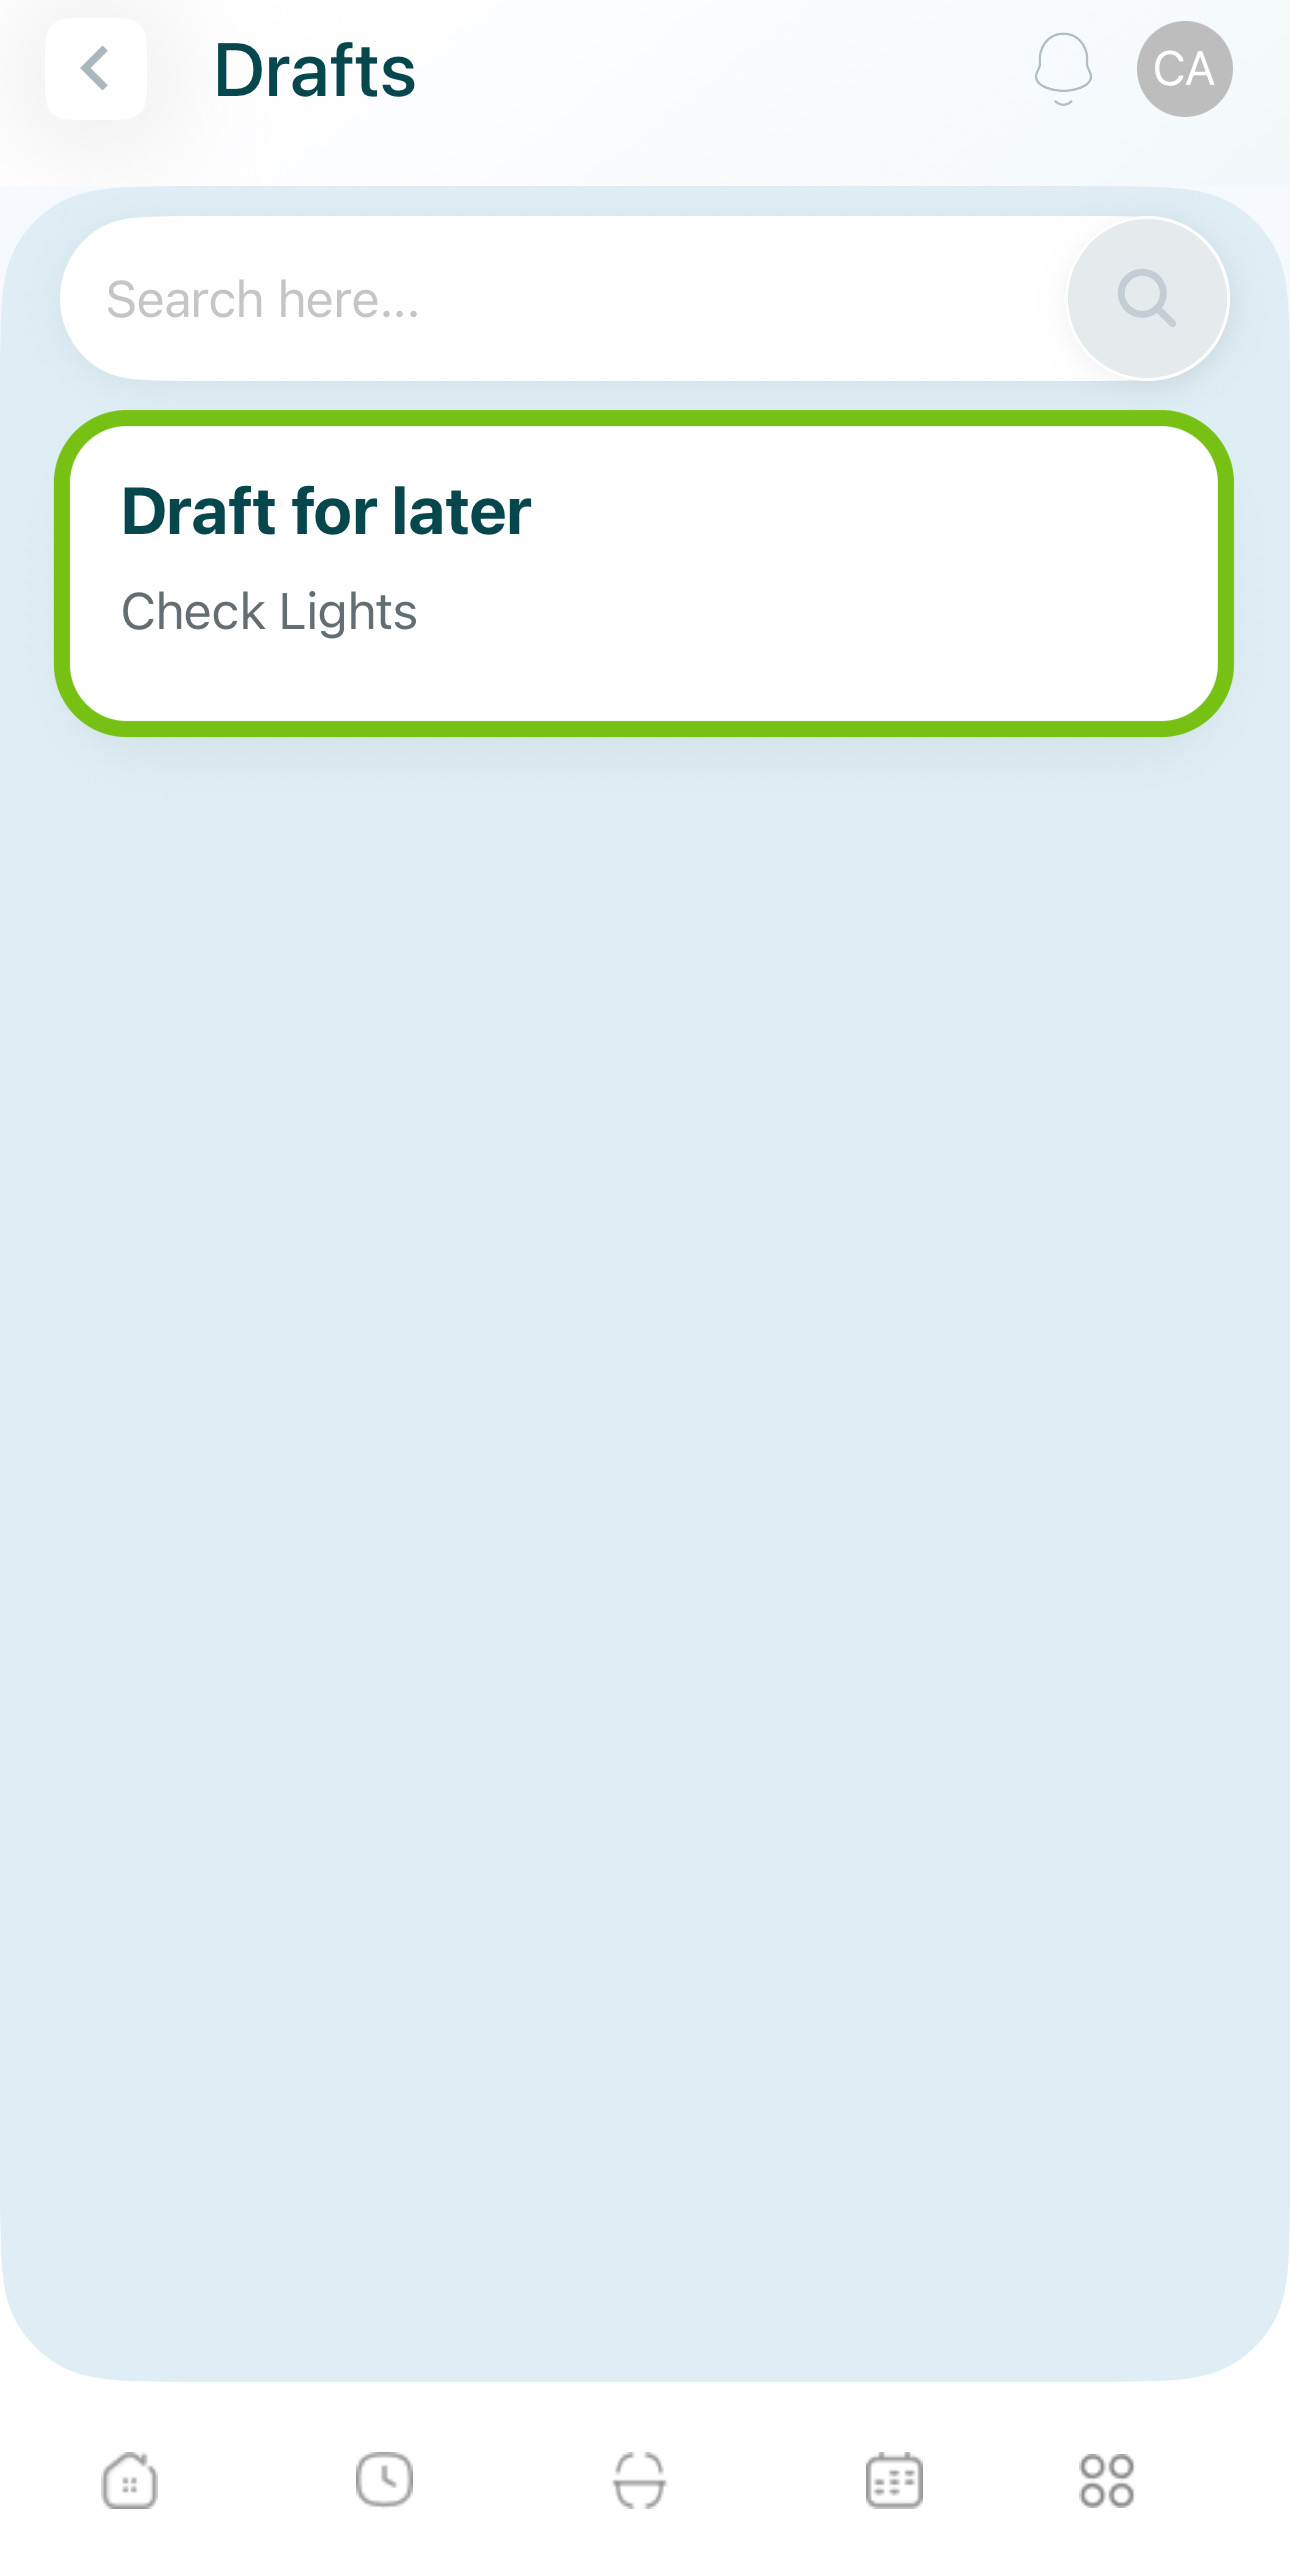
- Fill in or complete the draft and submit it.
- You'll get a confirmation.
- You can track your logs in My Activity.