Knowledge Base
Set up and maintain a Knowledge Base within mobohubb to store and share articles and files. Learn how to create, organize, edit, and remove folders and articles so your team can quickly find and reference important documents or policies.
mobohubb provides a central repository where users can upload and access all relevant documents, policies, and articles. The Knowledge Base is divided into folders (for organization) and articles (for specific content). You can add, edit, or remove these items as needed if you have the right permissions.
Create the First Article
Create a Folder (Required)
Before adding an article, you must have at least one folder.
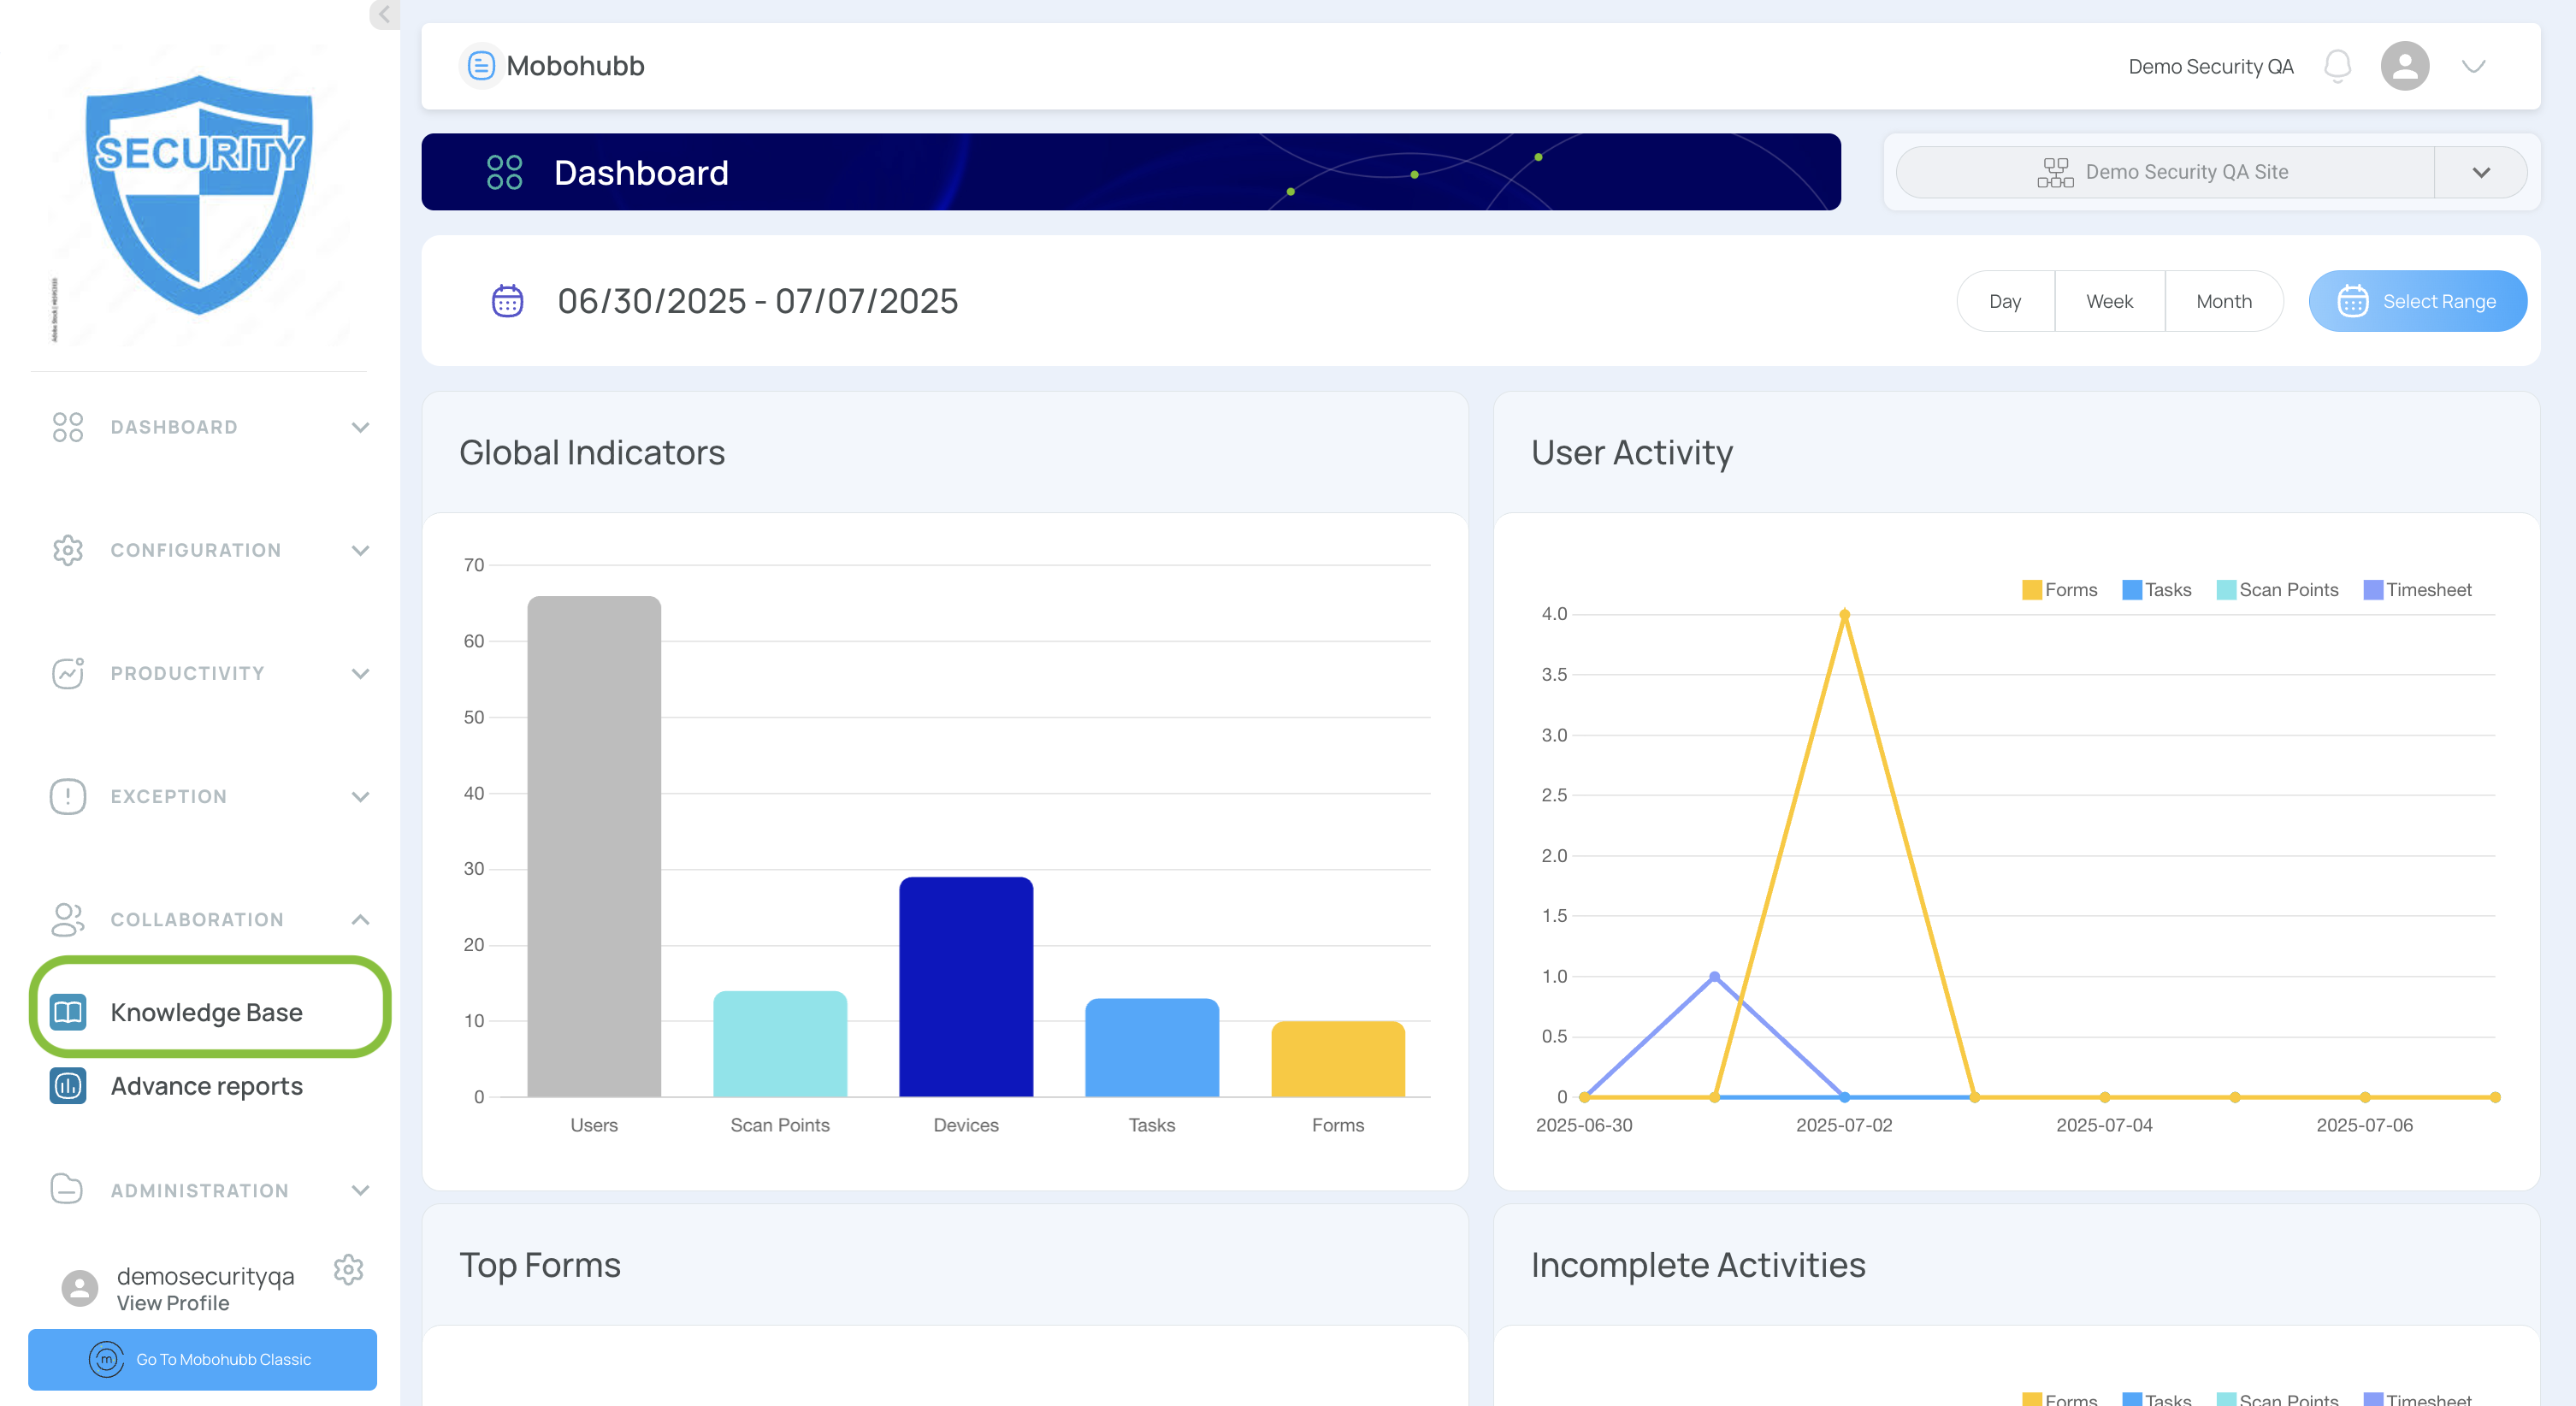
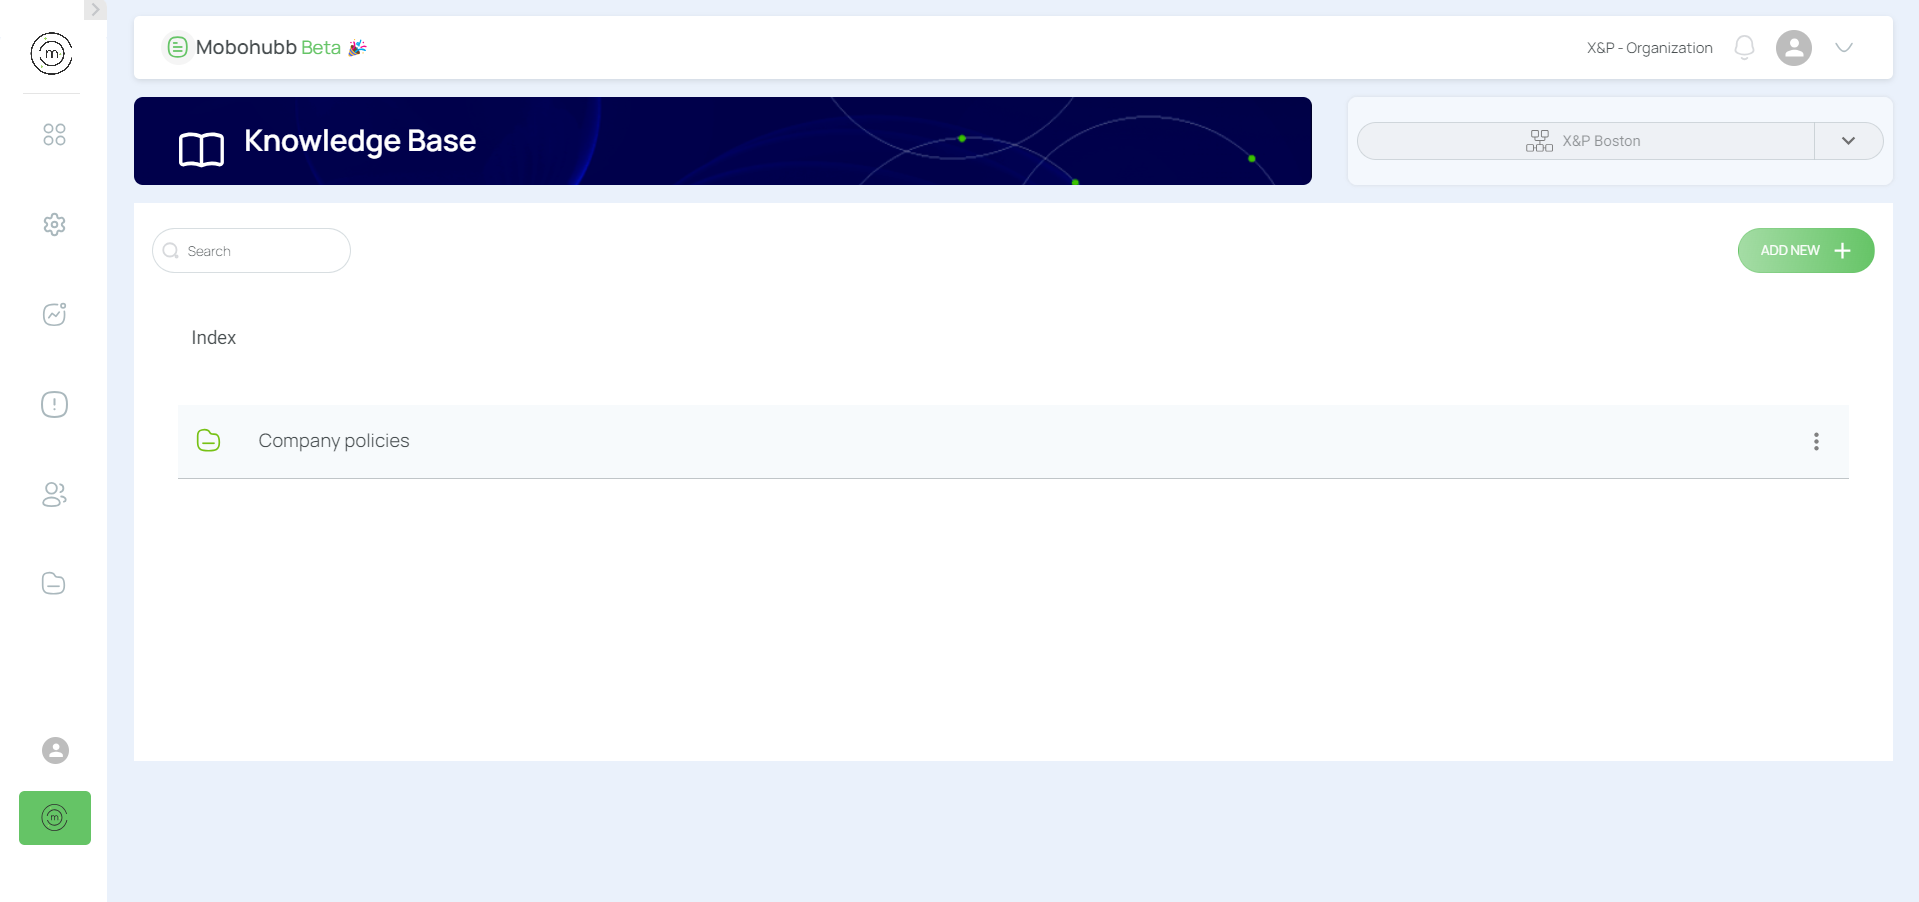
- Use the Side Menu
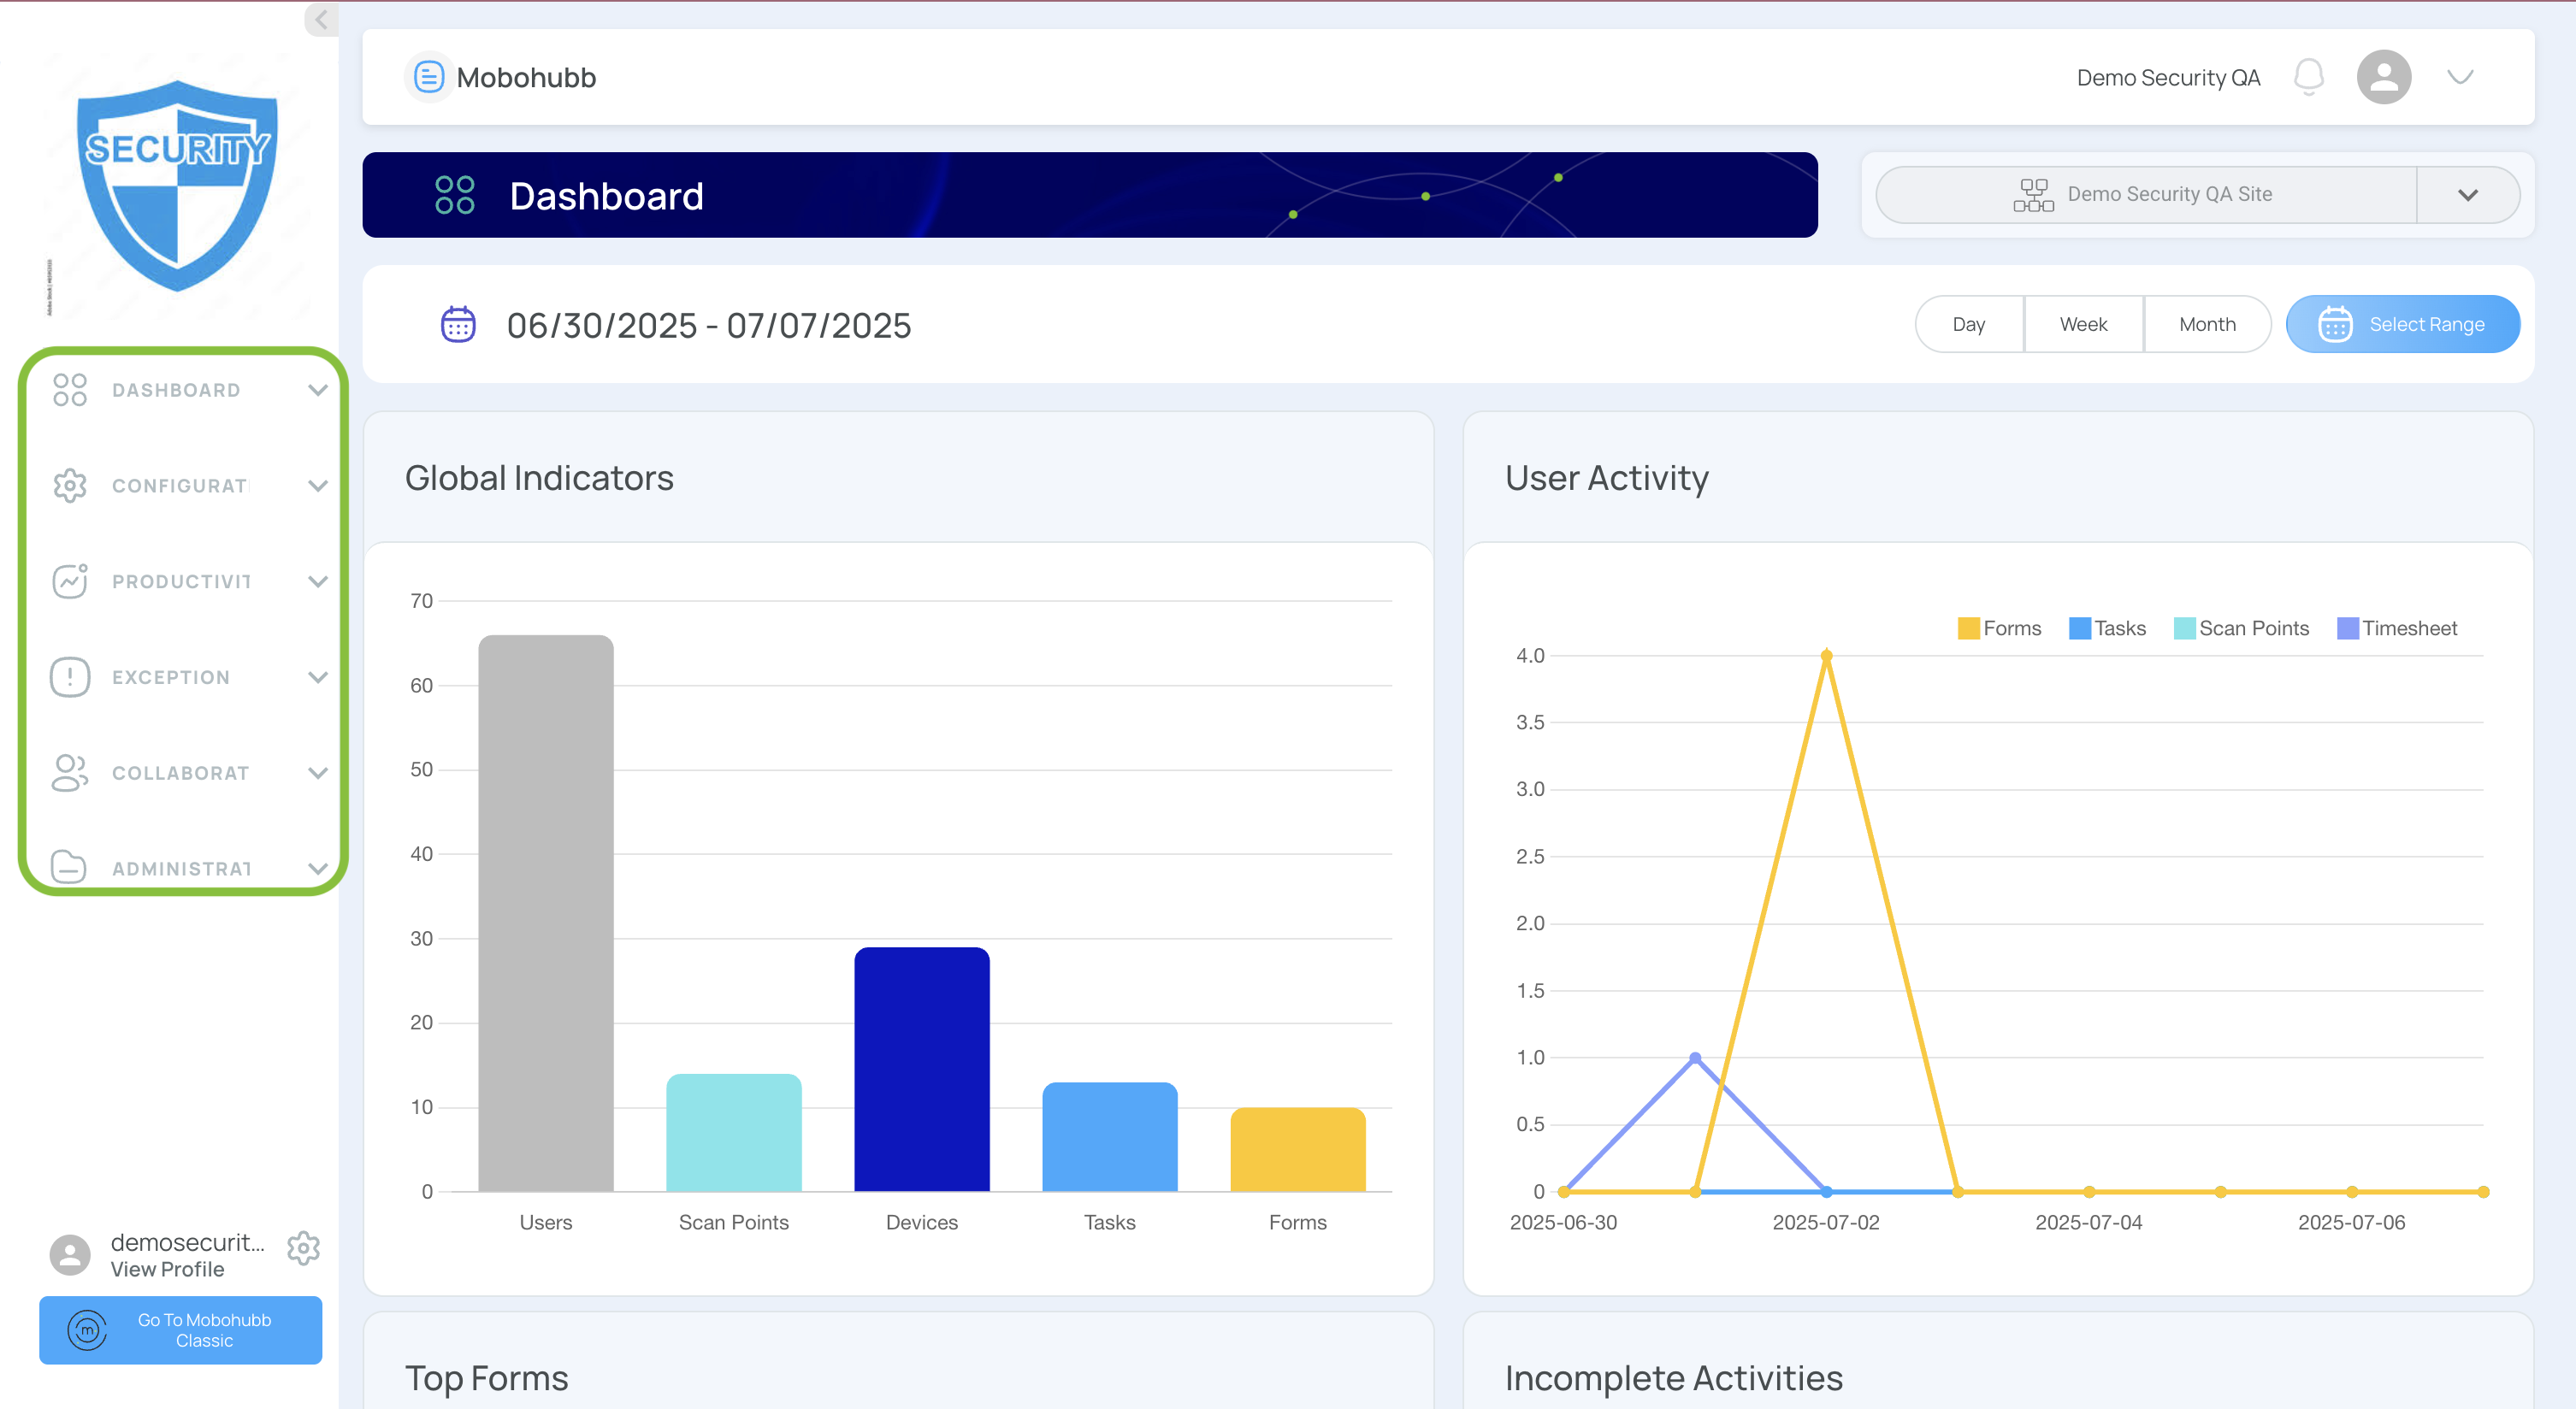
- Open “Collaboration”.
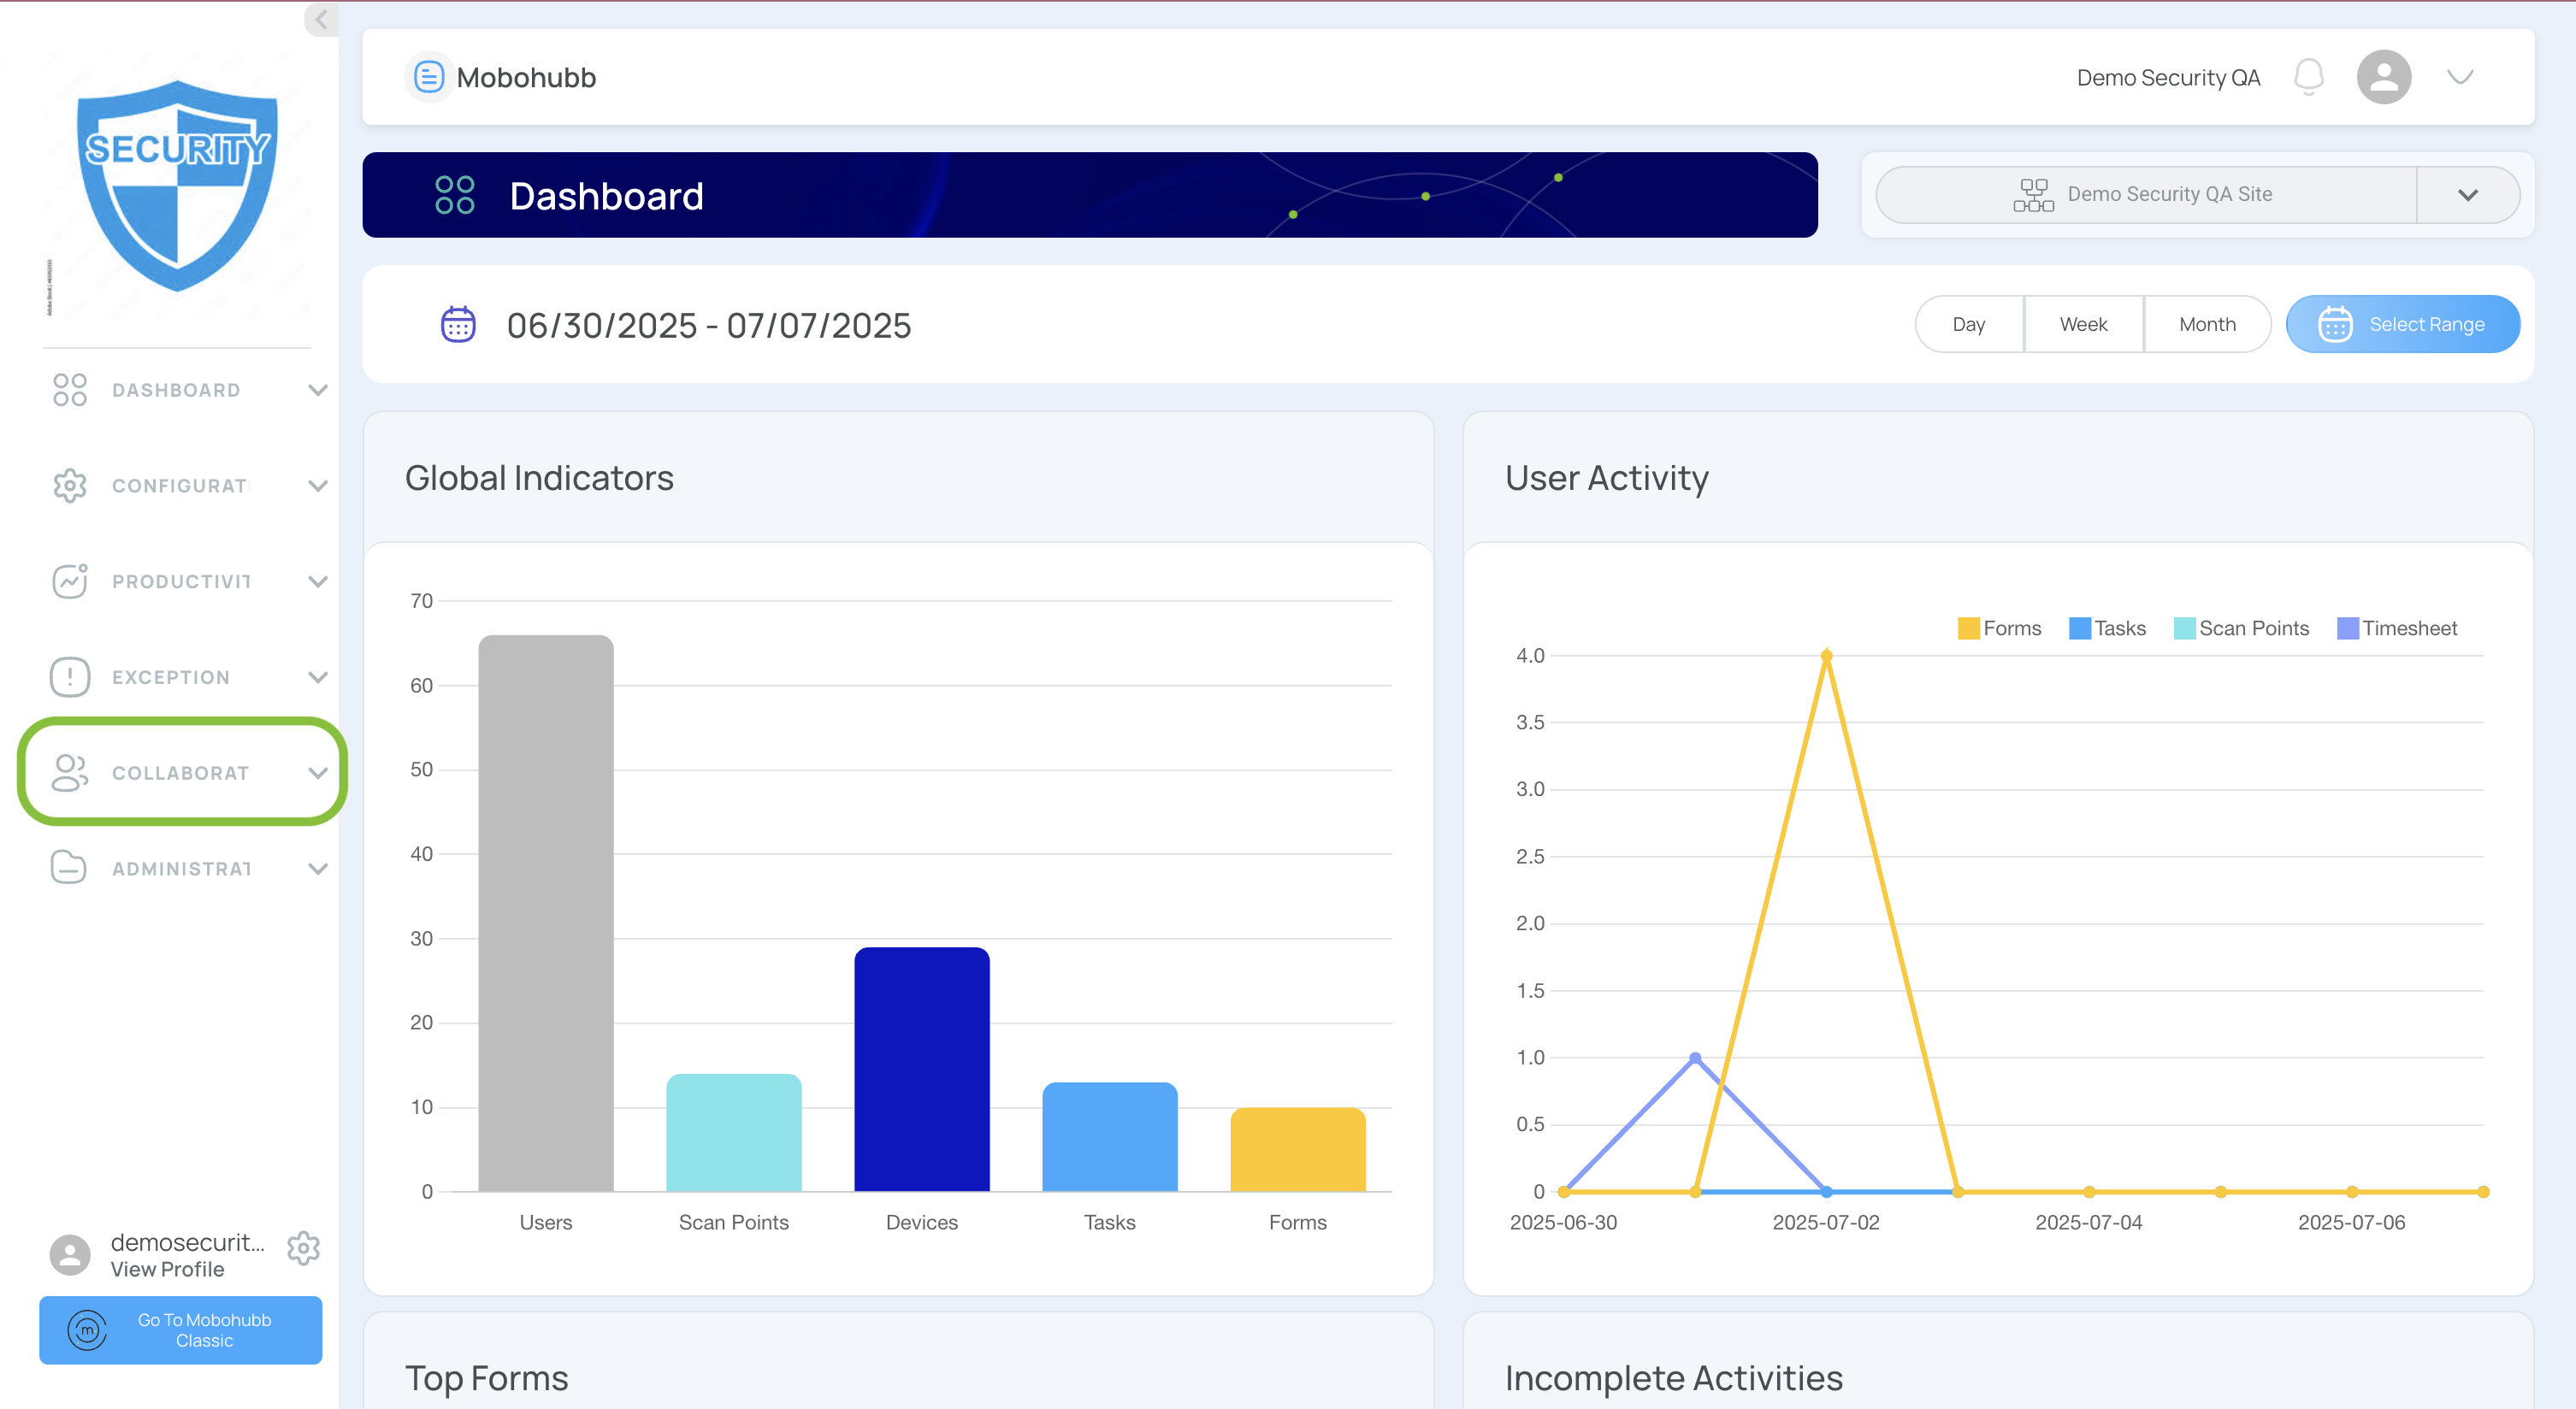

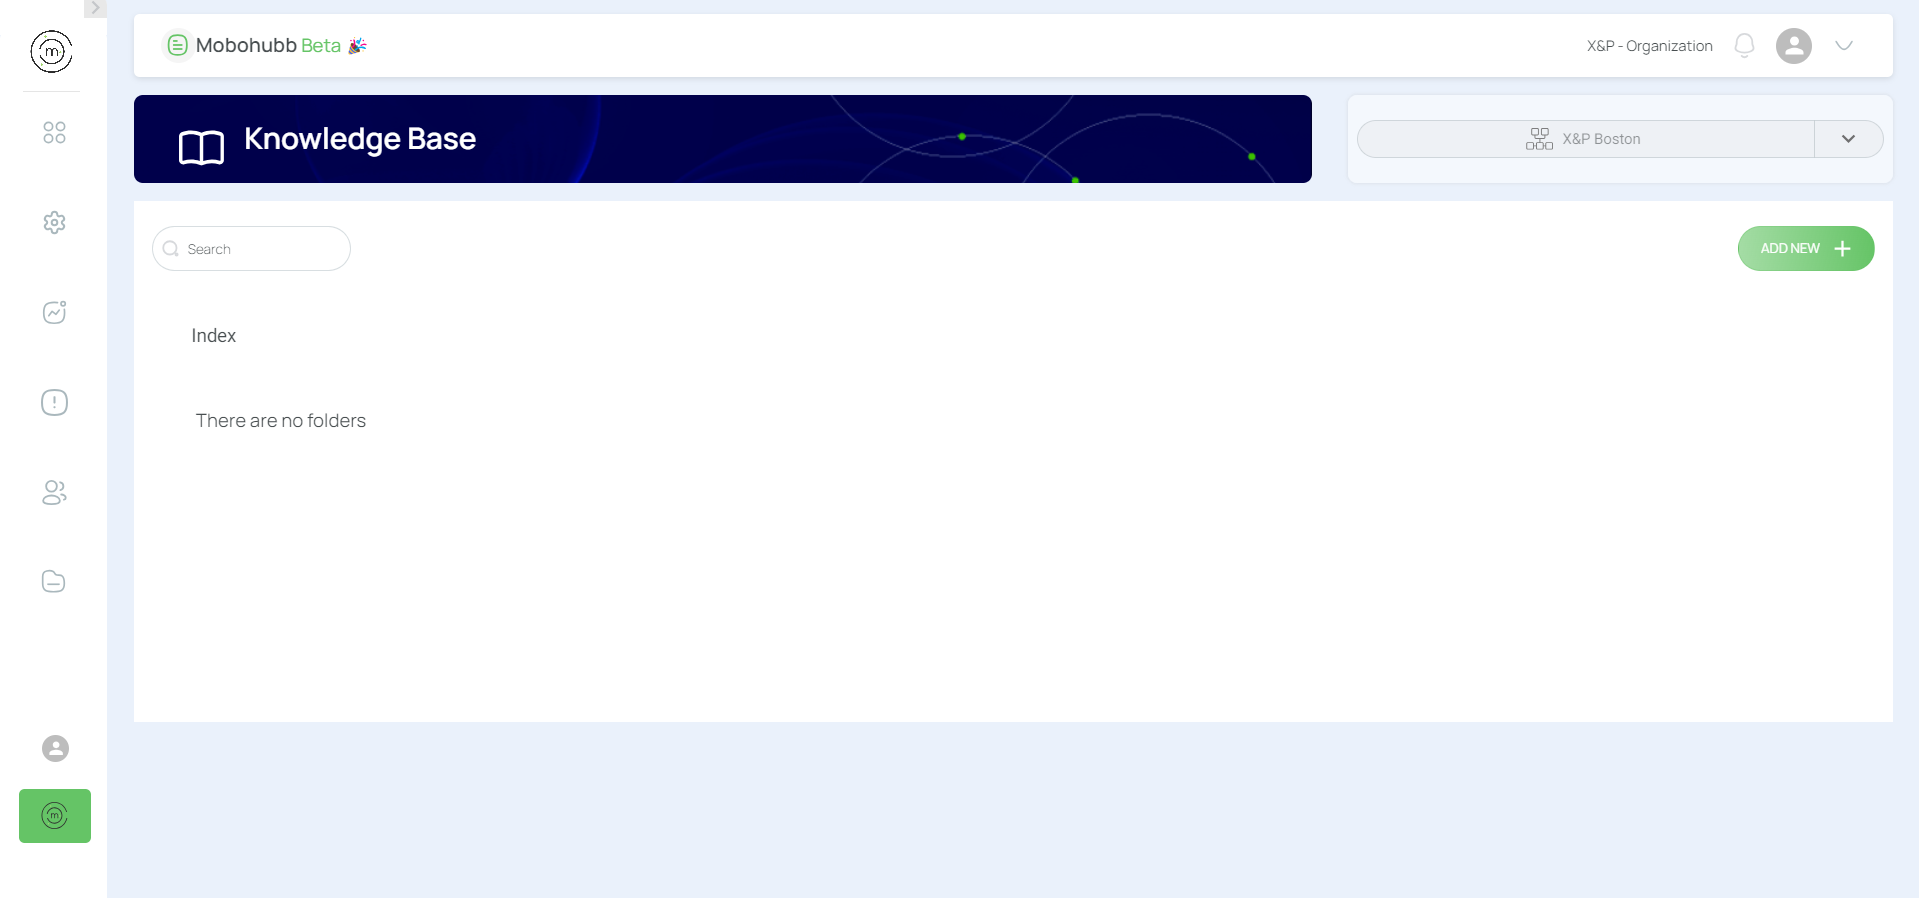
- Click “Knowledge Base".
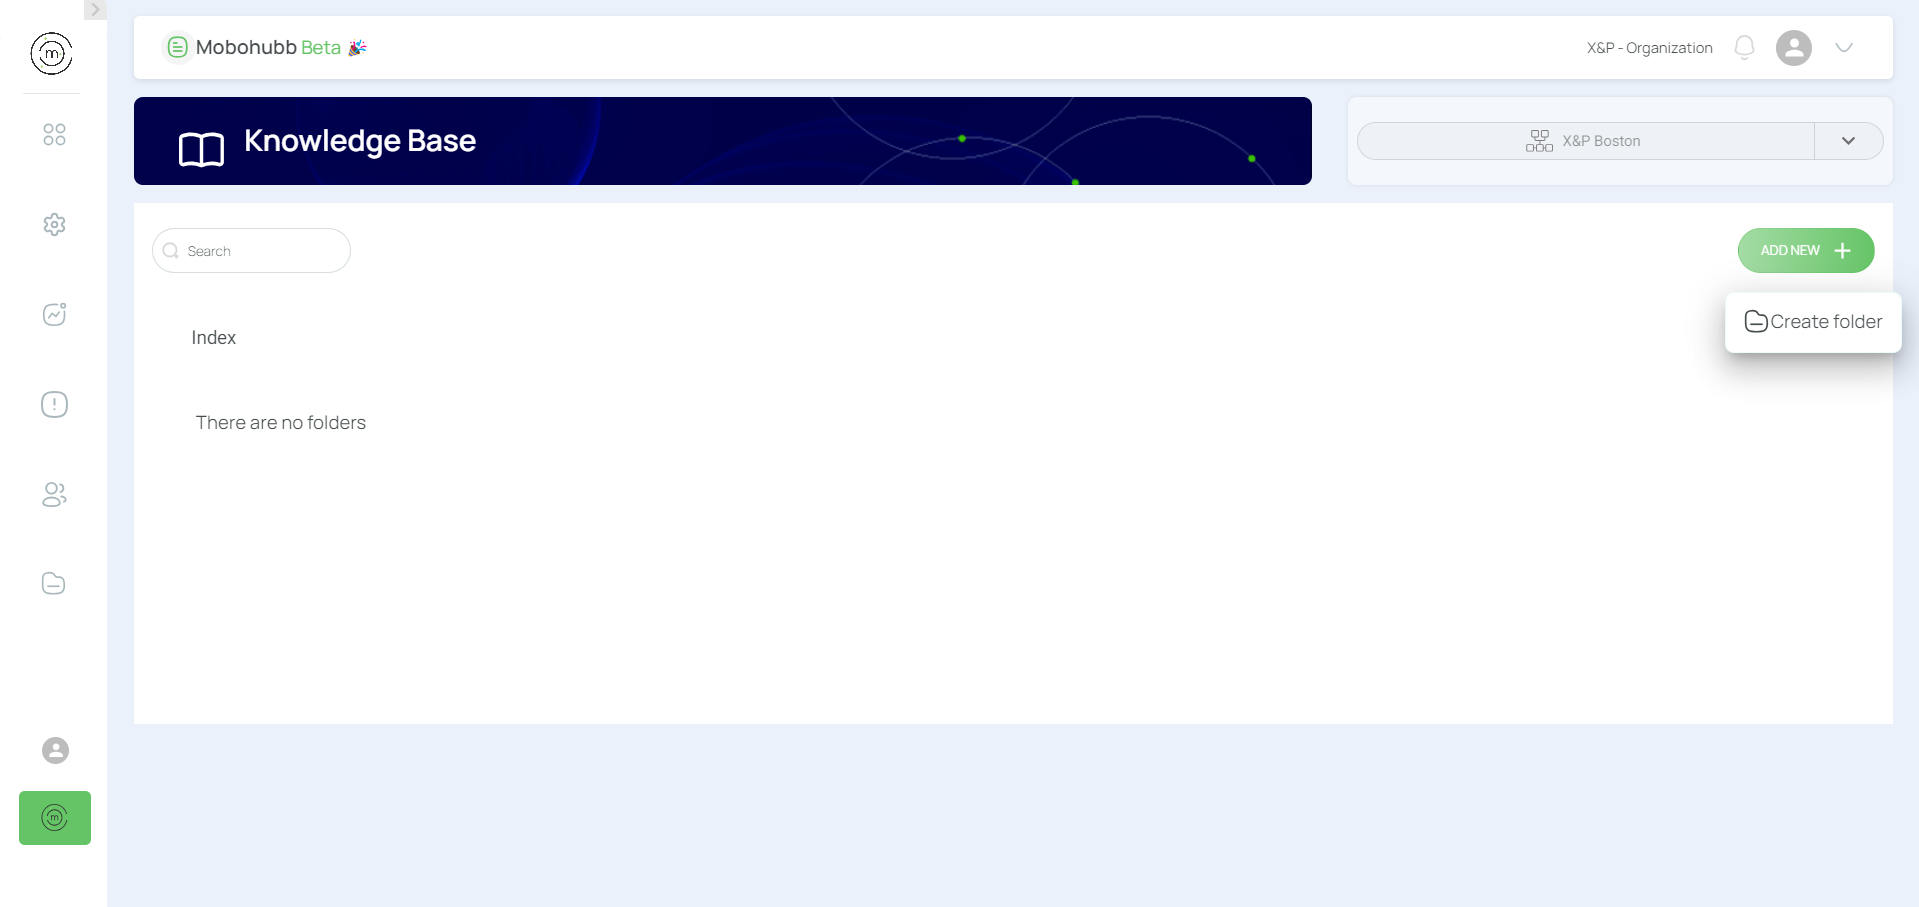
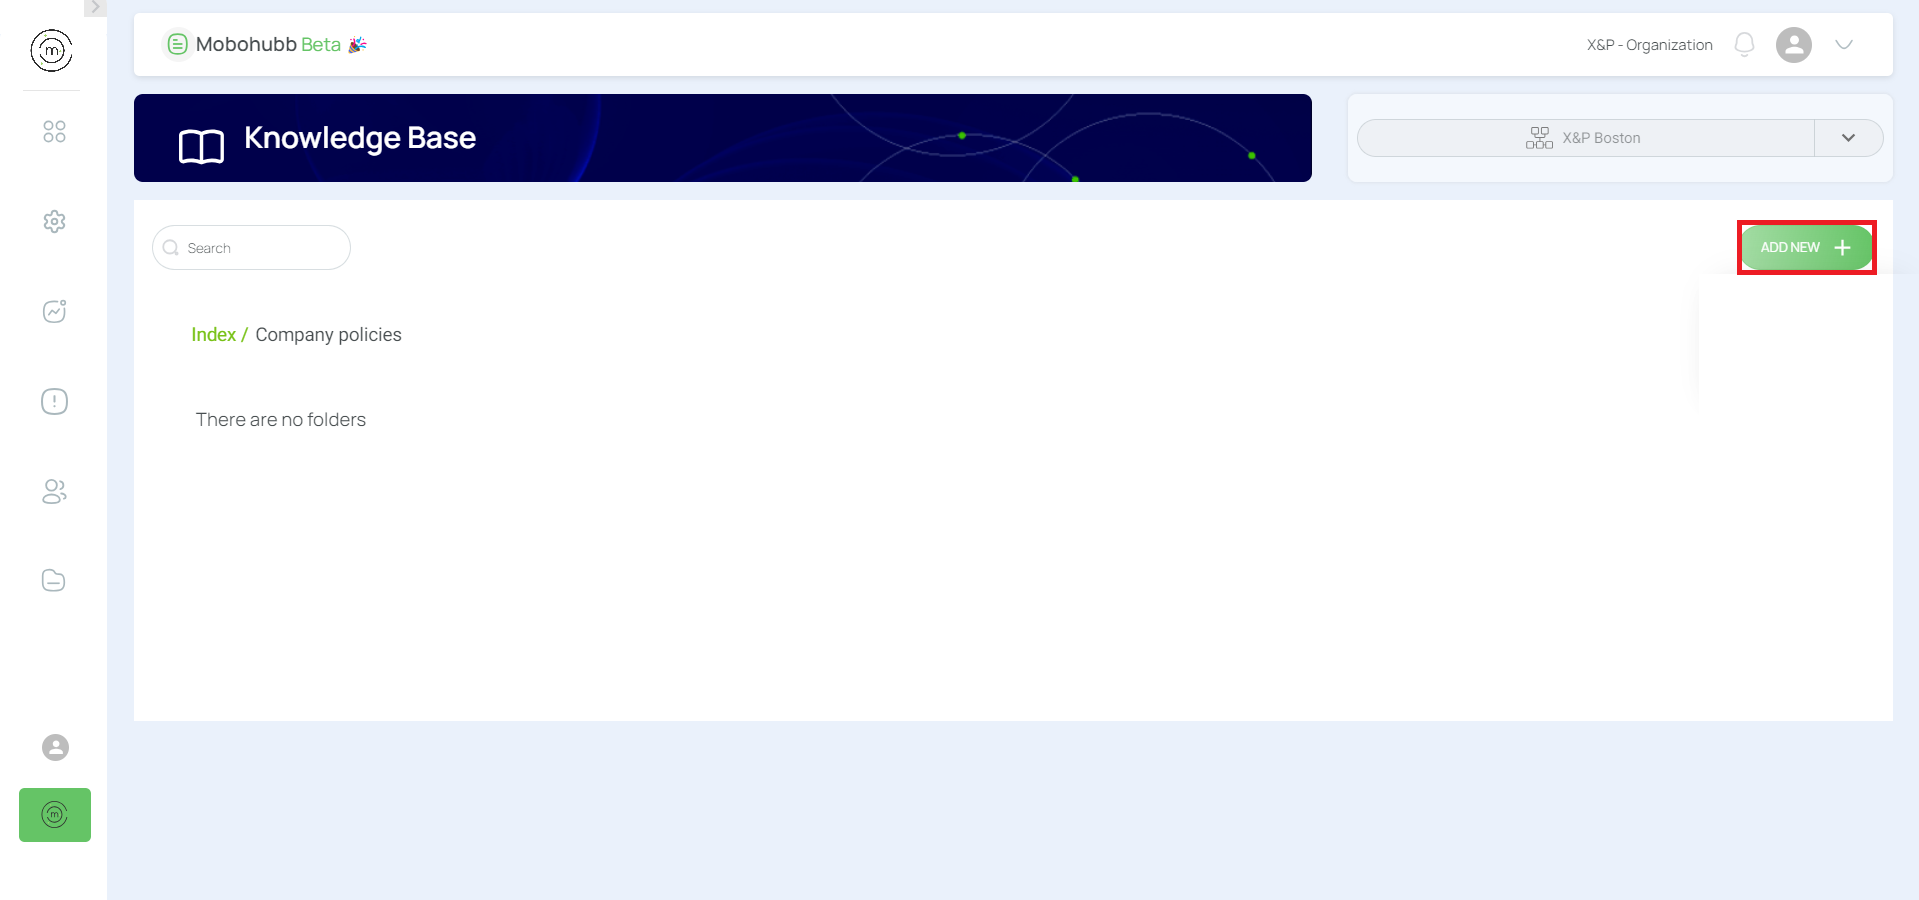
- Click “Add New”.
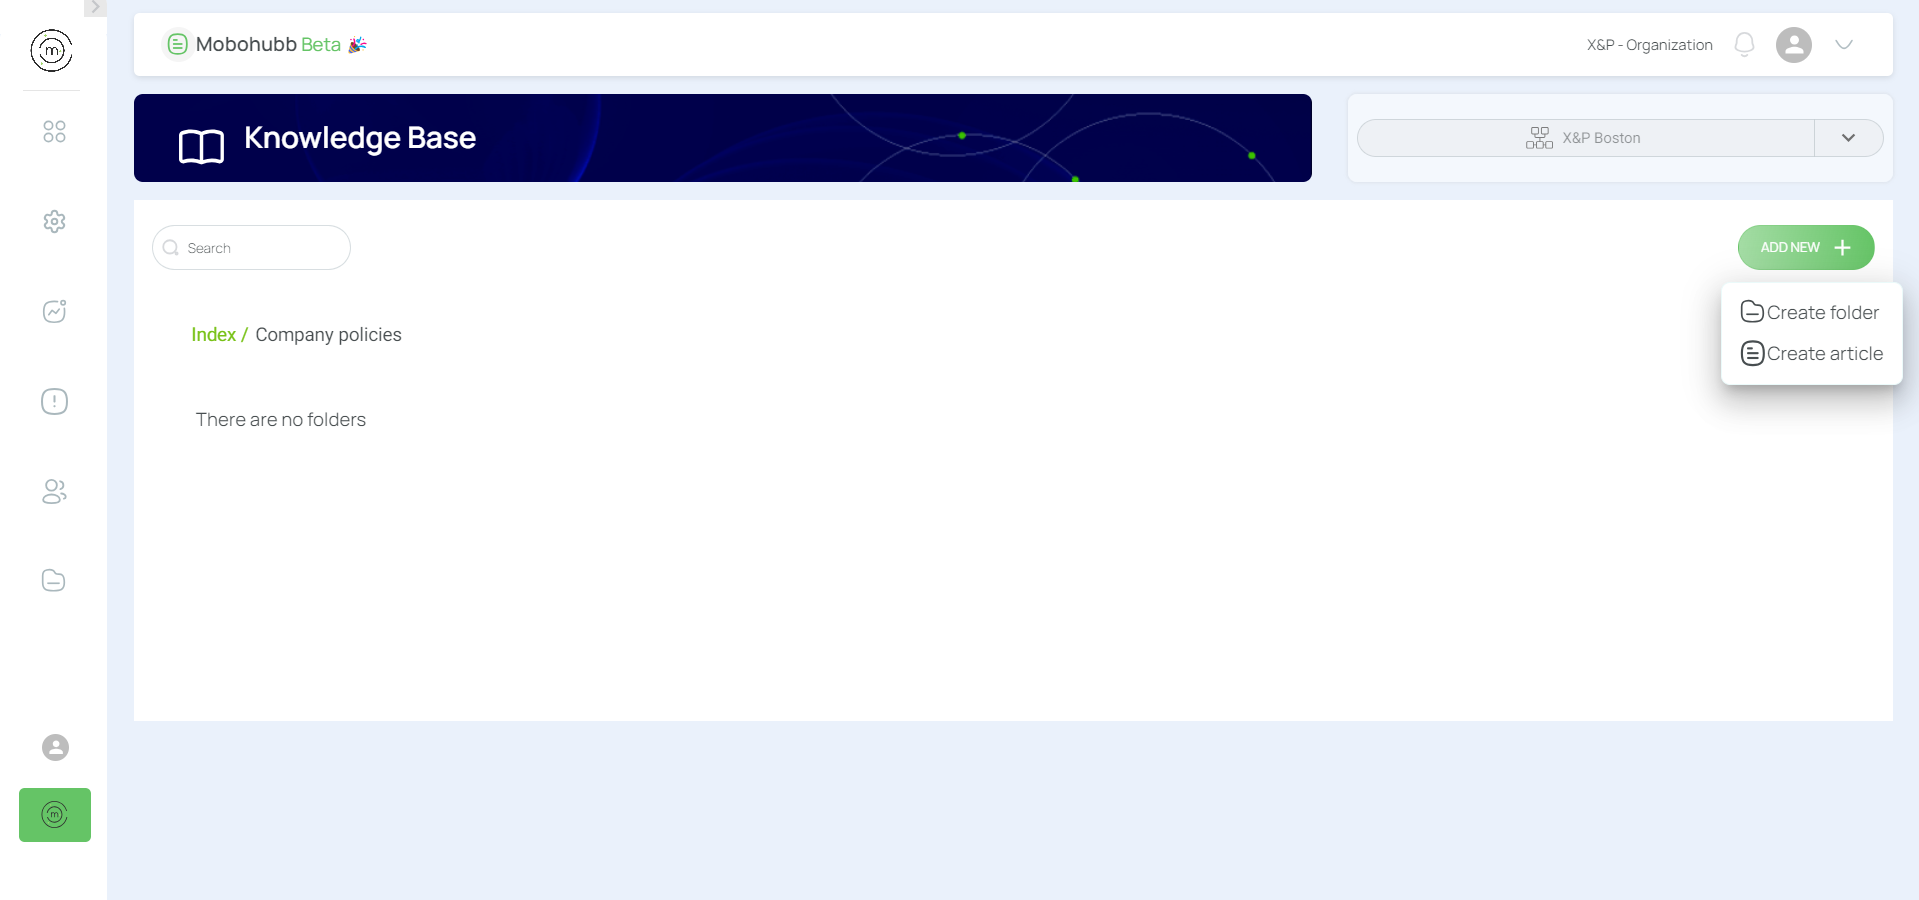
- Select “Create folder”.
- Type the Folder Name.
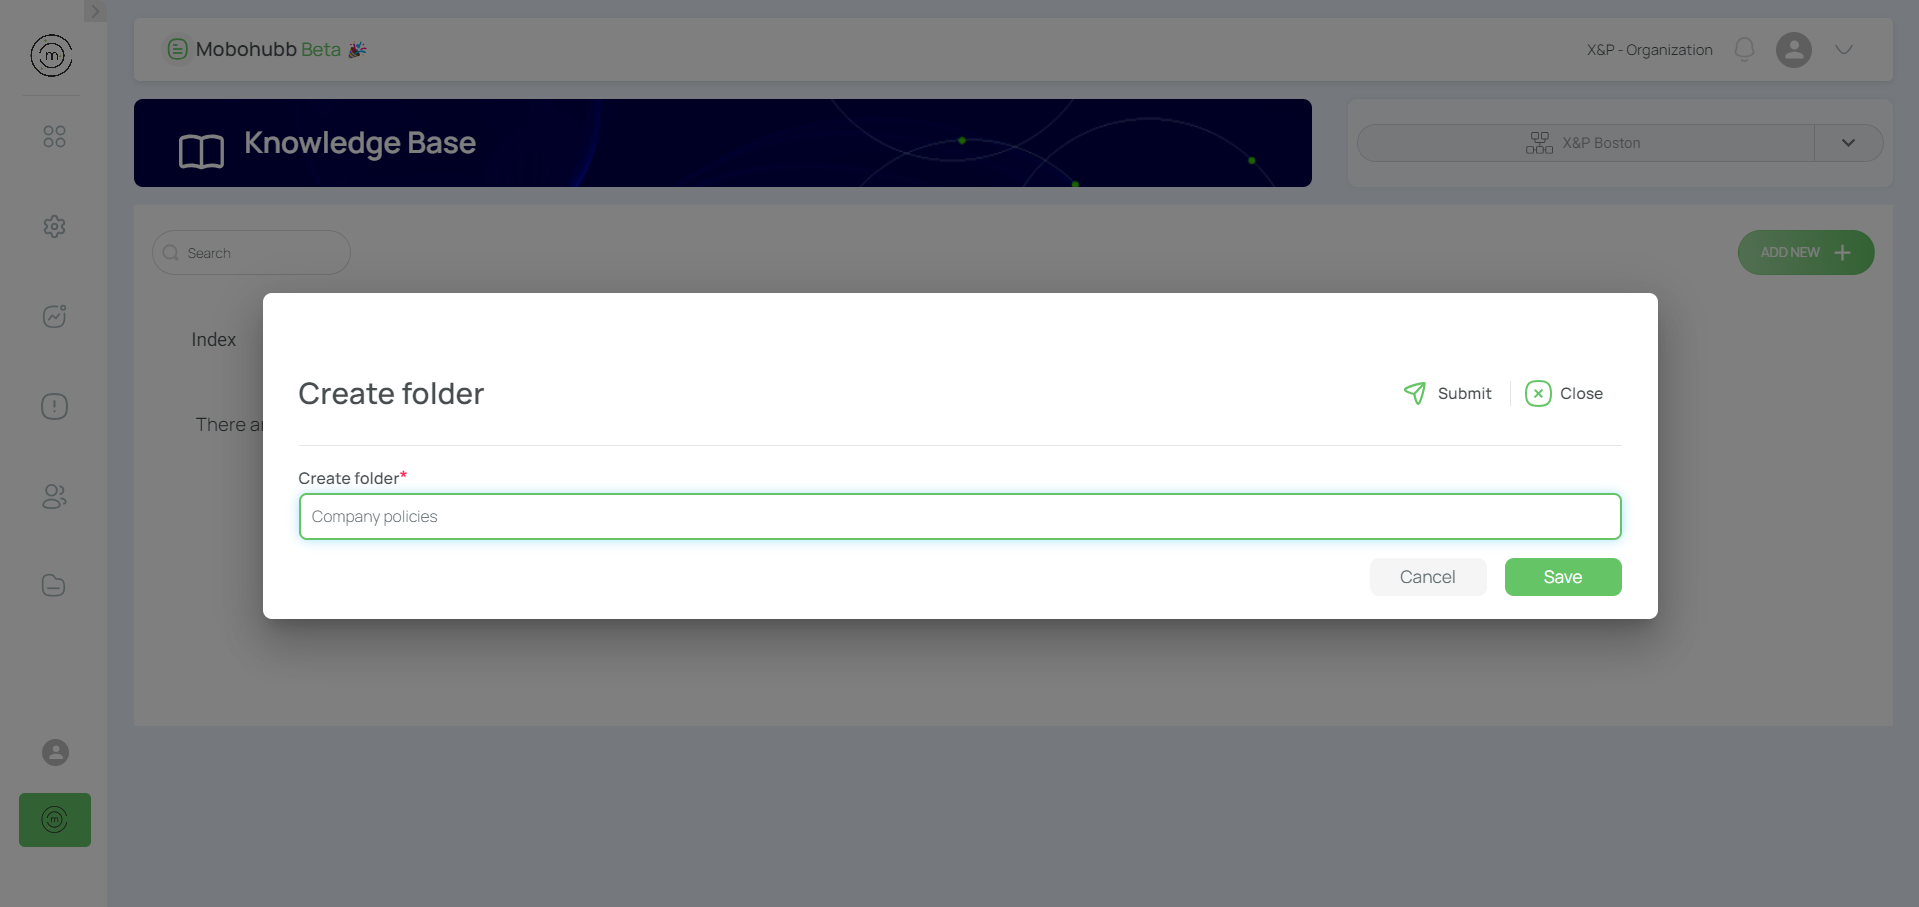

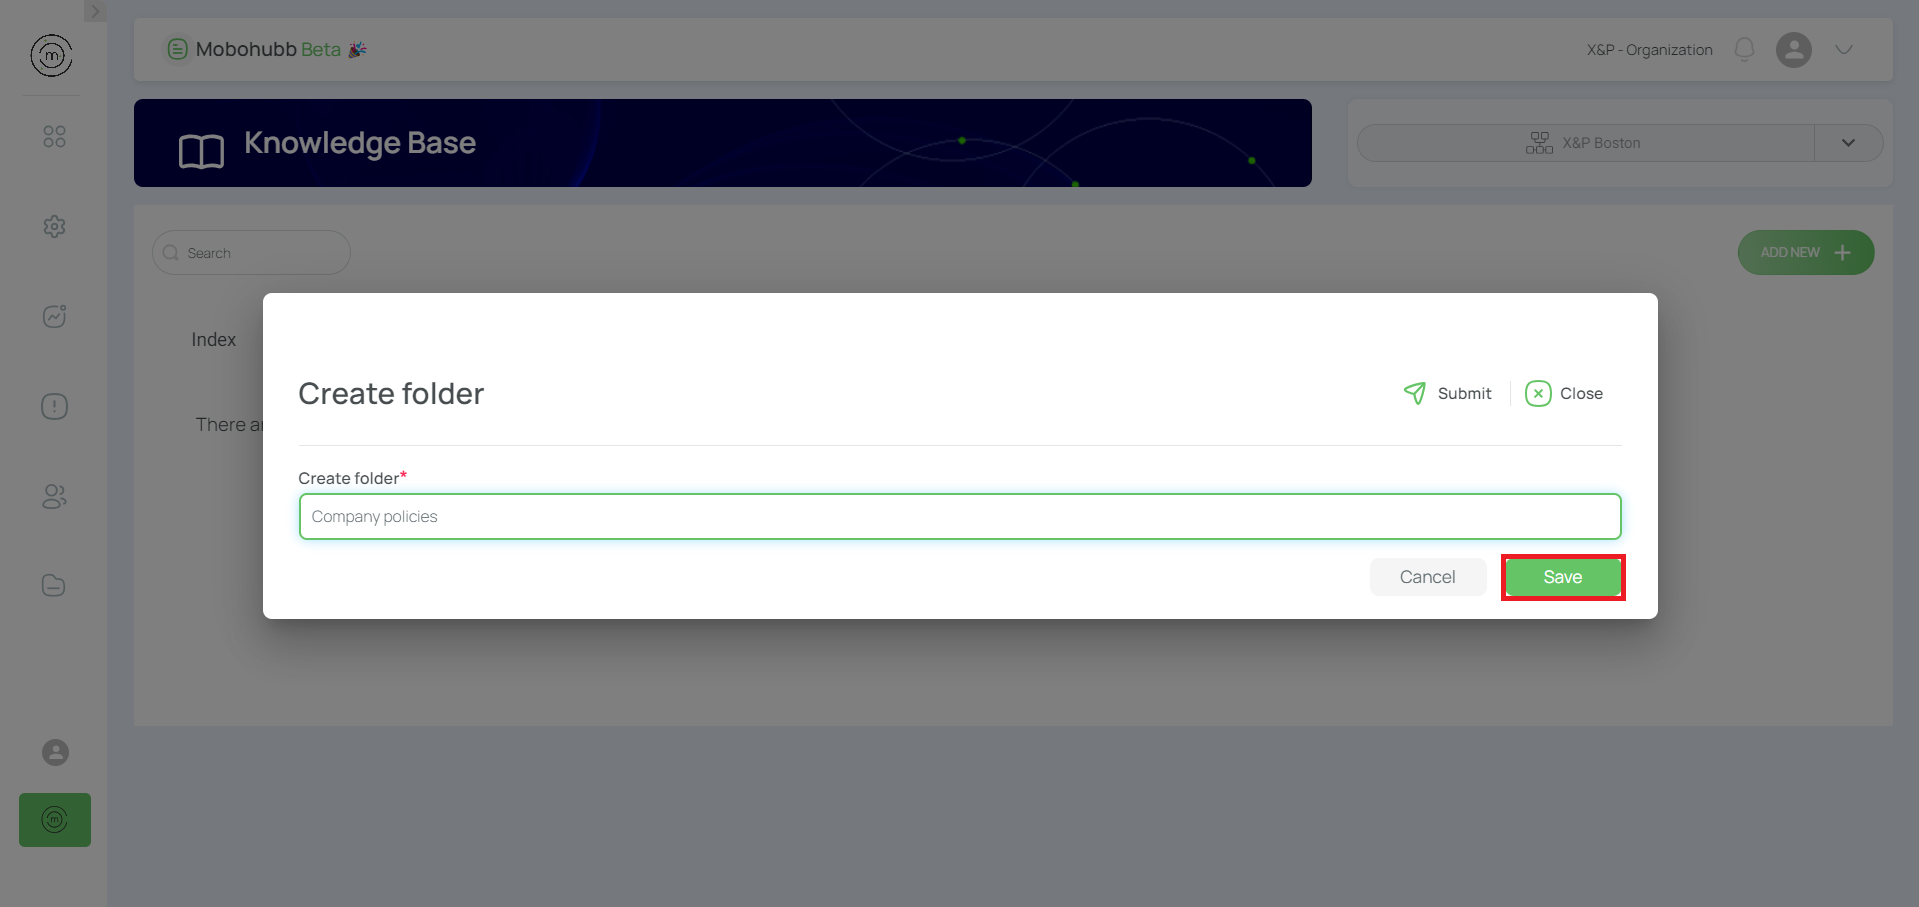
- Click "Save".

Add an Article
- Open the folder you just created.
- Click “Add New”.
- Select “Create article”.

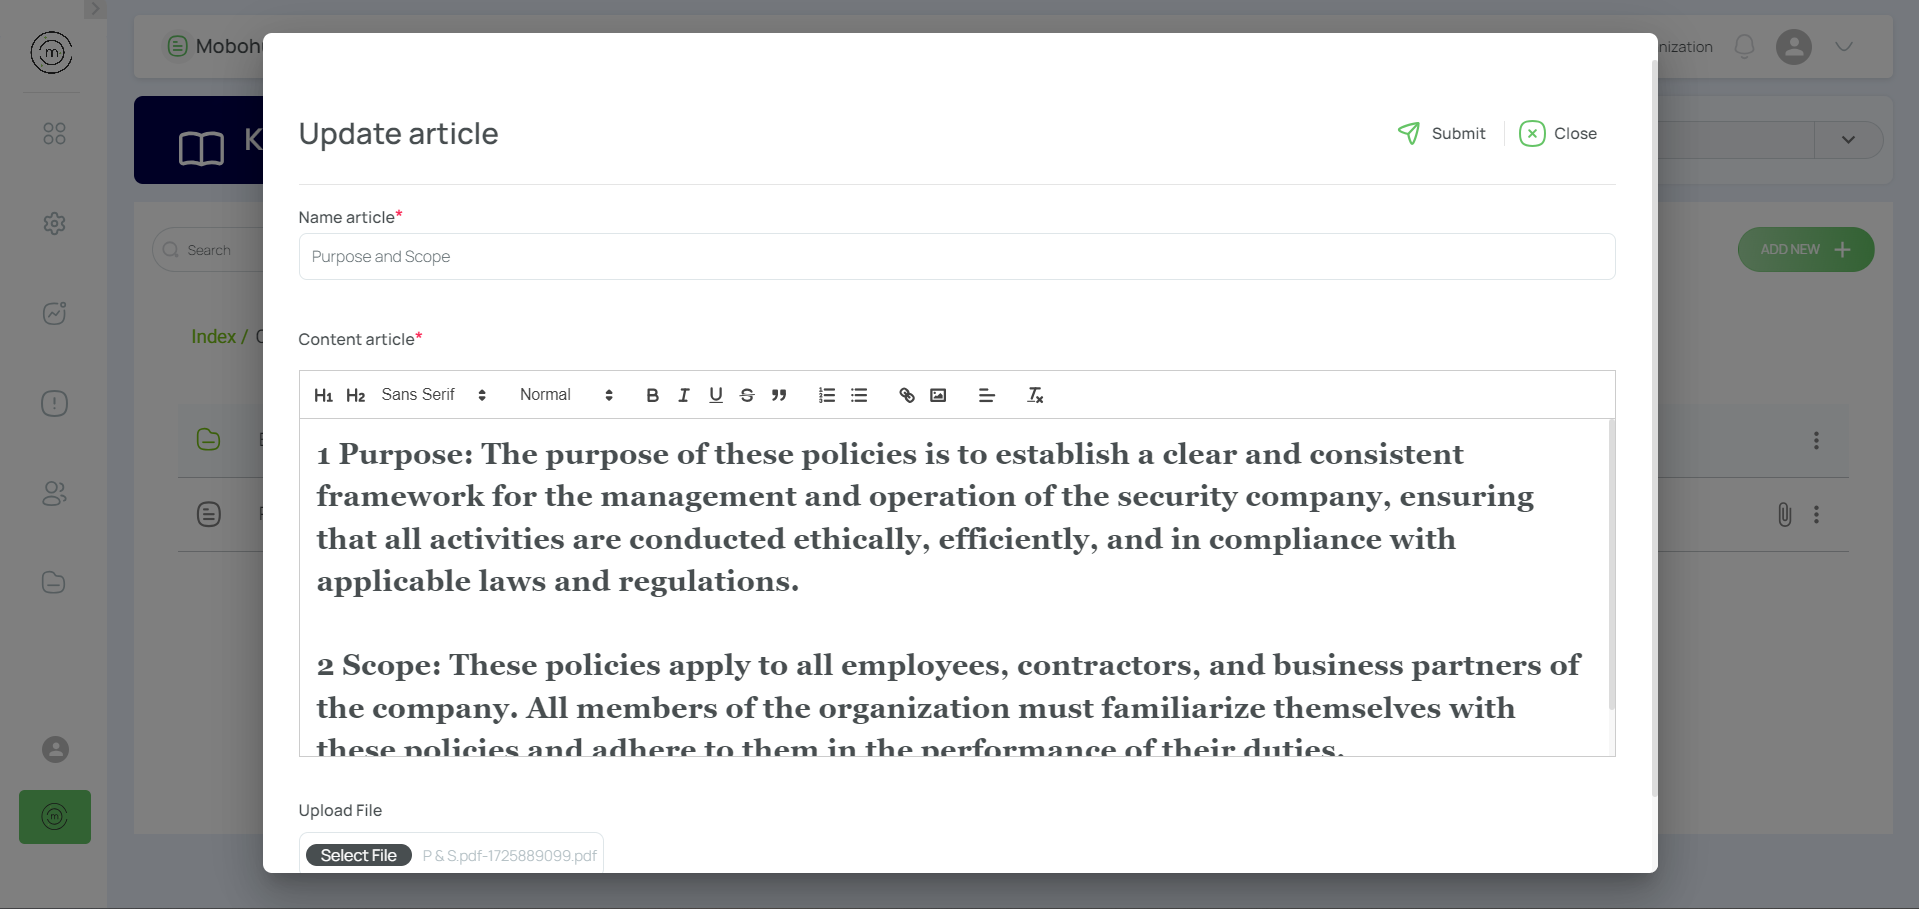
- Fill in Article Details
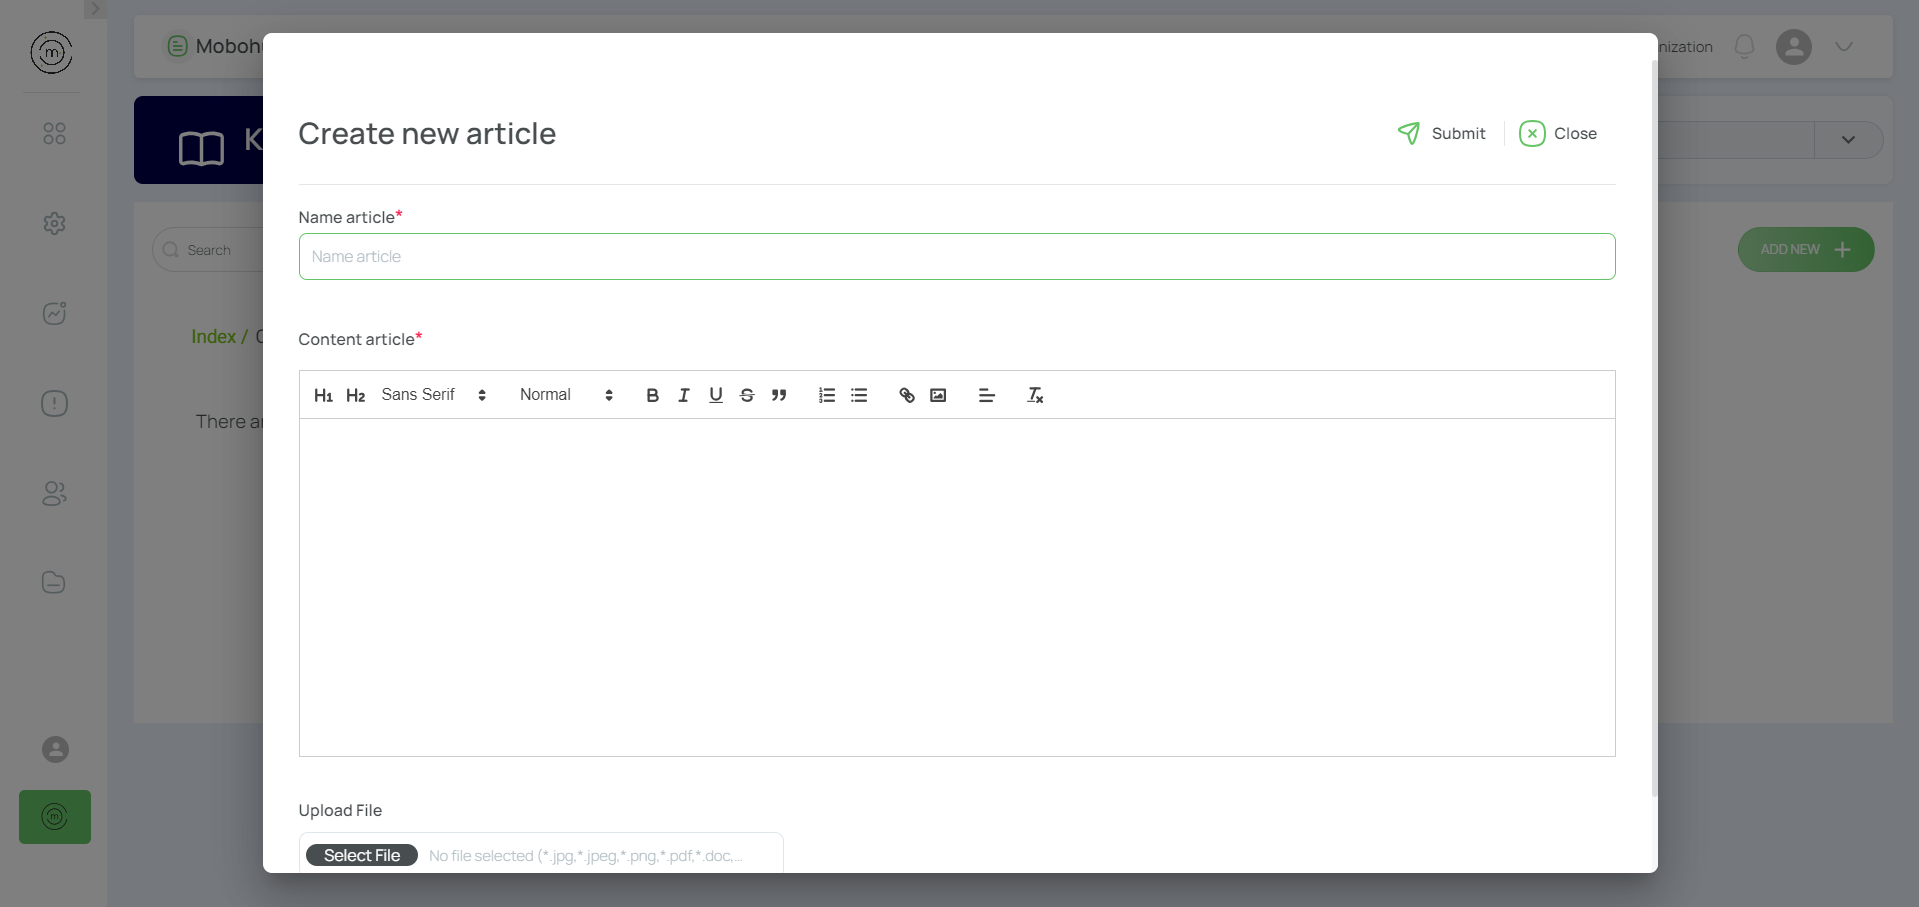
- Name the article
- Body text (using the built-in rich text editor)
- Images can be inserted into the article
- PDF files (up to 25MB) can be uploaded for download using the "Select File" button.
- Save and Close.
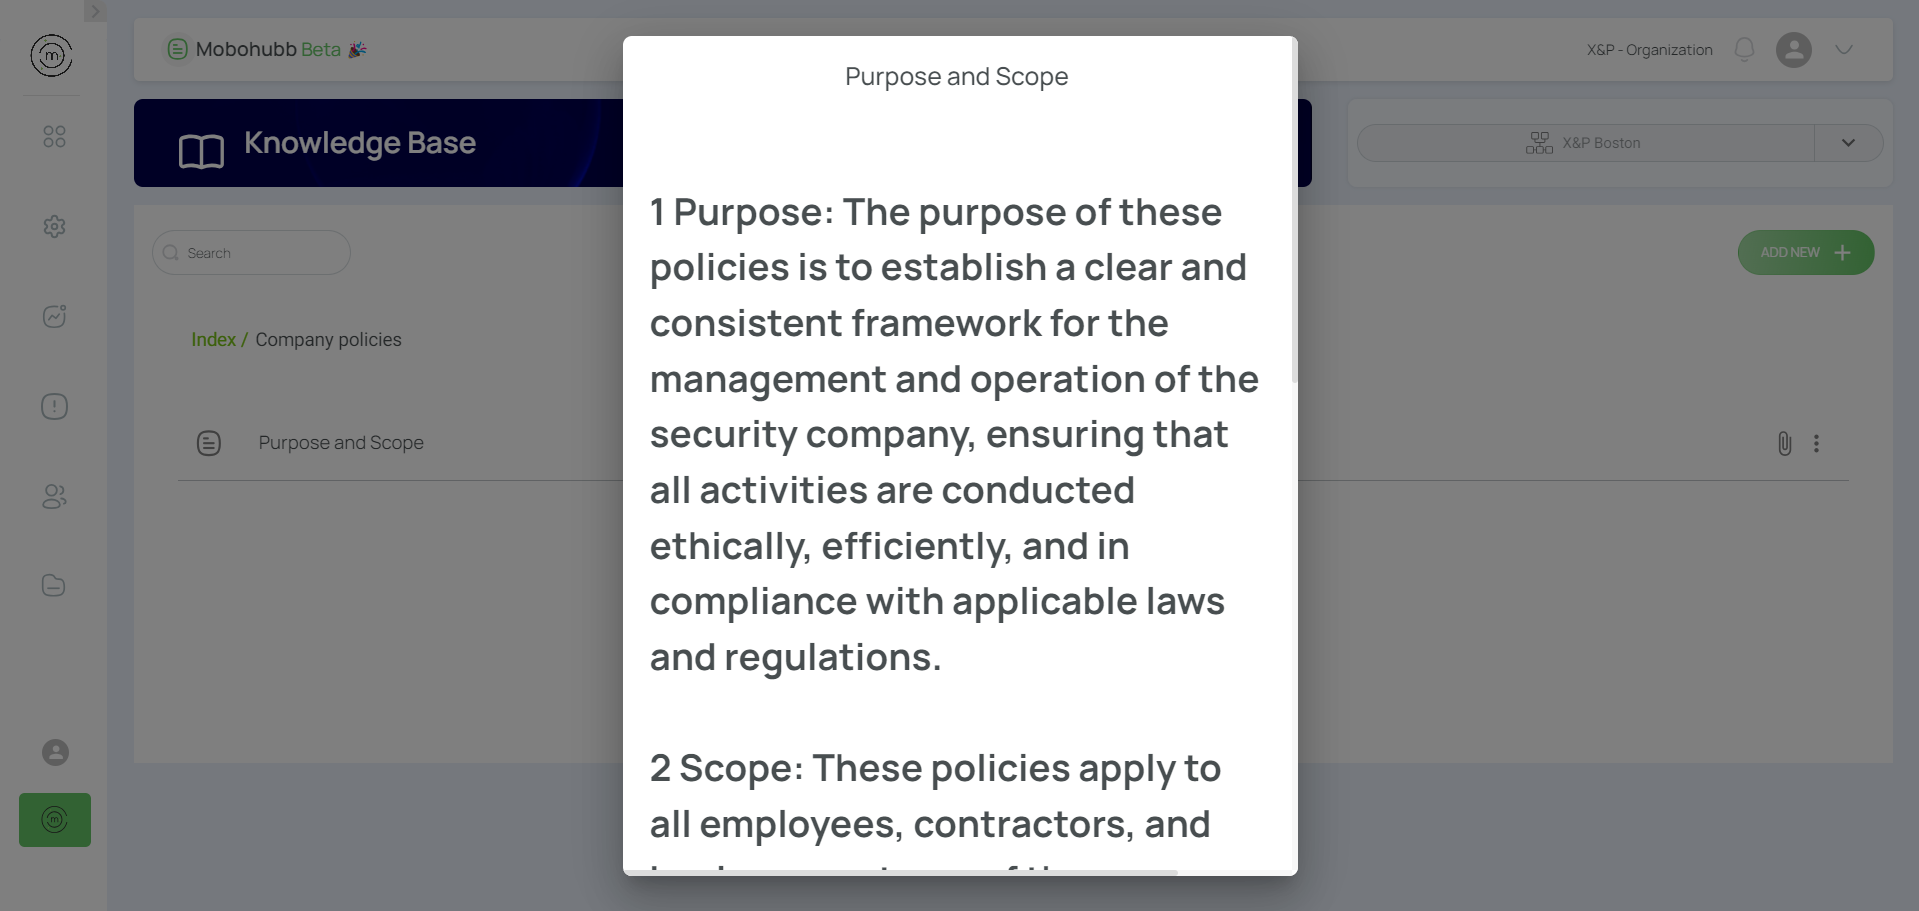
- Preview the article by clicking on it.
Navigate
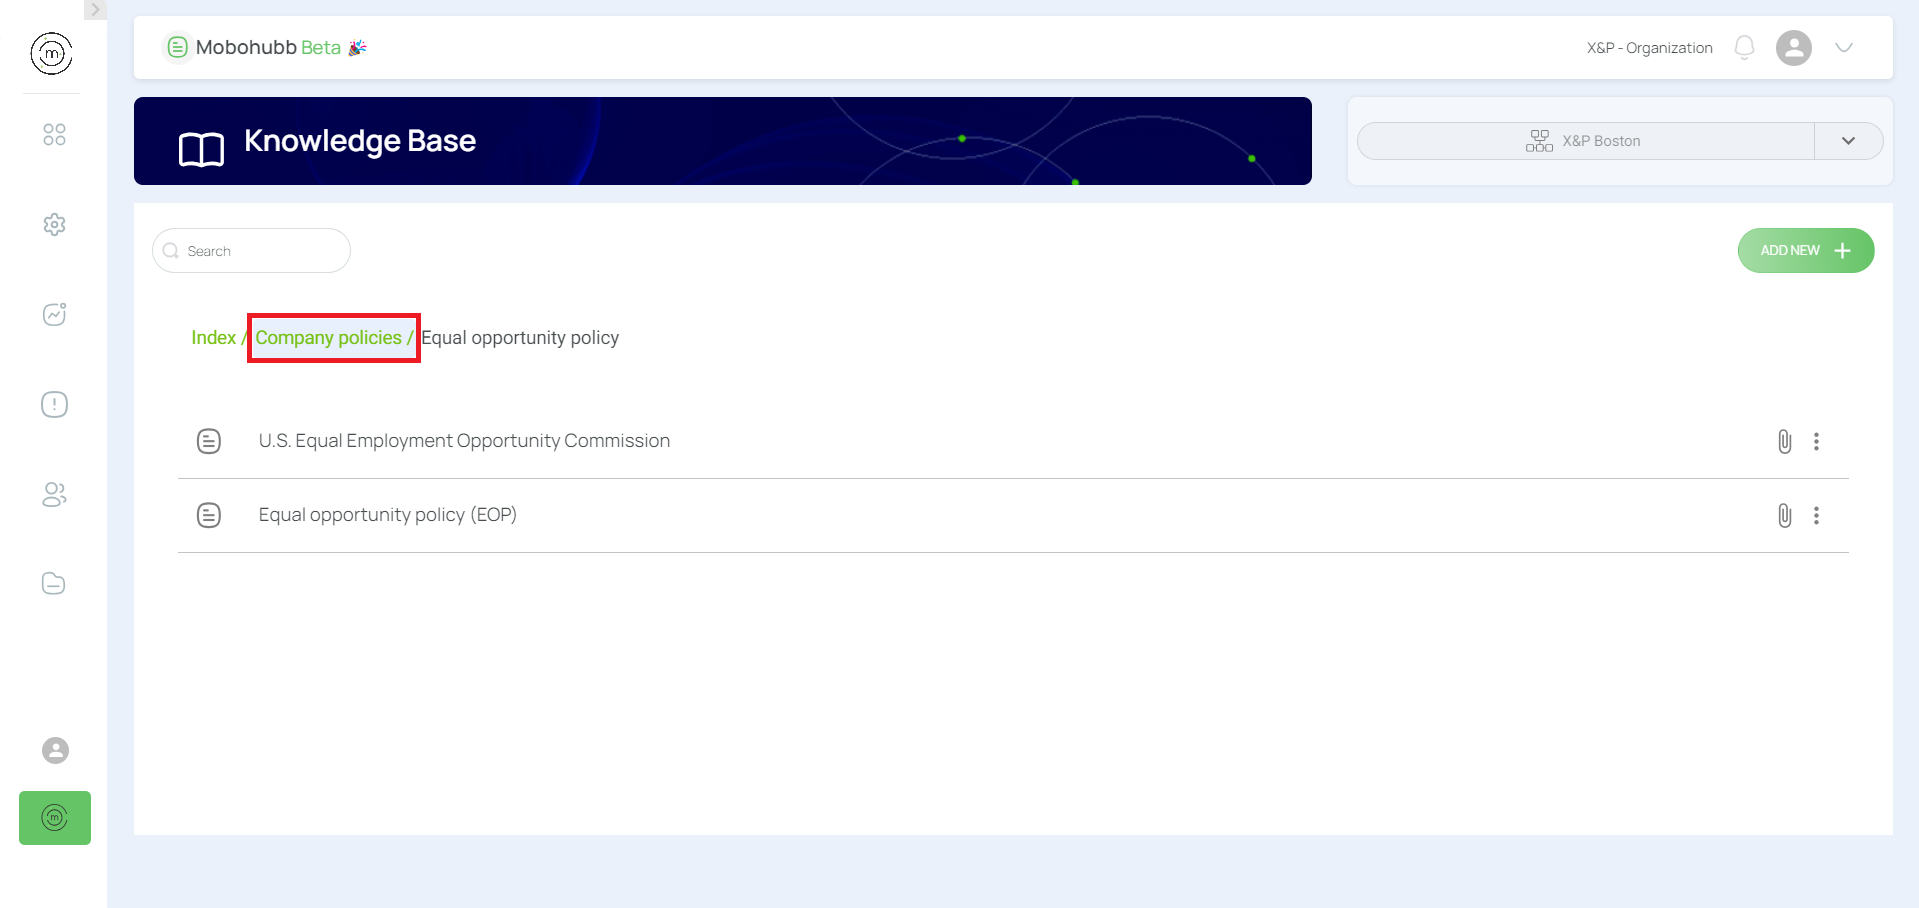
Easily locate and move between folders using the directory index:
- Directory Index in “Knowledge Base”

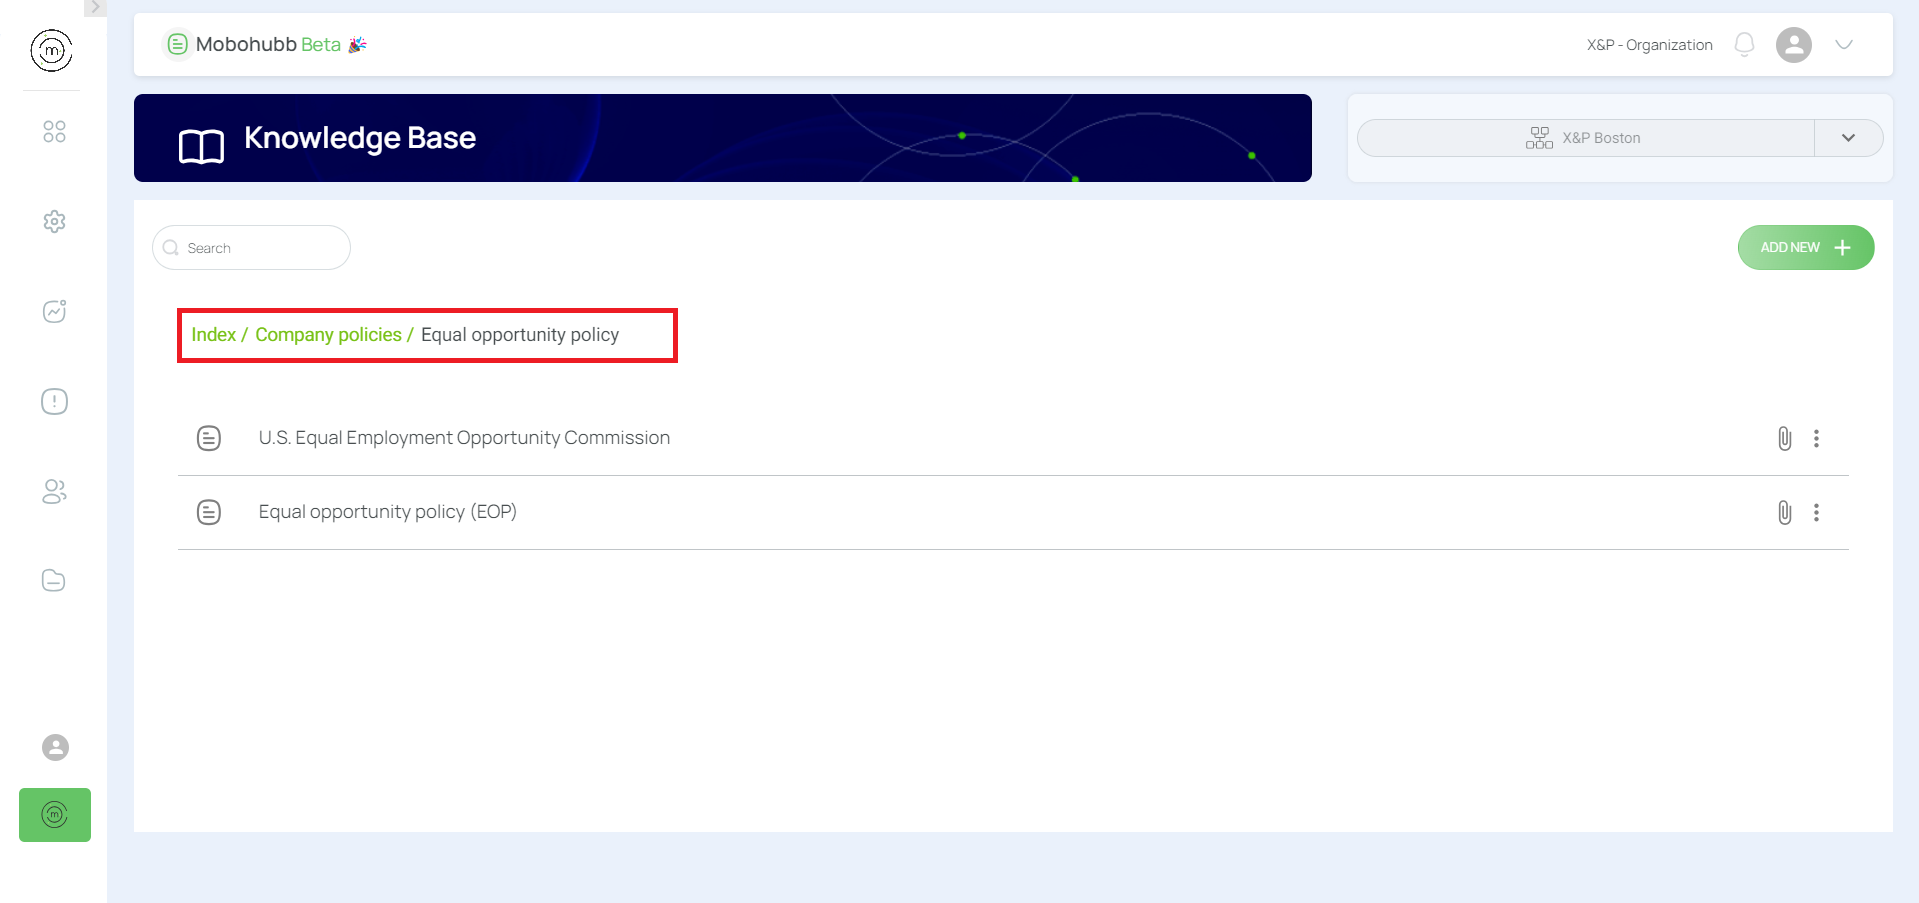
- Click the folder to open/navigate

Note: Use filters to quickly find articles or folders.


Edit an Article
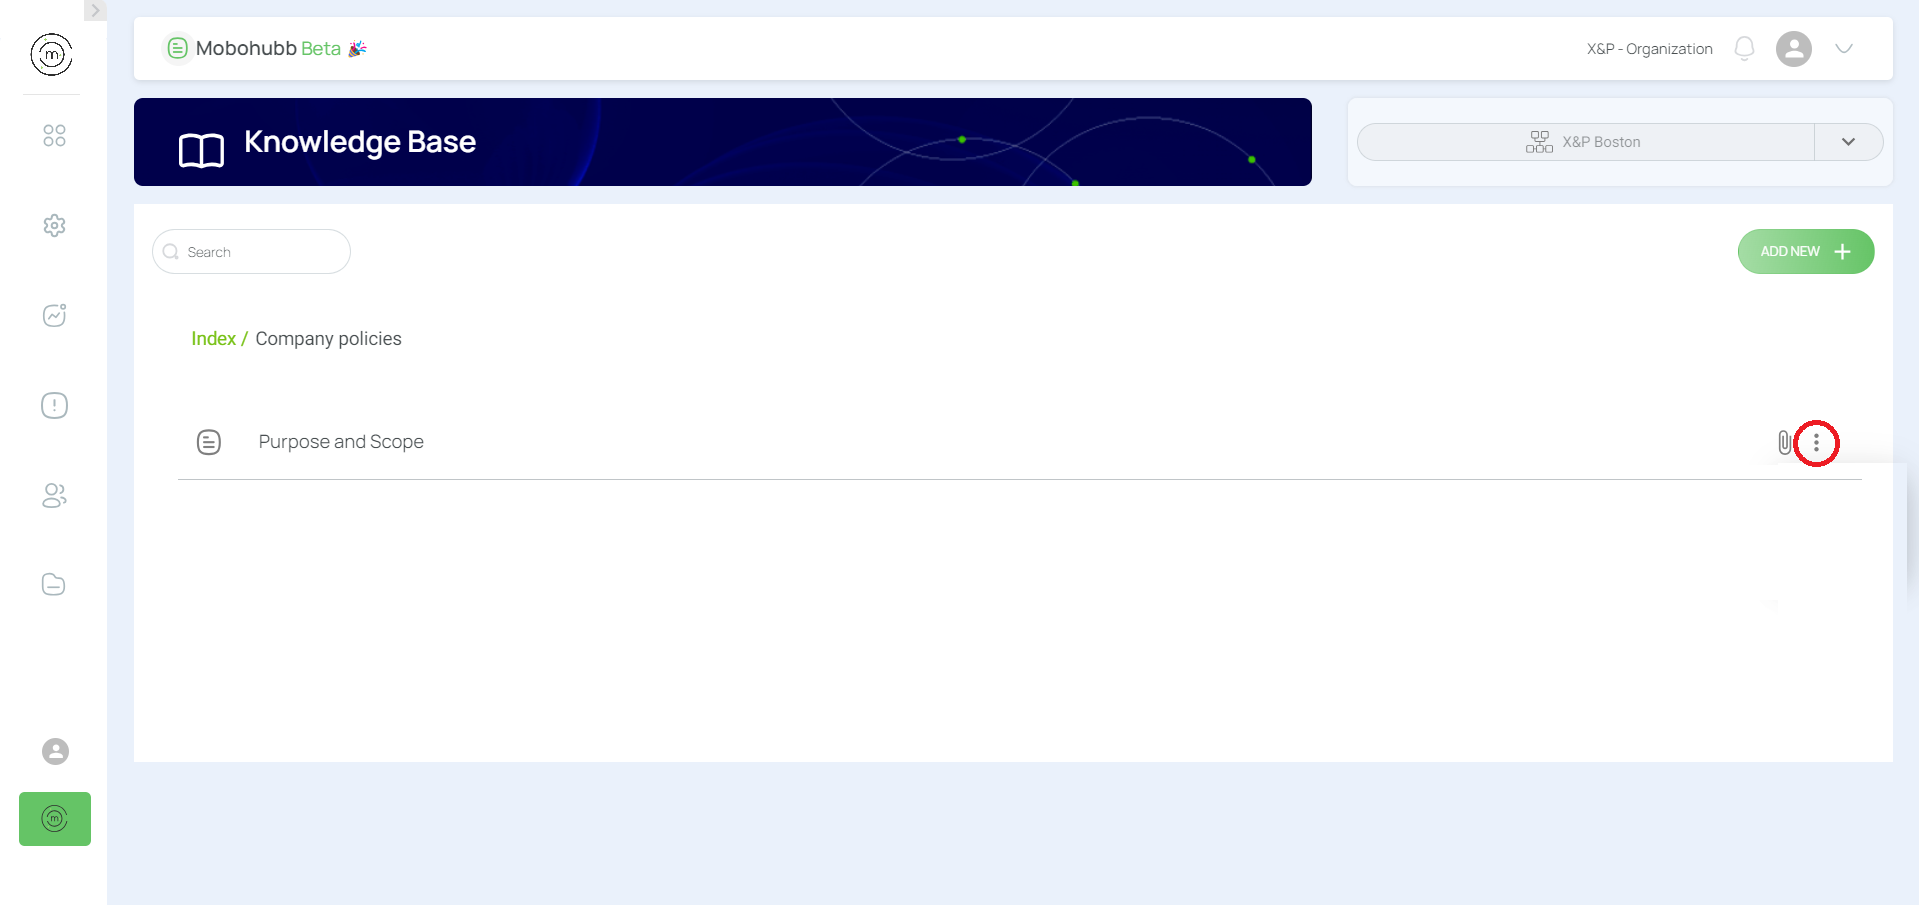
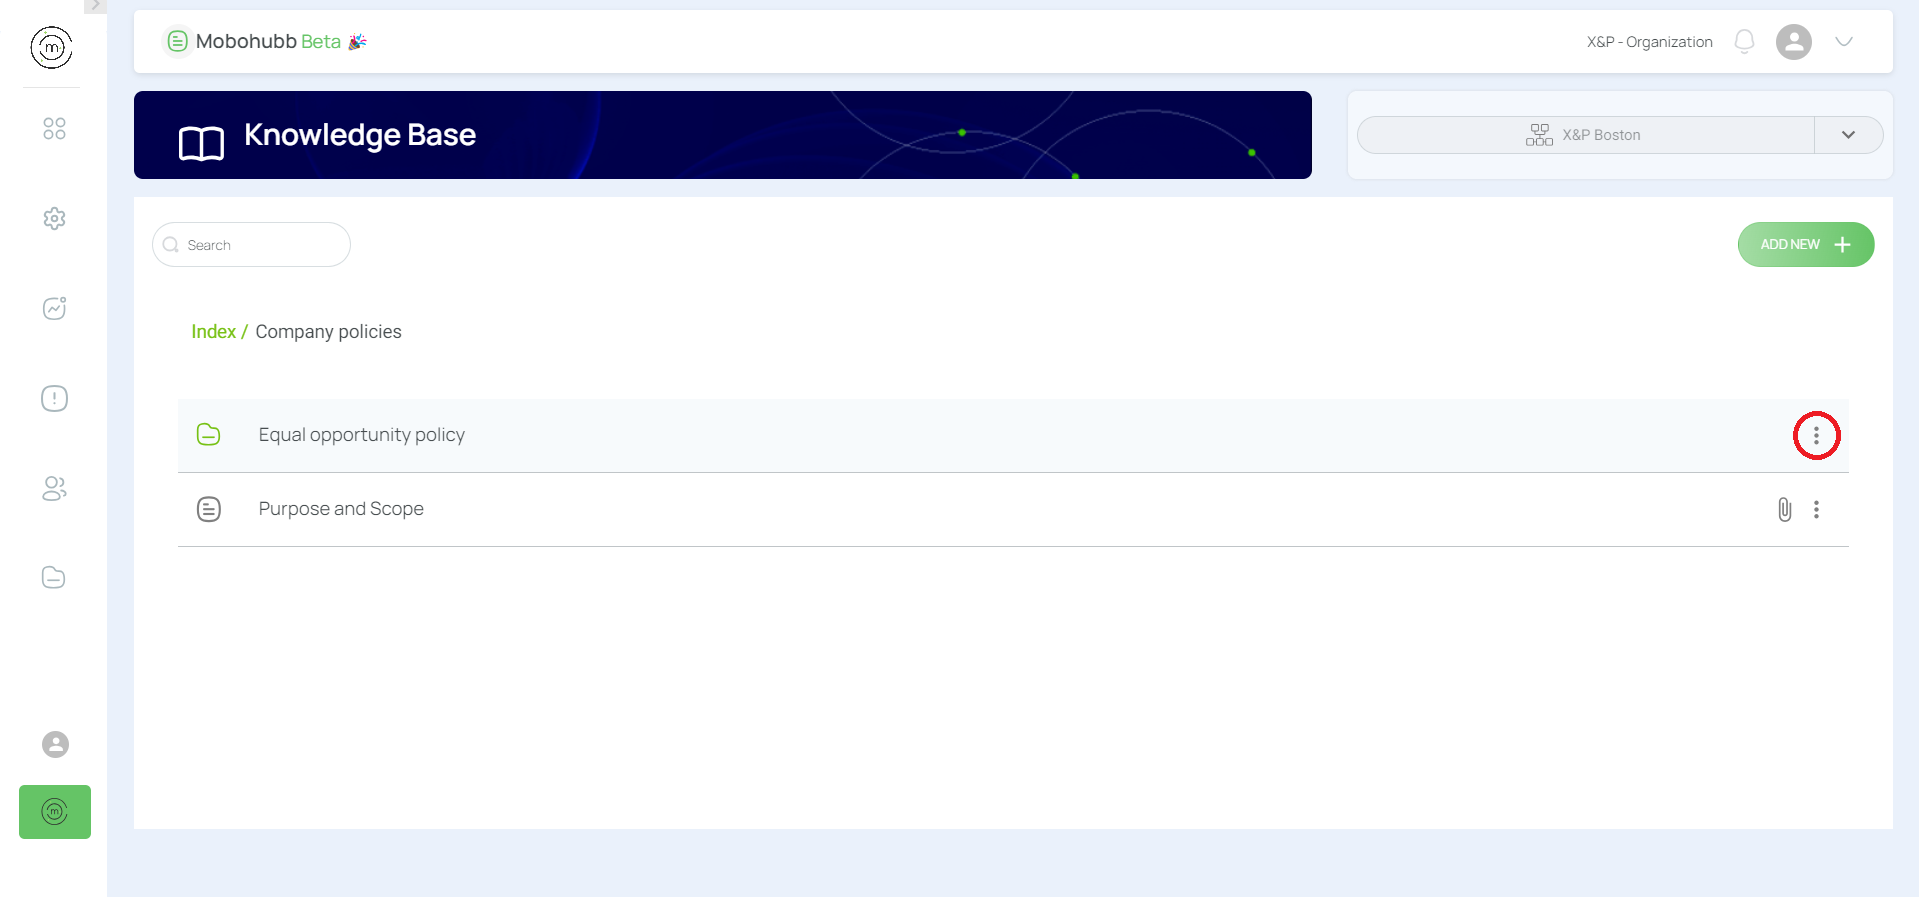
- Identify the article and click the 3-dot menu.

- Click “Edit”.
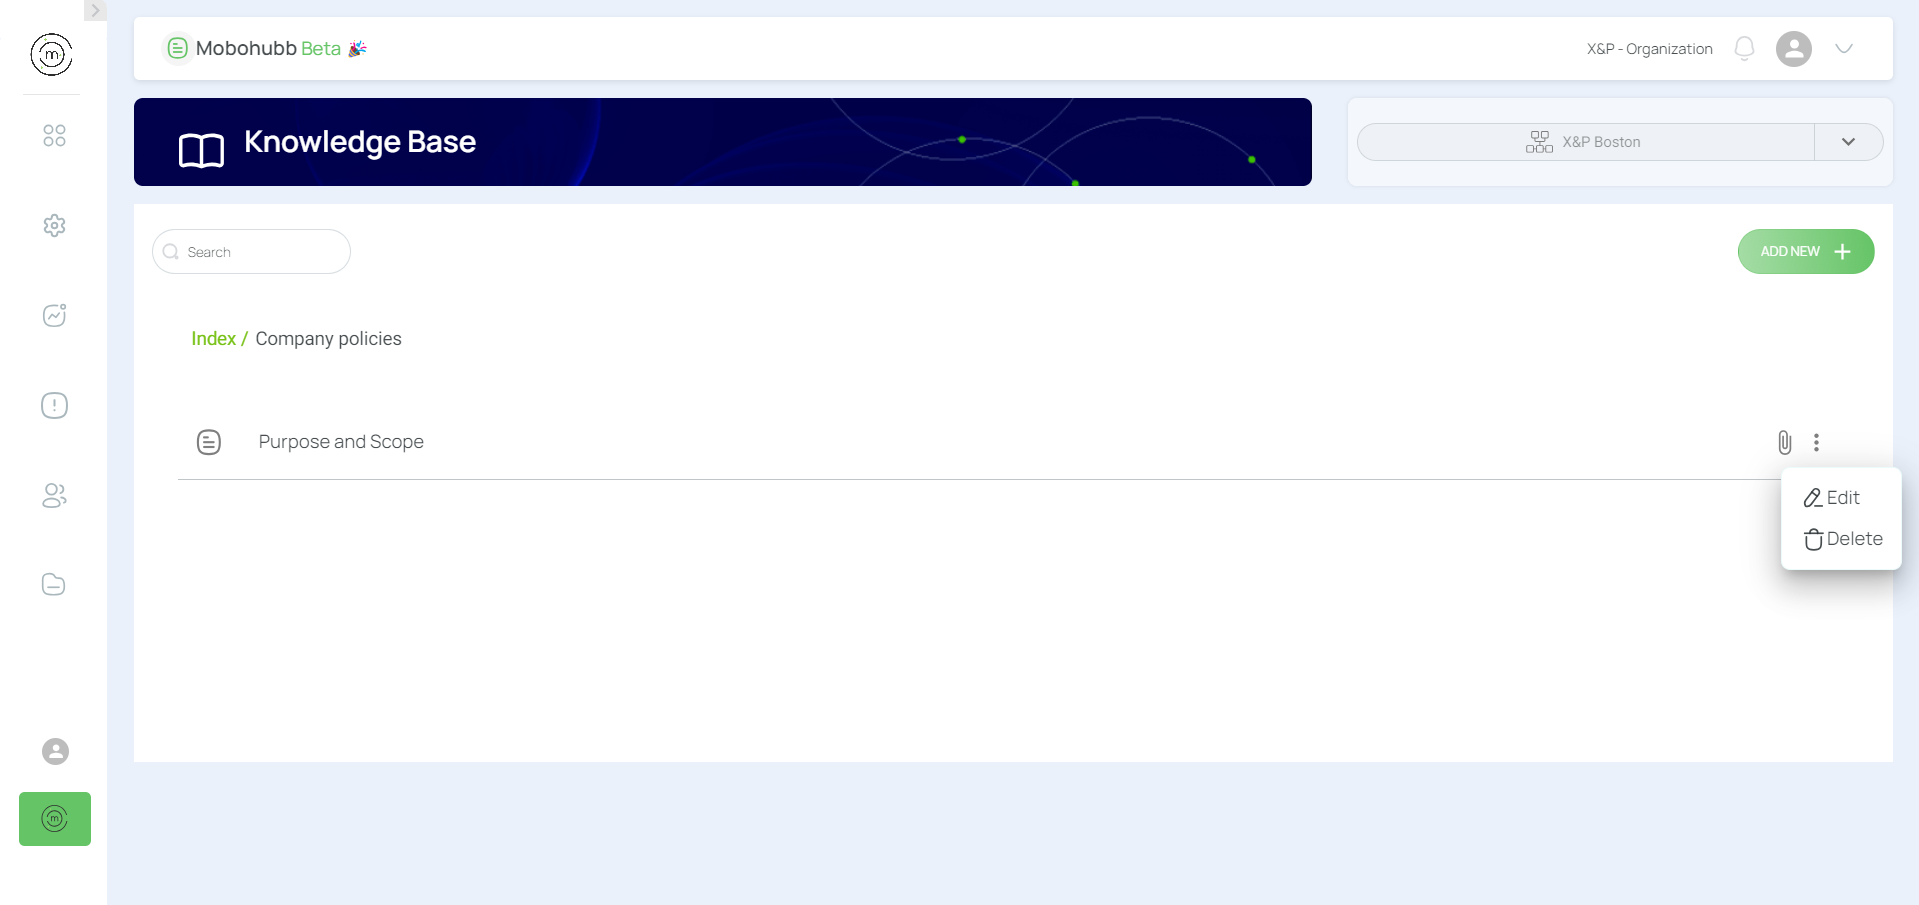
- Update the article’s data: name, body, attachments, images.
- Save and Close.
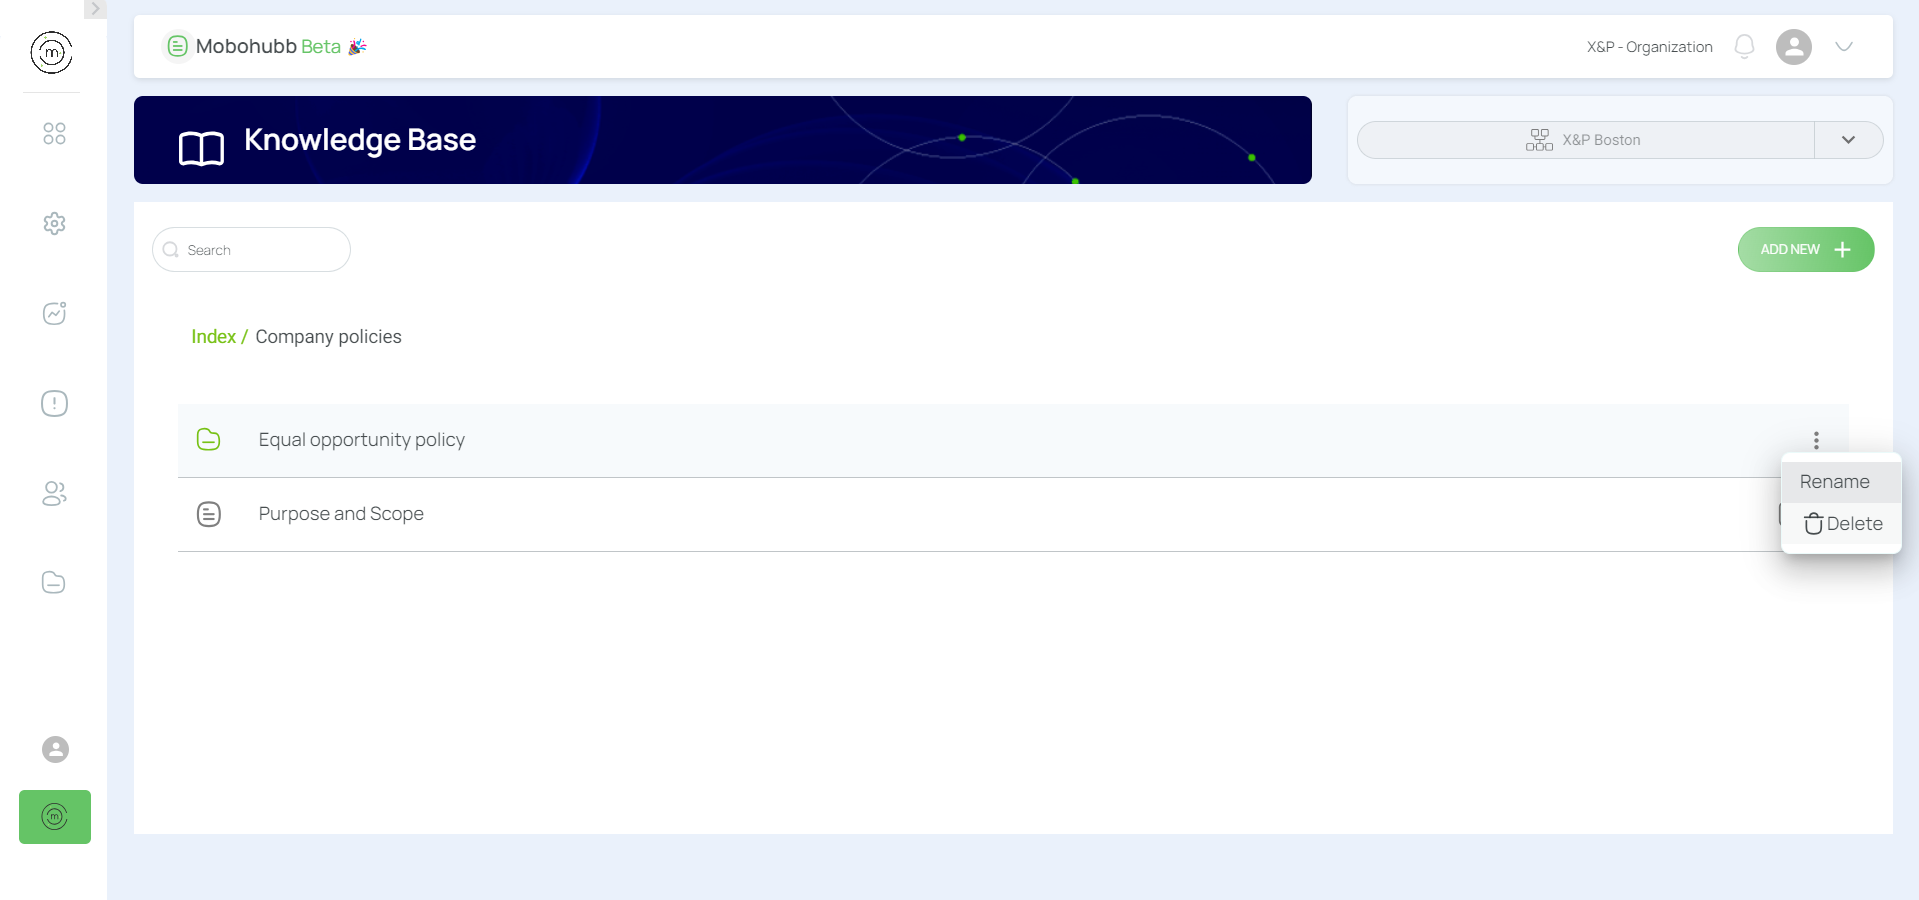
Edit a Folder
- Identify the folder and click the 3-dot menu.
- Click “Edit”.

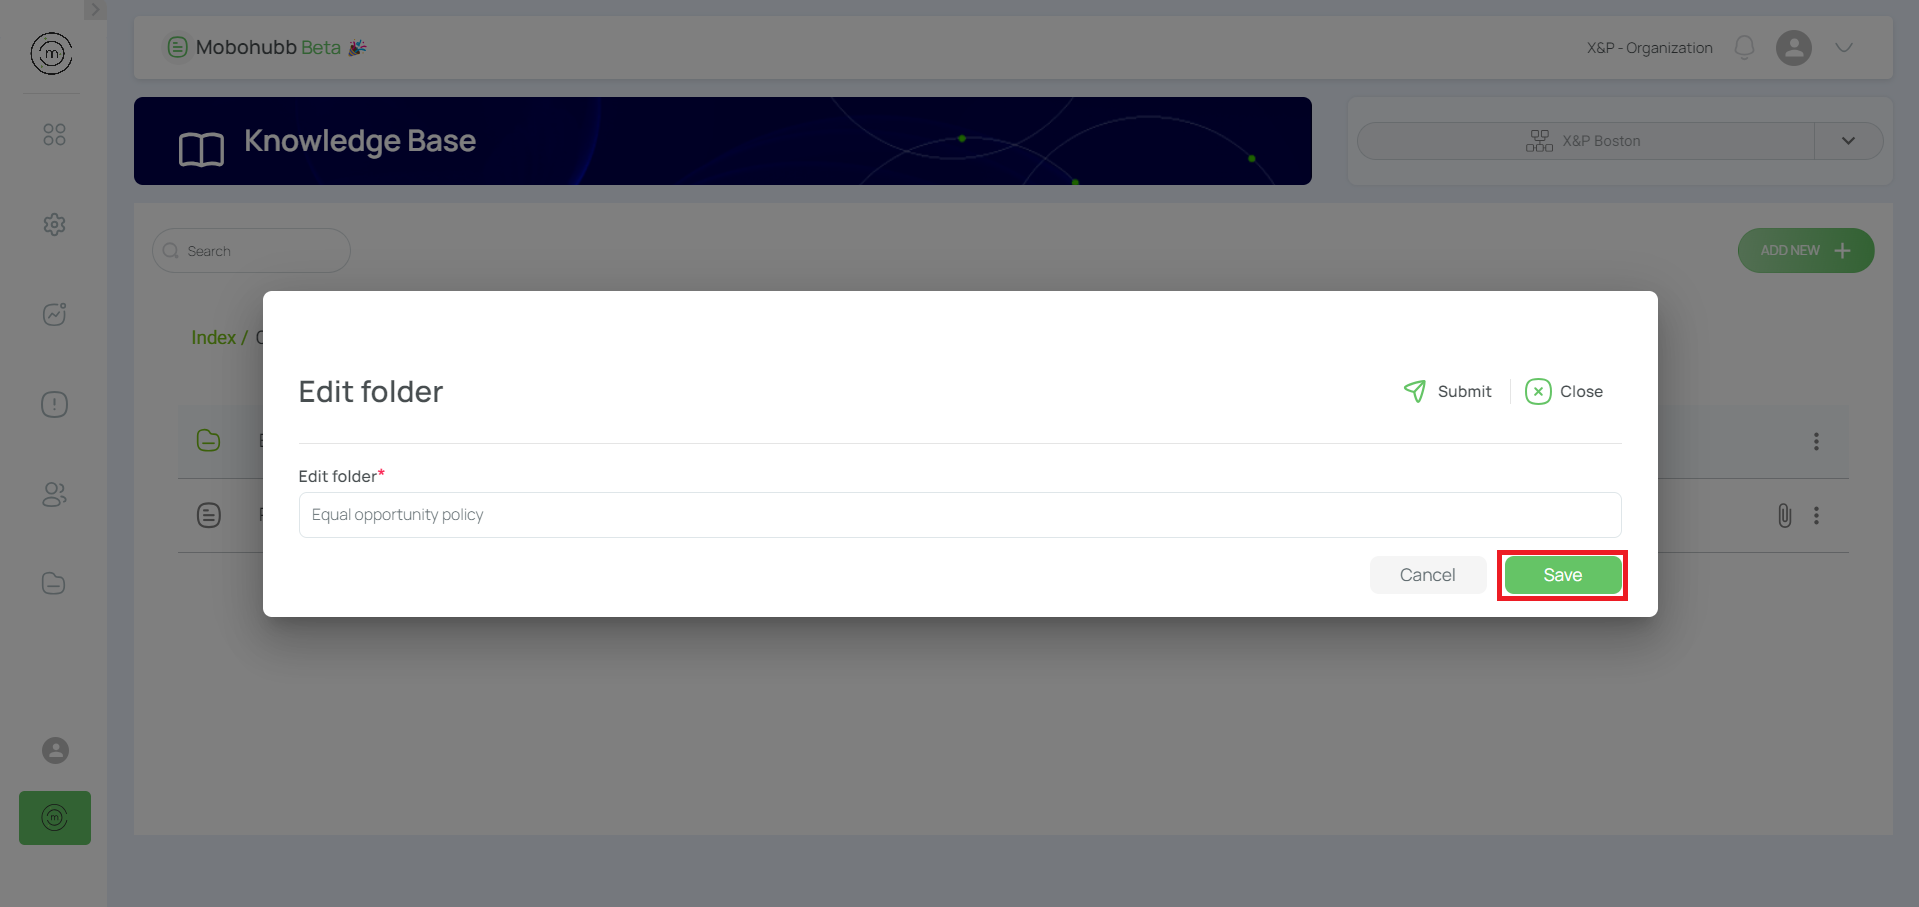
- Update the folder name.
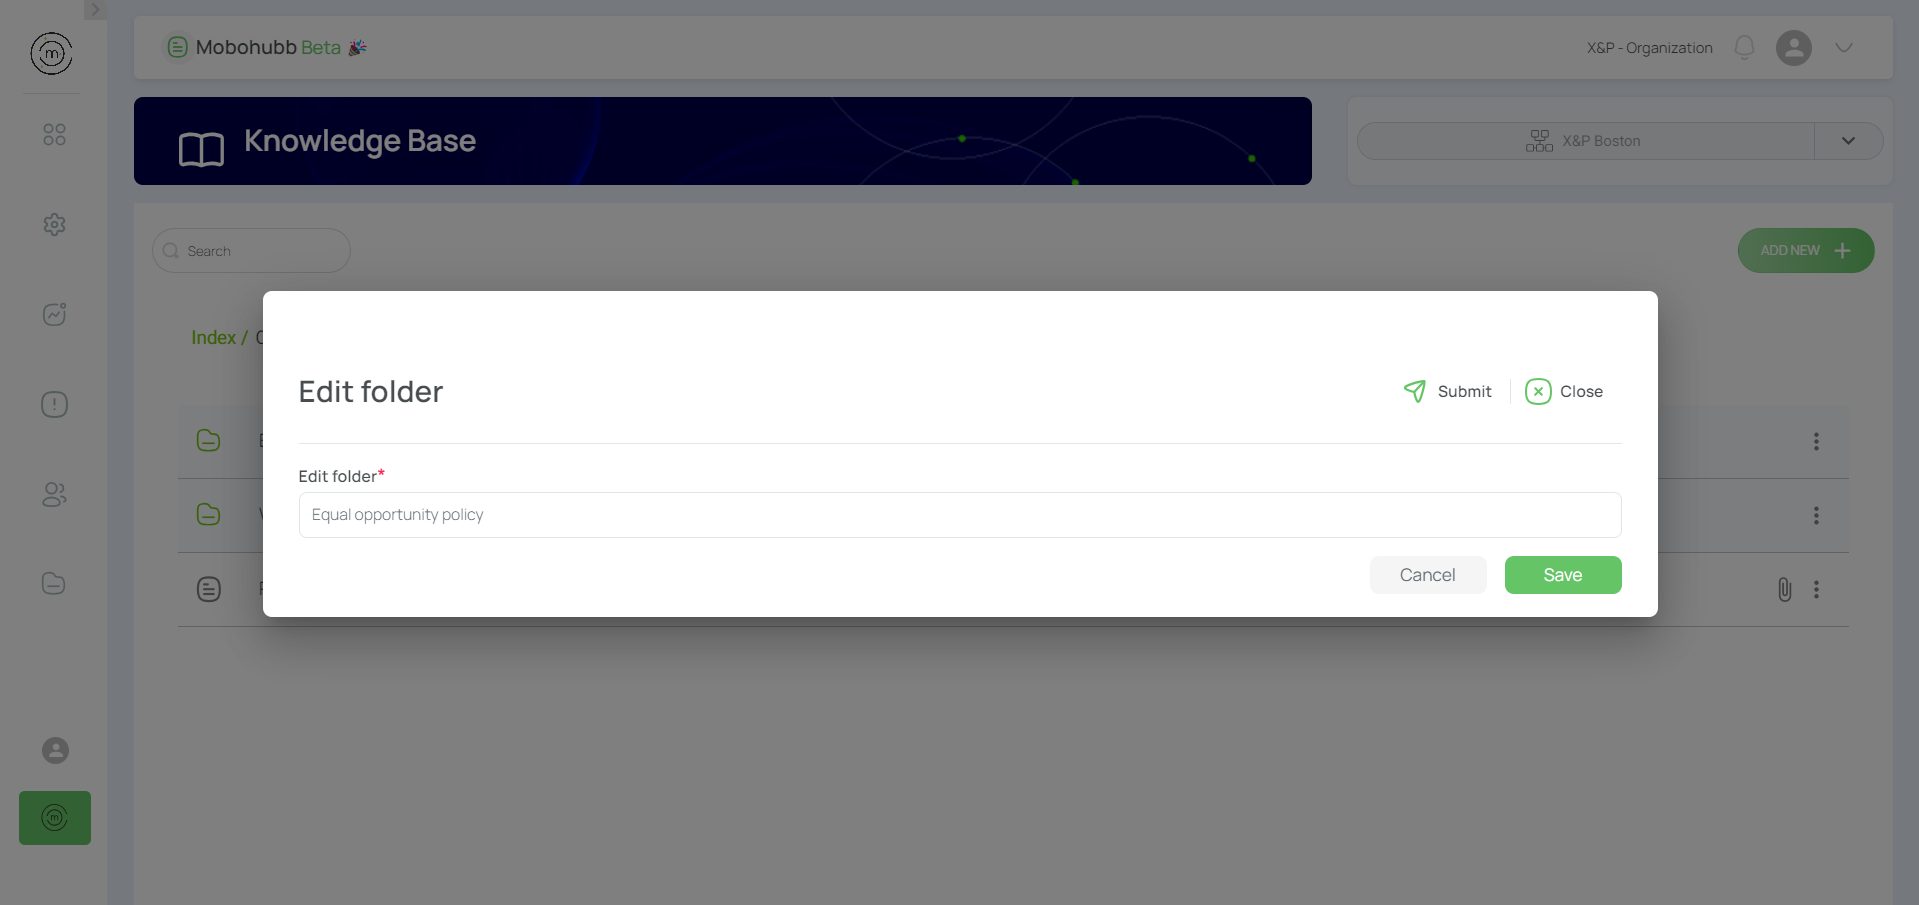
- Save and Close.

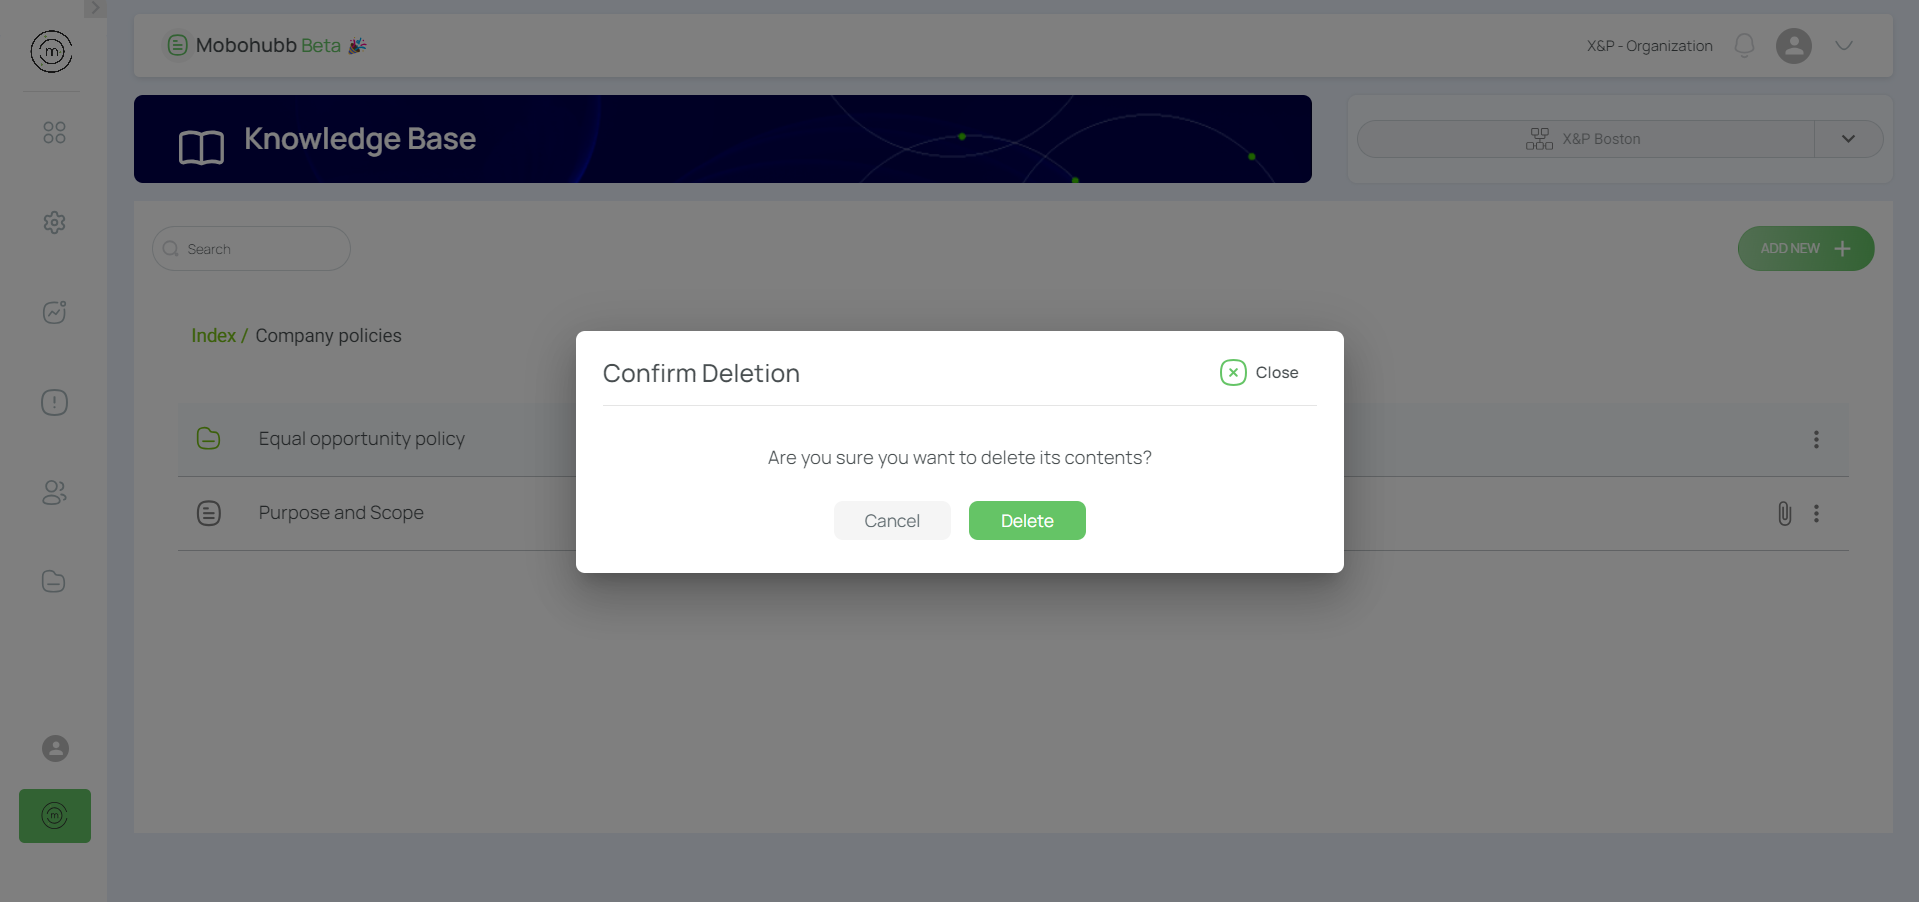
Delete an Article
- Identify the article and click the 3-dot menu.
- Click “Delete”.

- Confirm the deletion.

Delete a Folder
Warning: Deleting a folder removes all its contents, including subfolders and files.
- Identify the folder and click the 3-dot menu.
- Click “Delete”.
- Confirm the deletion.