Timesheet
Learn how to review, edit, approve, export, and manage timesheet entries across sites.
In This Guide You'll Learn
- How to prepare the required time settings and understand how the timesheet period works
- How to review, filter, export, and approve timesheet entries
- How to use the Editing Card, alerts, and multisite view for more detailed time management
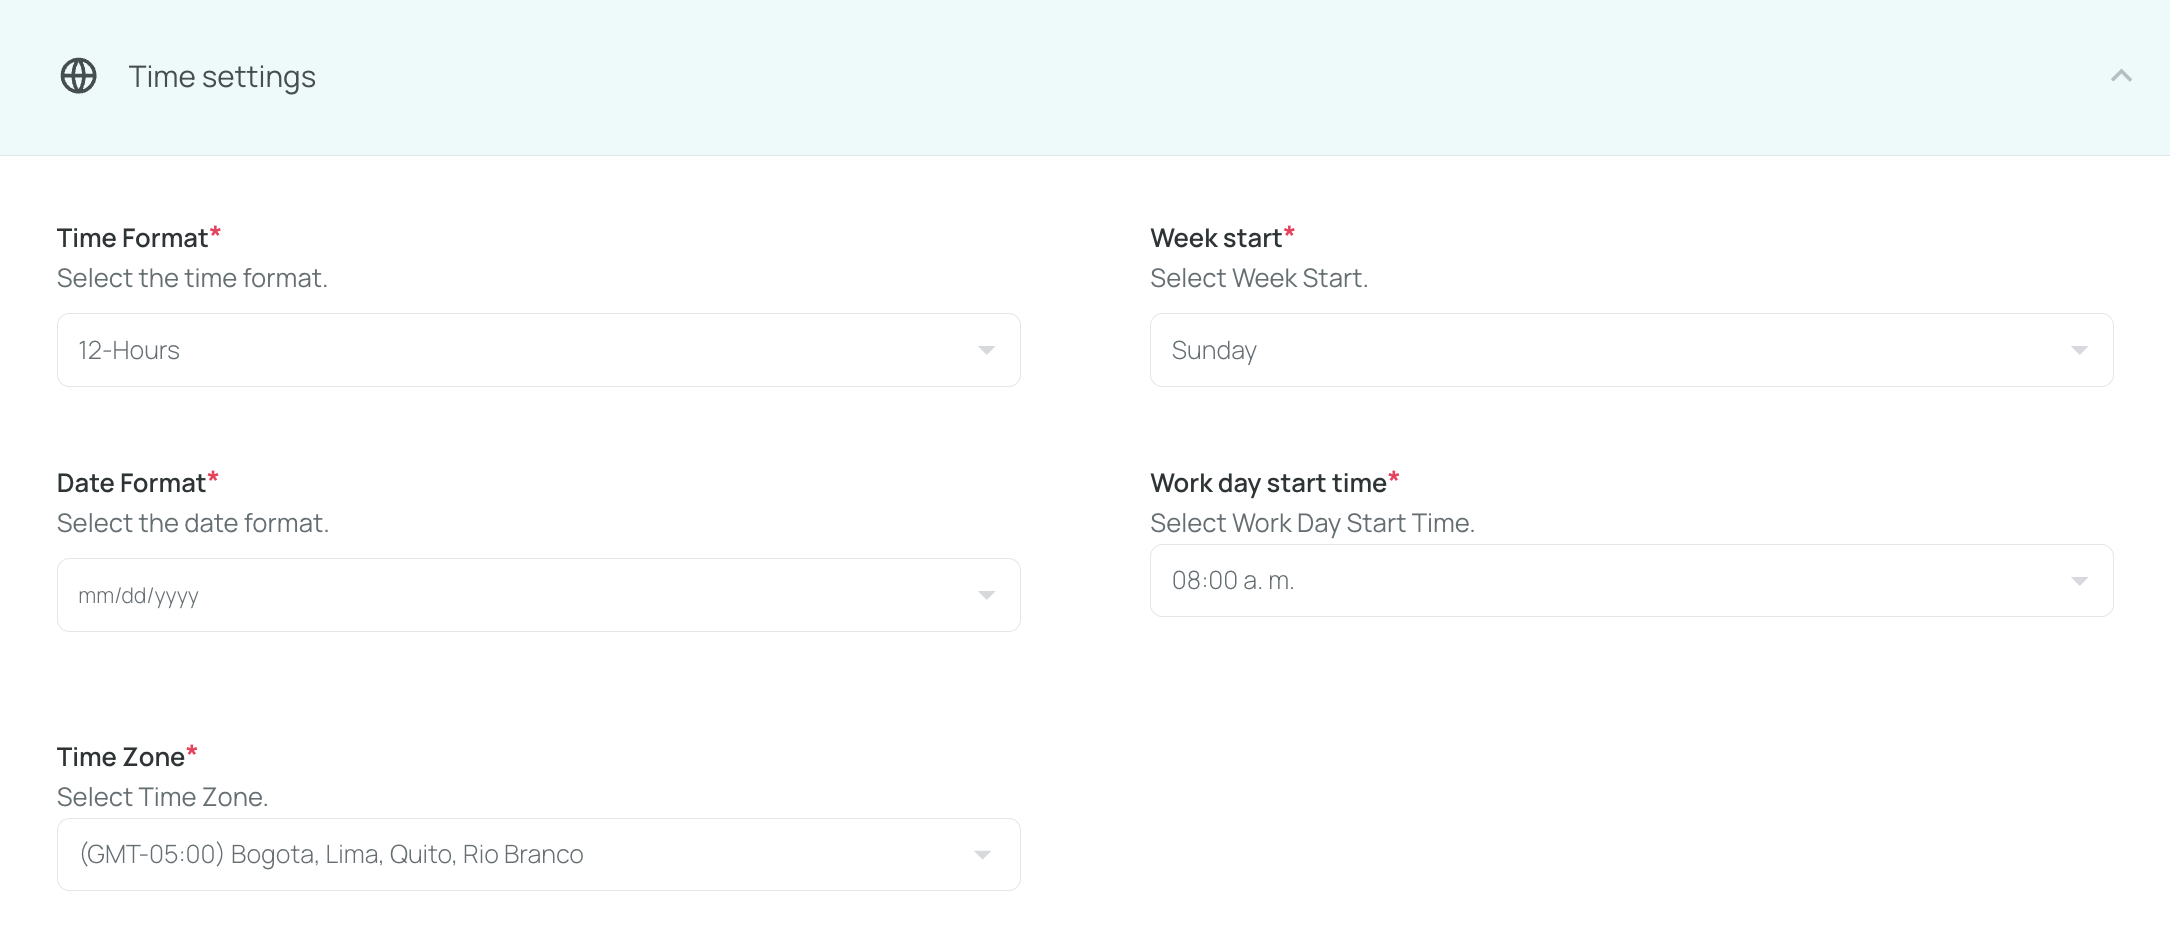
Before You Begin
Before working with the timesheet, make sure the basic time settings are configured at either the site or organization level, depending on your setup.
These settings define the TRP (Time Reported Period) and affect how timesheet data is displayed:
- Week Start: Defines the first day of the work week
- Work Day Start Time: Defines when the work day begins
- Time Zone: Defines the local time used by the site or organization
By default, these settings can be configured as Sunday at 8:00 AM in the local time zone, but they can be updated to match your operational needs.
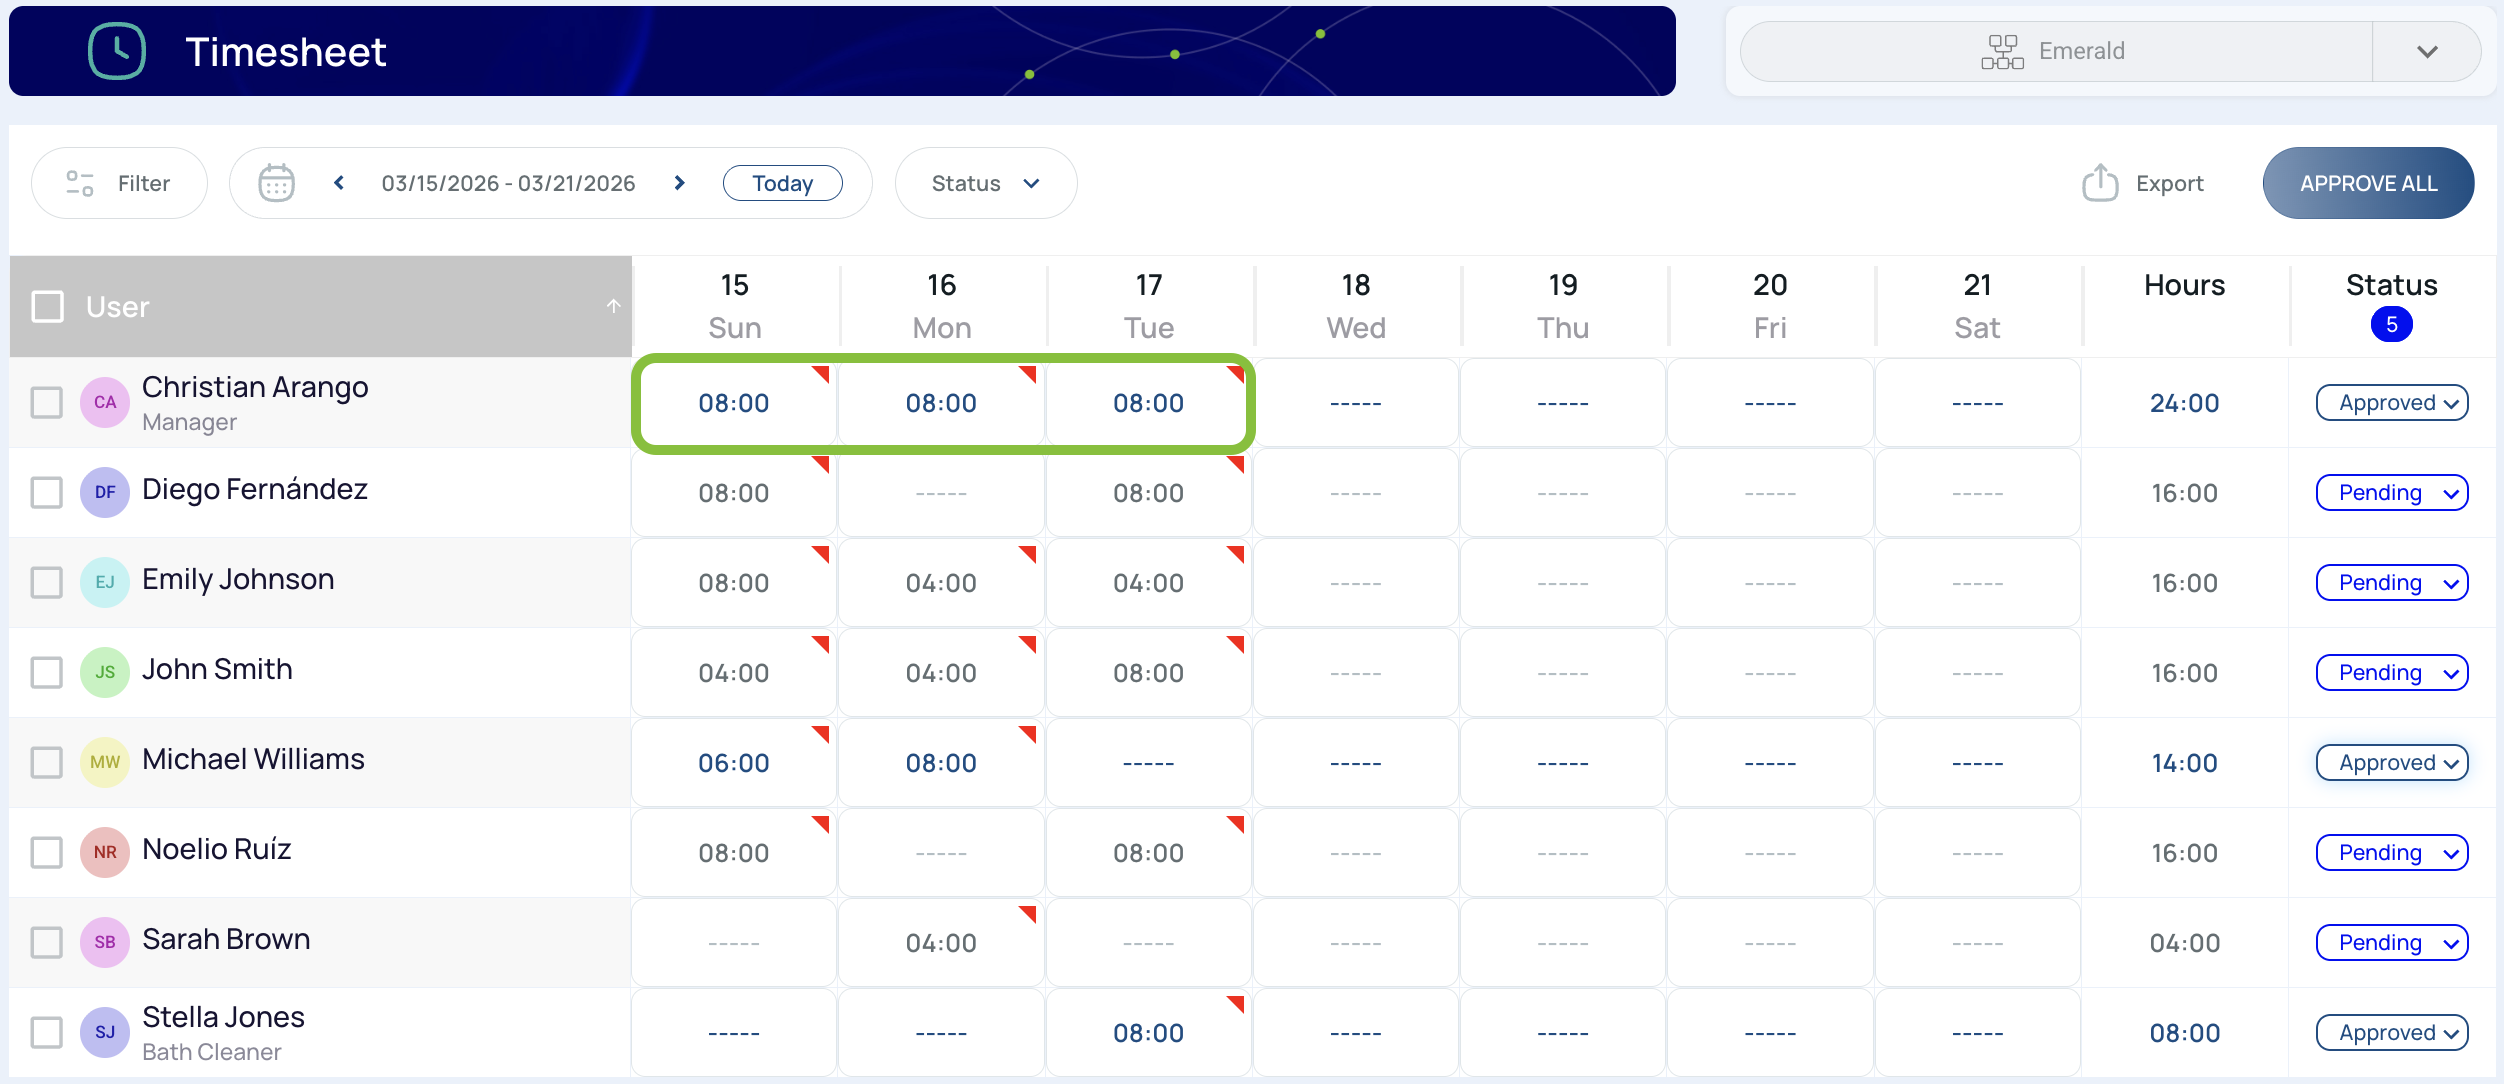
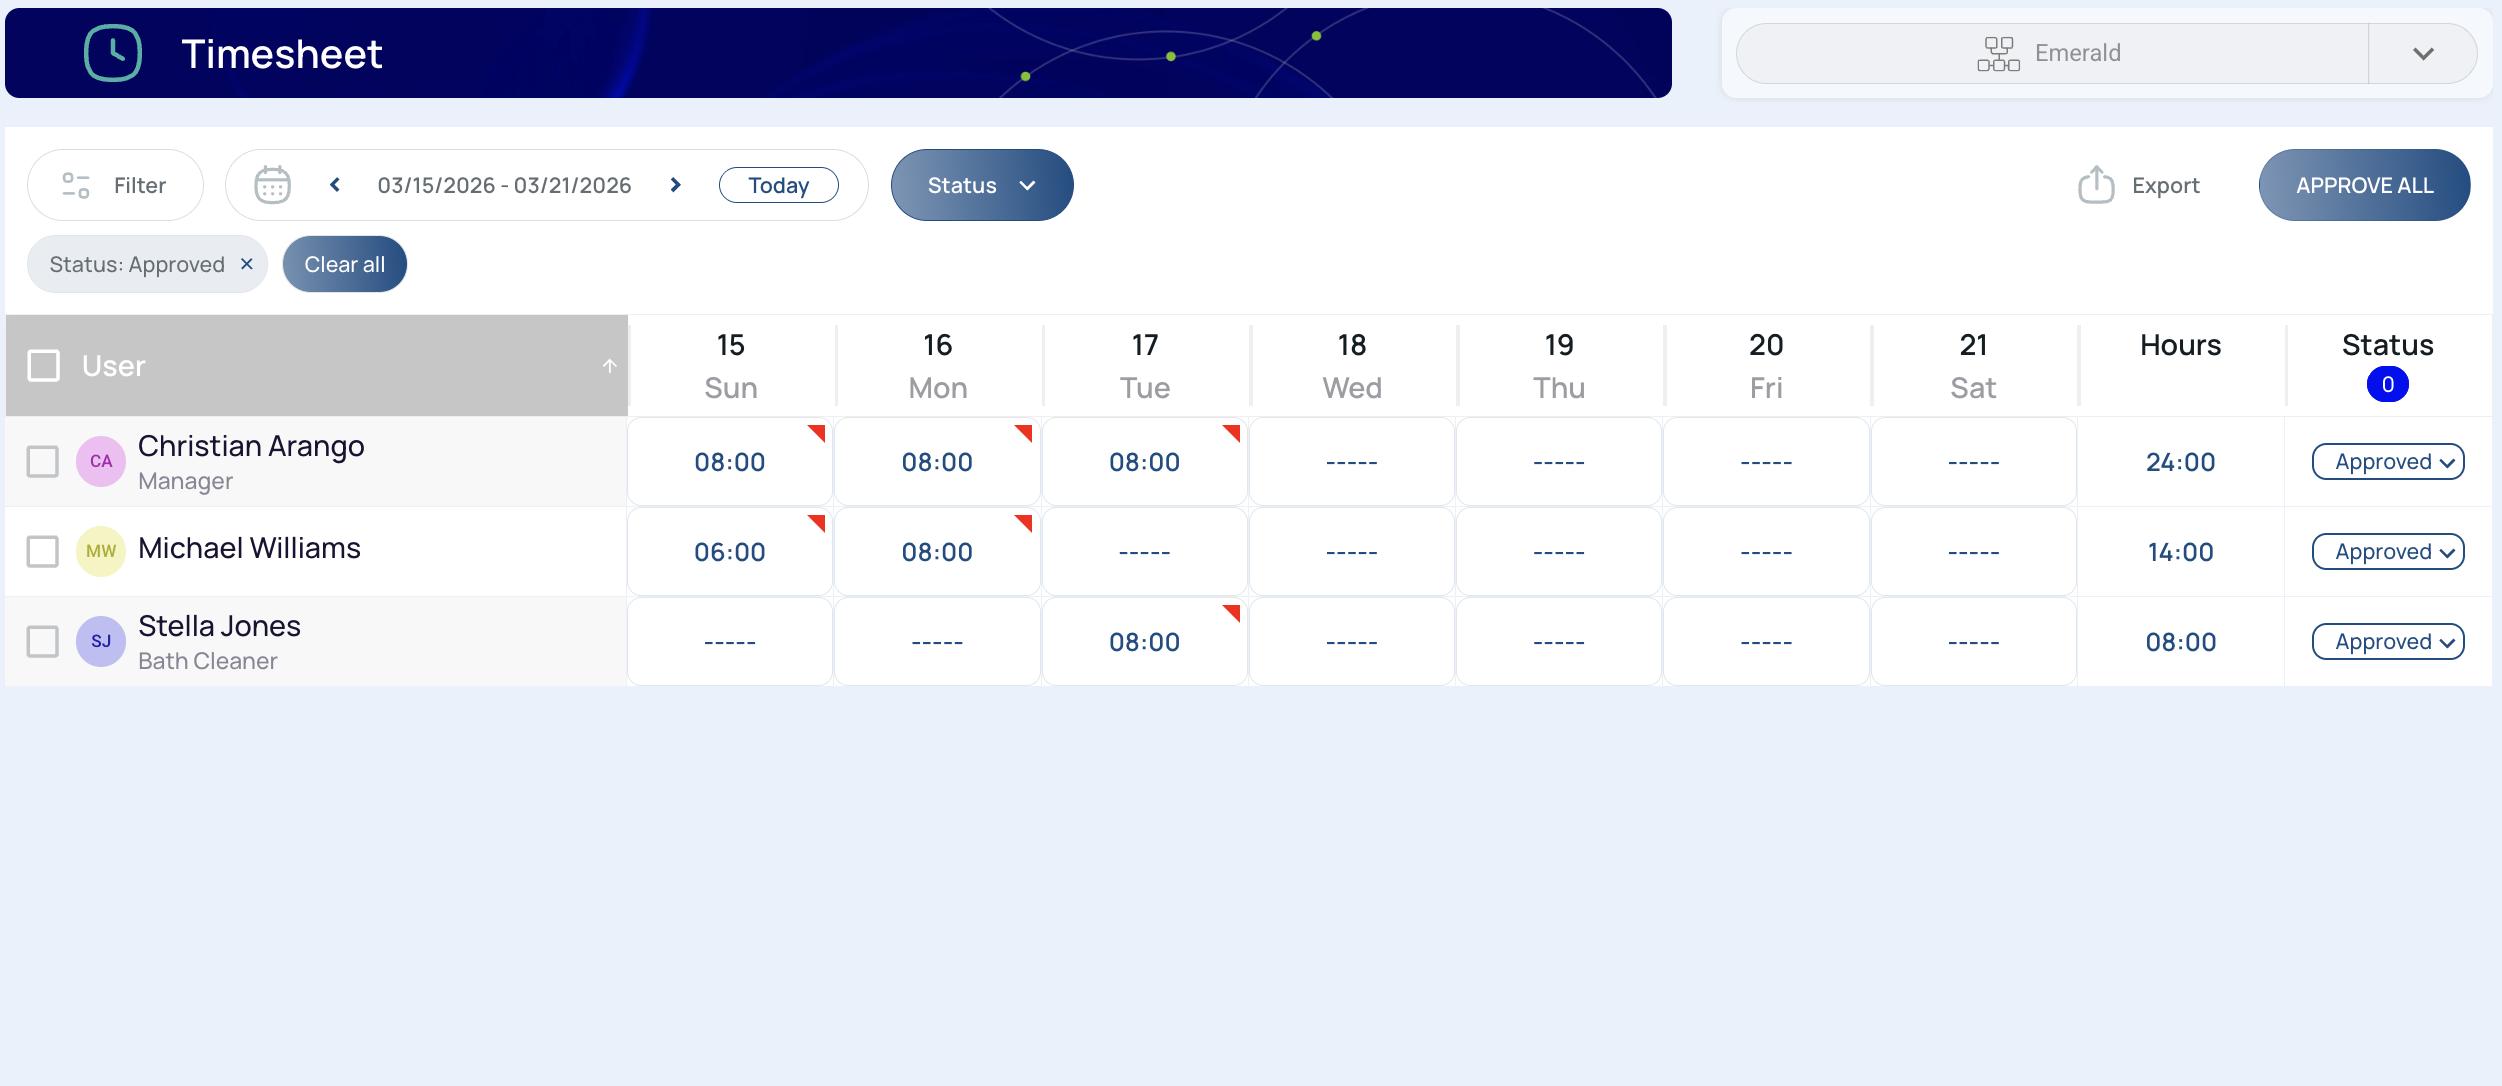
Timesheet Overview

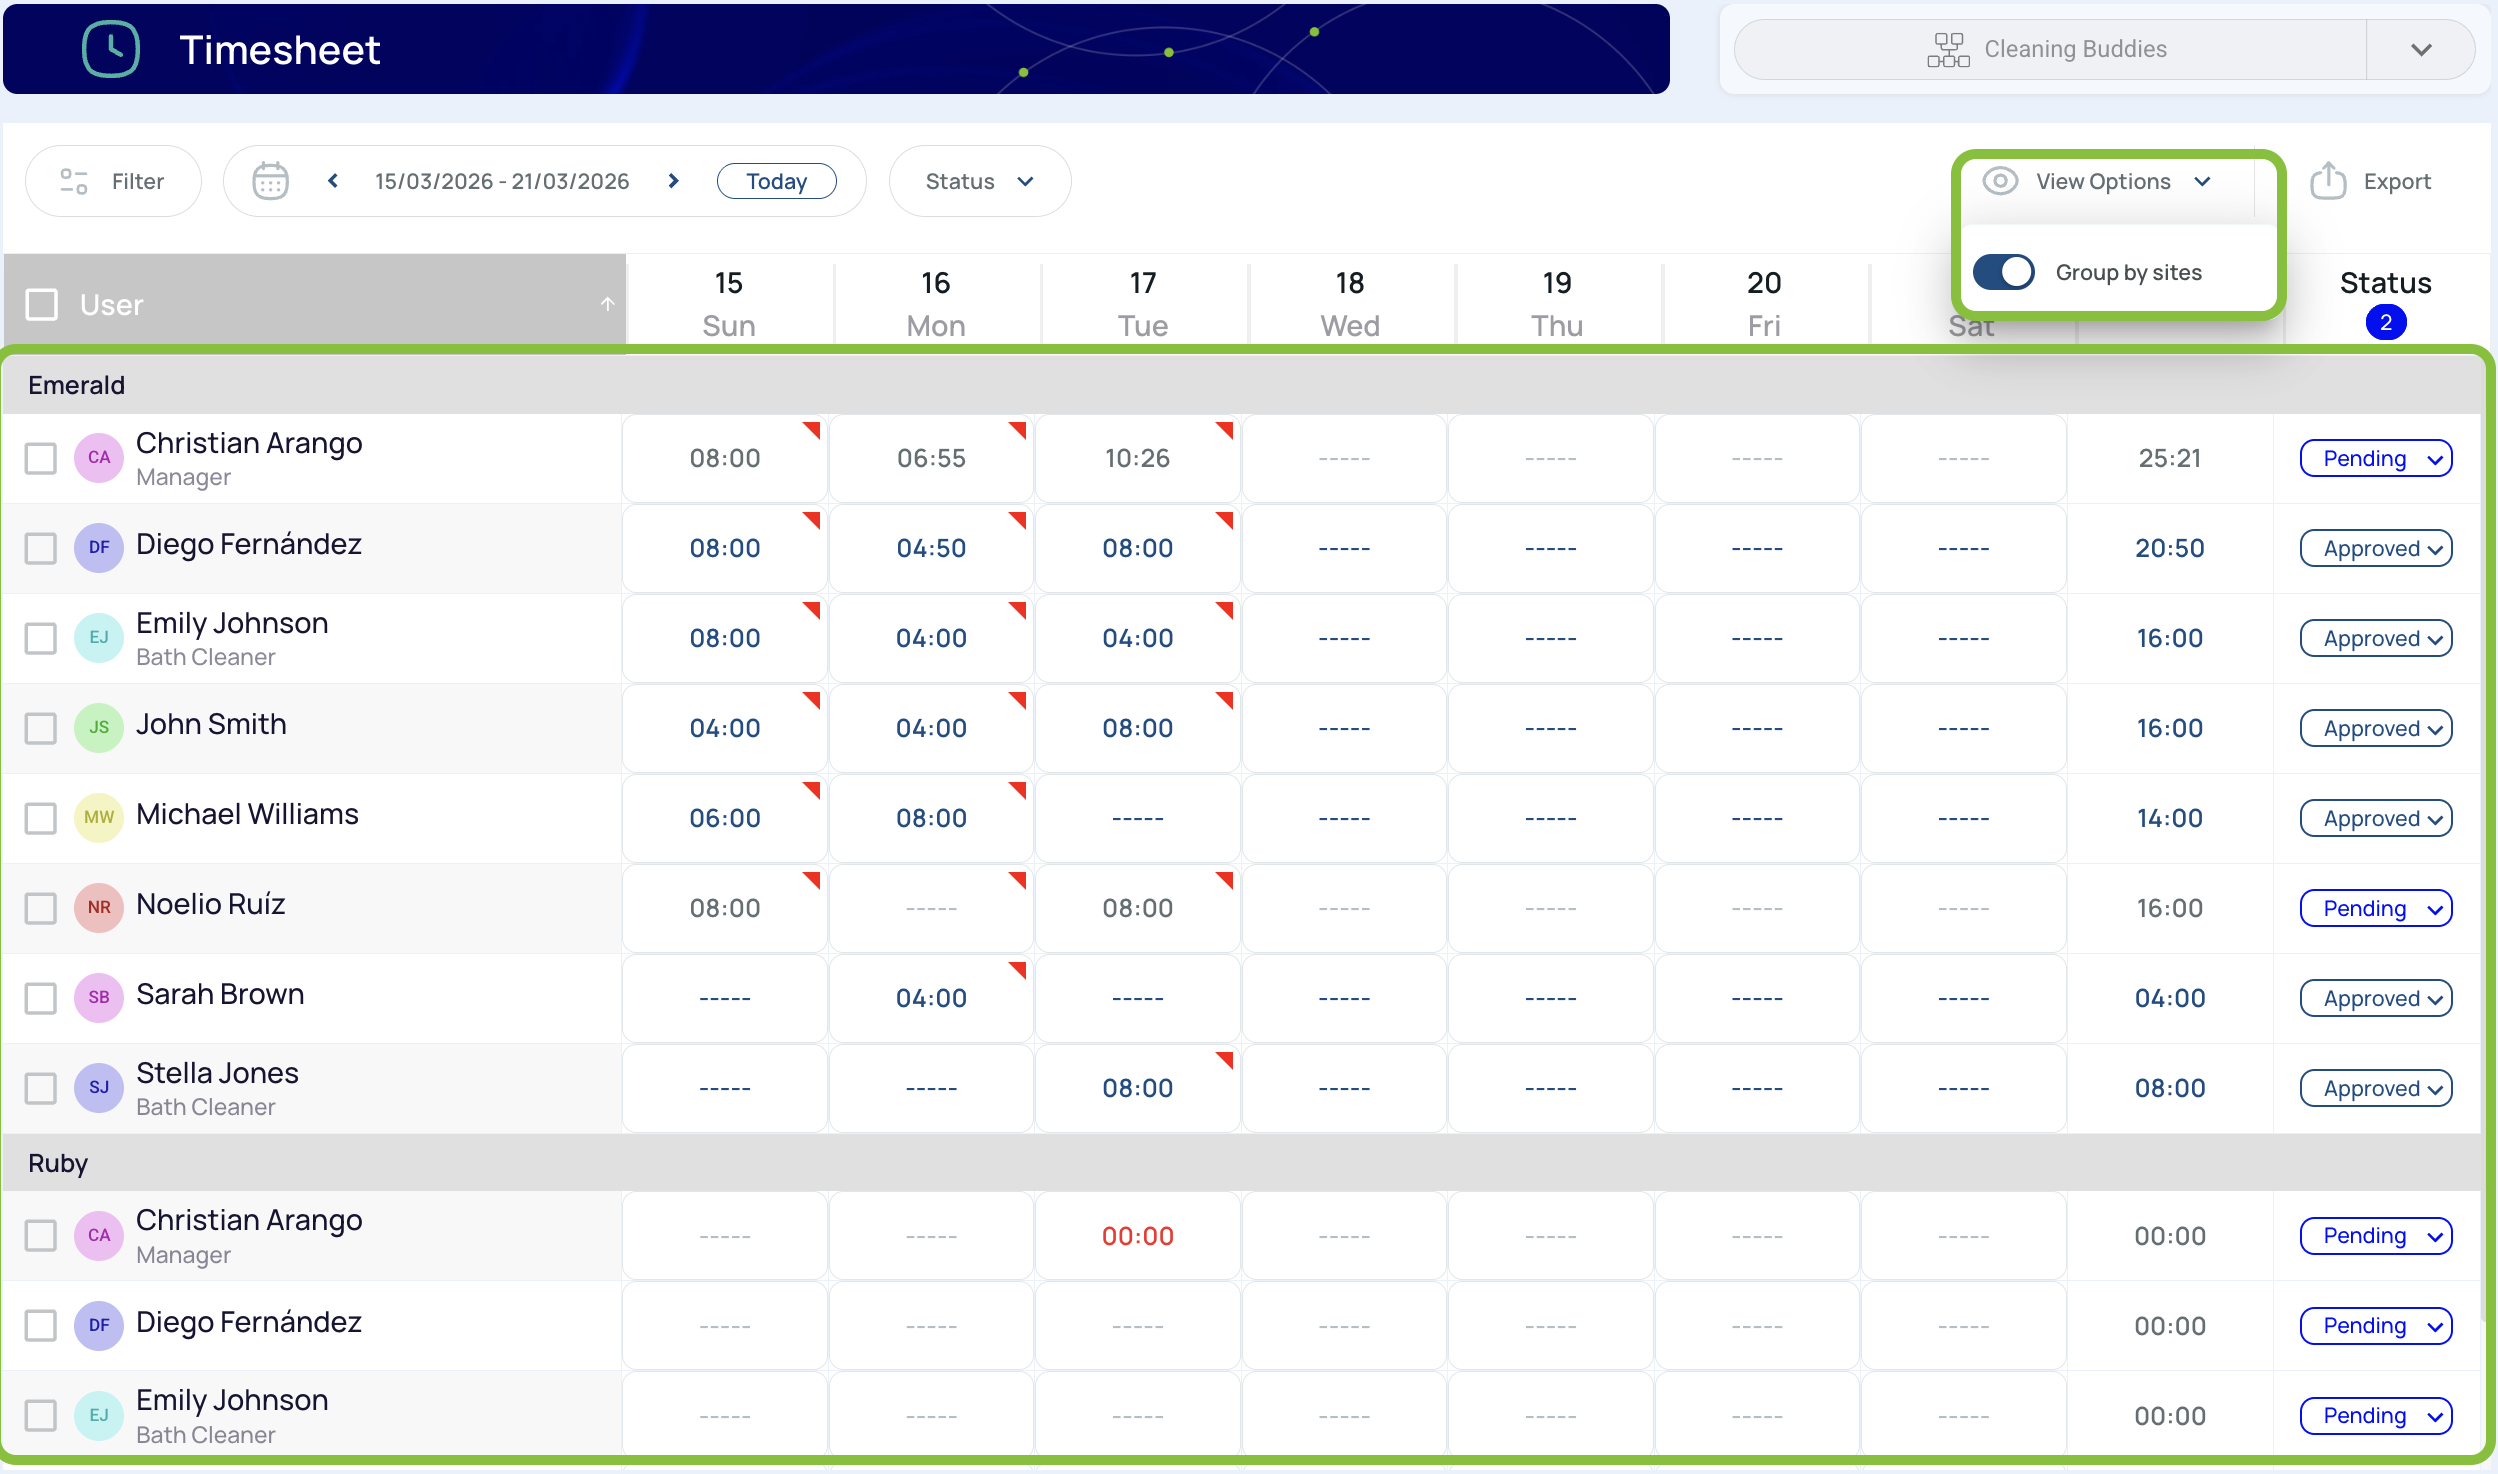
The timesheet gives you a weekly view of worked time by user.
- User: Displays the user’s name. You can sort this column in ascending or descending alphabetical order.
- Days of the Week: Displays the configured work week, always starting from the first day defined for the site or organization.
- Hours per Day: Displays the number of hours worked by each user on each day.
- Hours: Displays the total number of hours worked by the user during the week.
- Status: Displays the approval status of the user’s hours.
How Daily Entries Work
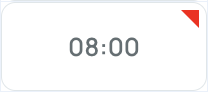
If an entry is blank, you can click the cell and enter a value manually.

For blank manual entries, the start time is preset using the configured Work Day Start Time, such as 8:00 AM.
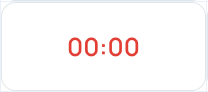
If an entry shows red zeroes, you can also click the cell and edit it. In that case, the start time is not taken from the default work day start time. Instead, it uses the time when the first shift started.
You can also modify an entry in a more granular way from the Editing Card.
Status Values
The Status column shows whether time entries are ready for payroll review:
- Pending: Entries have not been checked or approved yet
- Approved: Entries have already been approved for payment
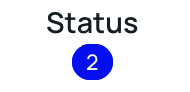
The status area also shows the number of entries that are still pending review.
Indicators
Blank
A blank entry means the user did not register hours in the mobile app.
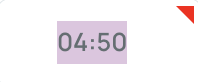
Gray Numbers

A grey entry means the user registered time in the mobile app.
Red Zeroes
Red zeroes mean the user did not show up for the scheduled shift or did not clock in.
Corner Red Marker
The corner red marker shows that the time entry was modified.
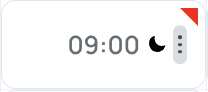
Moon
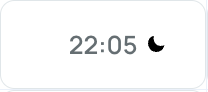
The moon icon shows that the shift included an overnight period.
ImportantTotal hours are always displayed on the day when the user clocked in.
Even when a shift continues overnight, the full shift duration is shown on the clock-in day.
Approved
When a user is approved, the entries change to the site color to show they were approved.
After an entry is approved, it cannot be edited manually unless you change its status back to Pending.
TRP - Time Reported Period
In this example, the site is configured so the week starts on Sunday at 8:00 AM, which is why the first day in the sheet is Sunday the 15th.

The periods are configured by week.
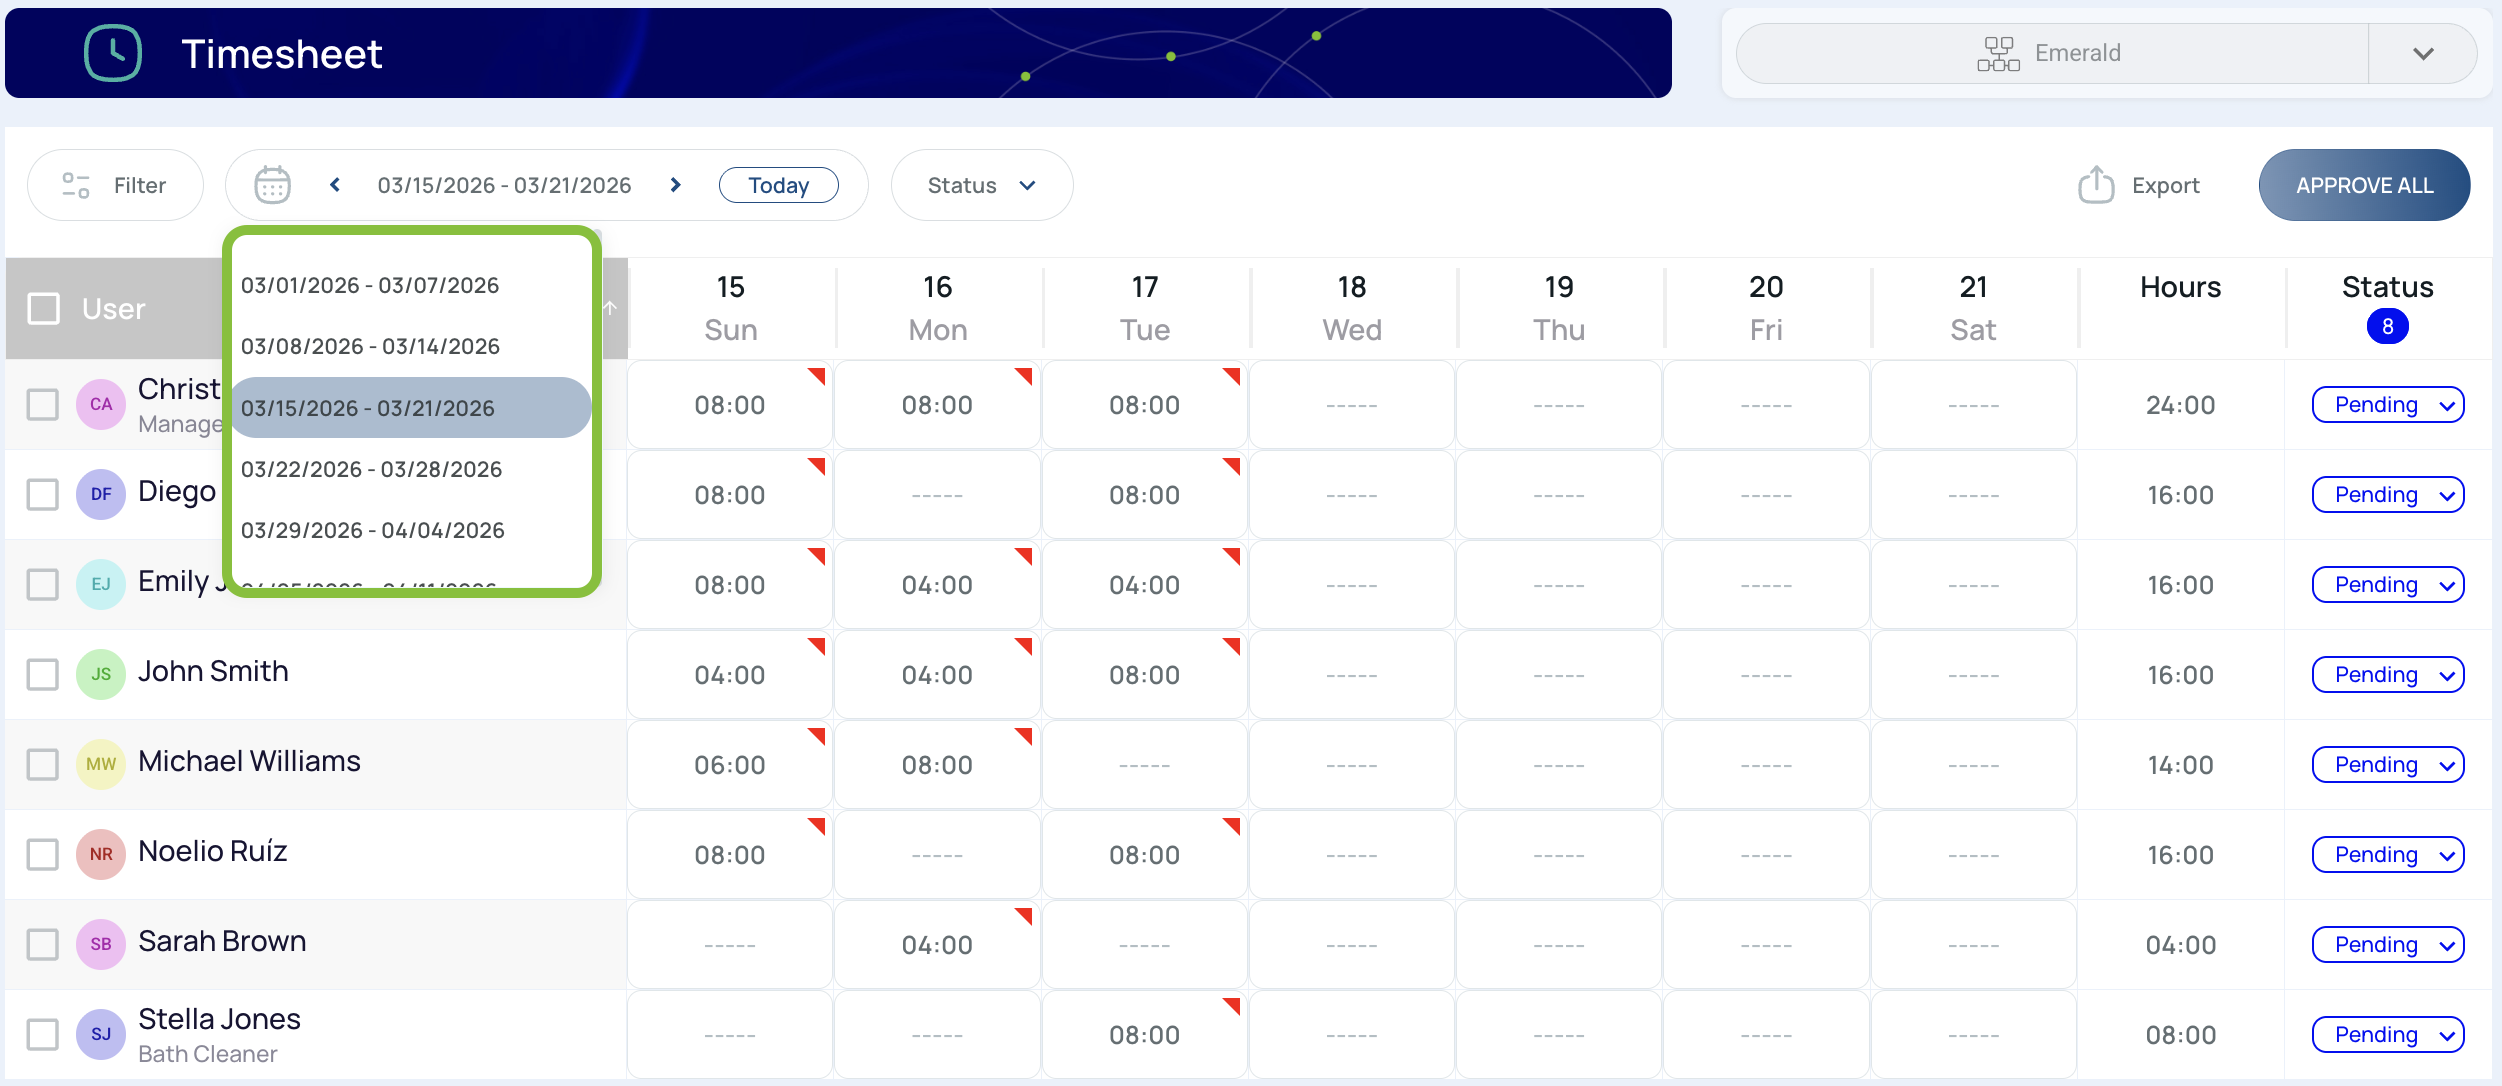
The timesheet is designed to review the past. In other words, it shows what happened up to yesterday. The current period does not appear until it is complete.
You can use the Today button to jump to the current period.

Filters
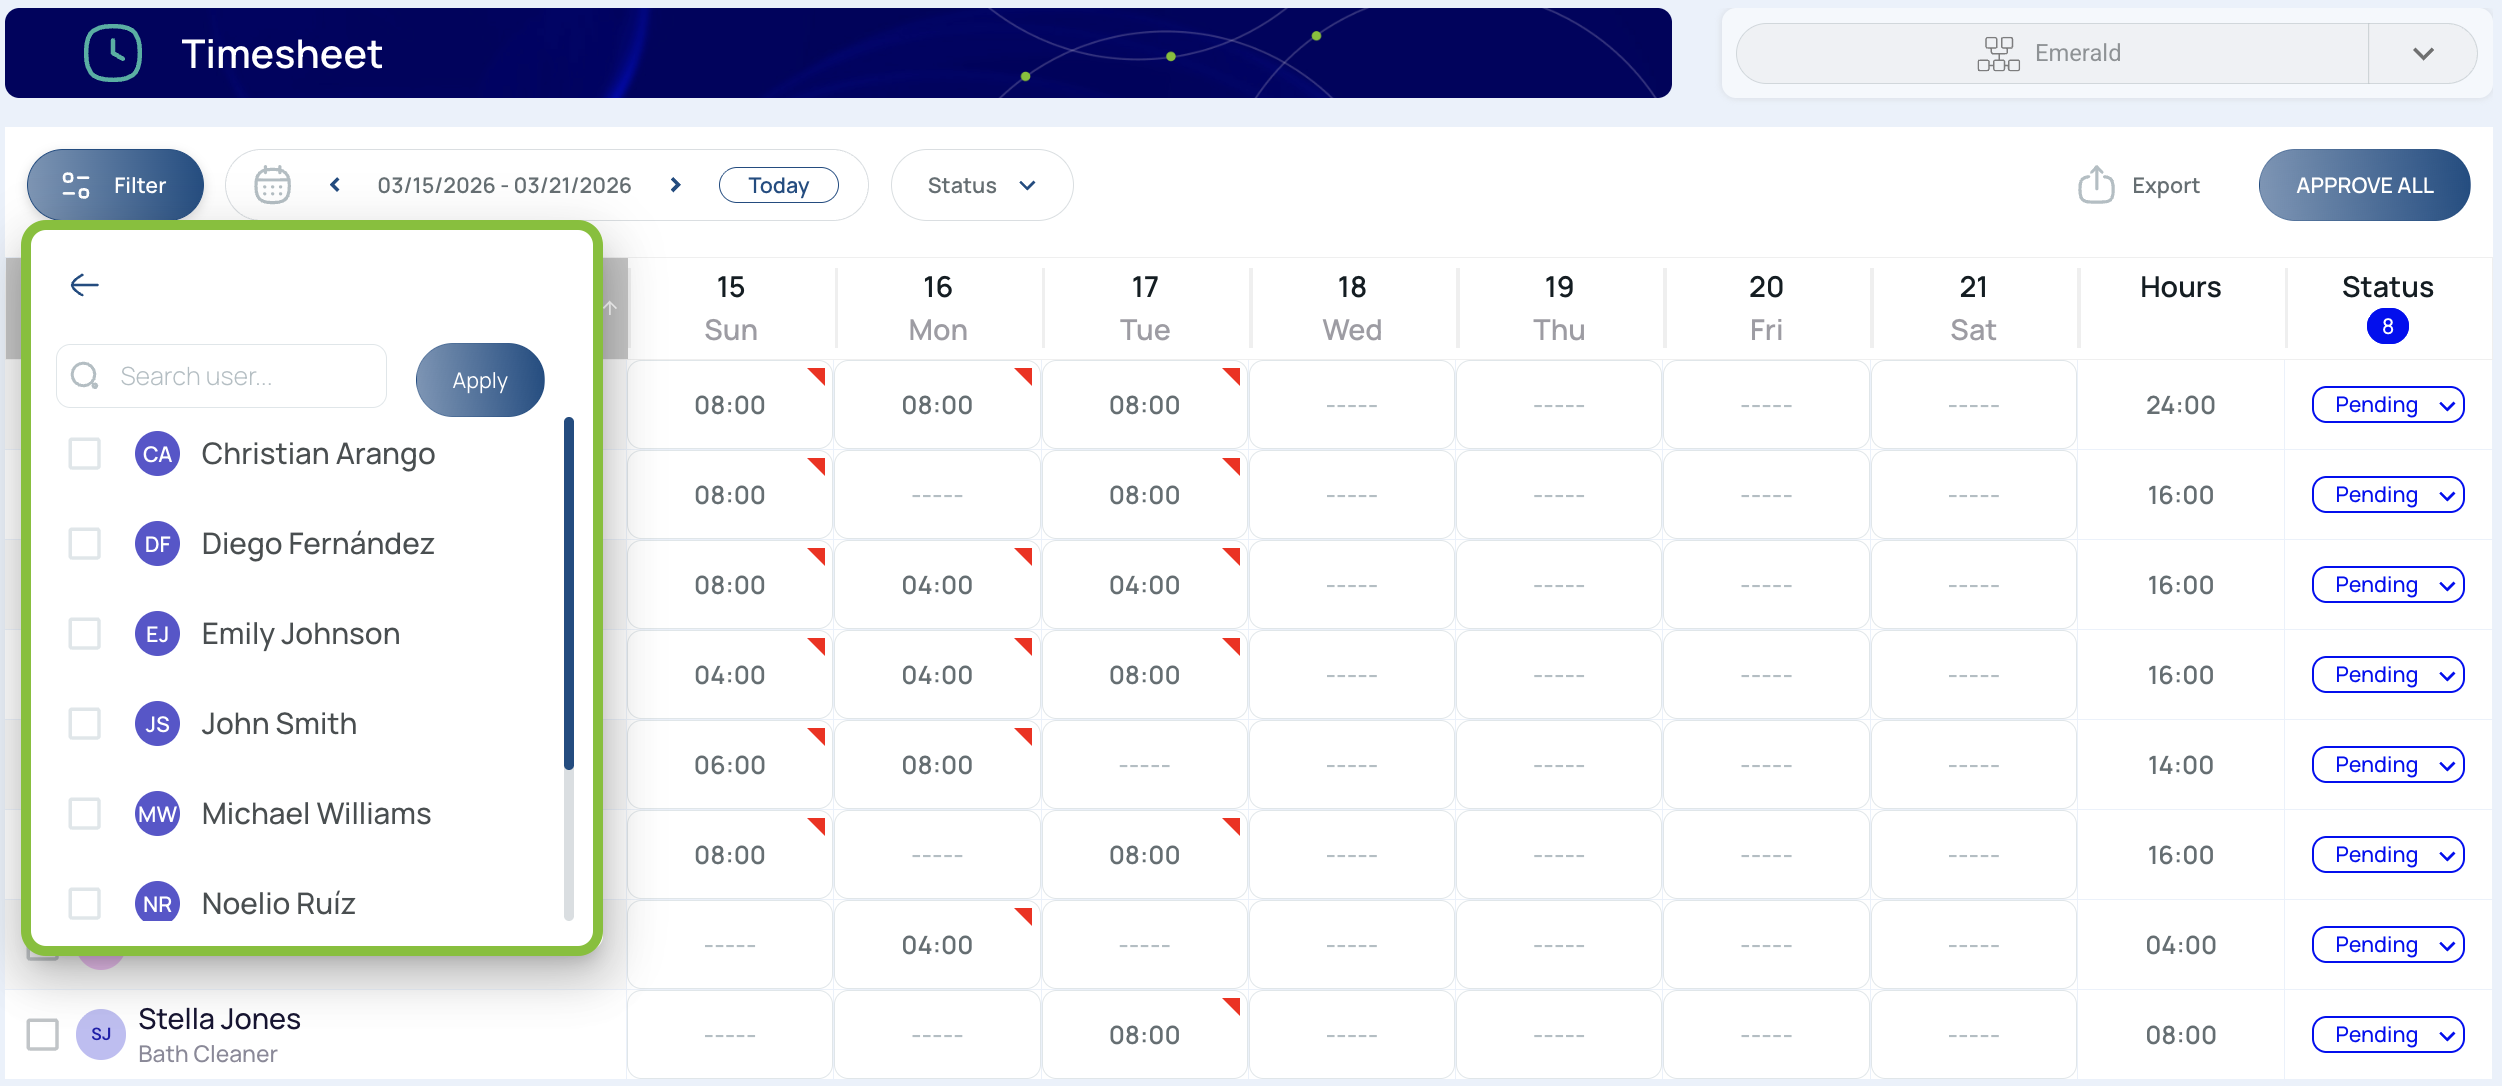
Filter by User and Role
You can filter the timesheet by User and Role.

The filter shows all matching entries available for the selected criteria.
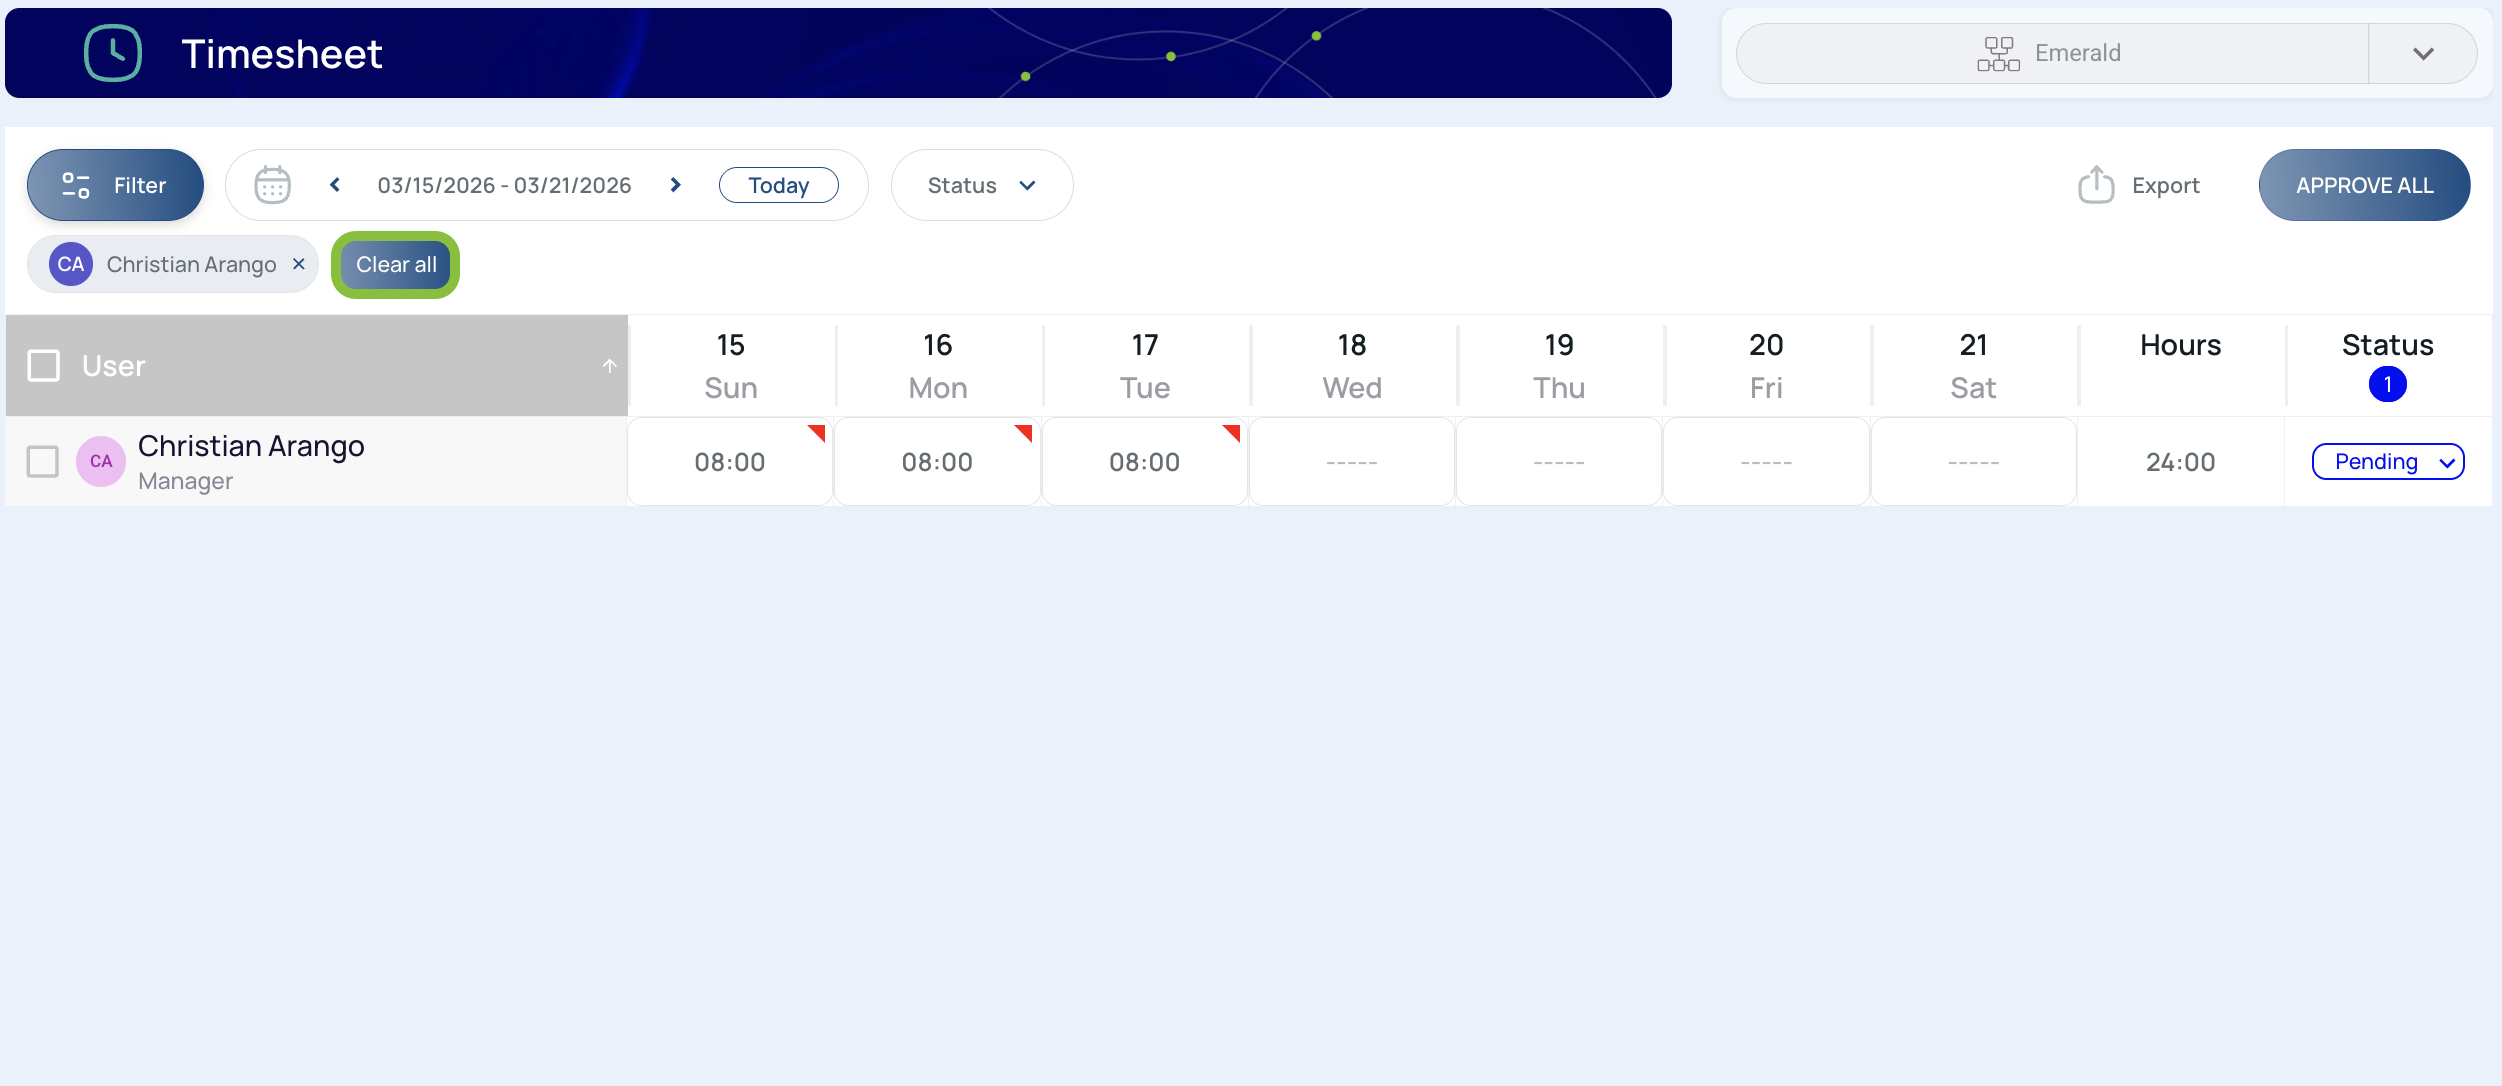
Press Clear All to remove the applied filters.
Filter by Status
You can also filter by Status.
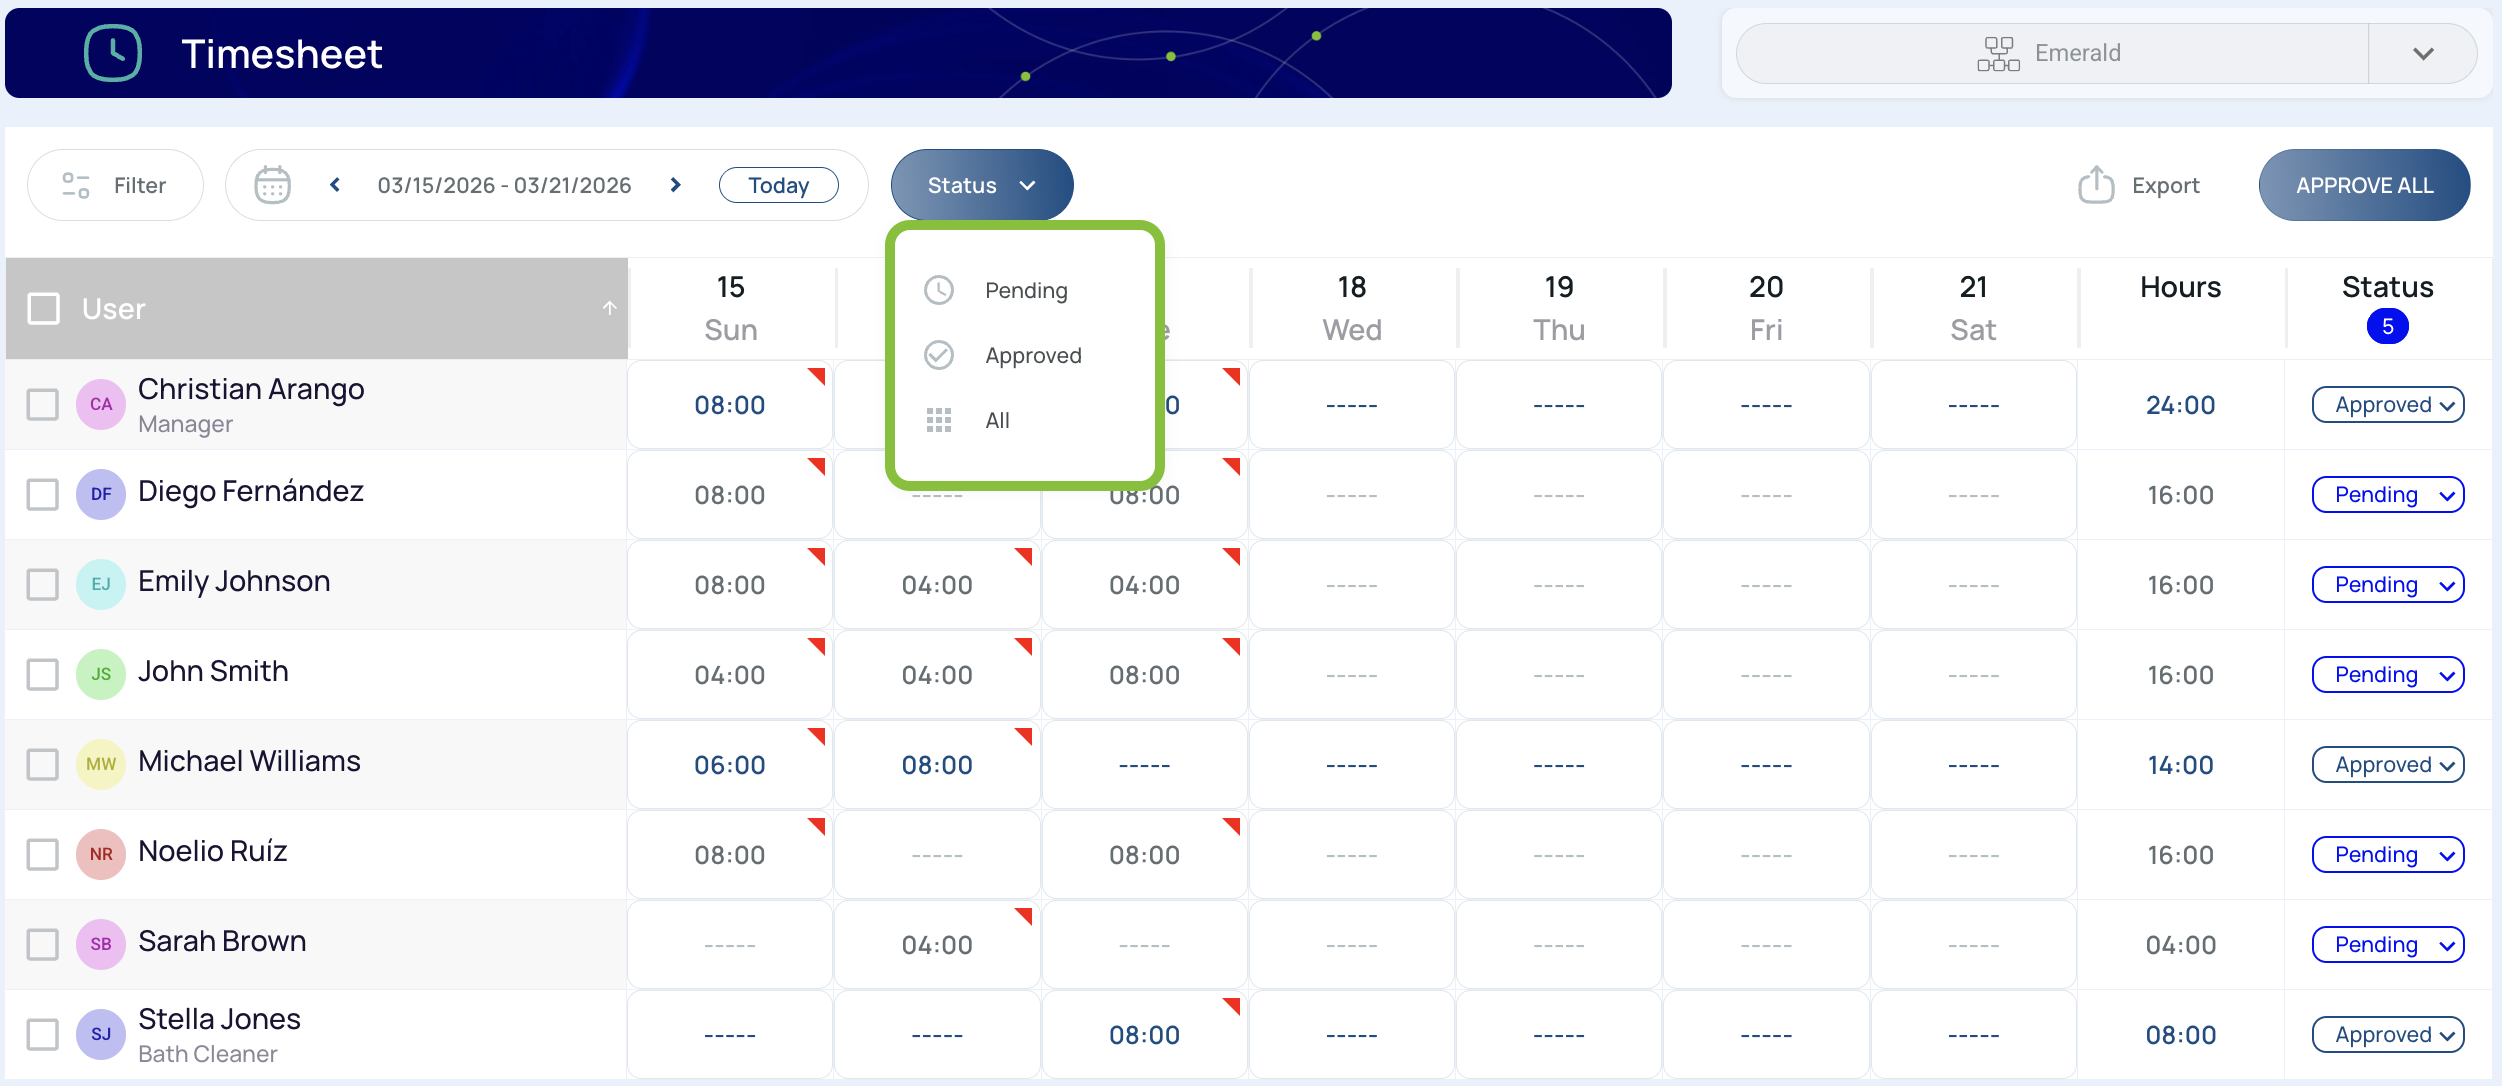
Available values include:
- Pending: Entries that have not been checked or approved
- Approved: Entries that have already been approved for payment
Export
The export feature creates a simple file based on the current view shown on screen.

The export downloads as an .xlsx file.

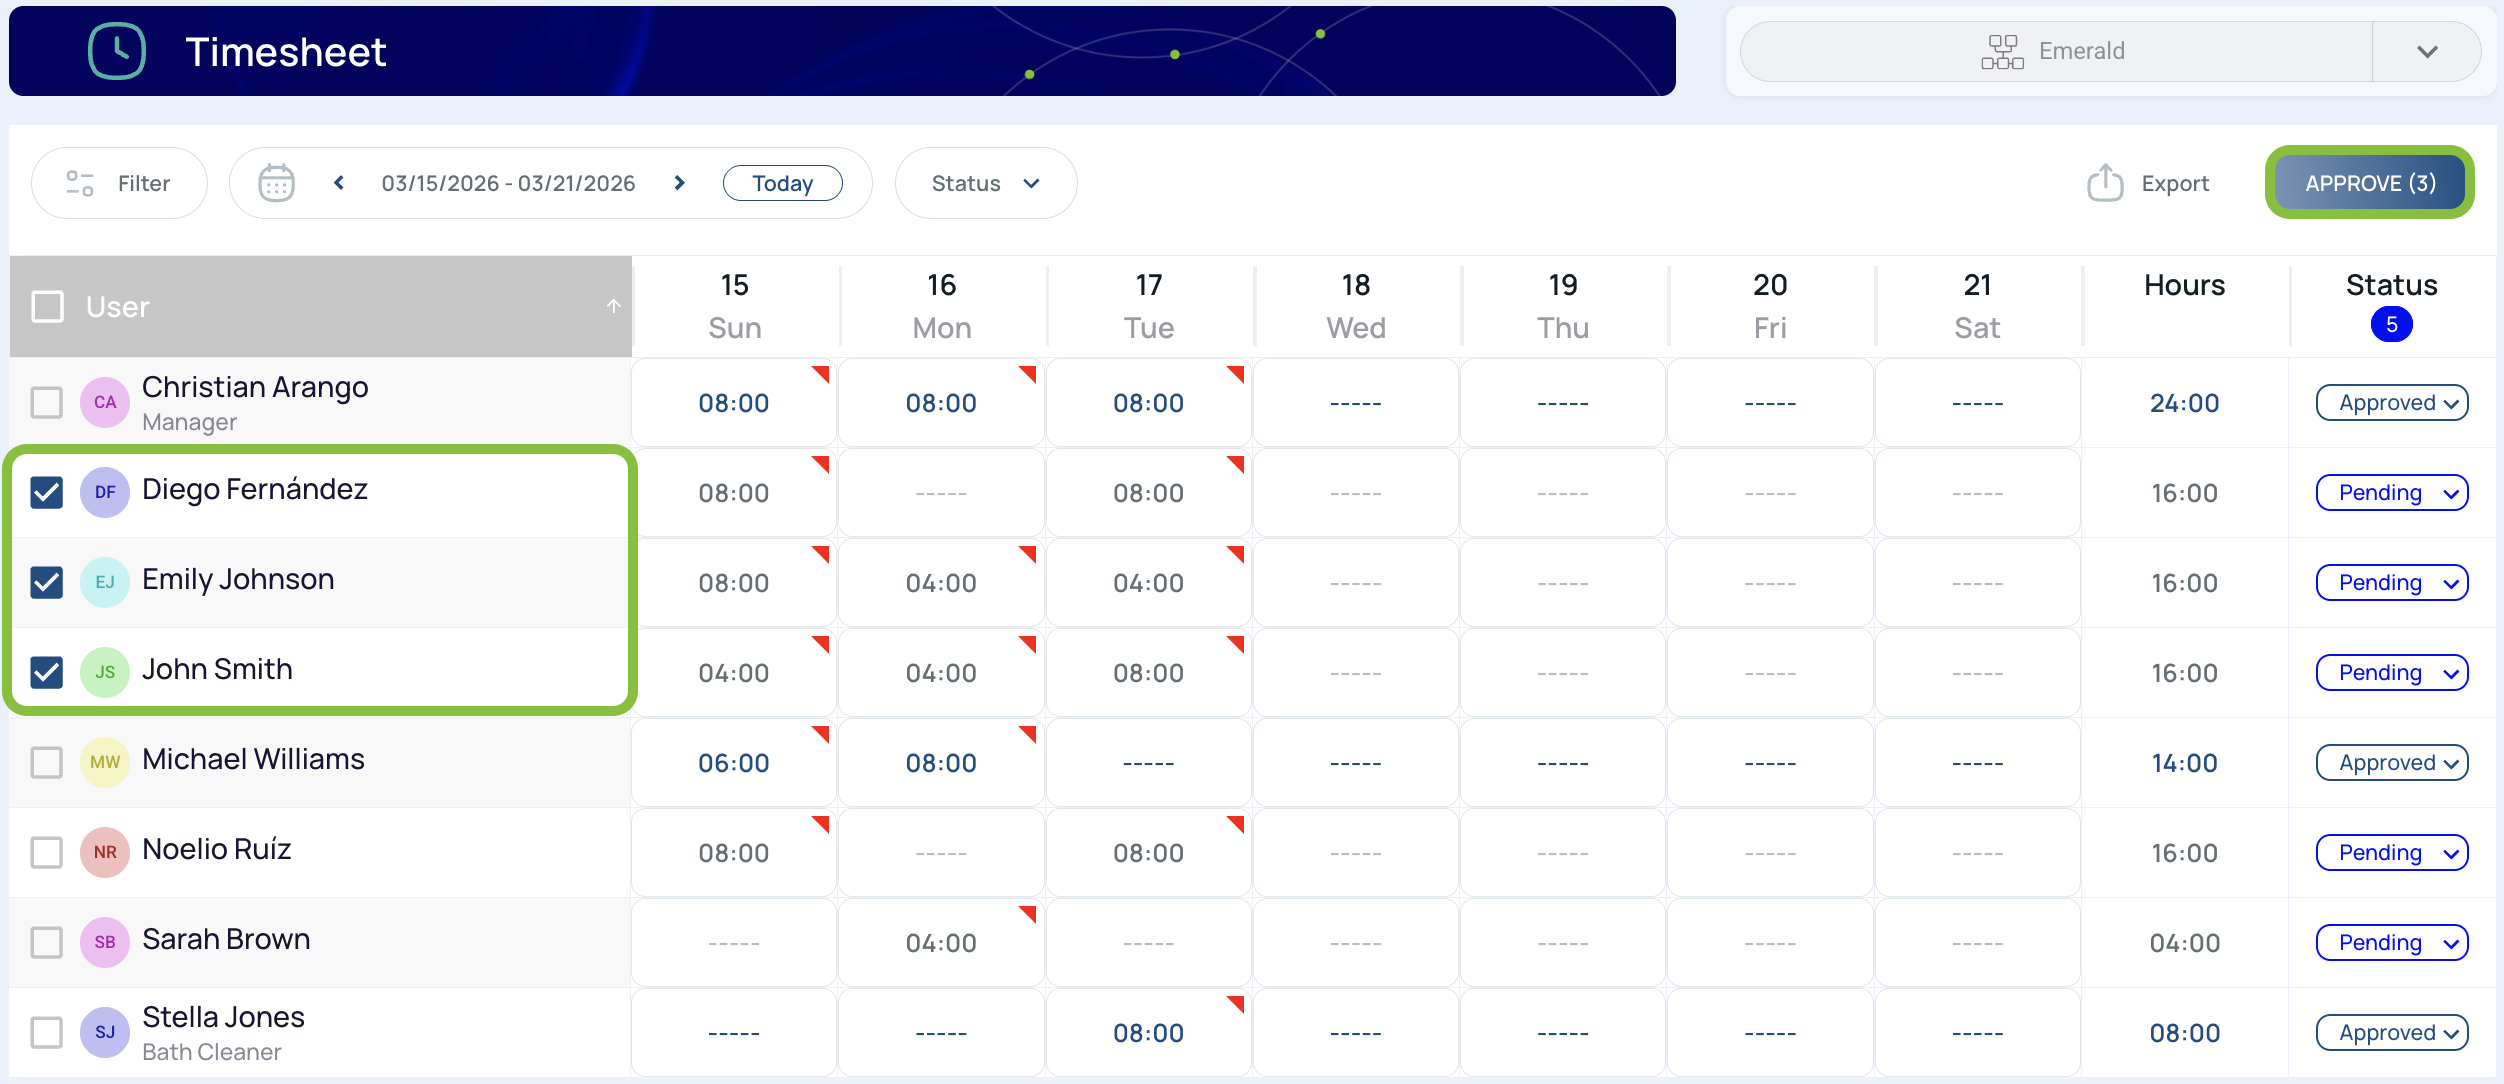
How to Approve Entries
You can approve a single user by changing the status in the corresponding column from Pending to Approved.

You can also select the checkboxes for multiple users and then press Approve.
How to Approve All Entries
The Approve All button approves everyone’s entries in the current view.
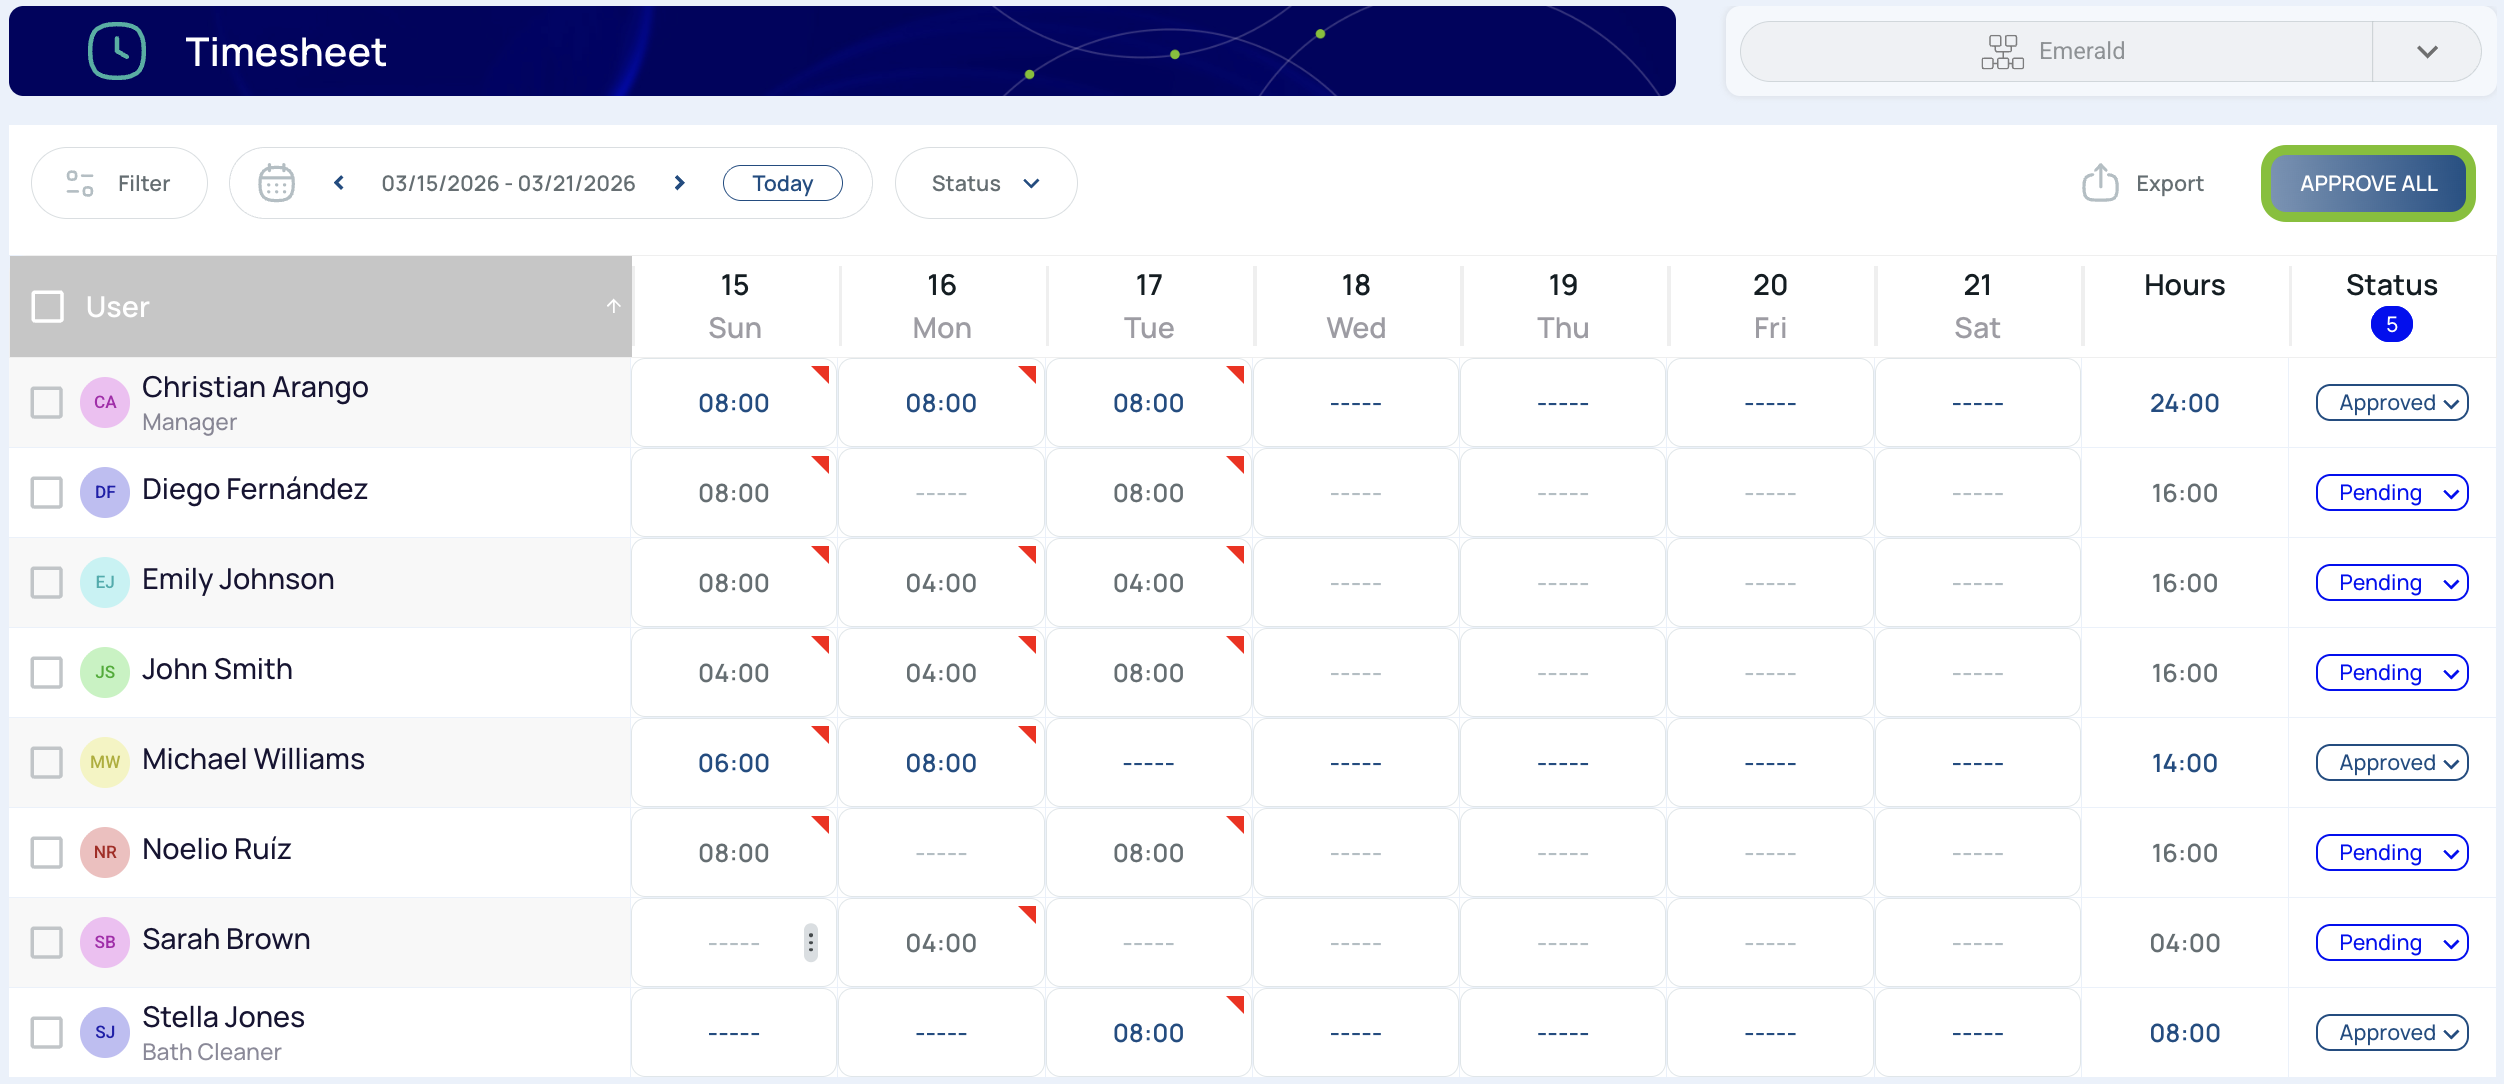
If you need to move an entry back to Pending after approving everything, you can still do it from the Status column.
The number under Status indicates how many entries are missing approval.
Editing Card
To open the Editing Card, hover over a time entry and press the three-dot button.
This opens the following menu:
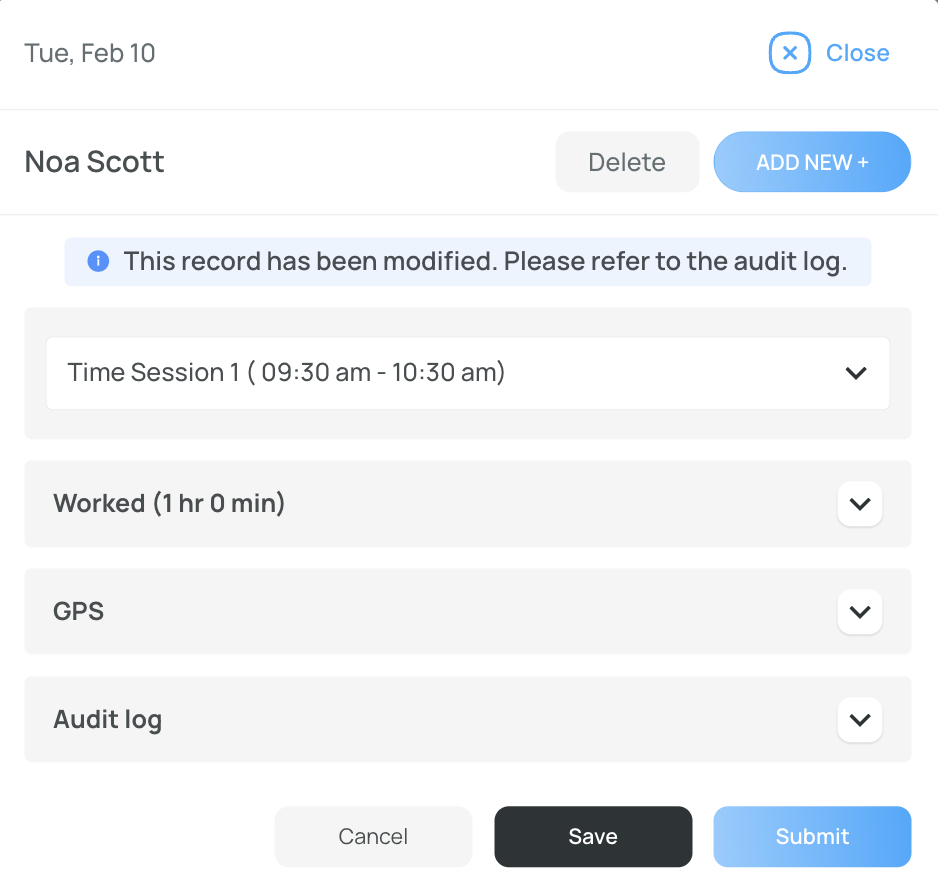
By default, all sections are collapsed.
Time Sessions
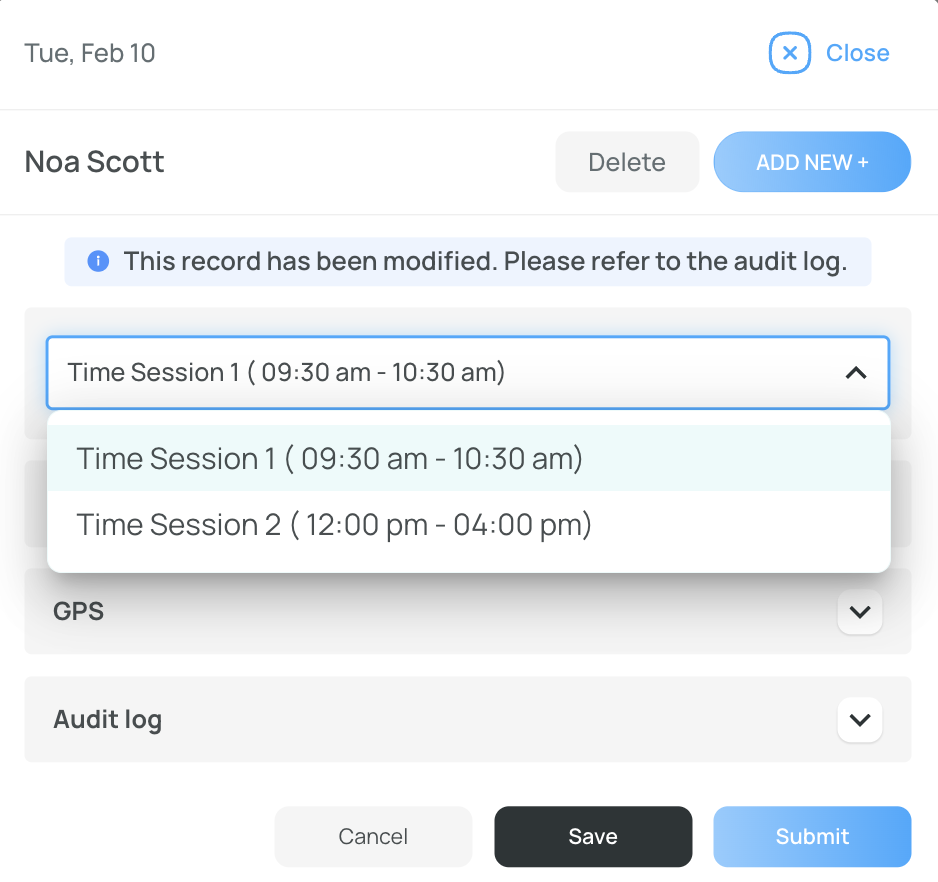
The Time Sessions section shows the list of worked time sessions.
A single shift can contain multiple time sessions during the day. The entry cell shows the total worked time, but this menu gives you a more detailed session-by-session view.
If you open the Time Sessions dropdown, you can see all time sessions linked to the shift.
How to Add Time Sessions
Press New to add a time session.
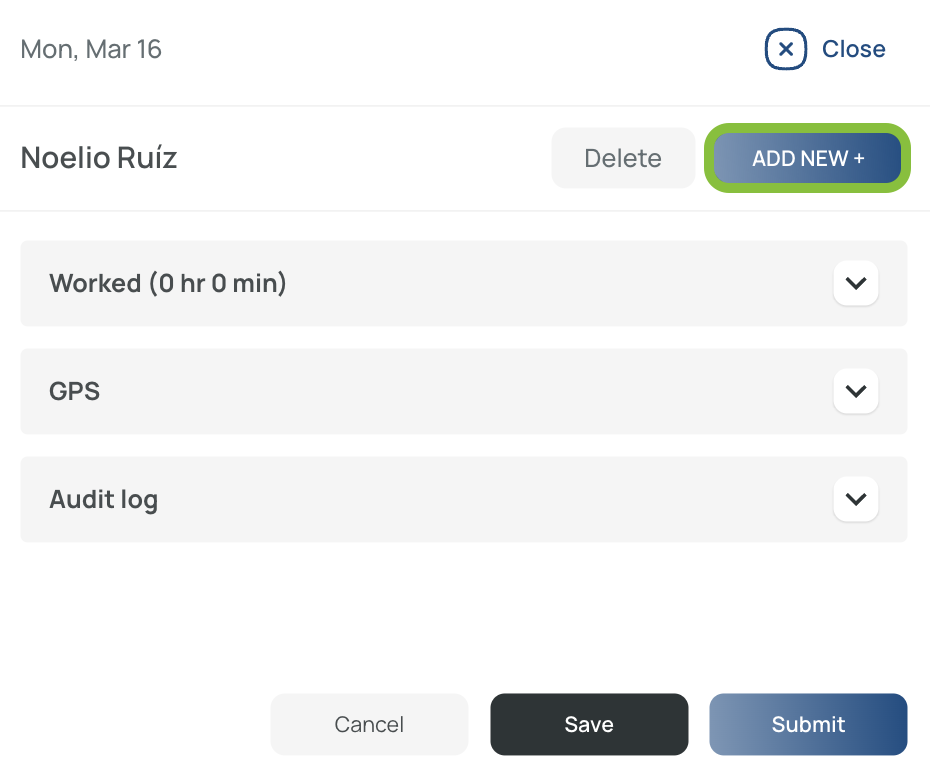
You must enter the clock-in and clock-out time and, optionally, any break the user took.
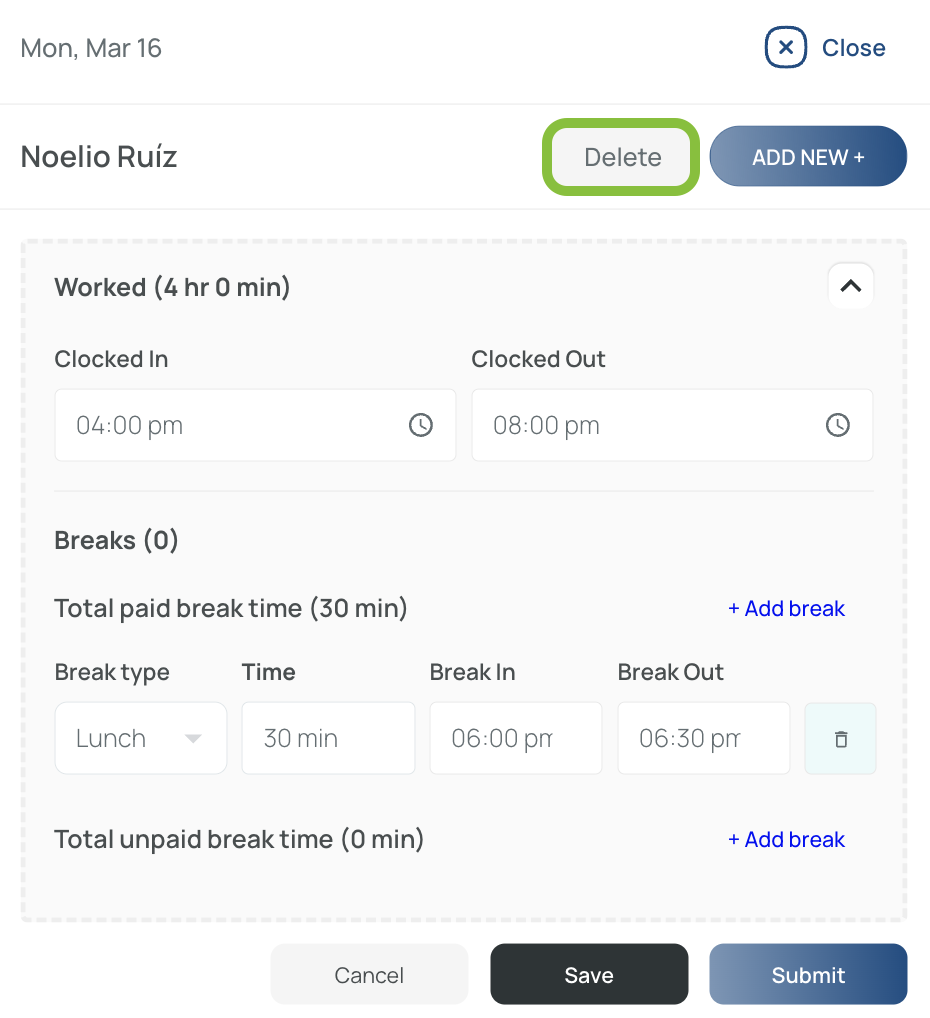
How to Delete Time Sessions
To delete a time session, press Delete inside the Editing Card.
If there are multiple sessions, you can select one from the dropdown and then press Delete.
Then confirm the deletion.
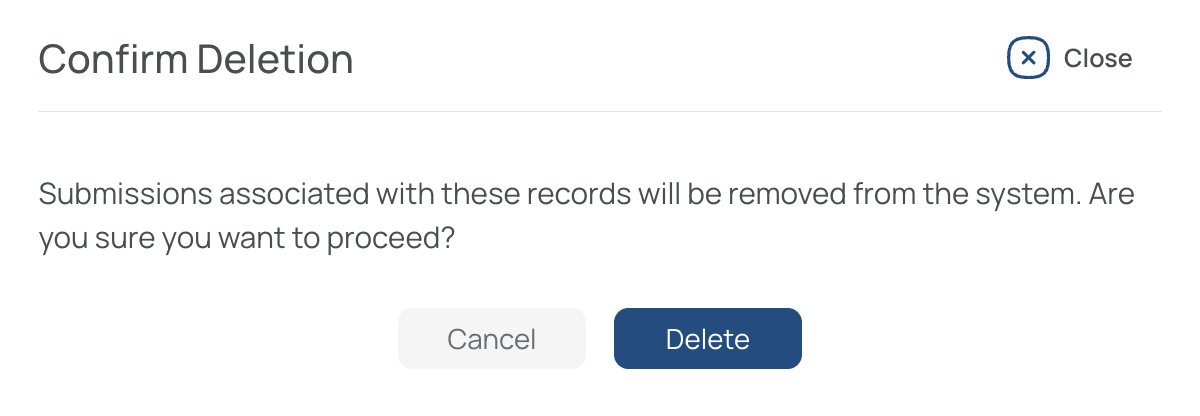
ImportantA time session is deleted immediately, so you do not need to press Save.
Deleted sessions cannot be recovered. If needed, you must create the session again.
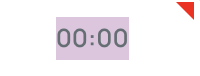
It is recommended to delete sessions one at a time. However, if you want to remove all sessions from a time entry at once, enter 00:00 in the entry cell, and the entries will be deleted.
Actions
When making changes in the Editing Card, you can use the available action buttons.
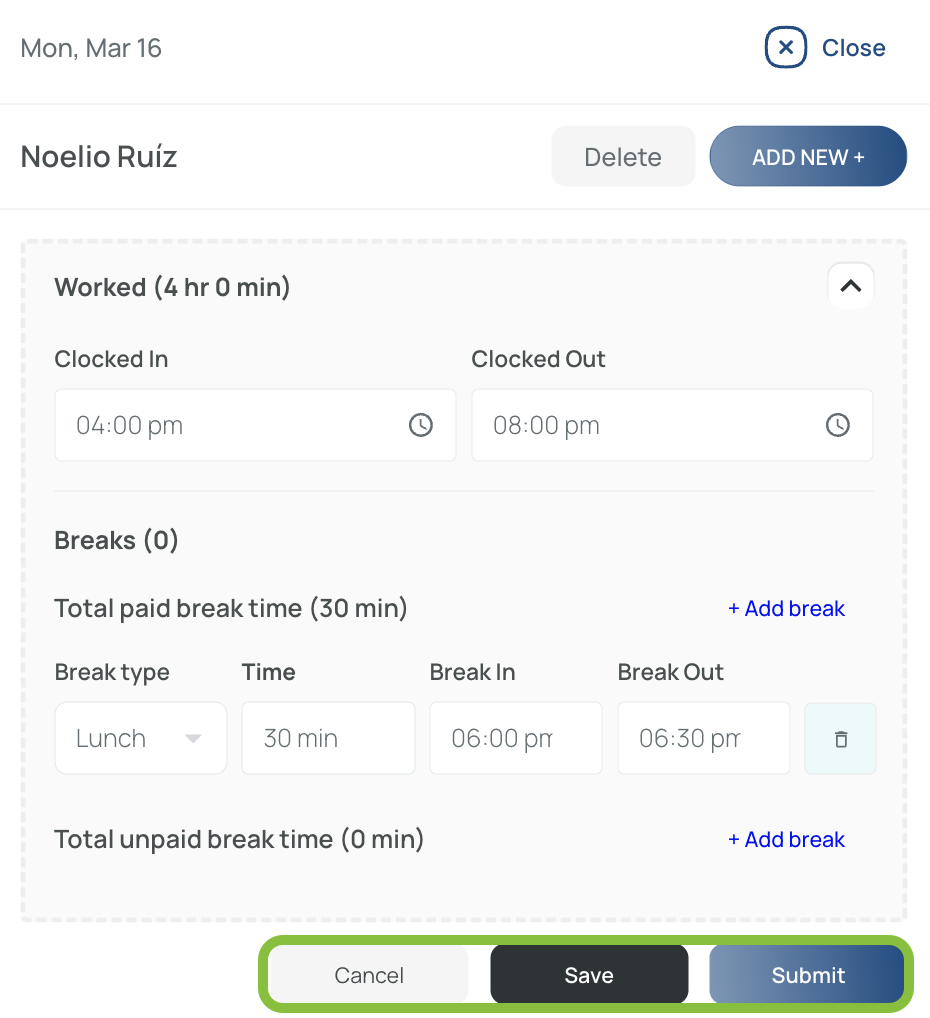
- Cancel: Cancels the modification and closes the Editing Card
- Save: Saves the changes but keeps the Editing Card open
- Submit: Saves the changes and closes the Editing Card
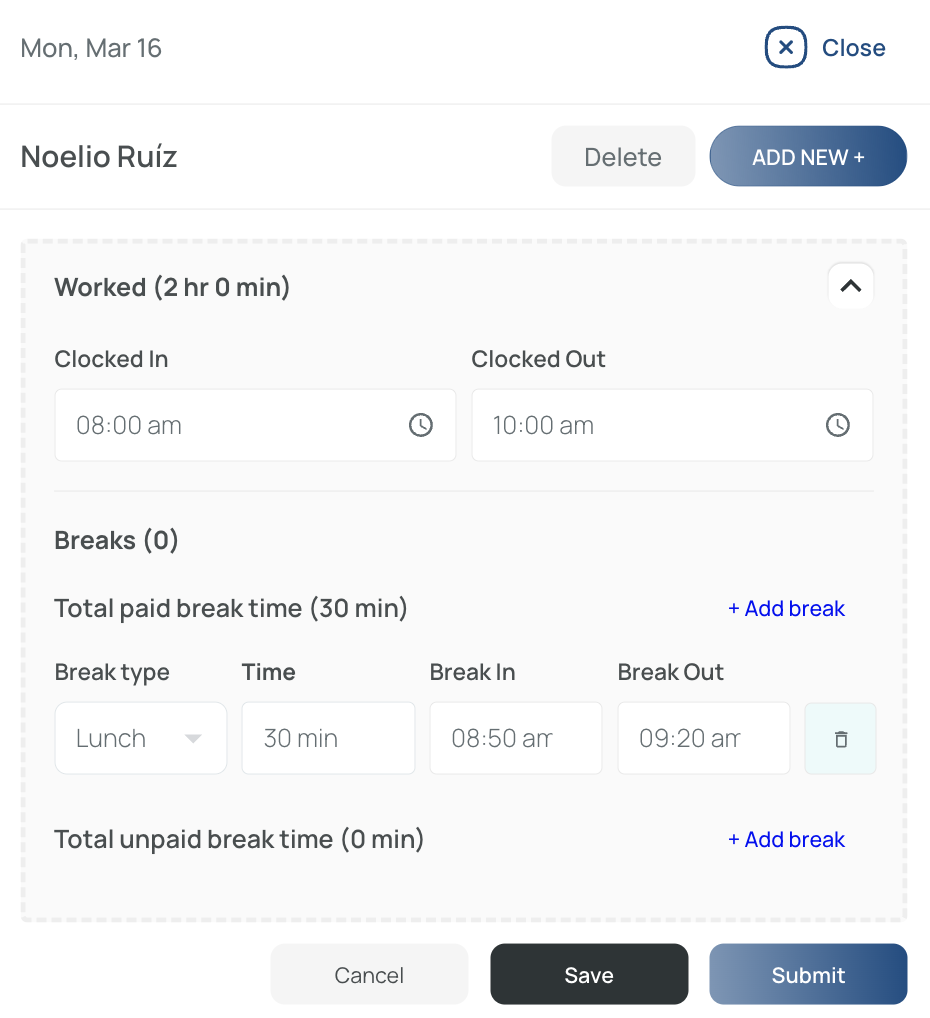
Worked
The Worked section shows the total time for the selected time session only, including:
- Clock-in time
- Clock-out time
- Breaks, if applicable
You can also modify the clock-in and clock-out times and add or edit lunch and break times.
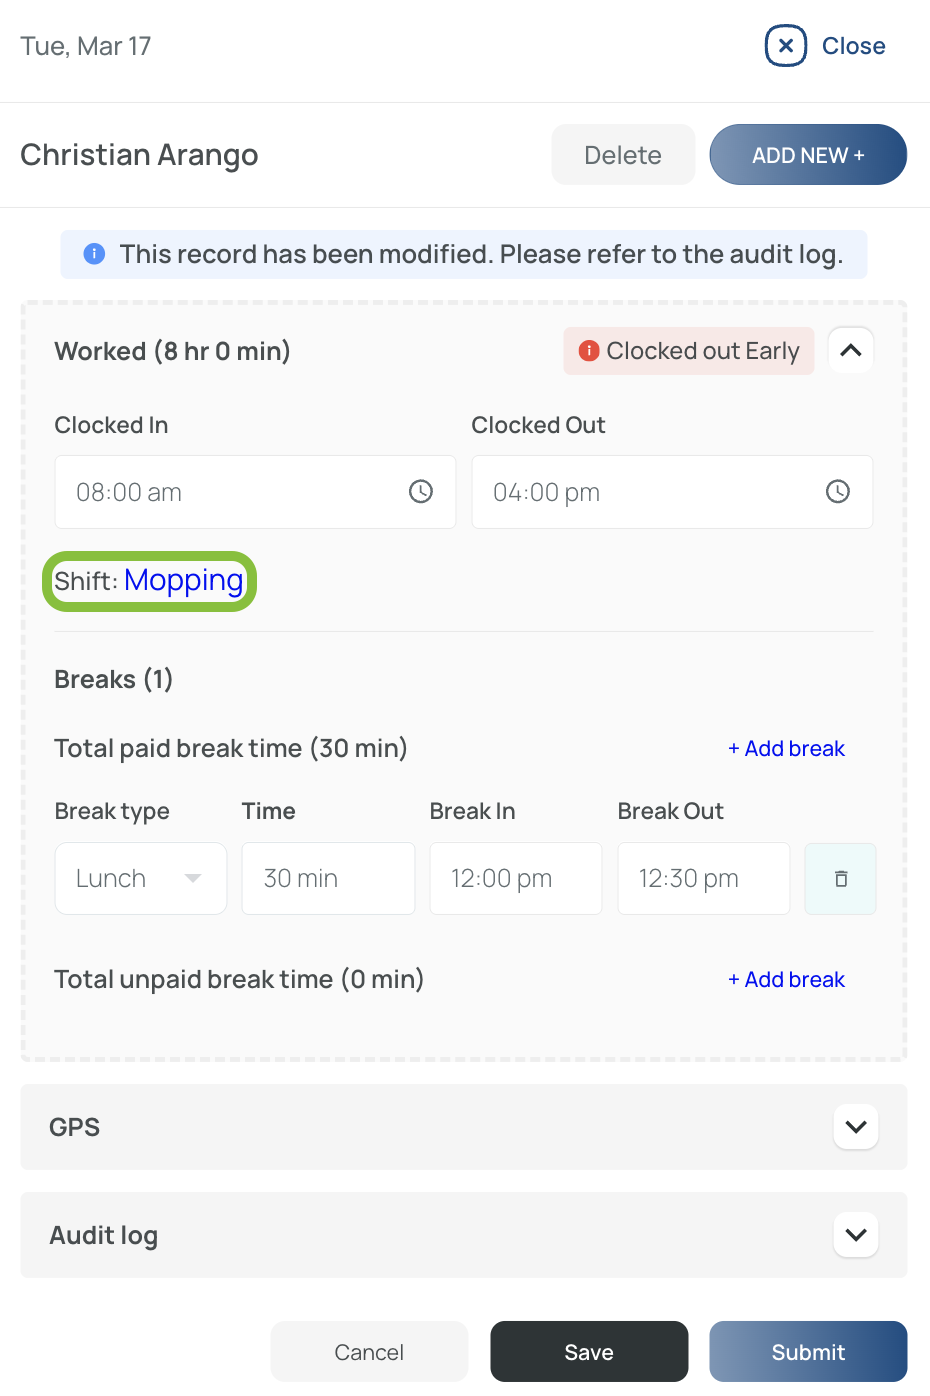
If the worked time is connected to a predefined shift, the shift name appears in the associated time session.
ImportantA user can have multiple time sessions that correspond to different shifts on the same day.
For example, a user could have Shift 1 from 8:00 AM to 12:00 PM and Shift 2 from 4:00 PM to 10:00 PM, with multiple time sessions inside those shifts.
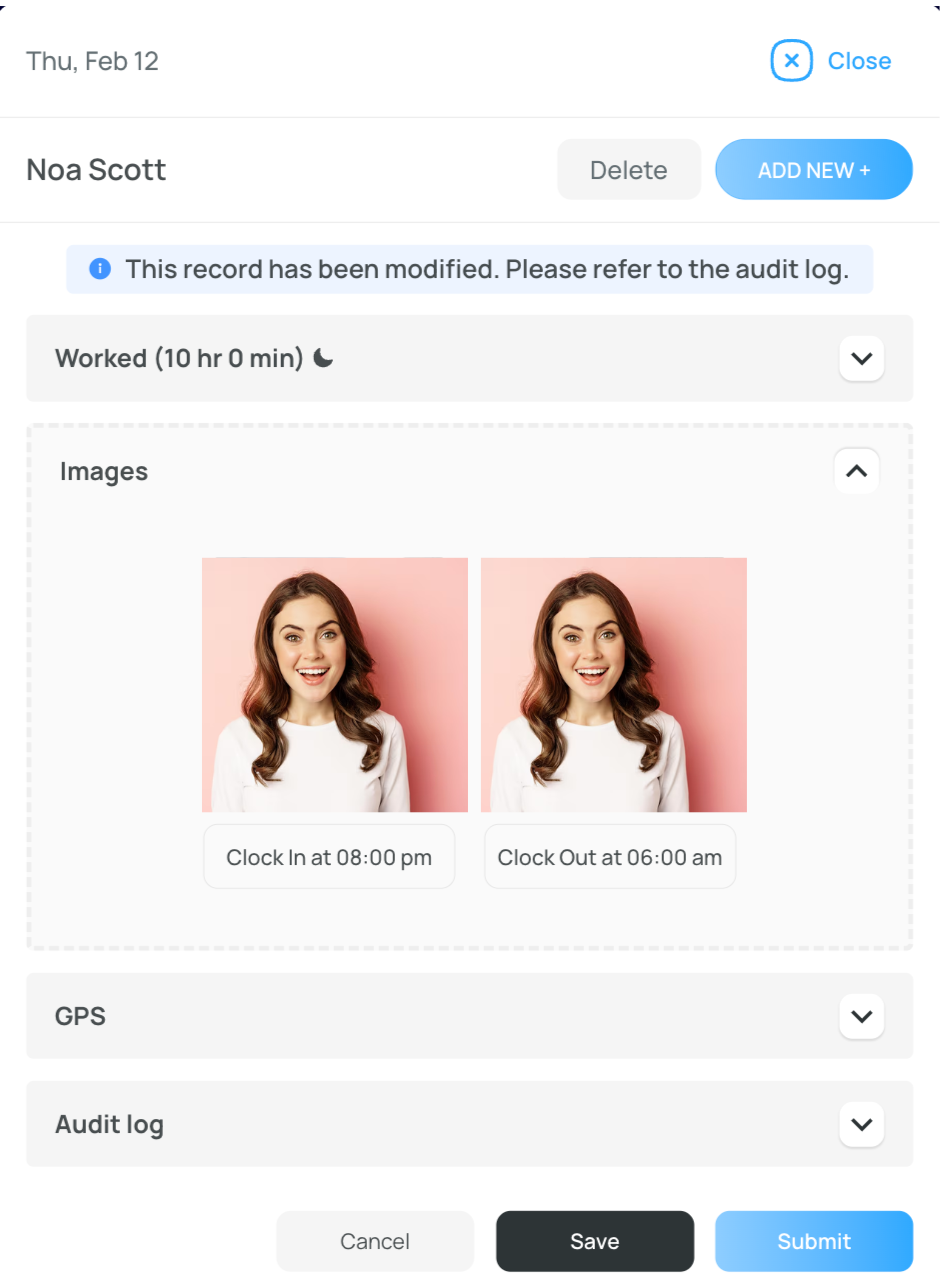
Images
The Images section shows captured moments from the shift, such as clock-in, clock-out, break-in, and break-out, along with the time when each image was taken.
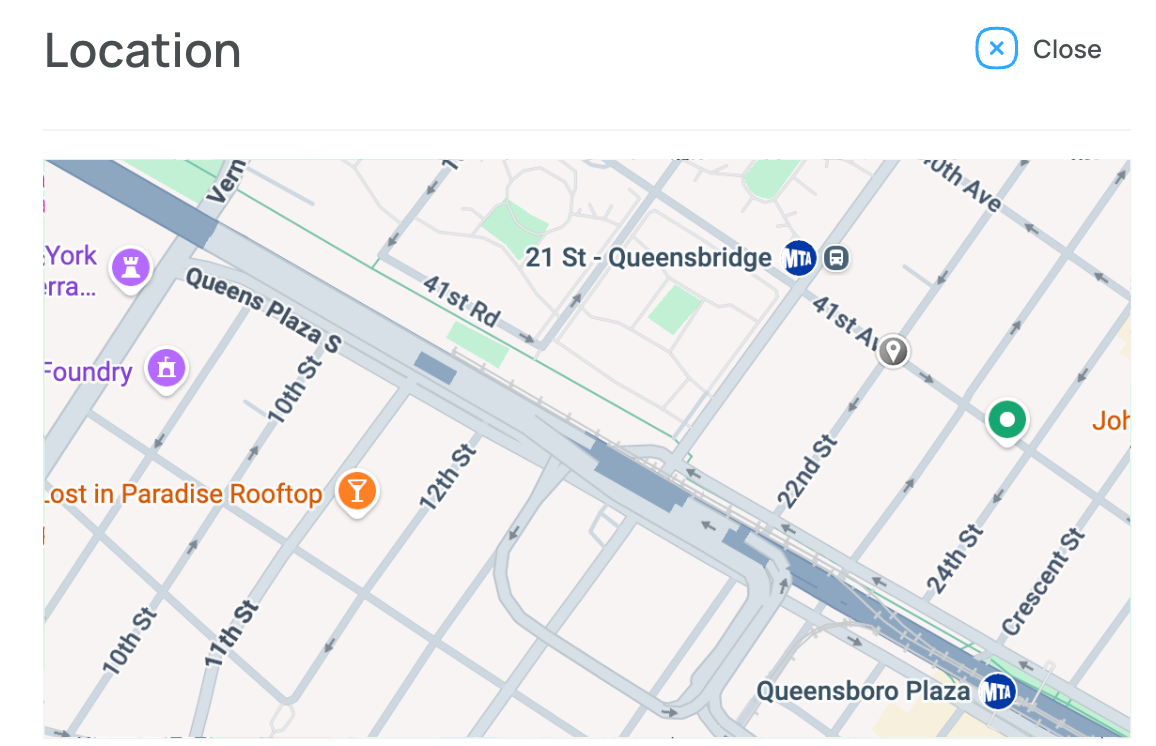
GPS
If location services and GPS are enabled, this section shows the event records together with their corresponding locations.
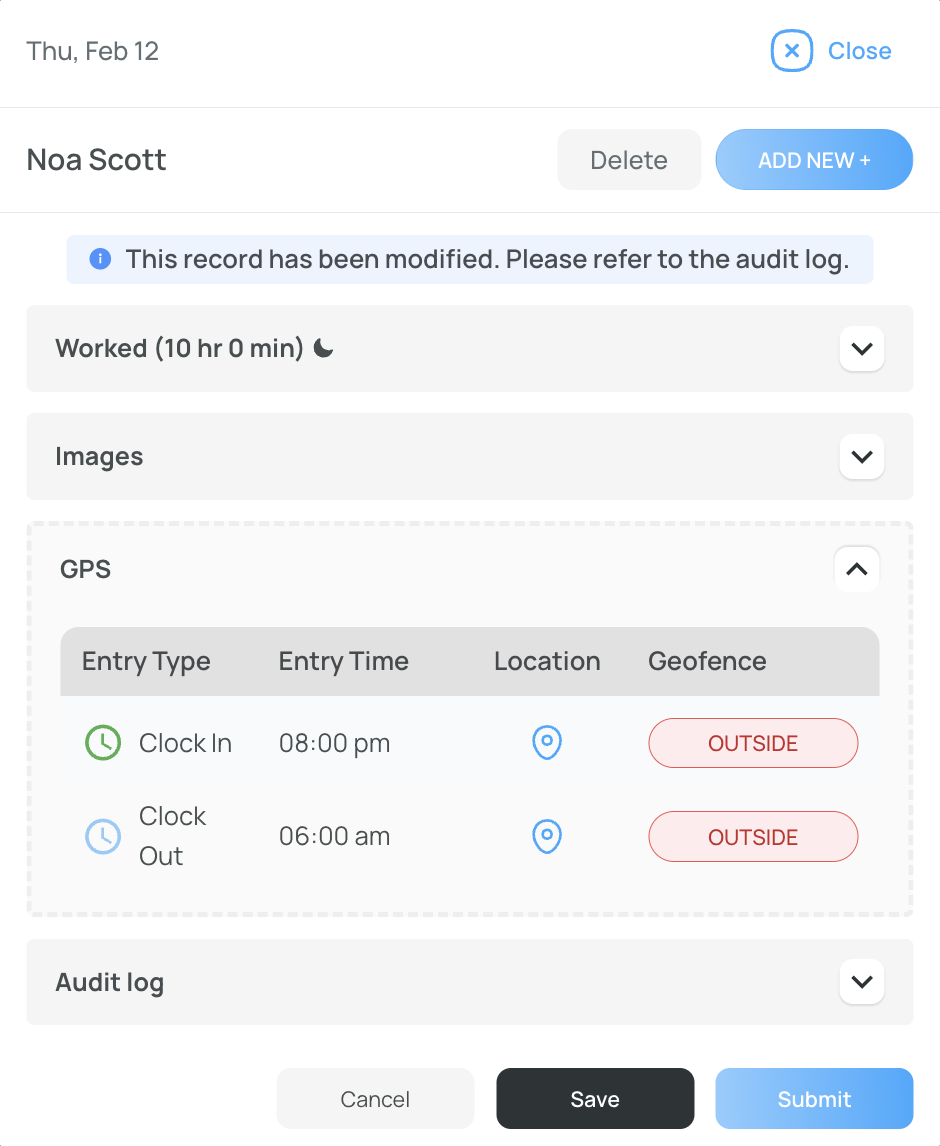
In the Location column, you can view the map with the exact location of each event.
If a geofence is configured, this column shows where the clock-in occurred relative to that area. Inside means the clock-in was completed within the geofenced area, Outside means it was completed outside the area, and No geofence means no geofence is configured.
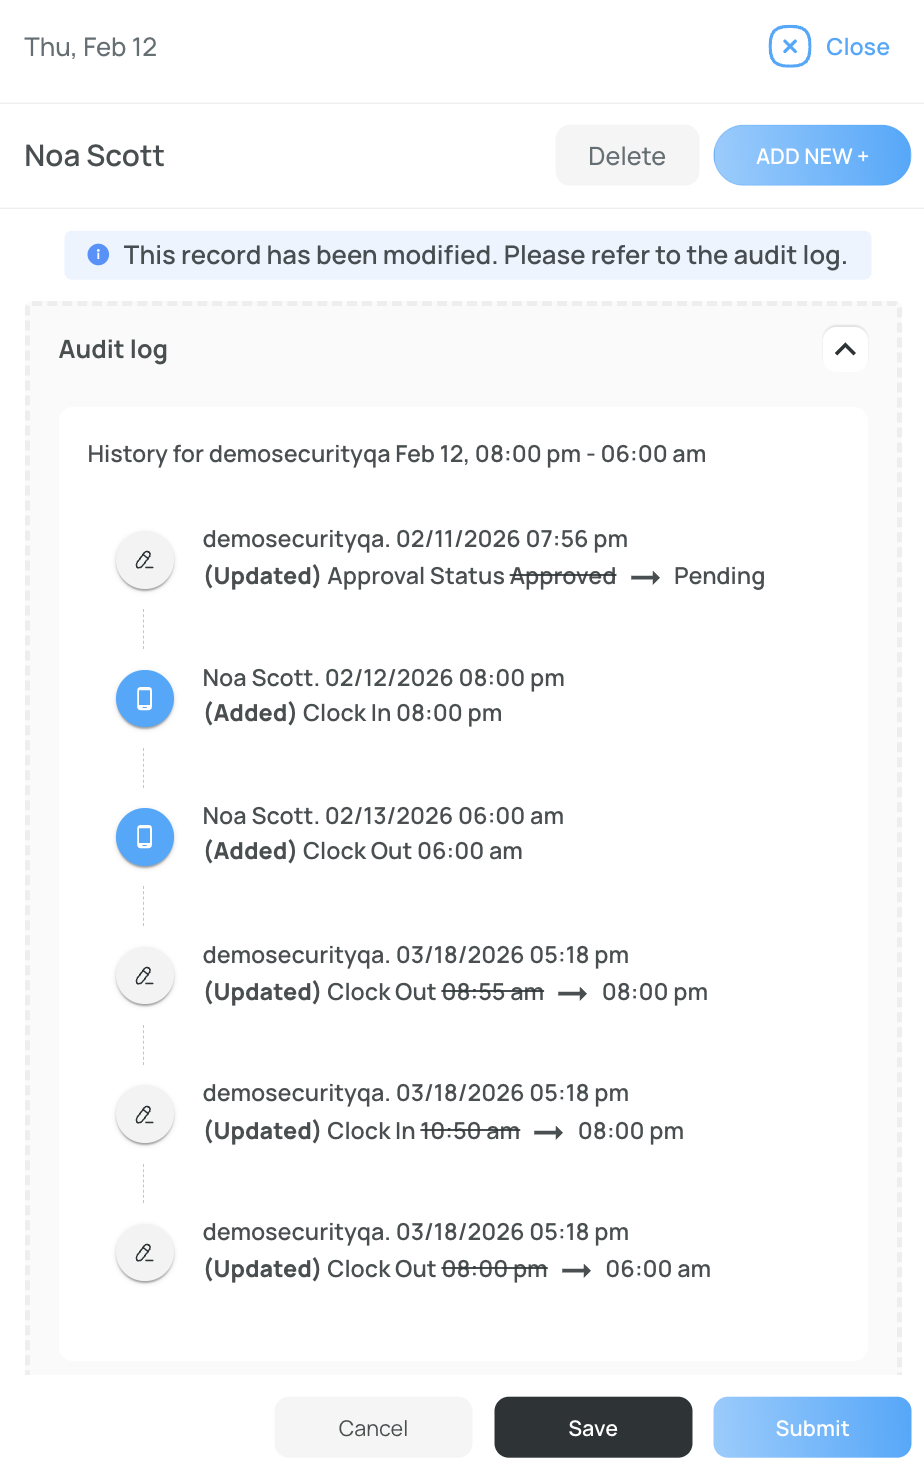
Audit Log
The Audit Log shows both the user’s entries and any modifications made by an administrator.
It includes the type of modification, the related time, the event date and time, and who made the change.
Alerts
Some alerts can appear inside the Editing Card.
Modification Alert
This alert shows that the entry was modified. You can review the Audit Log below to identify the changes.

Break Time Exceeded
This alert appears when the break time goes beyond the configured default in mobohubb.
To learn how to update the default break time, read the documentation.
Clocked-In Early
This alert shows that the user clocked in before the expected start time.
Clocked Out Early
This alert shows that the user may not have completed the full shift and clocked out before the expected time.
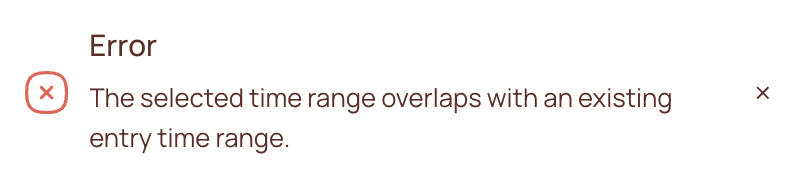
Overlap Error
This error appears when a new time session or break overlaps with an existing time session or break. Review the entered values carefully before saving.
Multisite
You can also use a multisite view.
From the site selector, select the organization-level view.
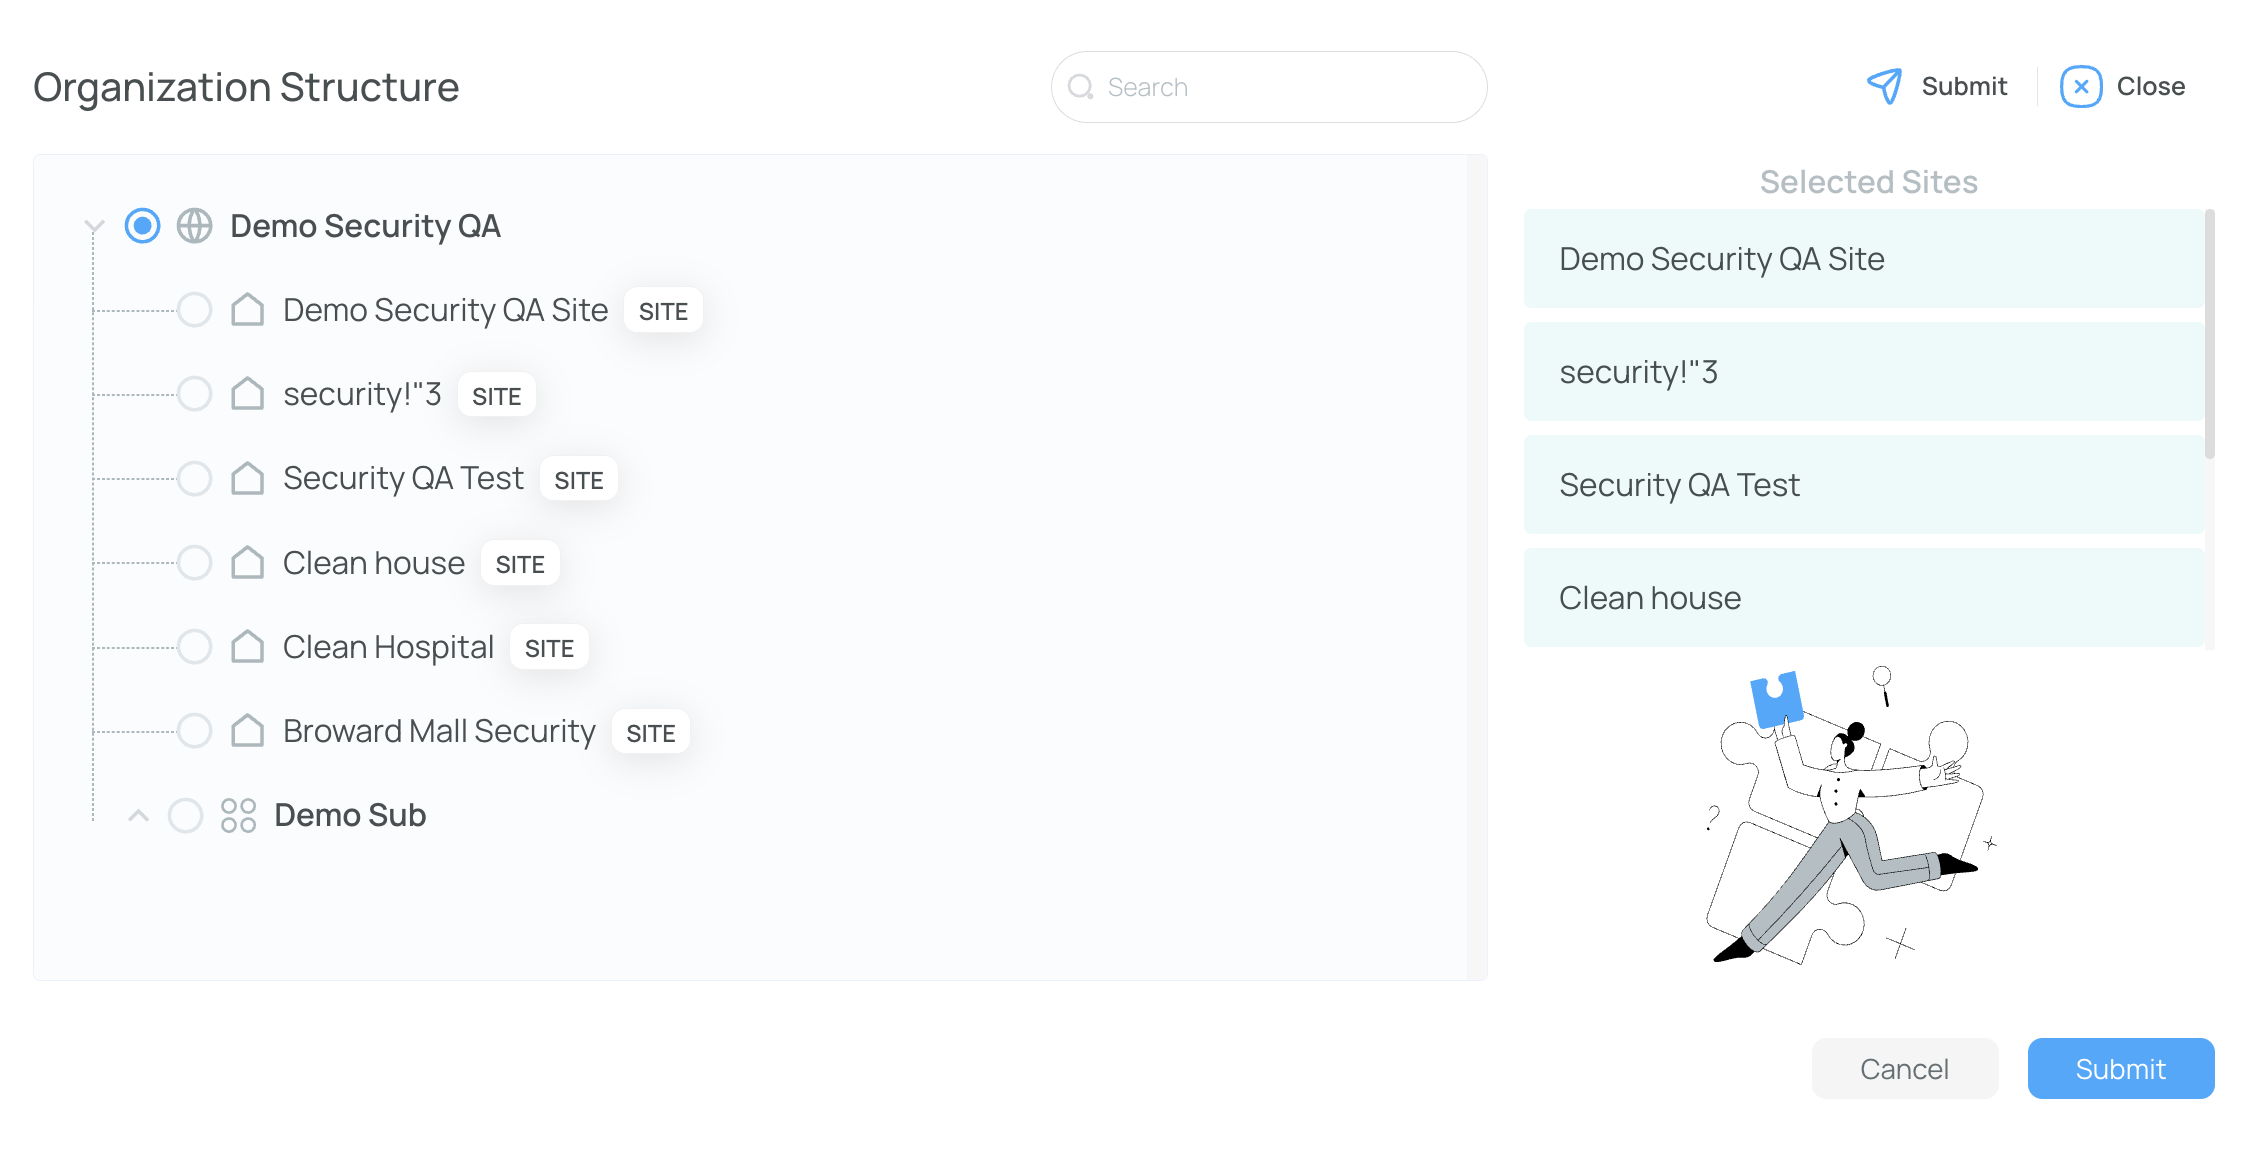
The timesheet will then show all active users from all available sites.

If a user belongs to more than one site, that user’s name appears once for each site they belong to.
View Options
From View Options, you can group users by site for a more organized multisite view.