Schedule: Overview
Explore Schedule Features in mobohubb, where you can manage shift assignments, configure notifications, add or remove unassigned shifts, and ensure users maintain a smooth workflow. Learn how to handle filters, view options, and actions within the scheduling interface for an efficient resource allocation process.
In this section you’ll learn
- How to fine-tune a schedule’s Mobile Settings (shift acceptance windows, time-off rules, claims, replacements, check-in options).
- How to set Default Values such as week start-day, standard hours, and maximum hour limits.
- How to configure Notification Rules so portal and mobile users receive email, SMS, or push alerts for key scheduling events.
Scheduling is a mobohubb tool that enables assigning jobs or shifts to each user while simplifying oversight. With a well-organized schedule, you can efficiently allocate resources, uphold high-quality customer service, and enhance productivity.
Shift Visuals and Alerts
This page explains how shift states, alert notifications, and indicators appear in the system. These visual cues help managers and employees quickly identify the status of assignments and potential conflicts.
Shift states
Shifts can appear in different states depending on their progress and visibility.
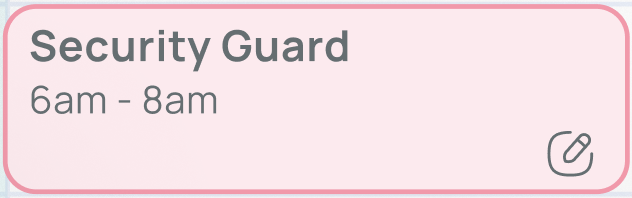
Published
Published shifts are visible in the mobile app, allowing users to accept or decline them. They display a solid background color based on the role.
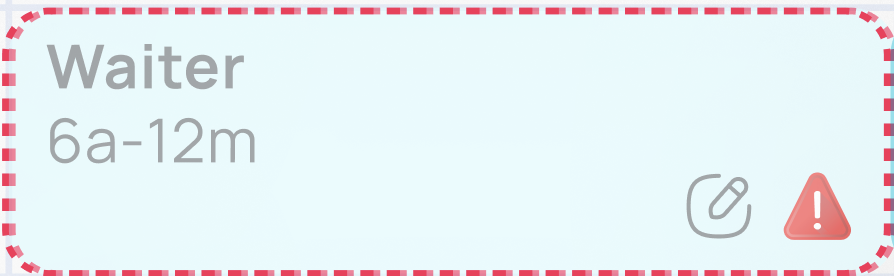
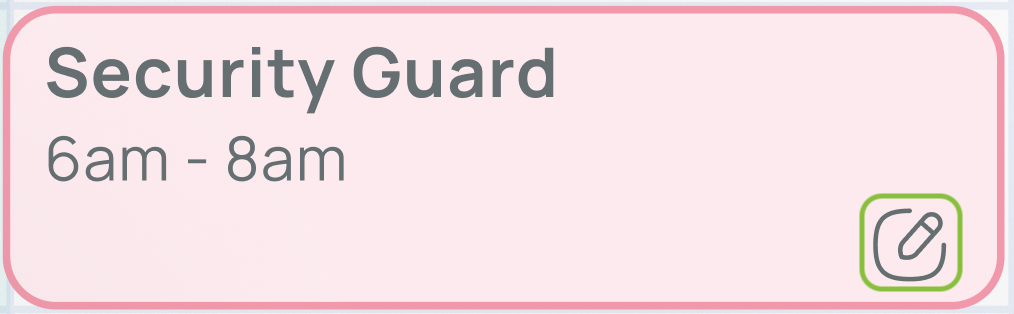
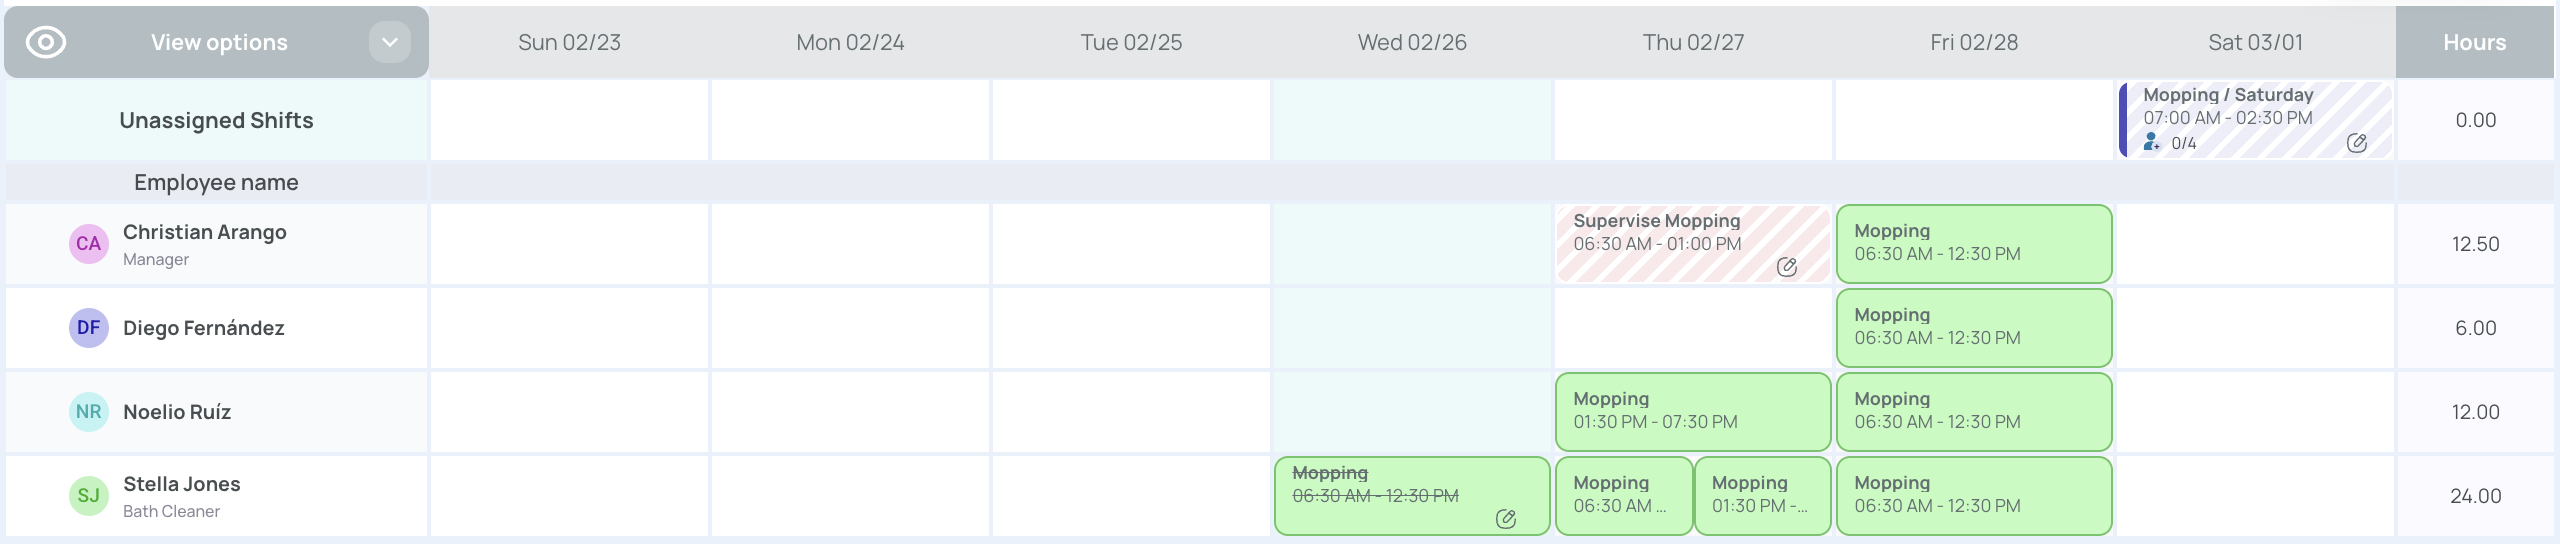
Missed
A missed shift is one that was accepted but never started before its scheduled time. It keeps the role’s solid color, but the border fades to indicate it was missed.
Completed
When a user checks in, works, and checks out, the shift is marked with a strikethrough label, confirming completion.
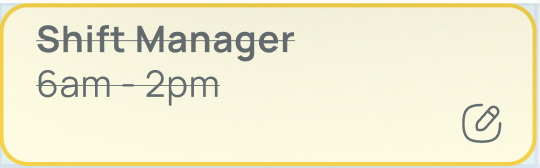
Draft
Draft shifts are unpublished and invisible to mobile users. They appear with a faded background and may already include linked tasks, scans, or forms.

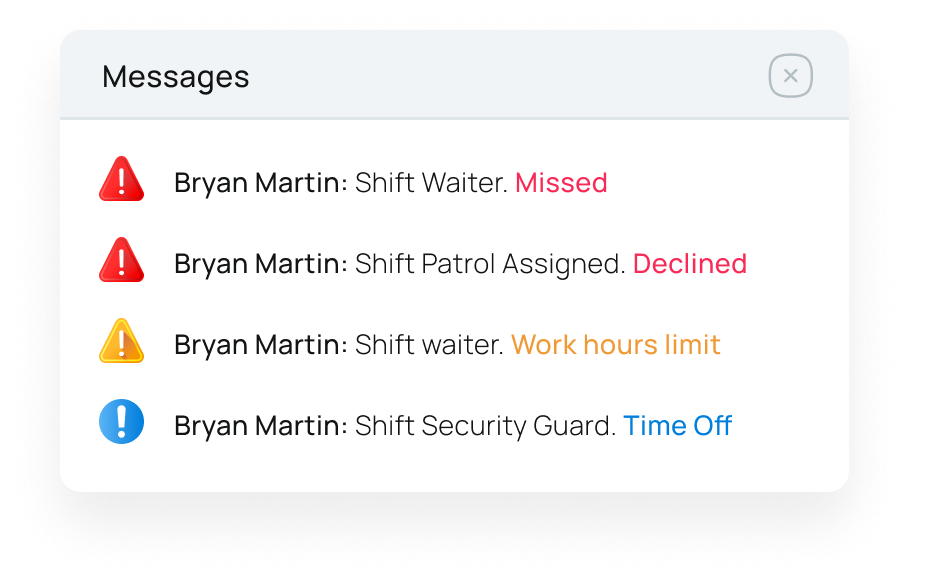
Alert Notification Types
Alerts notify users of conflicts, issues, or informational events tied to shifts.
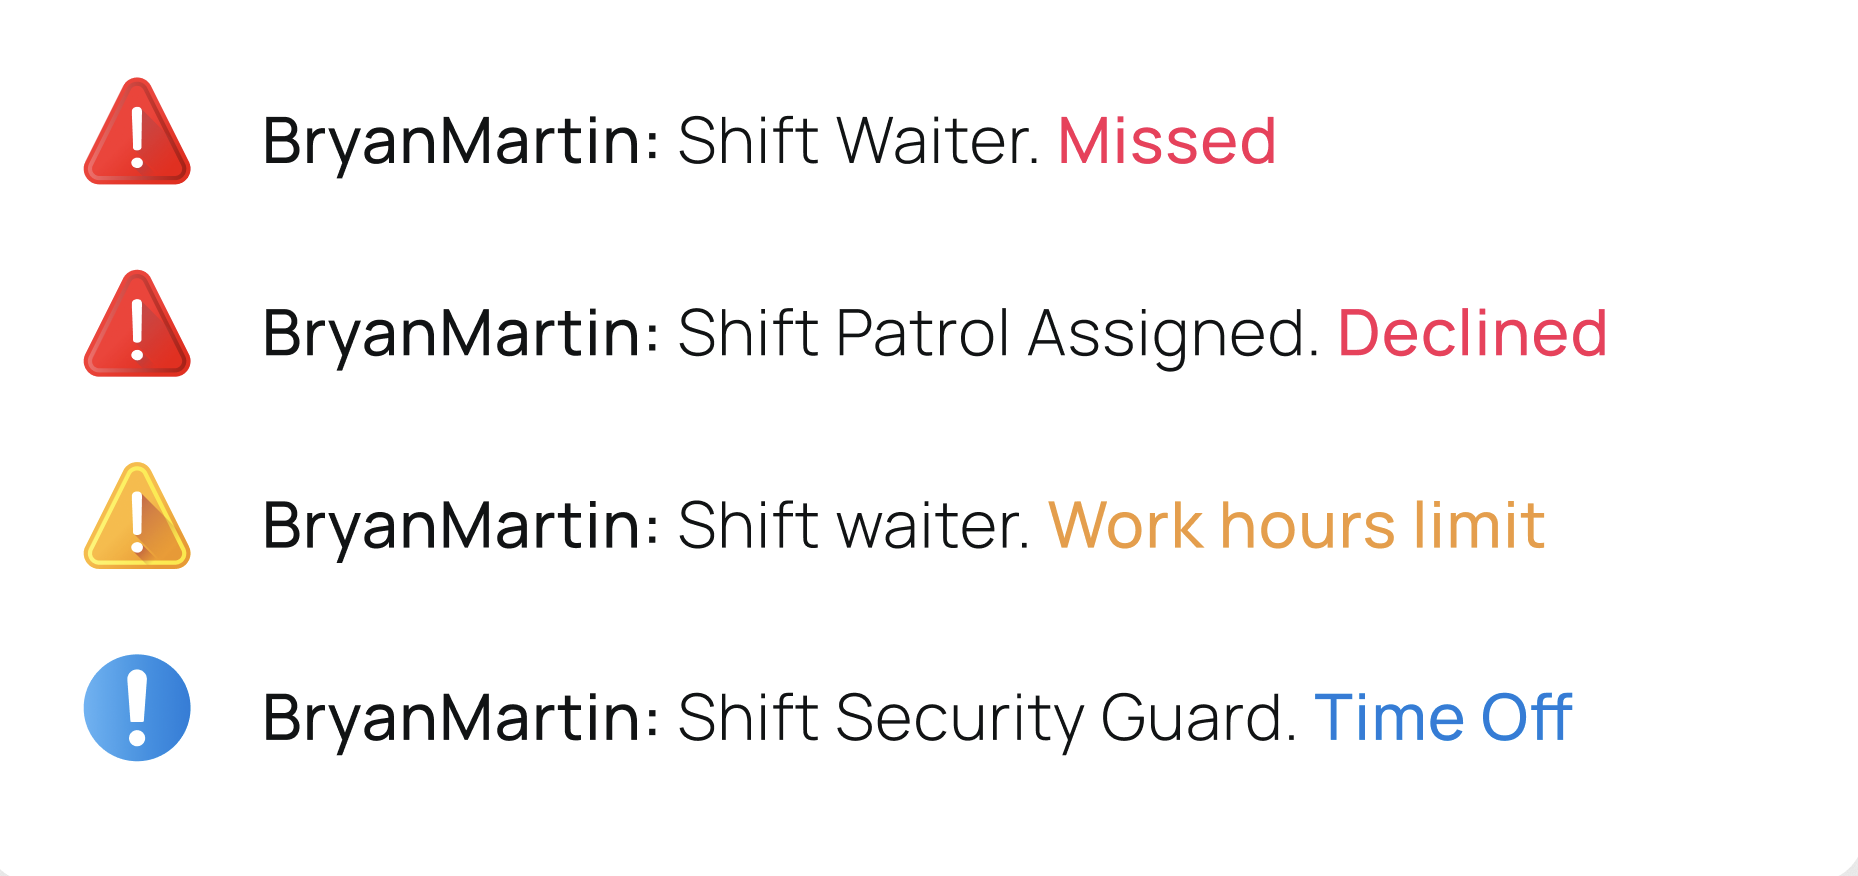
Immediate Attention Messages
A red icon highlights urgent conflicts, such as:
- Missed shifts
- Shifts not yet accepted
- Overlapping assignments

Alert Messages
A yellow icon indicates non-critical issues, including:
- Unfinished activities
- Undefined pay rates
- Hour-limit violations

Informative messages
A blue icon provides neutral information, such as:
- Scheduled time-off
- Holidays
- Other unavailability markers

Shift-based Indicators
Tasks Indicator
Displays an activity icon when tasks, scans, or forms are linked to the shift.
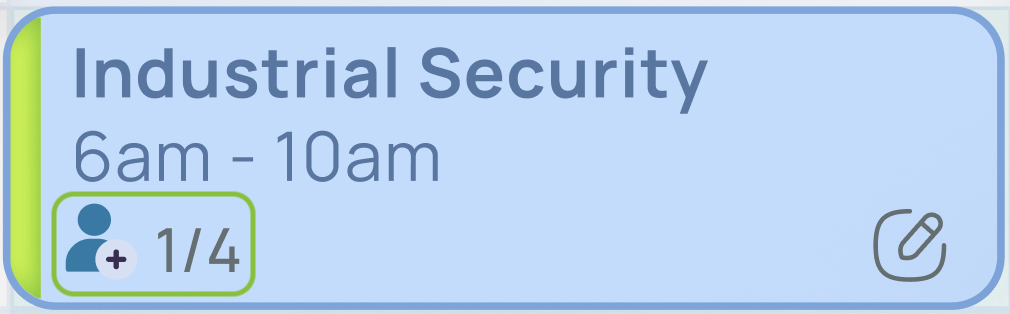
Spots Indicator
Shows the number of available and claimed spots for an unassigned shift that employees can pick up.
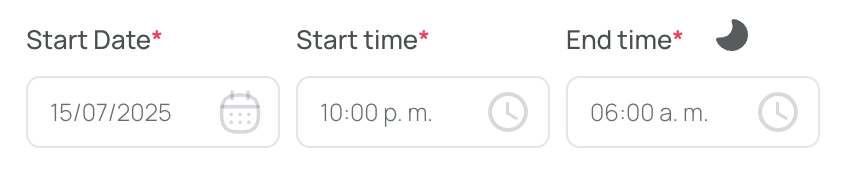
Overnight Shift Indicator
A crescent-moon icon flags overnight shifts that extend past midnight.
- Hours worked are counted only on the day the shift begins.
- The same icon appears in the main schedule grid wherever an overnight shift is present.
Manage the Schedule
- Navigate to the portal’s top menu.
- Go to "General Settings".
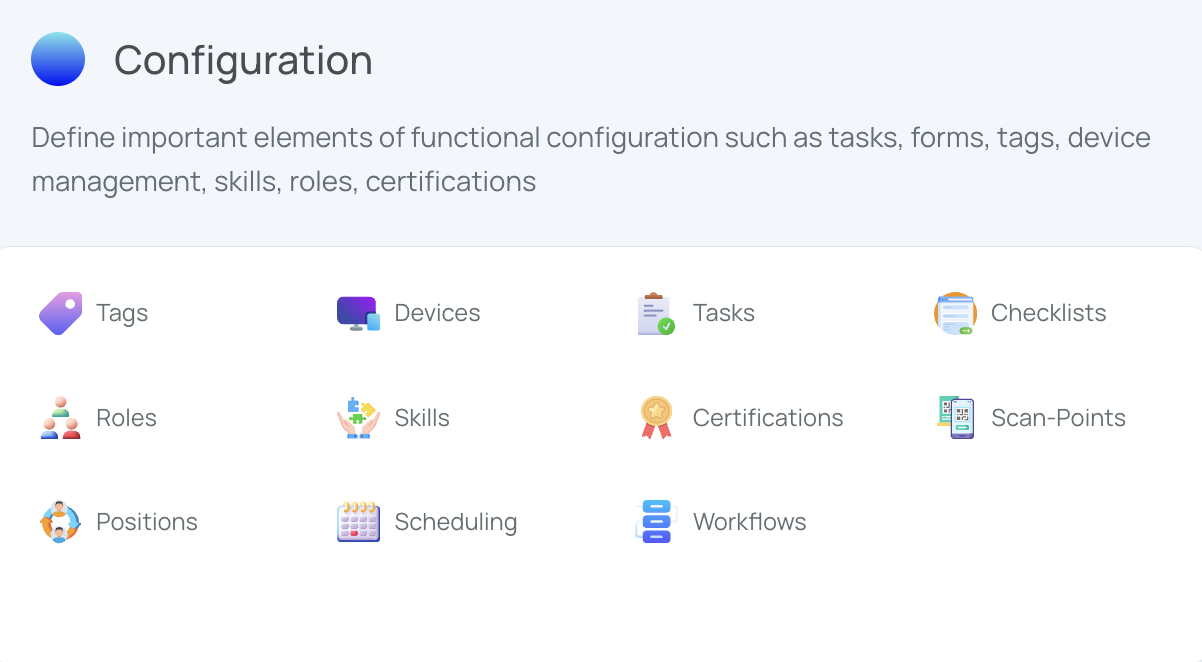
- Click Settings in the top menu to access various organization configuration options.

- Within the Configuration area, click "Scheduling."
- Click directly on the Schedule name you want to open.
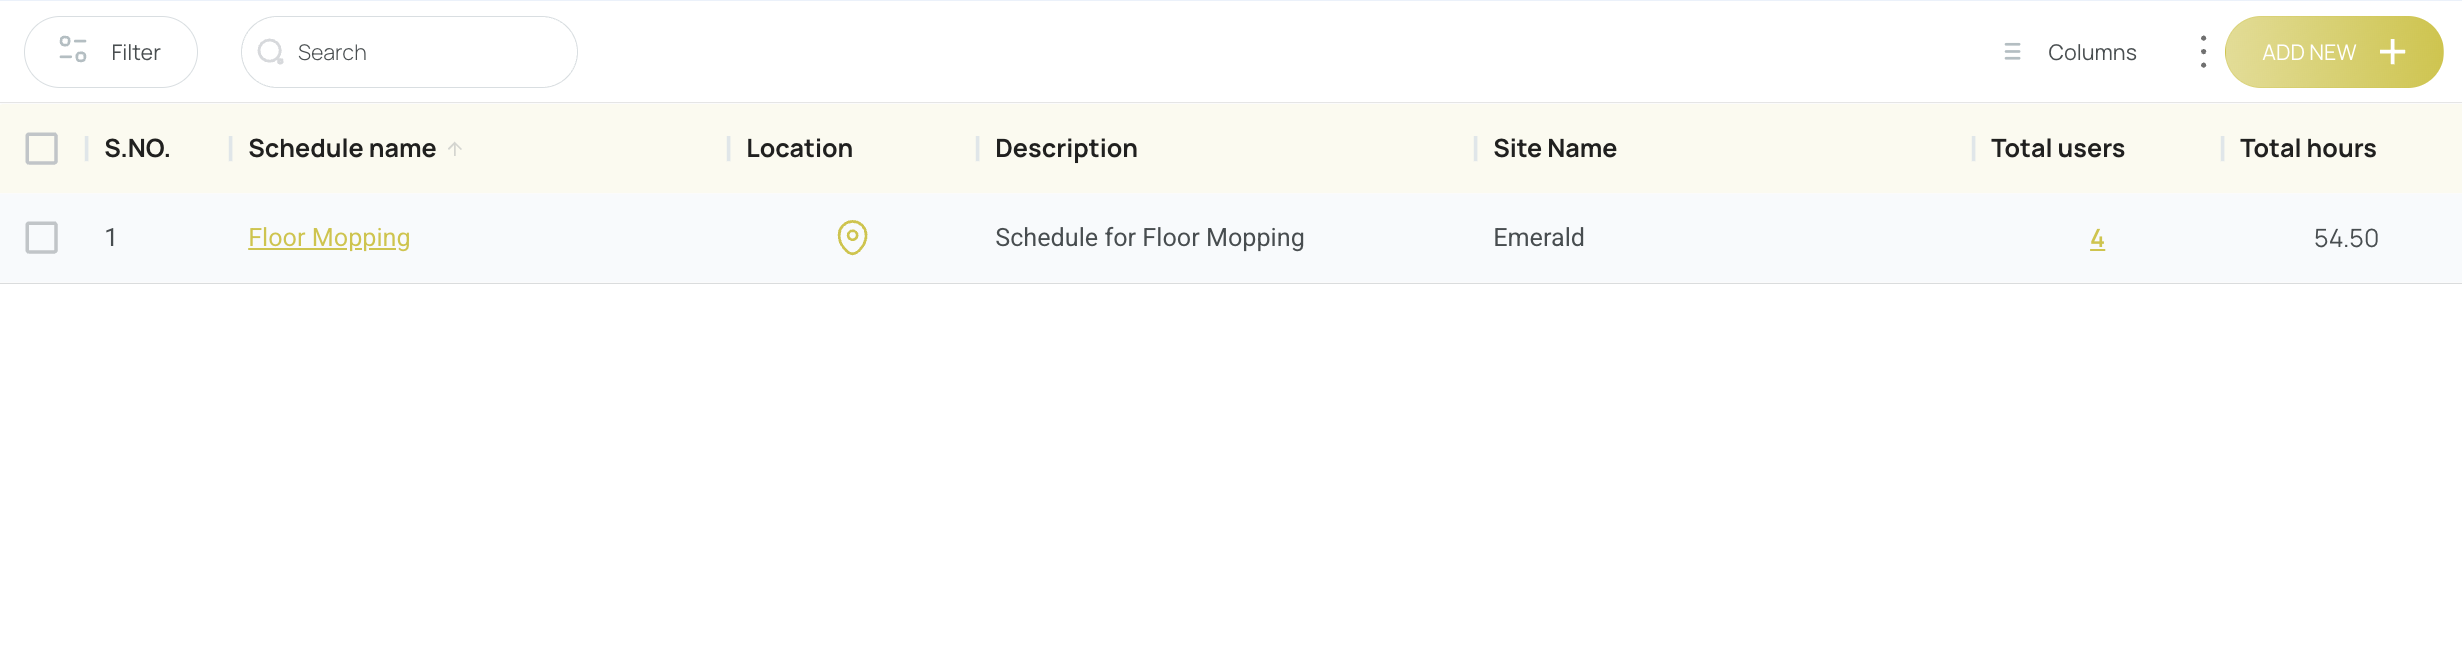
- You can use filters to find it quickly.
- General schedule view opens, typically in week view by default.
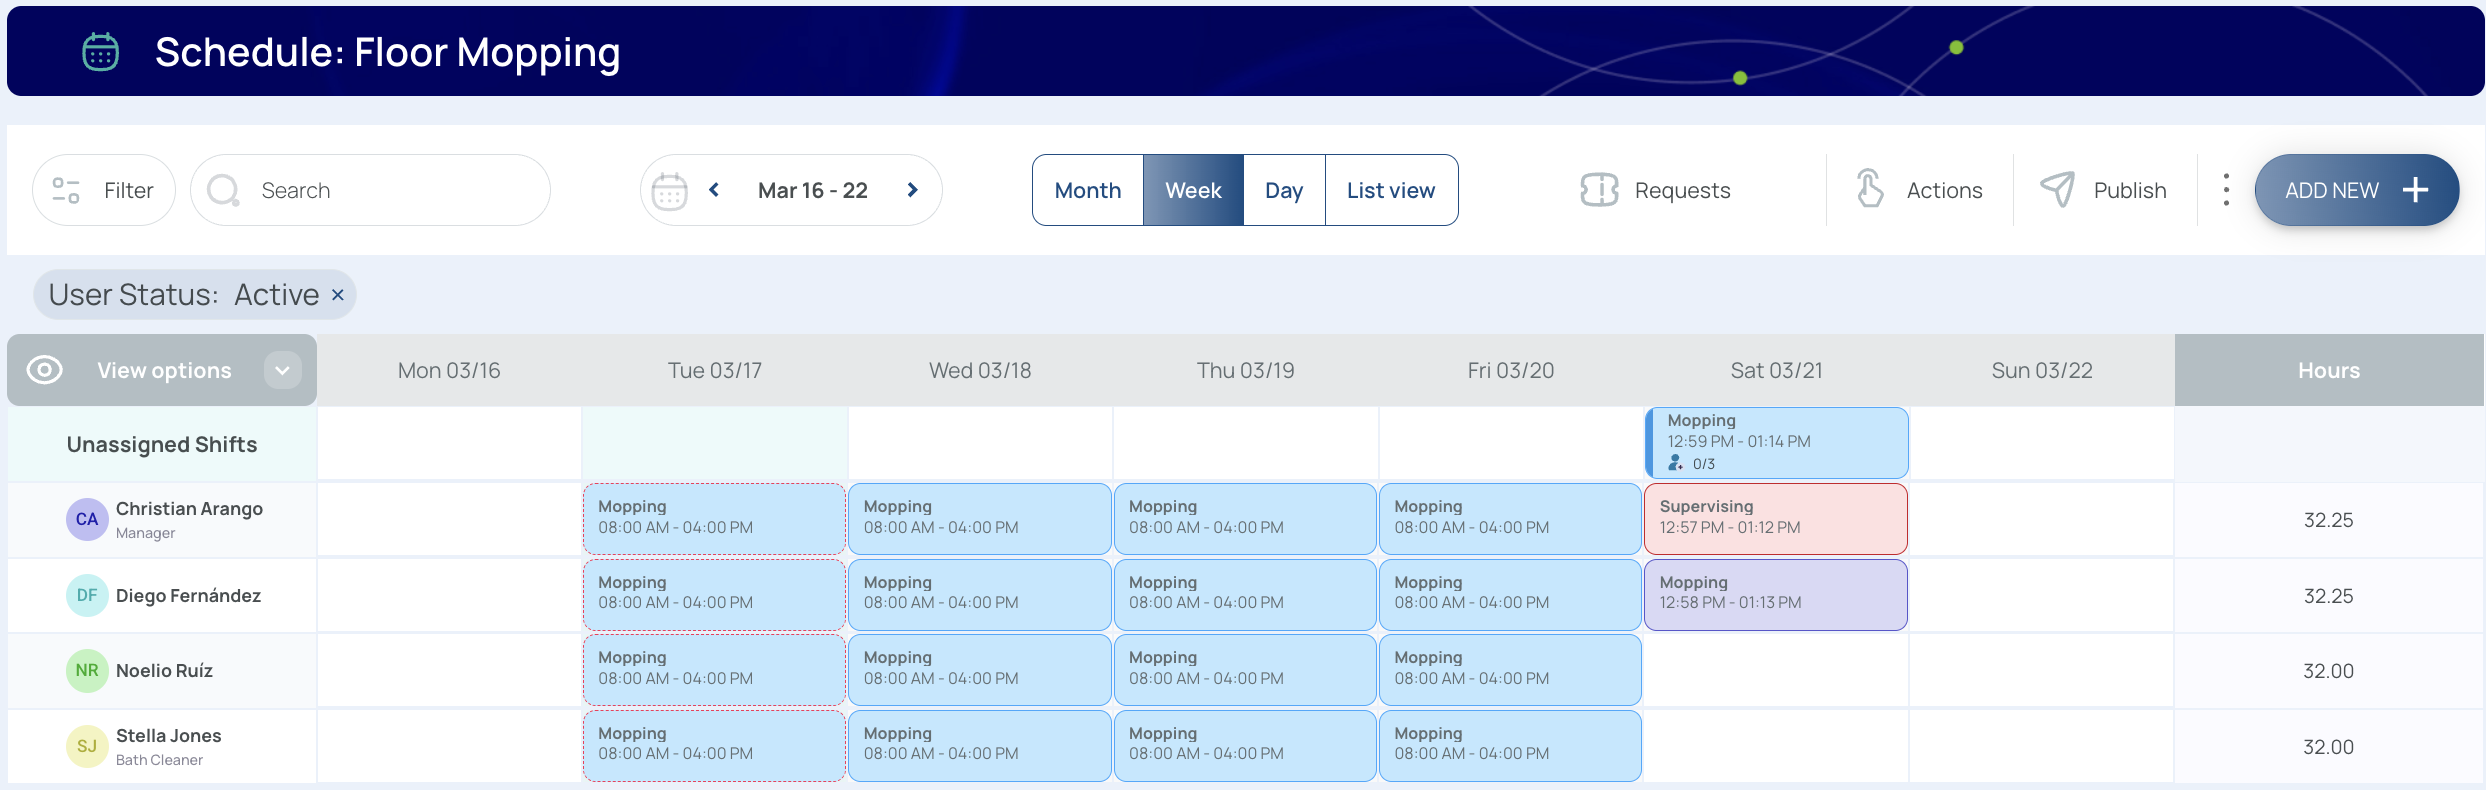
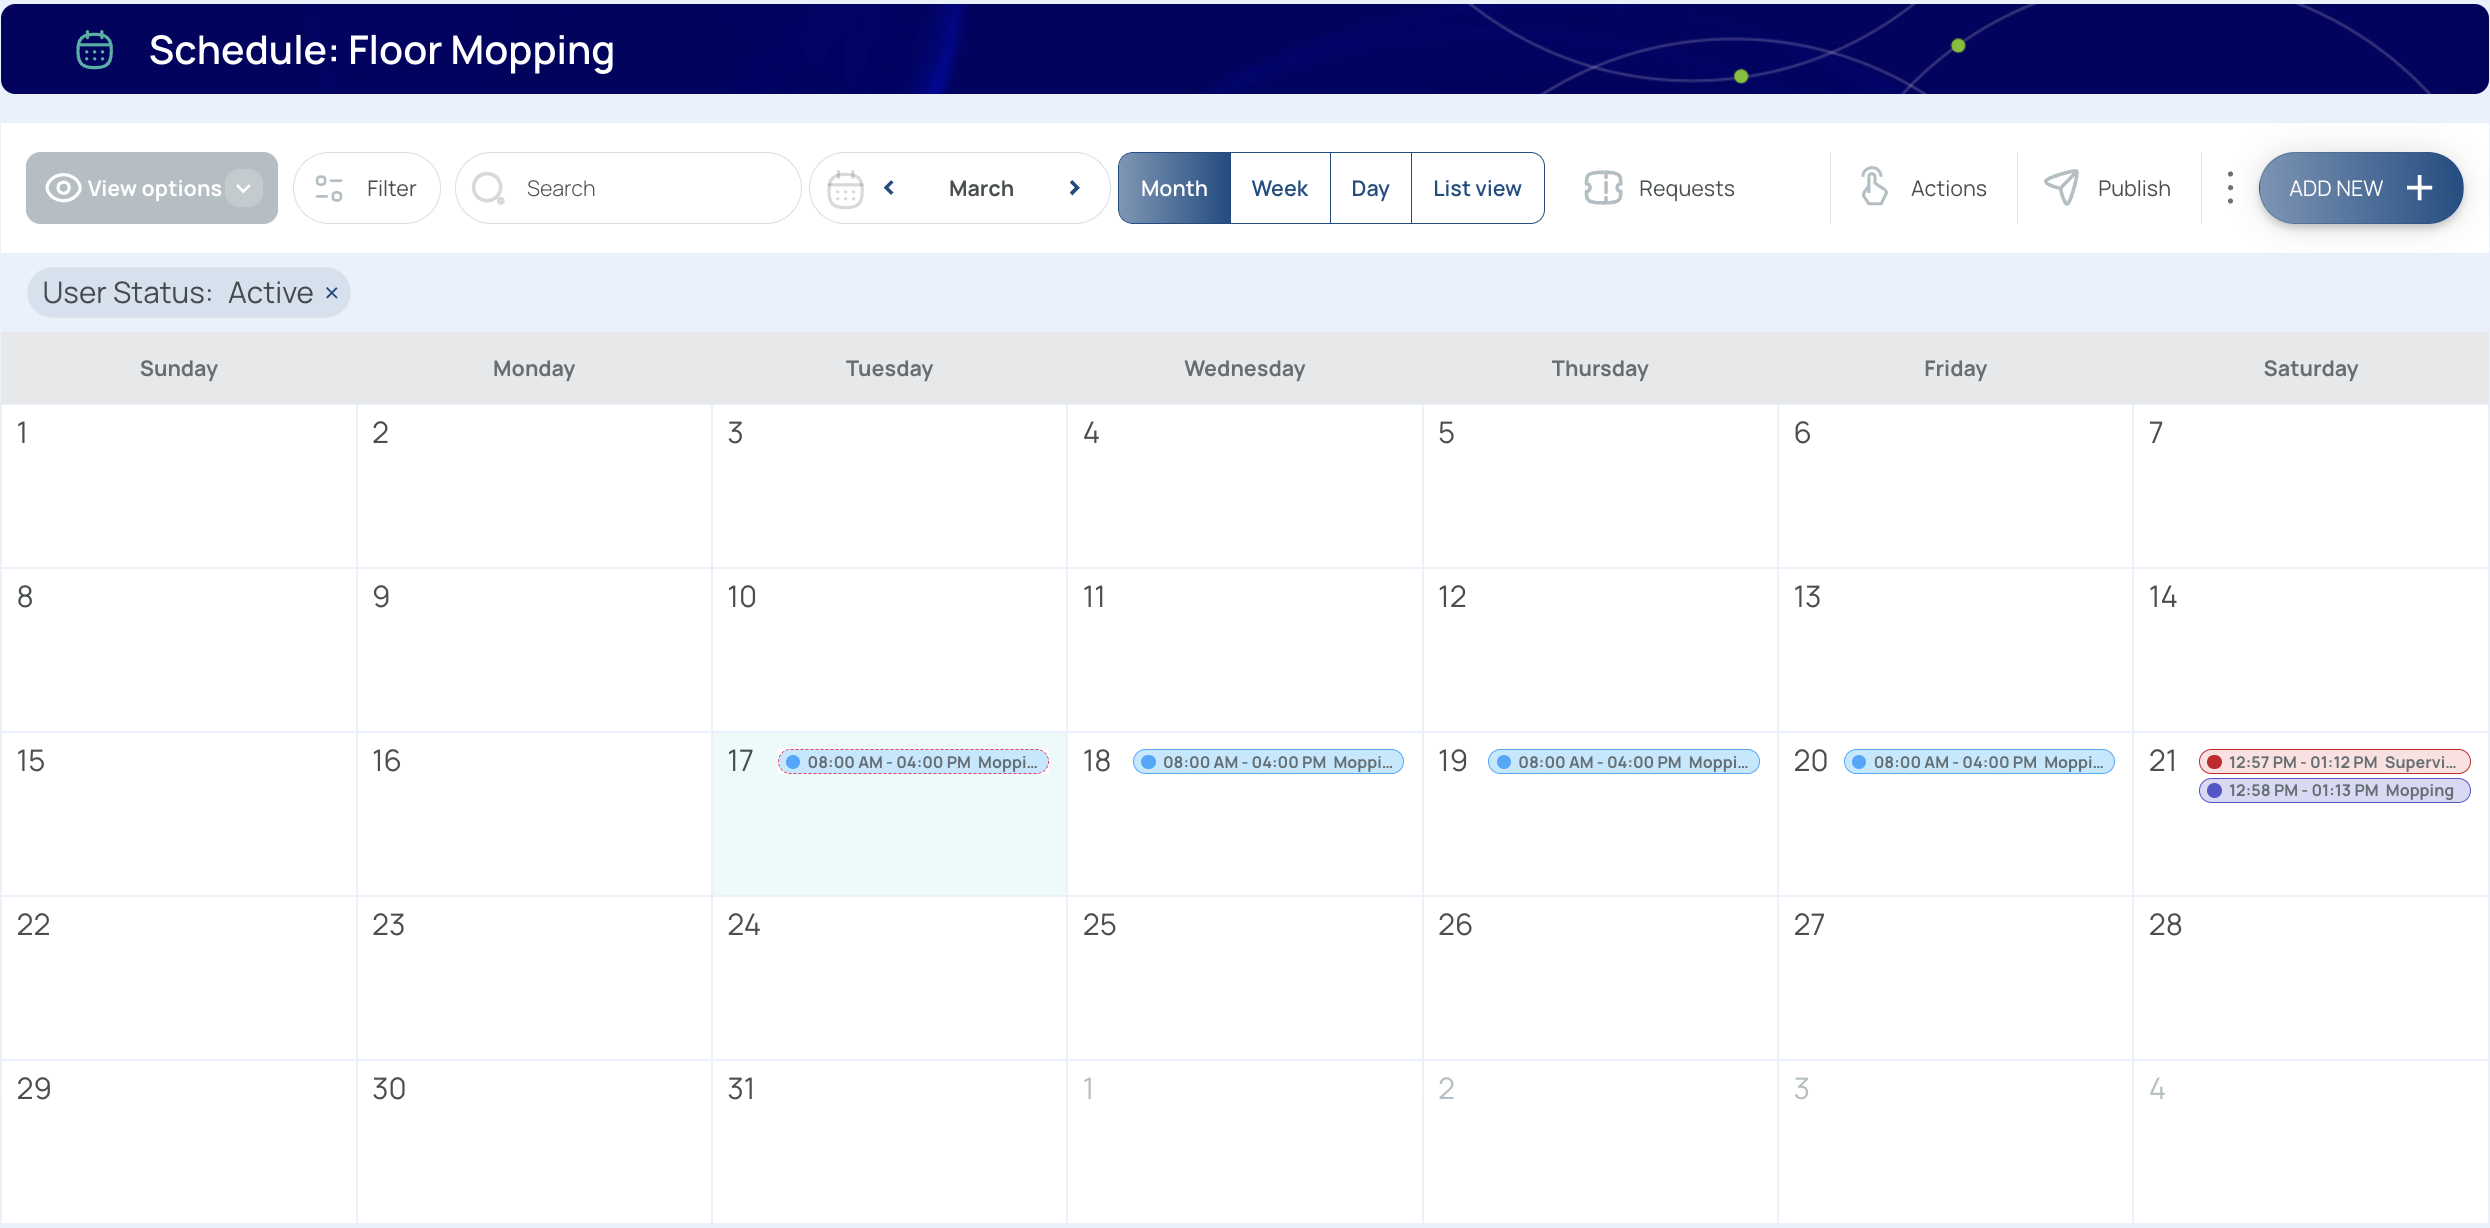
Schedule Overview
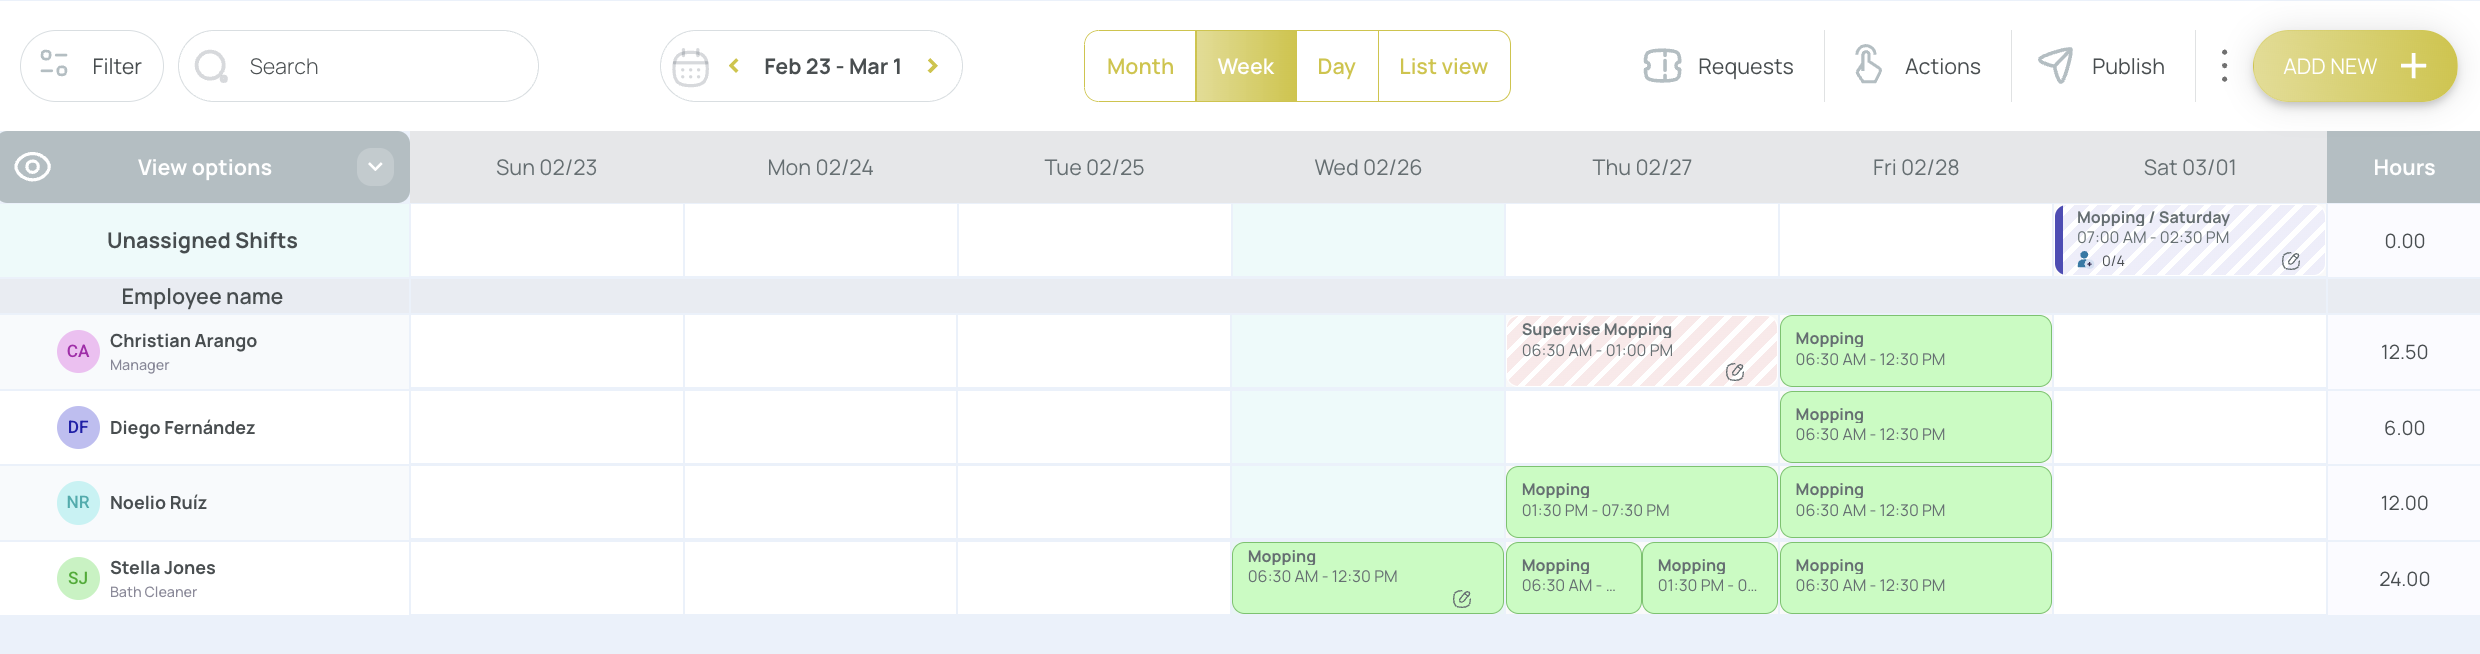
A schedule is divided into the toolbar, grid, users, unassigned shifts, schedule bar, and header:
- Header: Displays the schedule name.

- Tool Bar: Contains filters, search bar, date selector, time selector, request button, actions button, publish button, the 3-dots menu, and the Add New button.

- Schedule Bar: Displays the view, hours, and view options.

- Shift View: Shows user columns, assigned shifts, and hours details.

- Unassigned Shift View: Displays shifts available for users to claim.

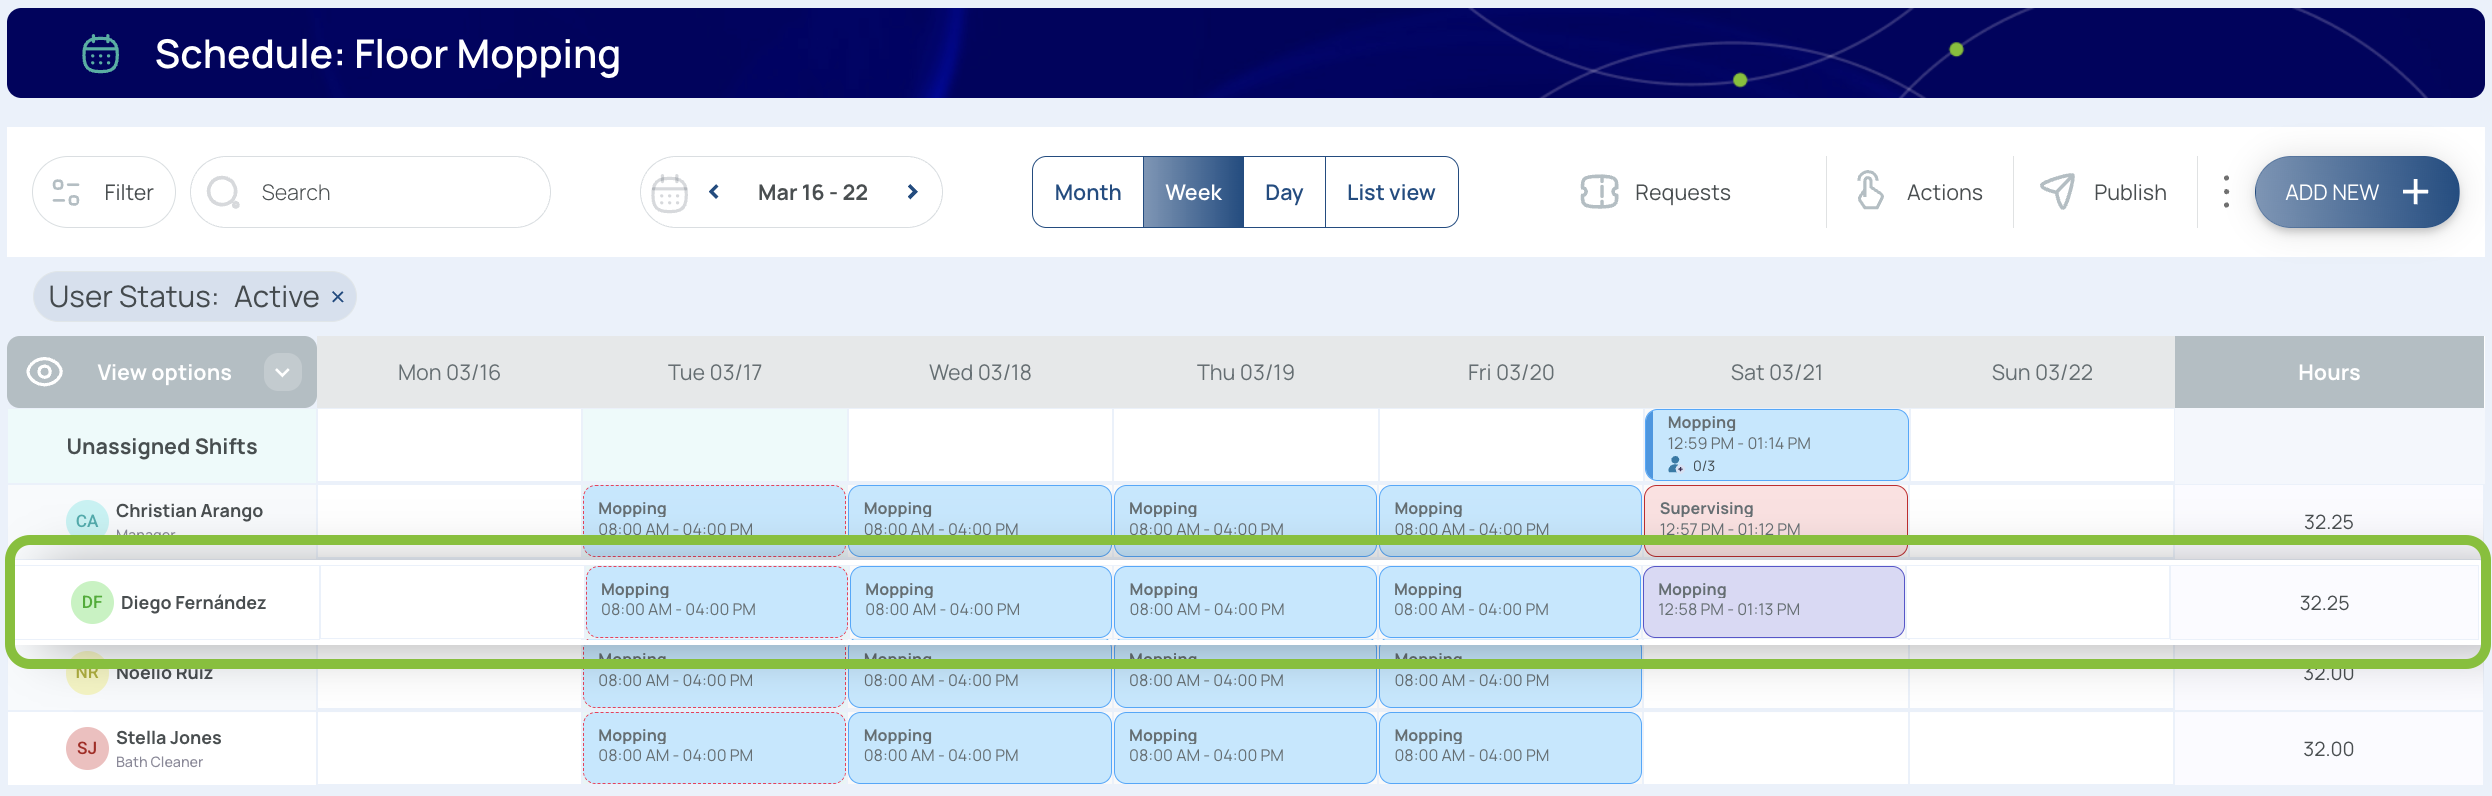
- Row Highlight: Highlights the selected row.
Tool Bar
The toolbar includes functions to change how the schedule is displayed and to perform quick actions.
Filter
You can apply Quick or Advanced filters by clicking the “Filter” button:
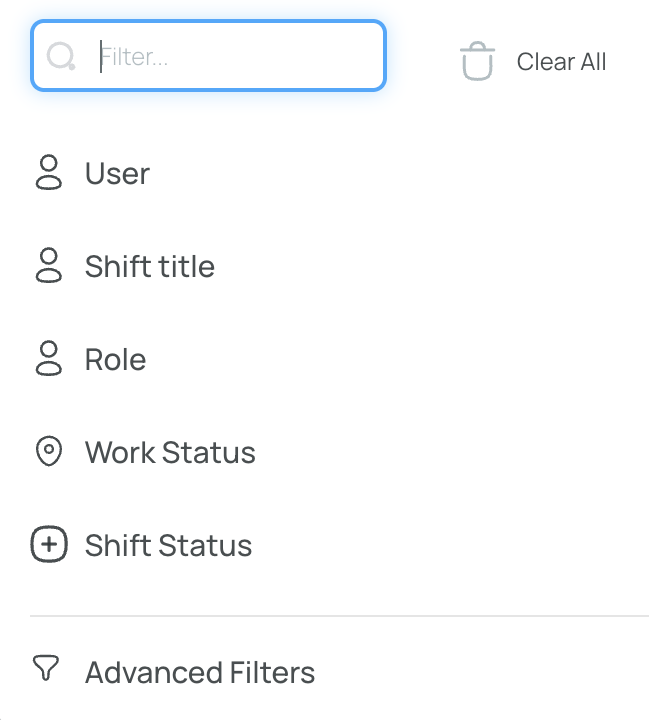
Quick Filters: By default, quick filters are divided into categories: User, Shift Title, Role, Work Status, and Shift Status. Click items to create new filters, then press “Apply”.
Advanced Filters: Switch to advanced filters to define multiple logical conditions. Each filter is composed of Label (data categories), Compare (equals, not equals, contained in, etc.), and Value (the matching text). Press “Apply” once done.
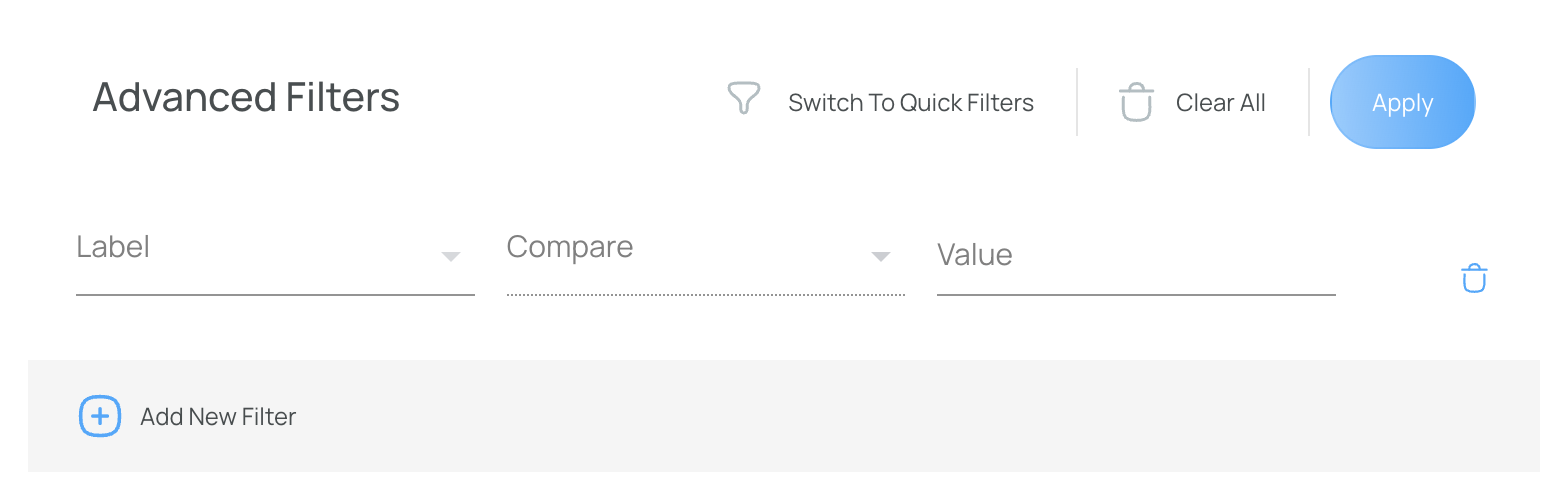
You can return to Quick Filters by pressing "Switch to Quick Filters".
Search Bar
This is a graphical UI element that accepts keywords or phrases to quickly locate specific info—especially handy in list views.

Time Selector
Choose between day, week, month, or list view:

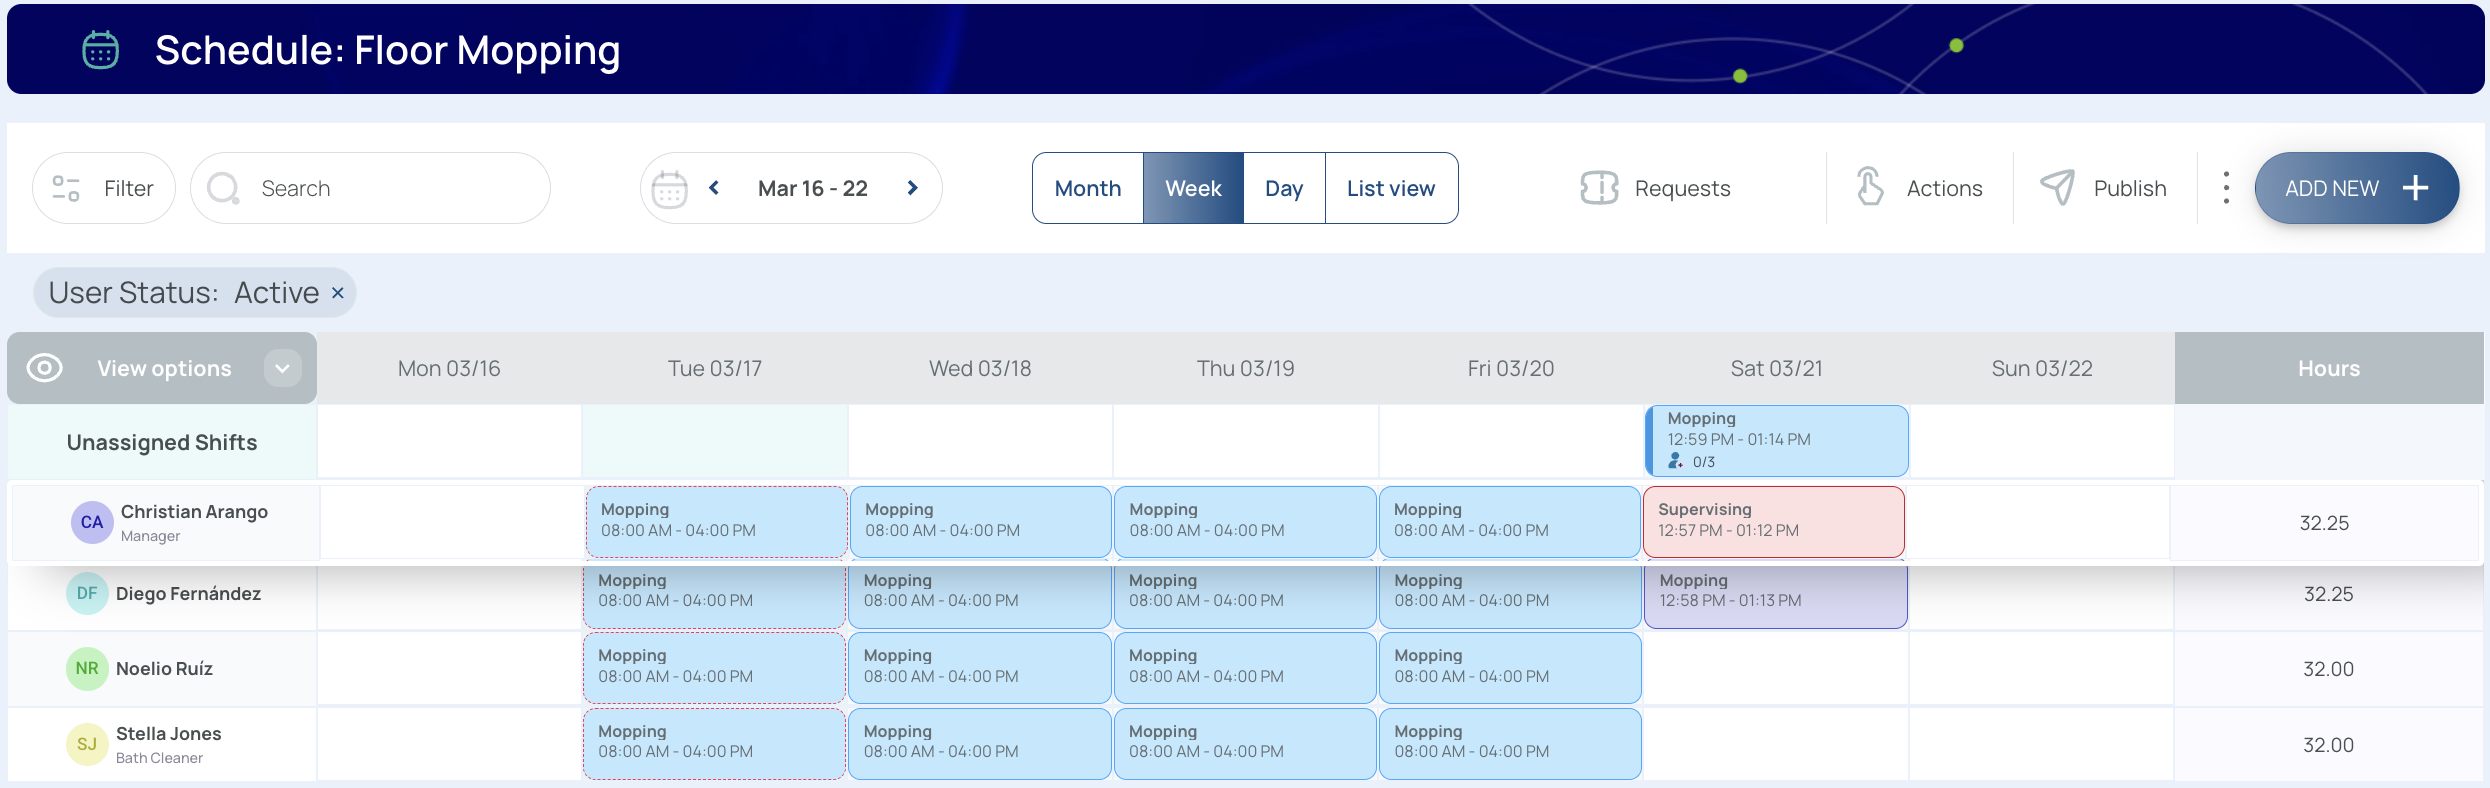
- Week View: The default balance of the current day, the past few days, and the upcoming days.
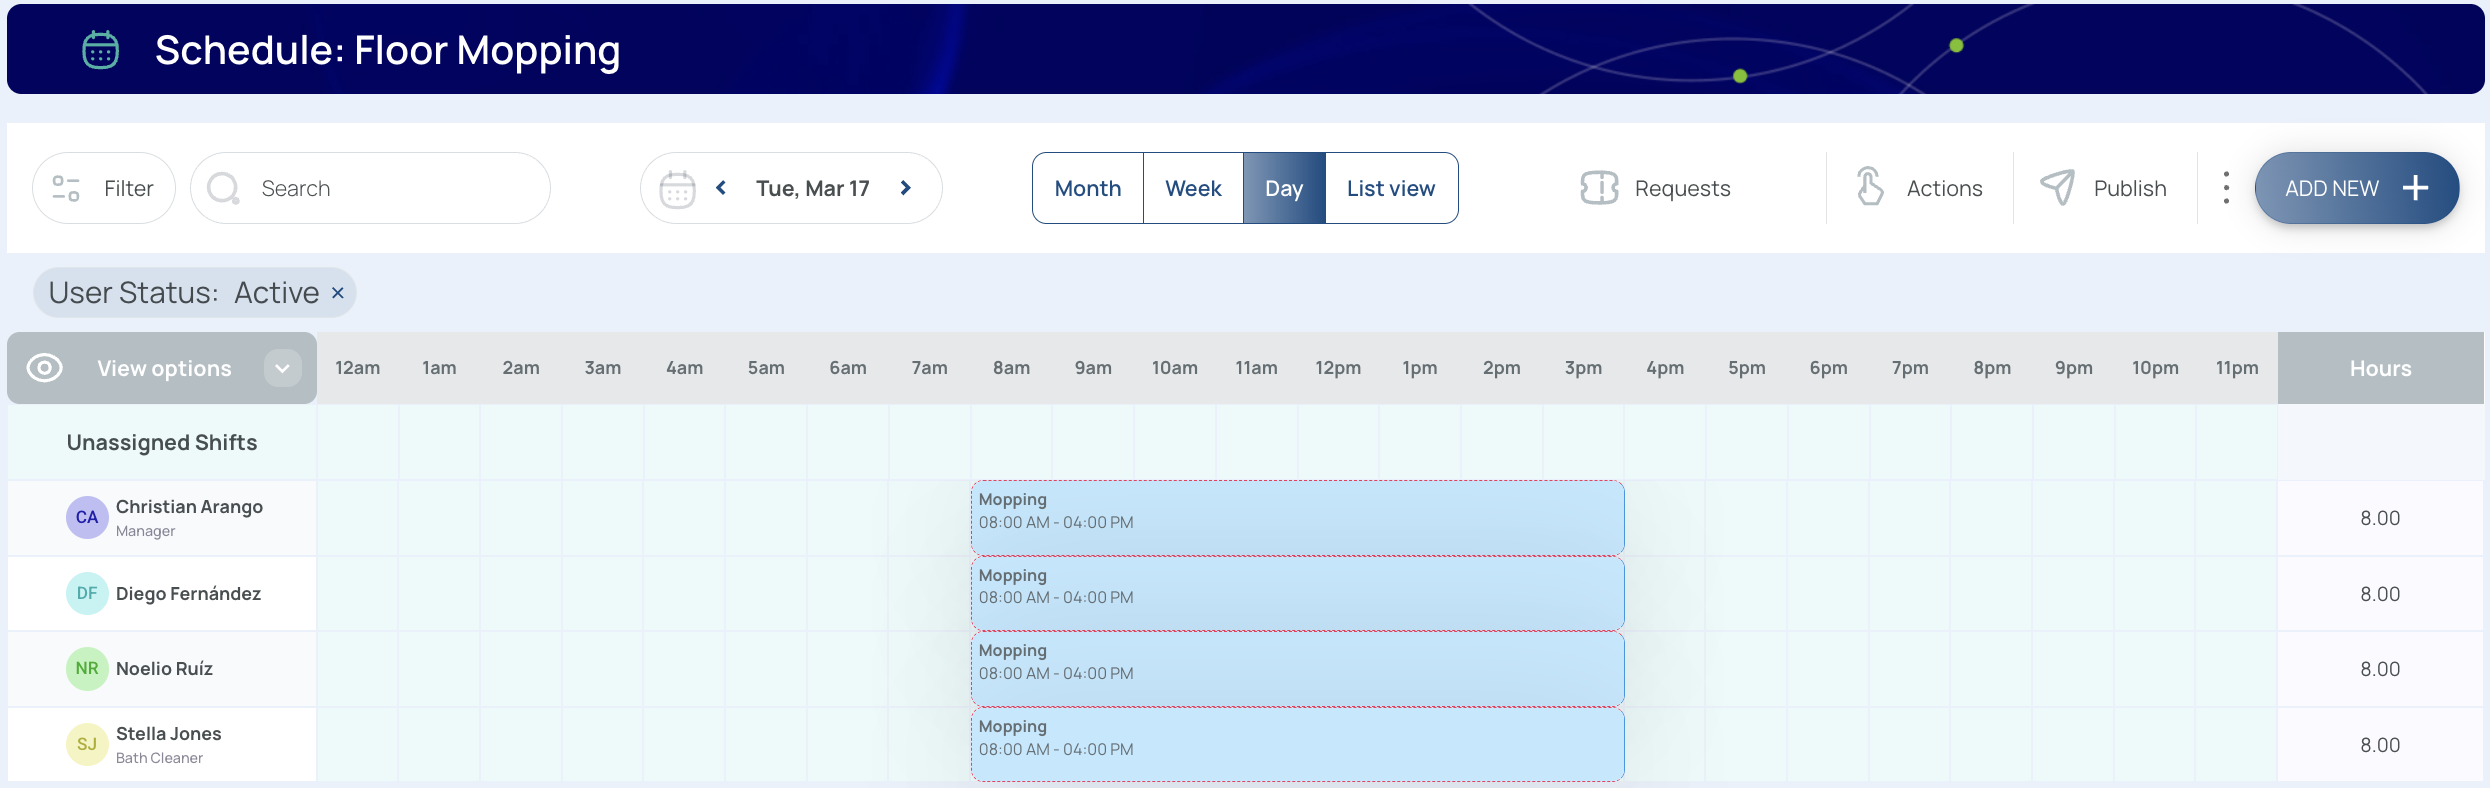
- Day View: Offers detailed, hour-by-hour visuals for a single day.
- Month View: Provides a broader overview of shifts in a calendar-like format.
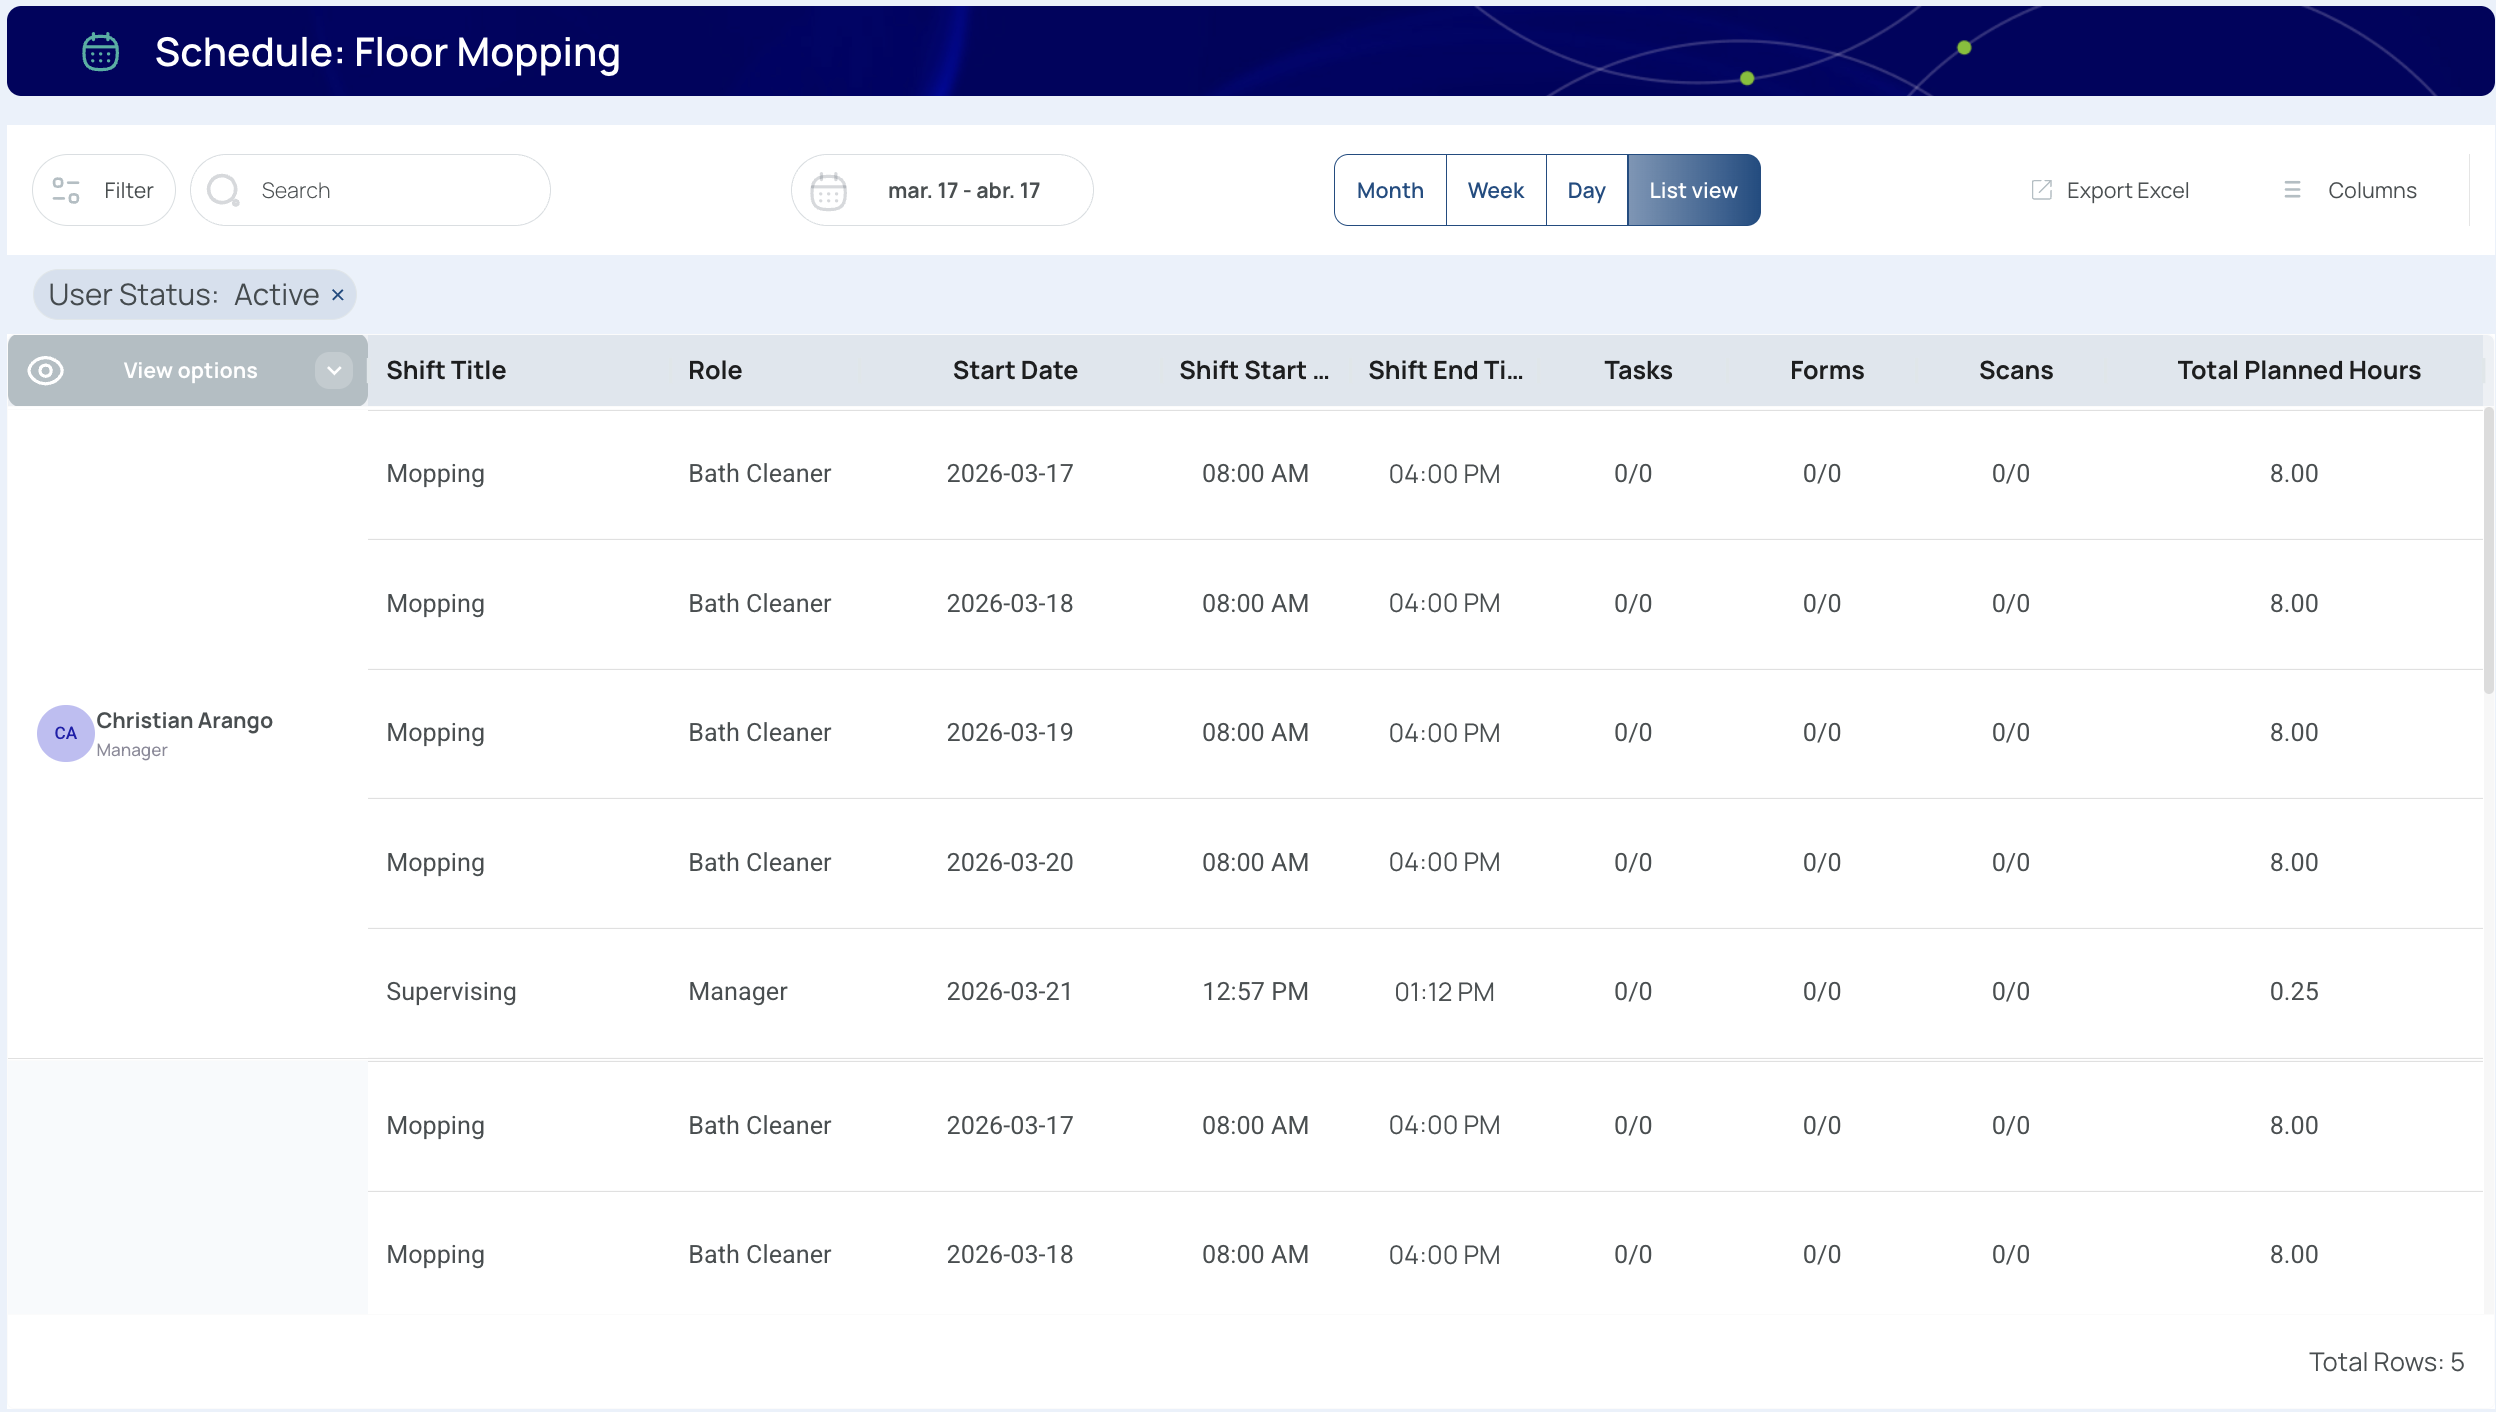
- List View: Groups data by user, and allows exporting as an Excel file.
Date Selector
Select a specific date to view. This can open an interactive calendar, making it easy to pinpoint a day.
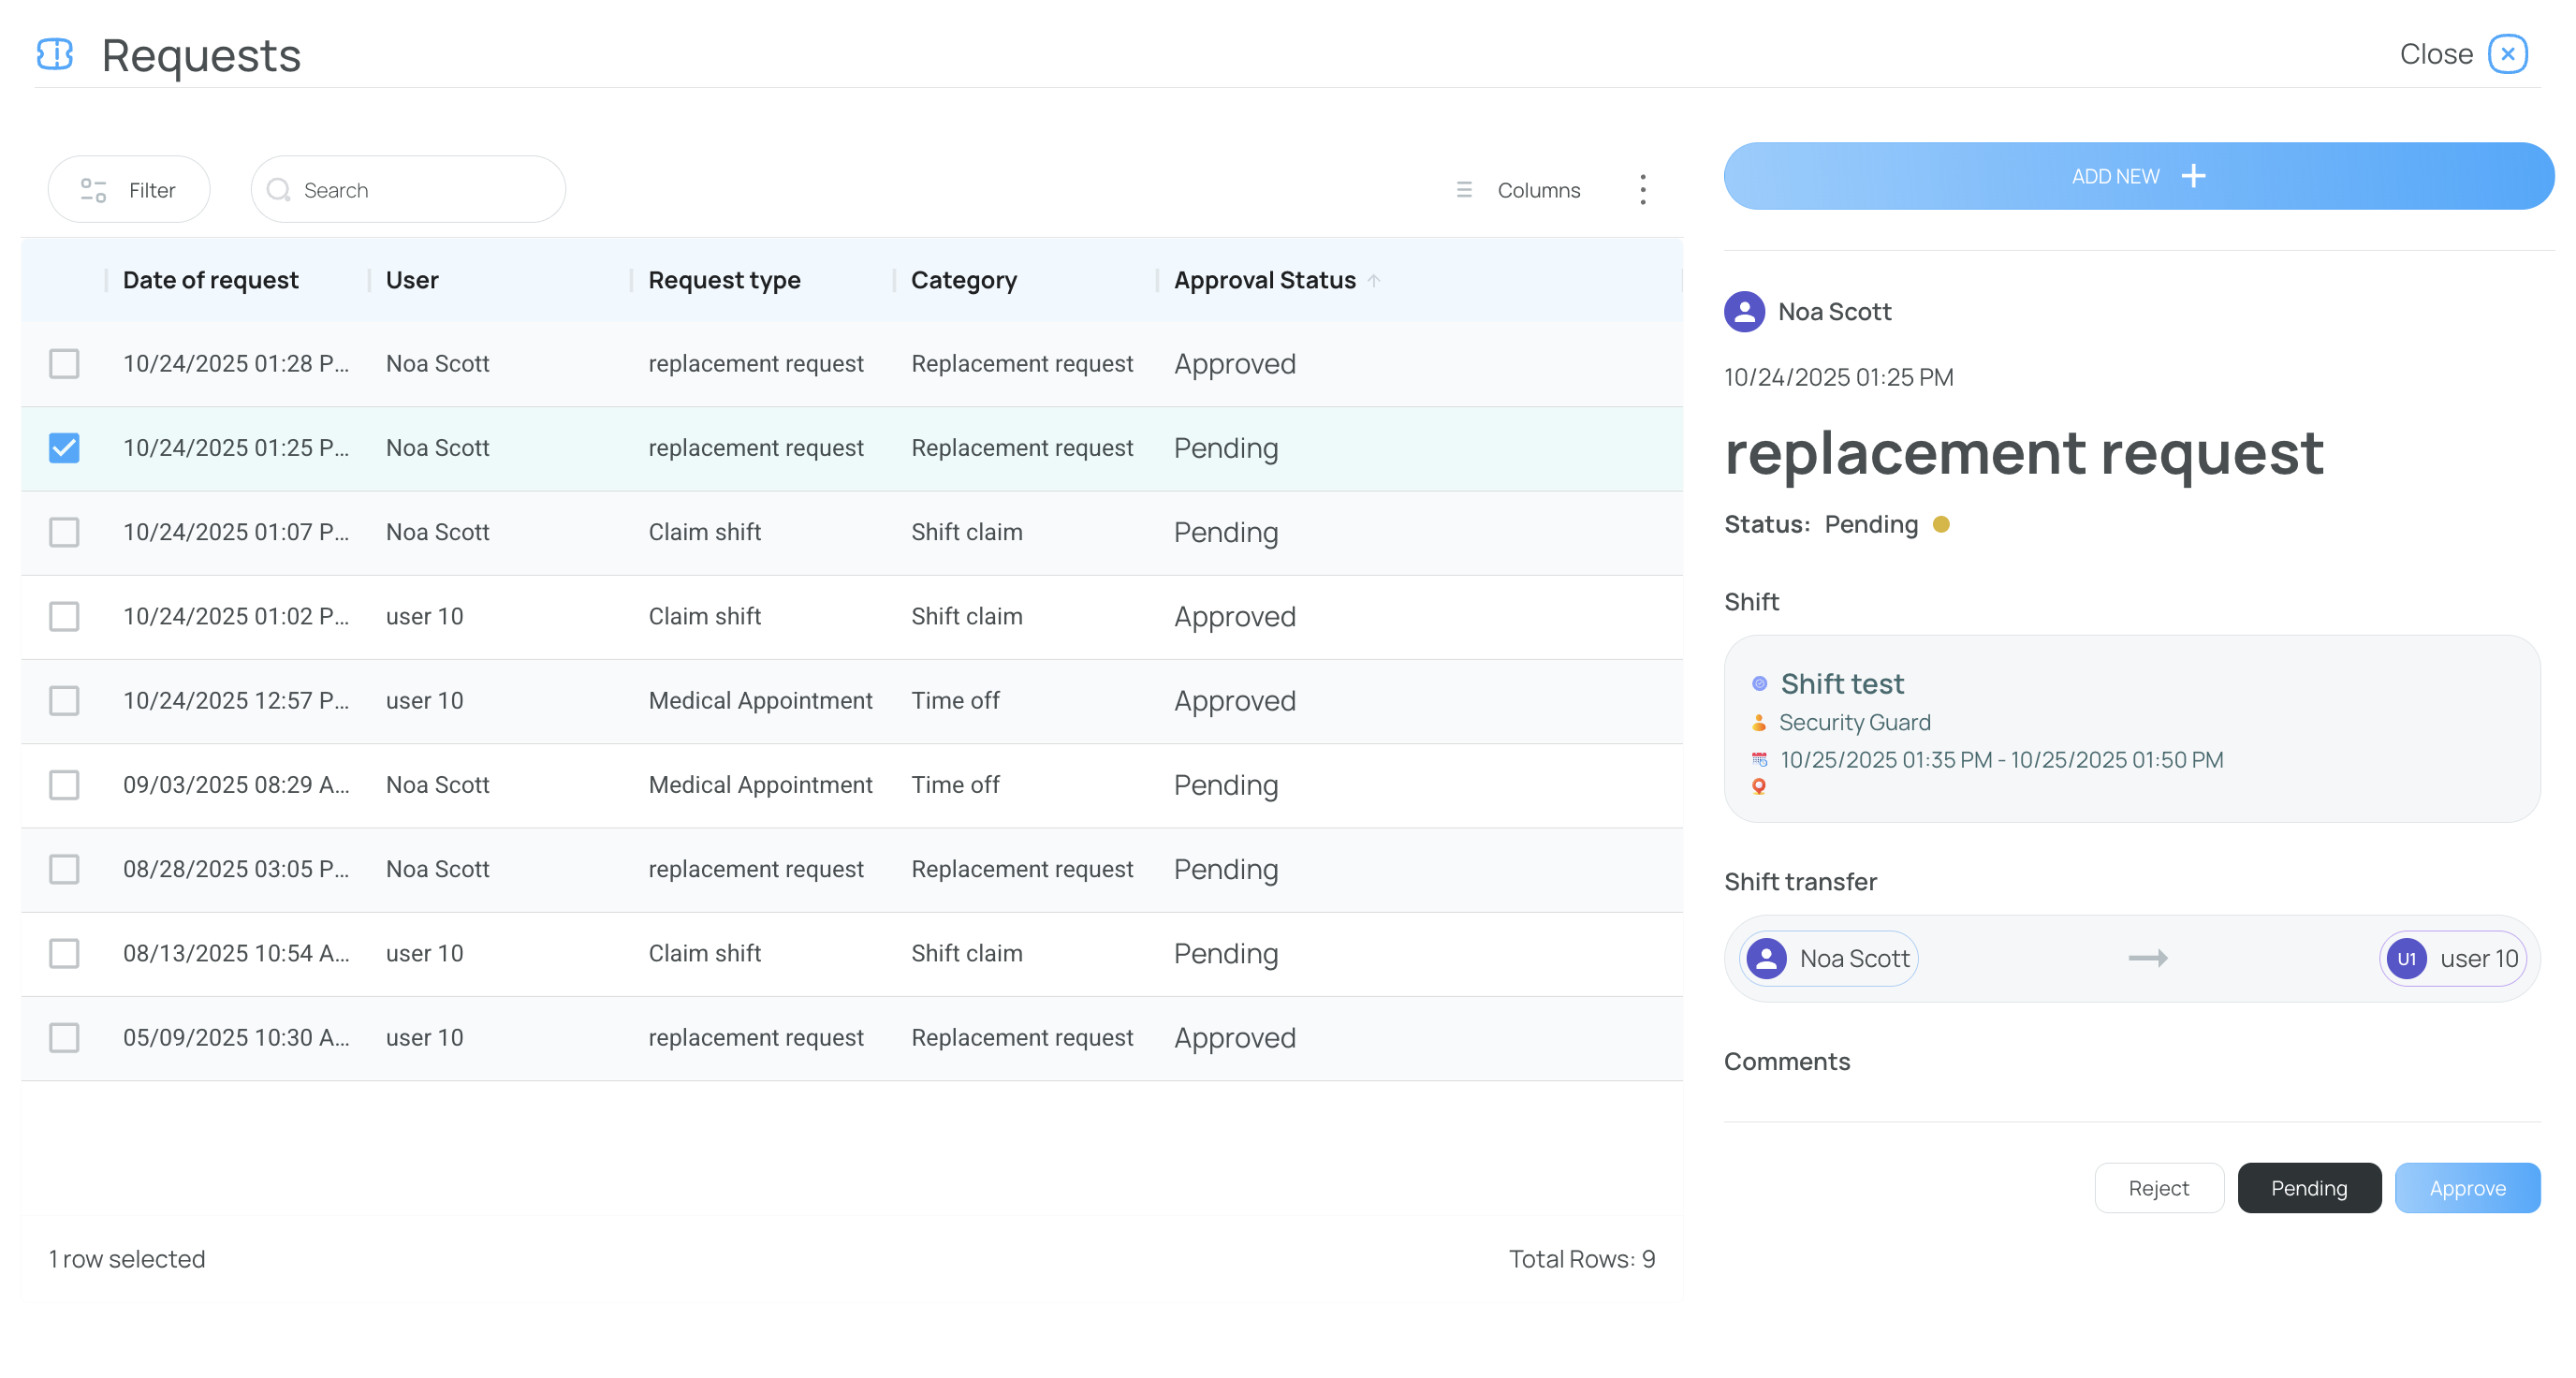
Requests
Access user requests (e.g., Time Off, Claim Shift, Replacement Requests) within the scheduling interface. Admins can accept, reject, or set them as pending.
Actions
Within the scheduler, clicking “Actions” reveals various operations. Visit our dedicated guide on Actions.
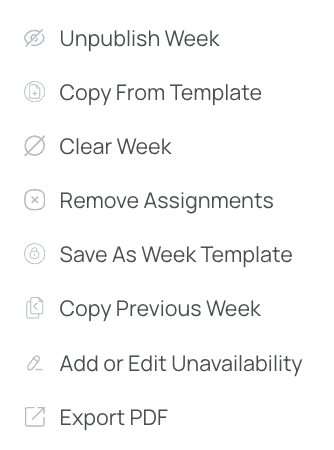
- Unpublish Week: Converts published shifts to drafts, hiding them from mobile users.
- Copy Form Template: Opens a window with ready-to-use templates.
- Clear Week: Deletes all not started shifts in the current view.
- Remove Assignments: Removes assigned users from shifts in the current view while keeping the shifts in place.
- Save as Week Template: Saves the present week’s layout as a reusable template.
- Copy Previous Week: Brings over last week’s shifts into the current week.
- Add or Edit Unavailability: Manage the times users are marked as unavailable.
- Export PDF: Downloads the current view as a PDF (appears in “Downloads” if it exceeds file size limits).
Publish

The Publish button makes shifts visible to mobile users. Until published, shifts remain drafts and are hidden from employees. Confirm publishing after reviewing any alert messages to ensure correctness.
Add New Button
The Add New button includes multiple scheduling features:
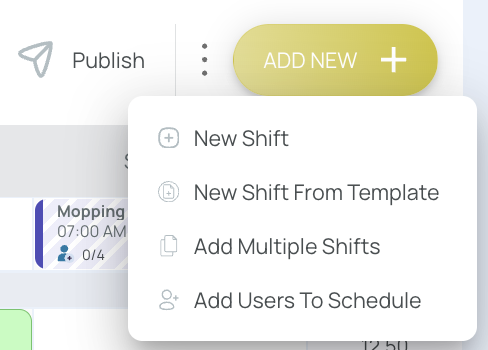
- Add New Shift (see “Add New Shift” section)
- Add Shifts from Templates (see “Add Shifts from Templates” section)
- Add Multiple Shifts (see “Add Multiple Shifts” section)
- Add Users to the Schedule (see “Add Users to the Schedule” section)
Grid Buttons
Inside every schedule cell, you’ll find two quick-add actions: New Shift and Add from Template.
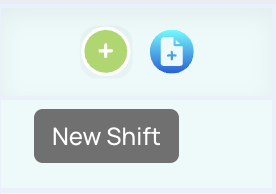
New Shift
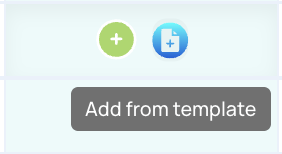
Add from template
- New Shift opens a blank form where you define title, role, date, time, tasks, and any other details from scratch.
- Add from Template lets you drop a pre-configured shift into the grid—ideal for recurring patterns or standardized roles.
Use whichever option suits the moment: start fresh when a shift is unique, or pull from templates to populate the day in seconds.
Schedule Bar
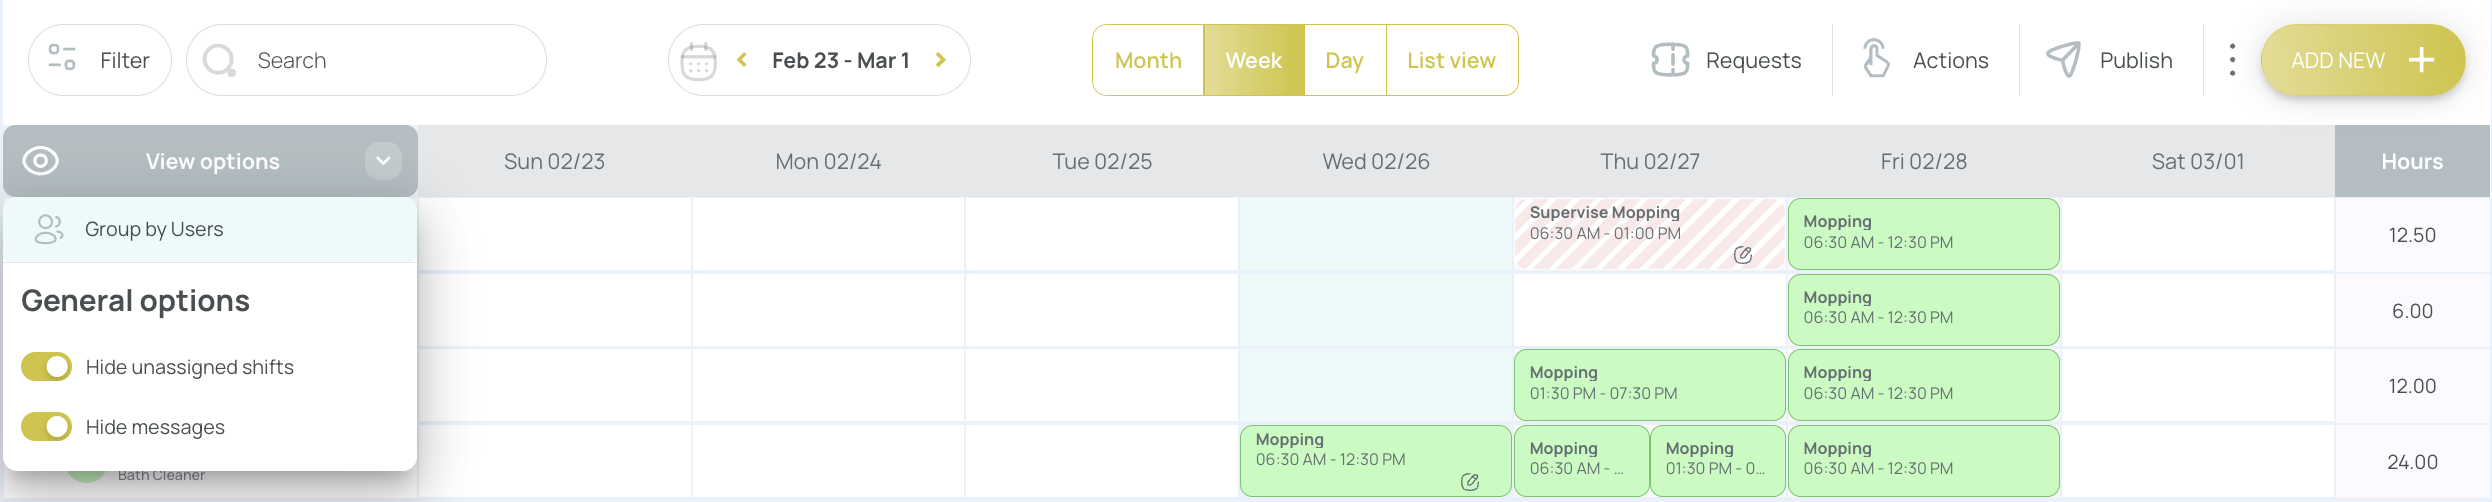
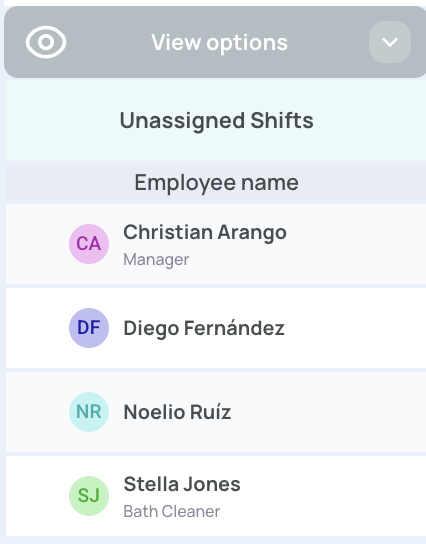
View Options
In day, week, month, or list view, the View Options button can hide specific elements, like unassigned shifts or message icons. Any changes apply immediately and can be undone by toggling the same setting.
Day Column
Each day may display alert messages or immediate attention icons if conflicts arise (e.g., a not-accepted shift or missed shift). The schedule typically flags:

- Immediate Attention (Red): Missed shifts, overlapping shifts, or not-accepted shifts.
- Alert (Yellow): Incomplete tasks or exceeding hour limits.
- Informative (Blue): Time off, or unavailability.
Hours
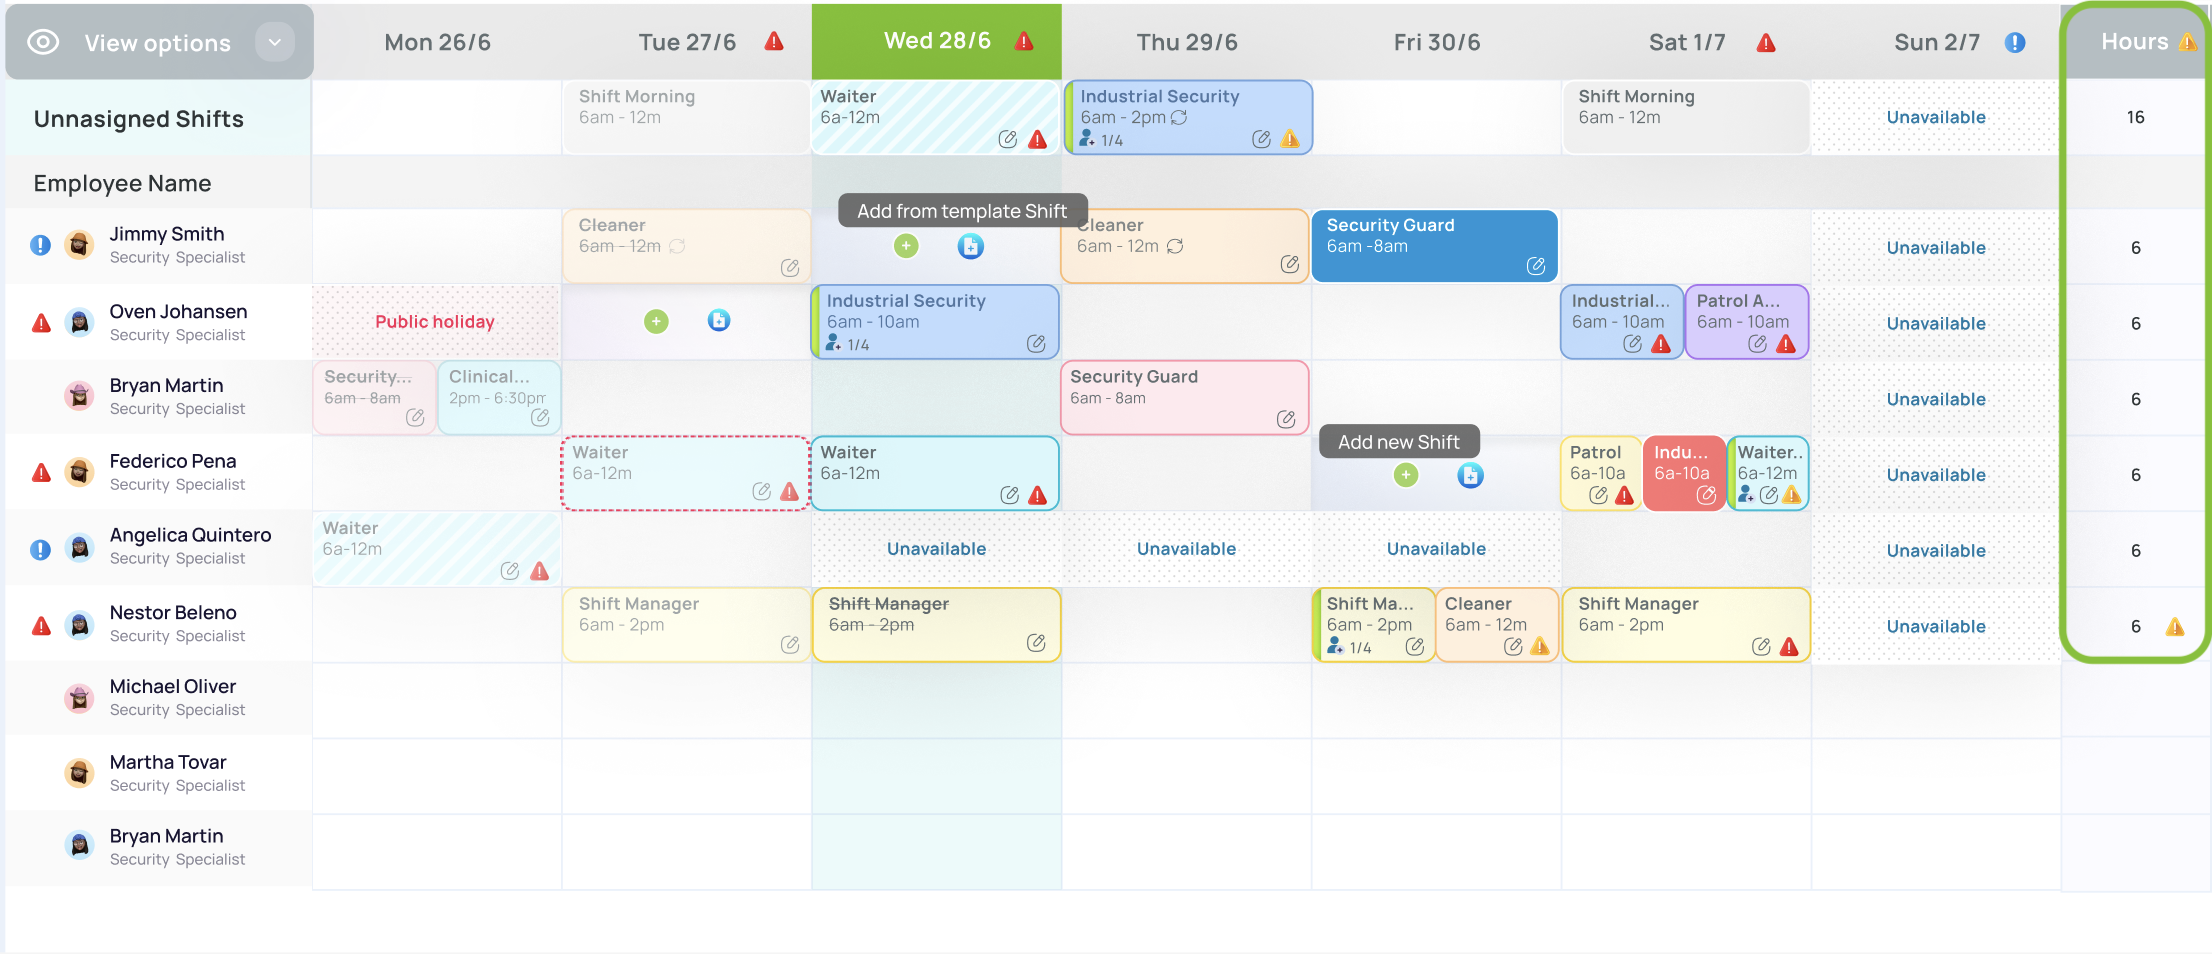
The schedule bar shows daily, weekly, or monthly hours, depending on your selected time range.
Shift View
A shift is a specified time slot an employee is assigned to work. Administrators create these shifts in the scheduler, often linking them to tasks, scans, or forms if needed. Shifts are color-coded to differentiate them quickly. (See the “Schedule Shifts” section for details on creating/managing shifts.)
User Column
This column can also reflect conflict icons or alert messages for each user:
- Immediate Attention (Red): Missed shifts, overlapping shifts, or unaccepted shifts.
- Alert (Yellow): Tasks incomplete, missing info, or hour limits exceeded.
- Informative (Blue): Time off, or unavailability.