Scan Points
A comprehensive guide to setting up, managing, and organizing scan points (QR codes or NFC tags) in mobohubb. Learn how to add, edit, delete, import, and export scan points to streamline your on-site operations.
A scan point is an element that can be read with a mobile device. mobohubb supports two types of scan points: QR codes and NFC tags. These allow you to manage your locations—such as sites, zones, or checkpoints—in a structured way. For each site you create, decide whether you'll use QR codes or NFC tags so employees can easily scan them in the field.
- Tip: Make sure you’ve identified your places of interest before defining any scan points.
In this guide you'll learn
- Add QR Code Scan Points: Learn how to create and configure new QR codes to identify specific locations or checkpoints.
- Add NFC Tag Scan Points: Discover how to set up and manage NFC-enabled locations for swift, contactless scanning.
- Edit Existing Scan Points: Update names, IDs, intervals, and other details as your operations evolve.
- Delete Scan Points: Remove outdated or unused scan points to keep your data clean and relevant.
- Export Scan Points: Generate an Excel file for off-platform analysis or archiving.
- Import Multiple Scan Points: Use an Excel template to quickly upload a batch of scan points, saving time and effort.
Choose QRs or NFCs
Each site can be configured to use either QR codes or NFC tags, but not both at once. To specify which scan point type a site should use, follow these steps:
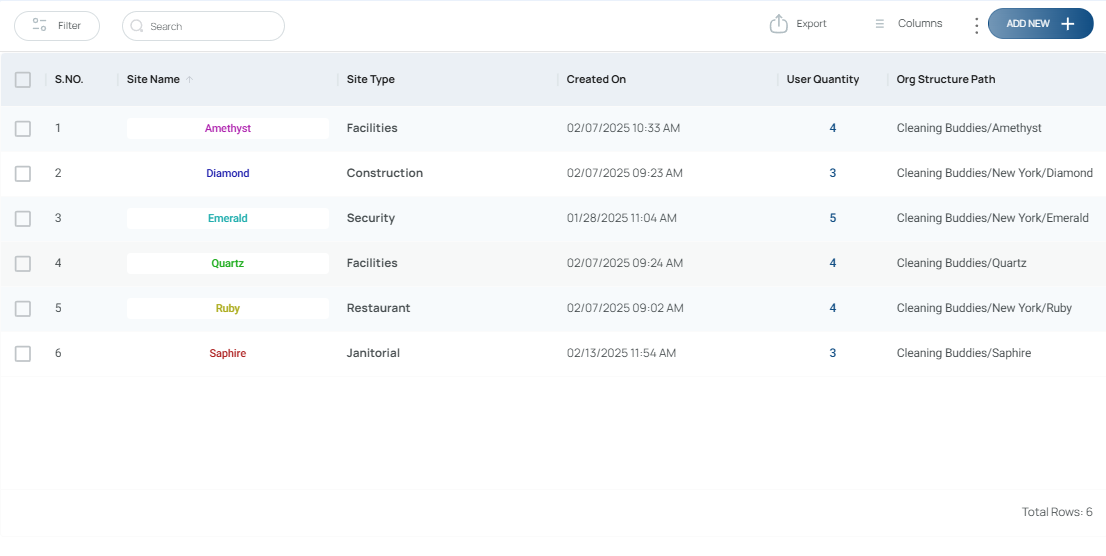
- Navigate to Settings → Site Management.
- Select the site you wish to configure from the list.
- In the Site Information section, choose either QR Codes or NFC Tags as the scan type.
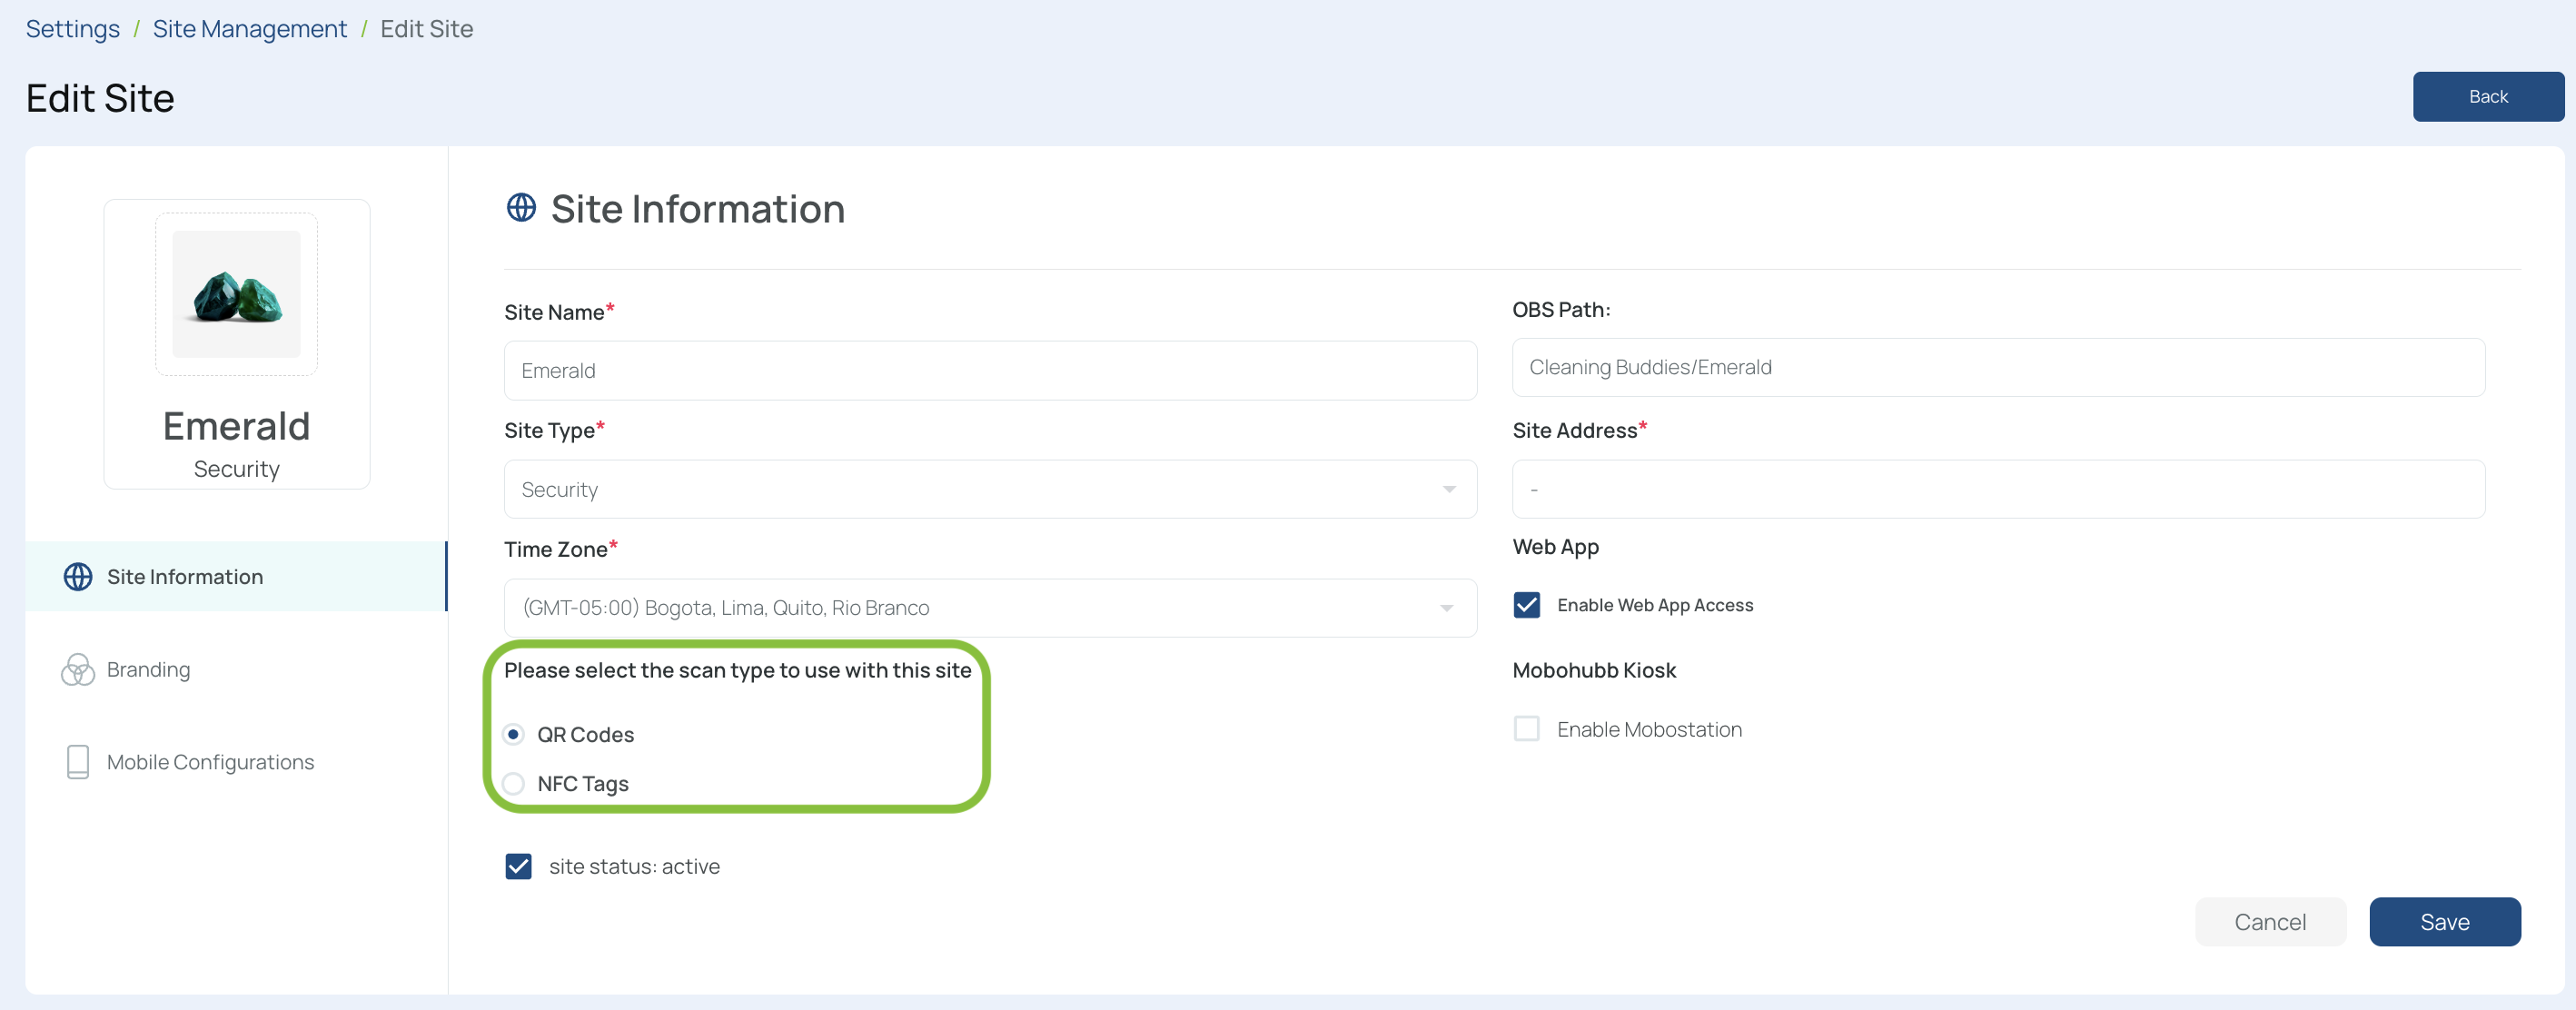
- Save your changes to finalize the site’s configuration.
Add a QR Code Scan Point
Follow these steps to create a new scan point associated with a QR code:
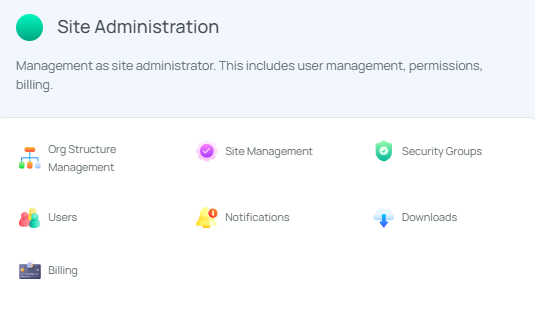
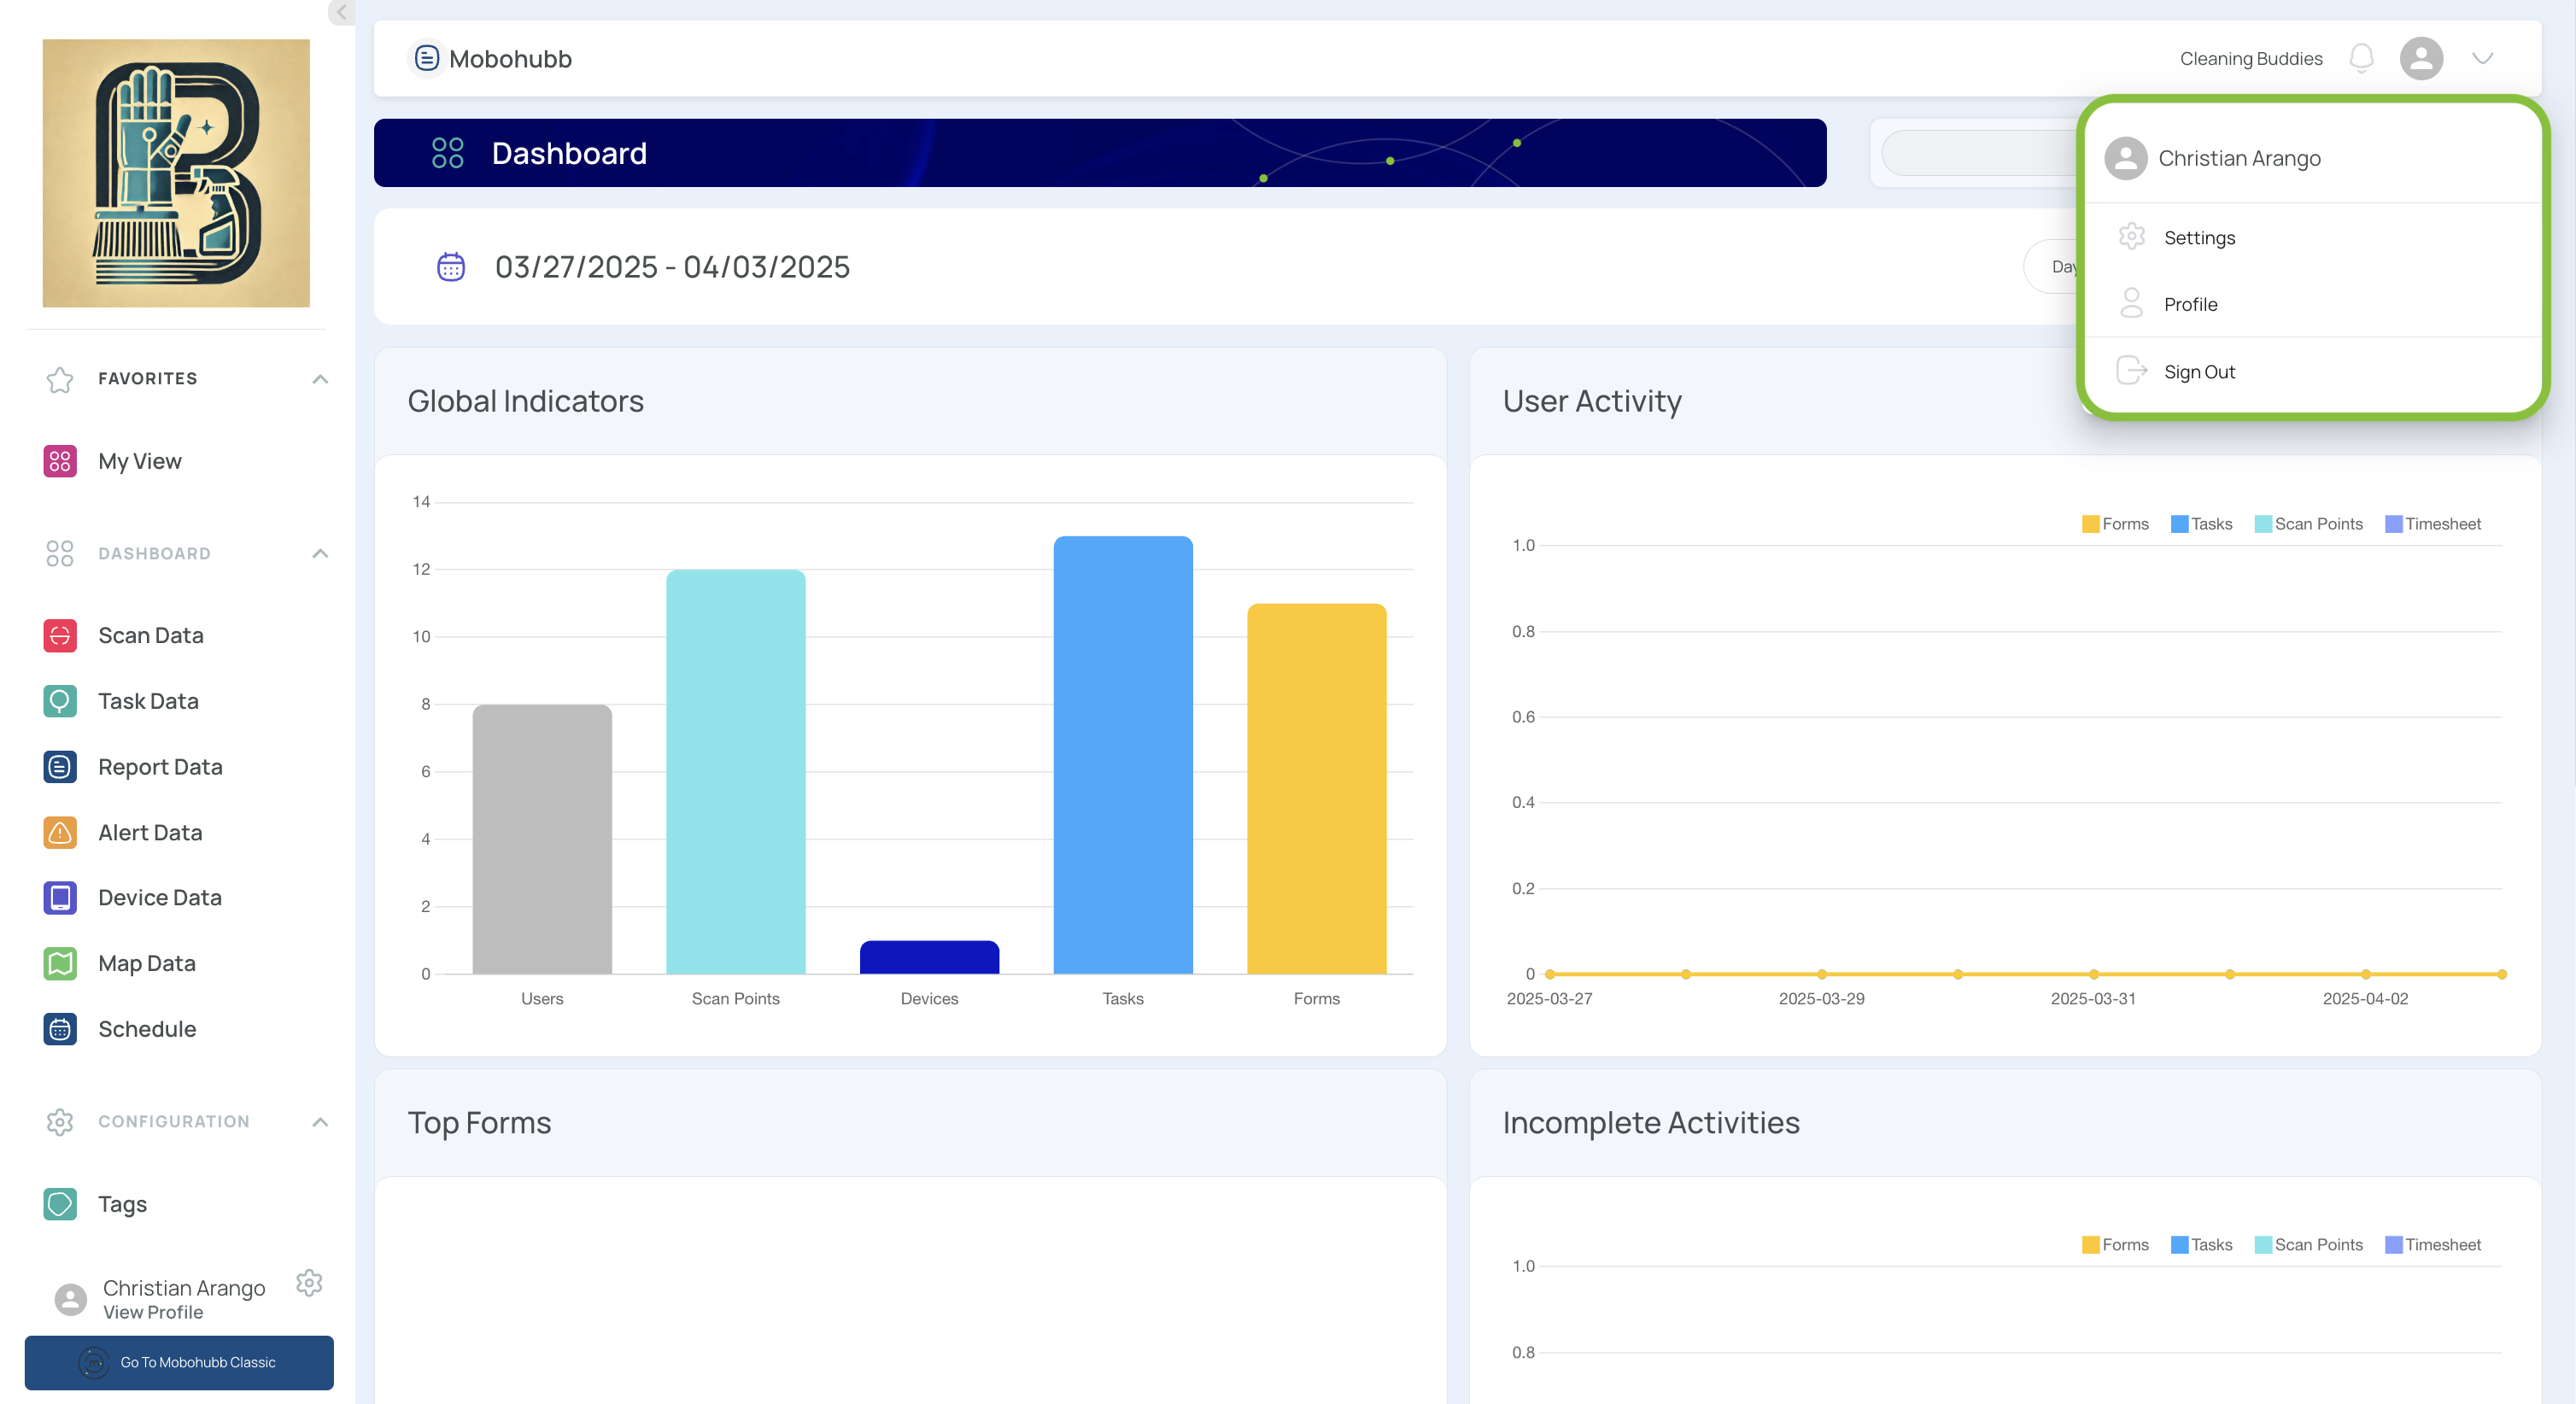
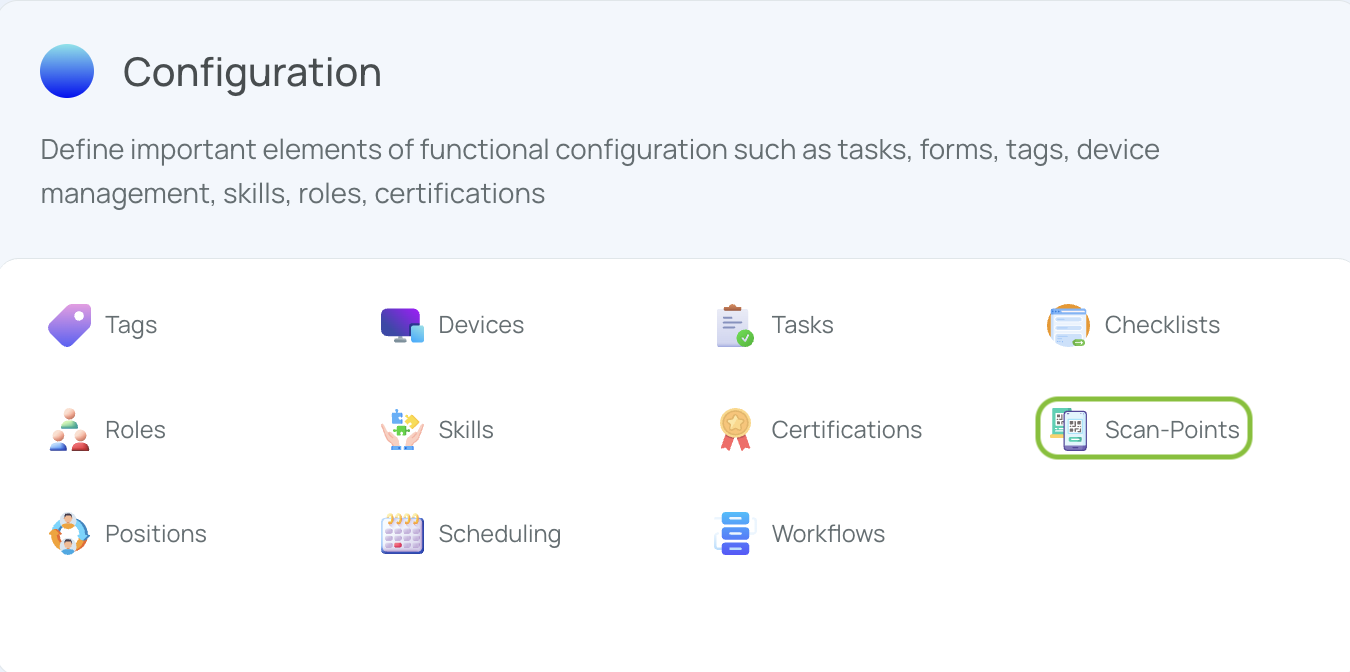
- Navigate to the Portal’s Top Menu and select Settings from the dropdown.
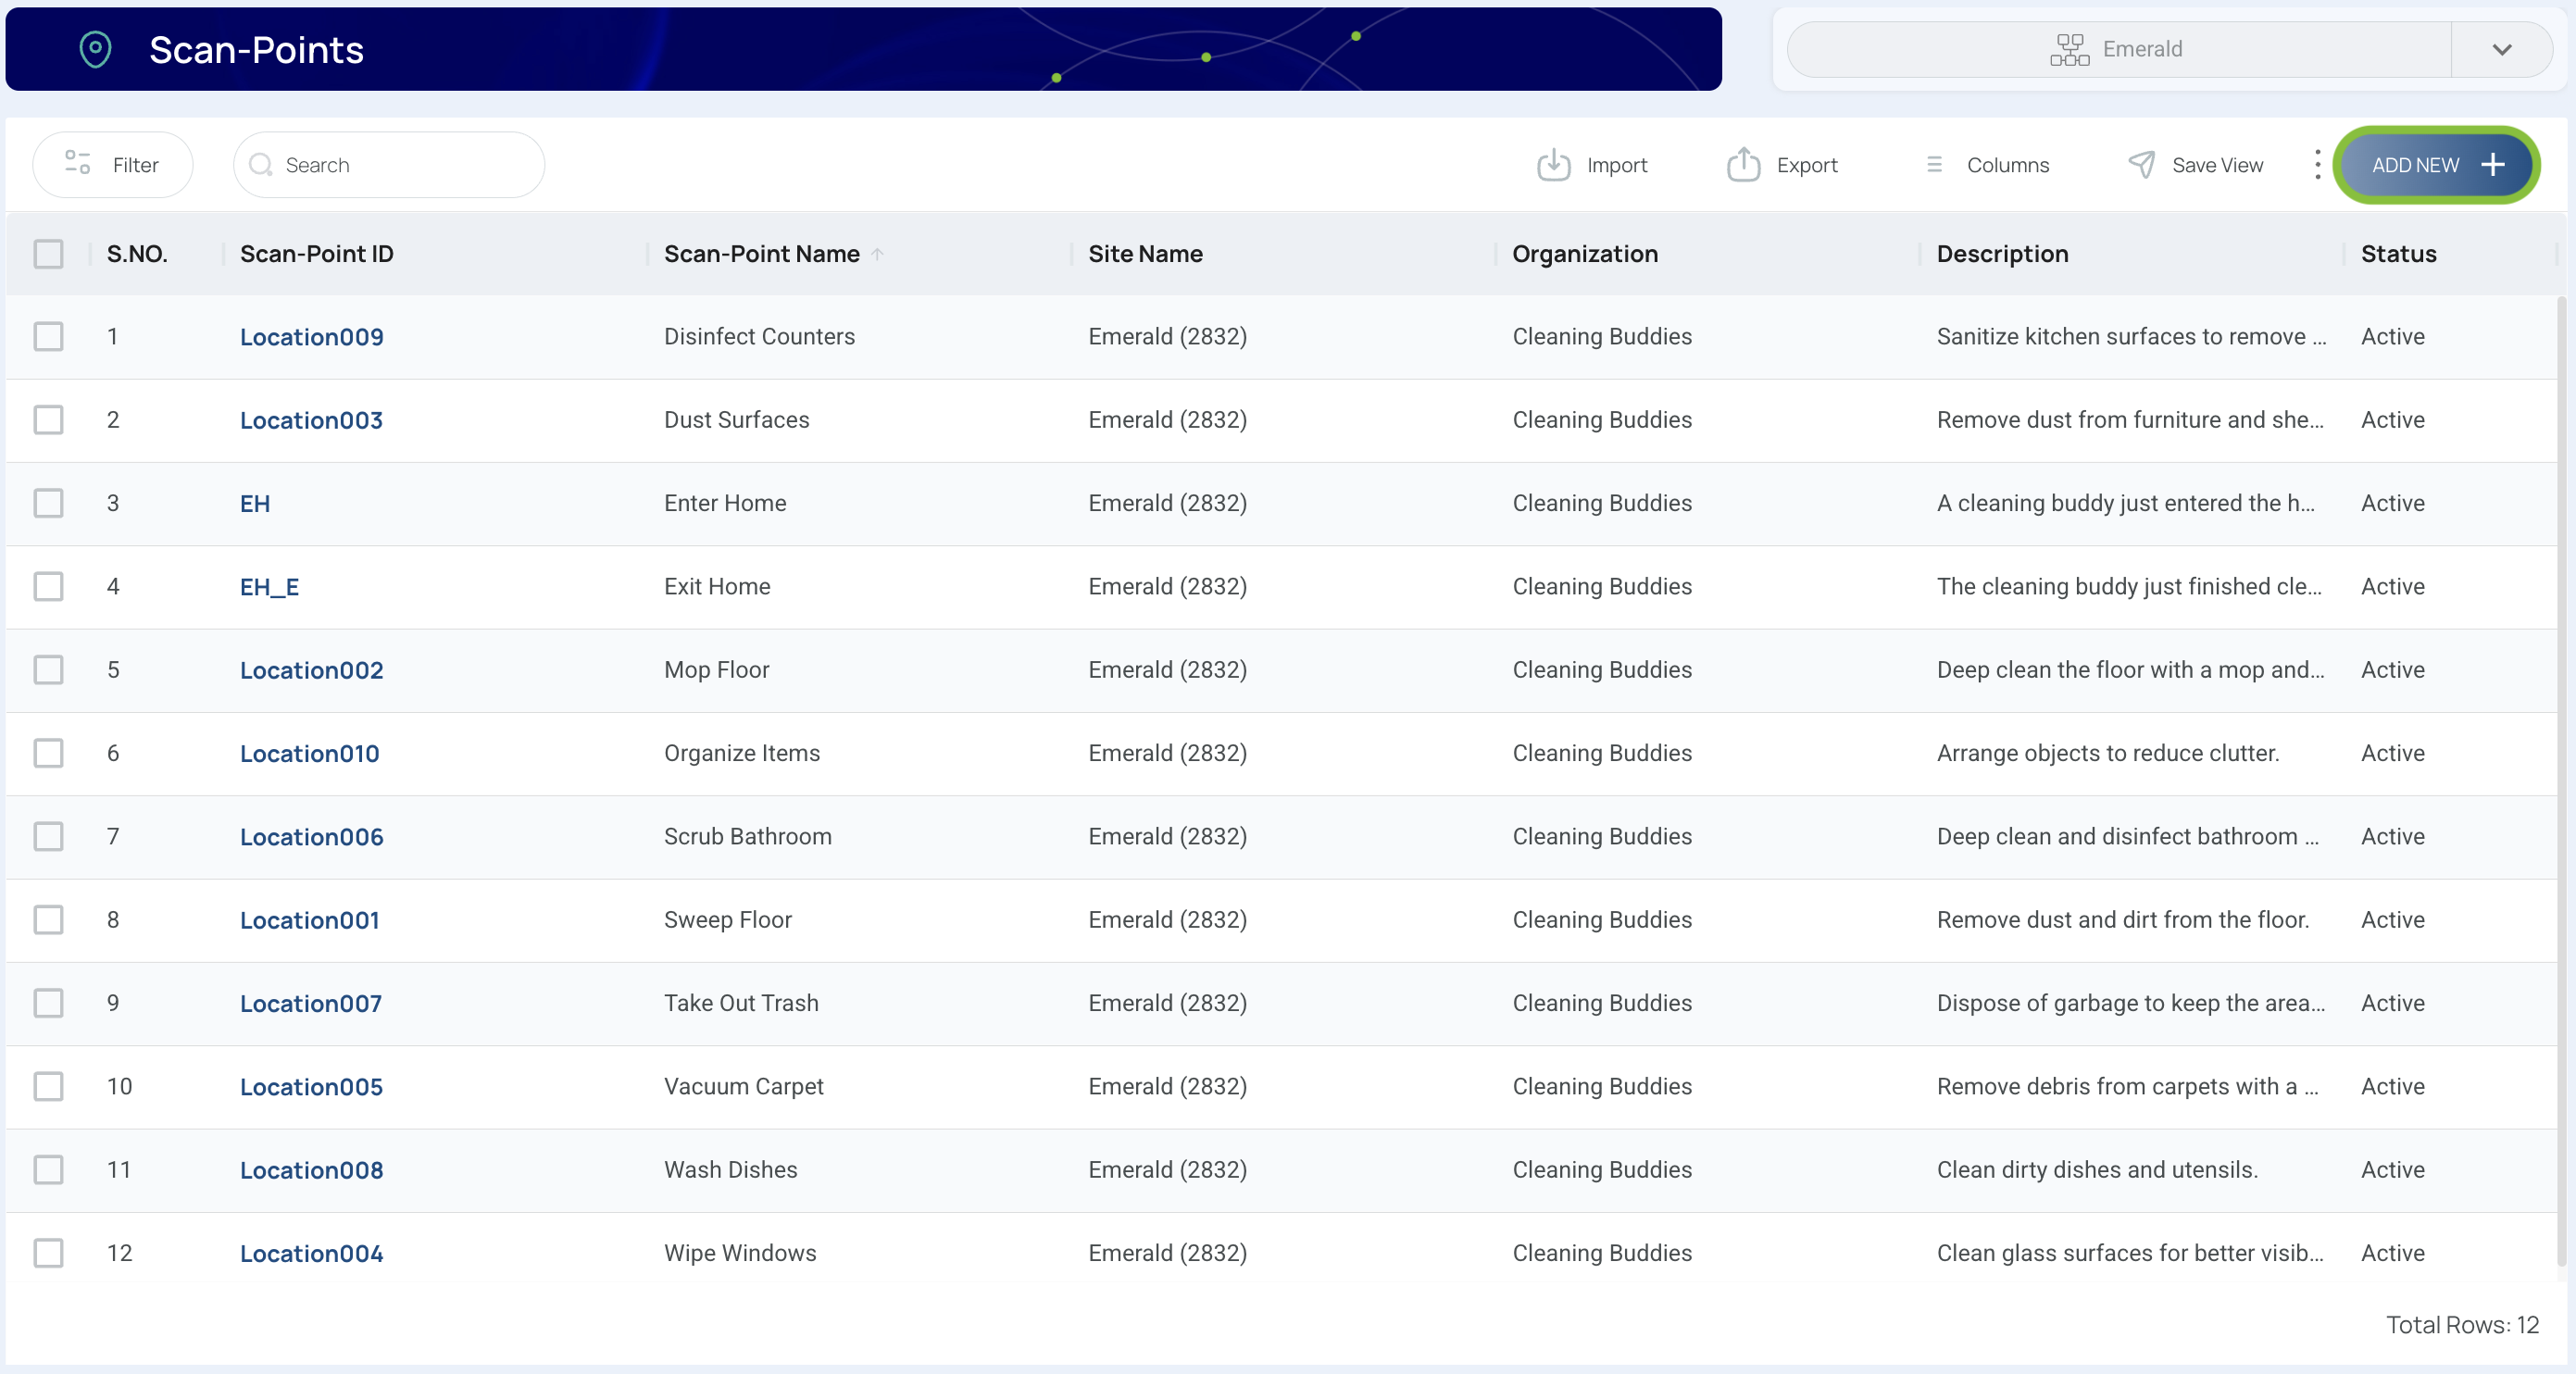
- From the Configuration section, select “Scan-Points".
- Click “Add New”
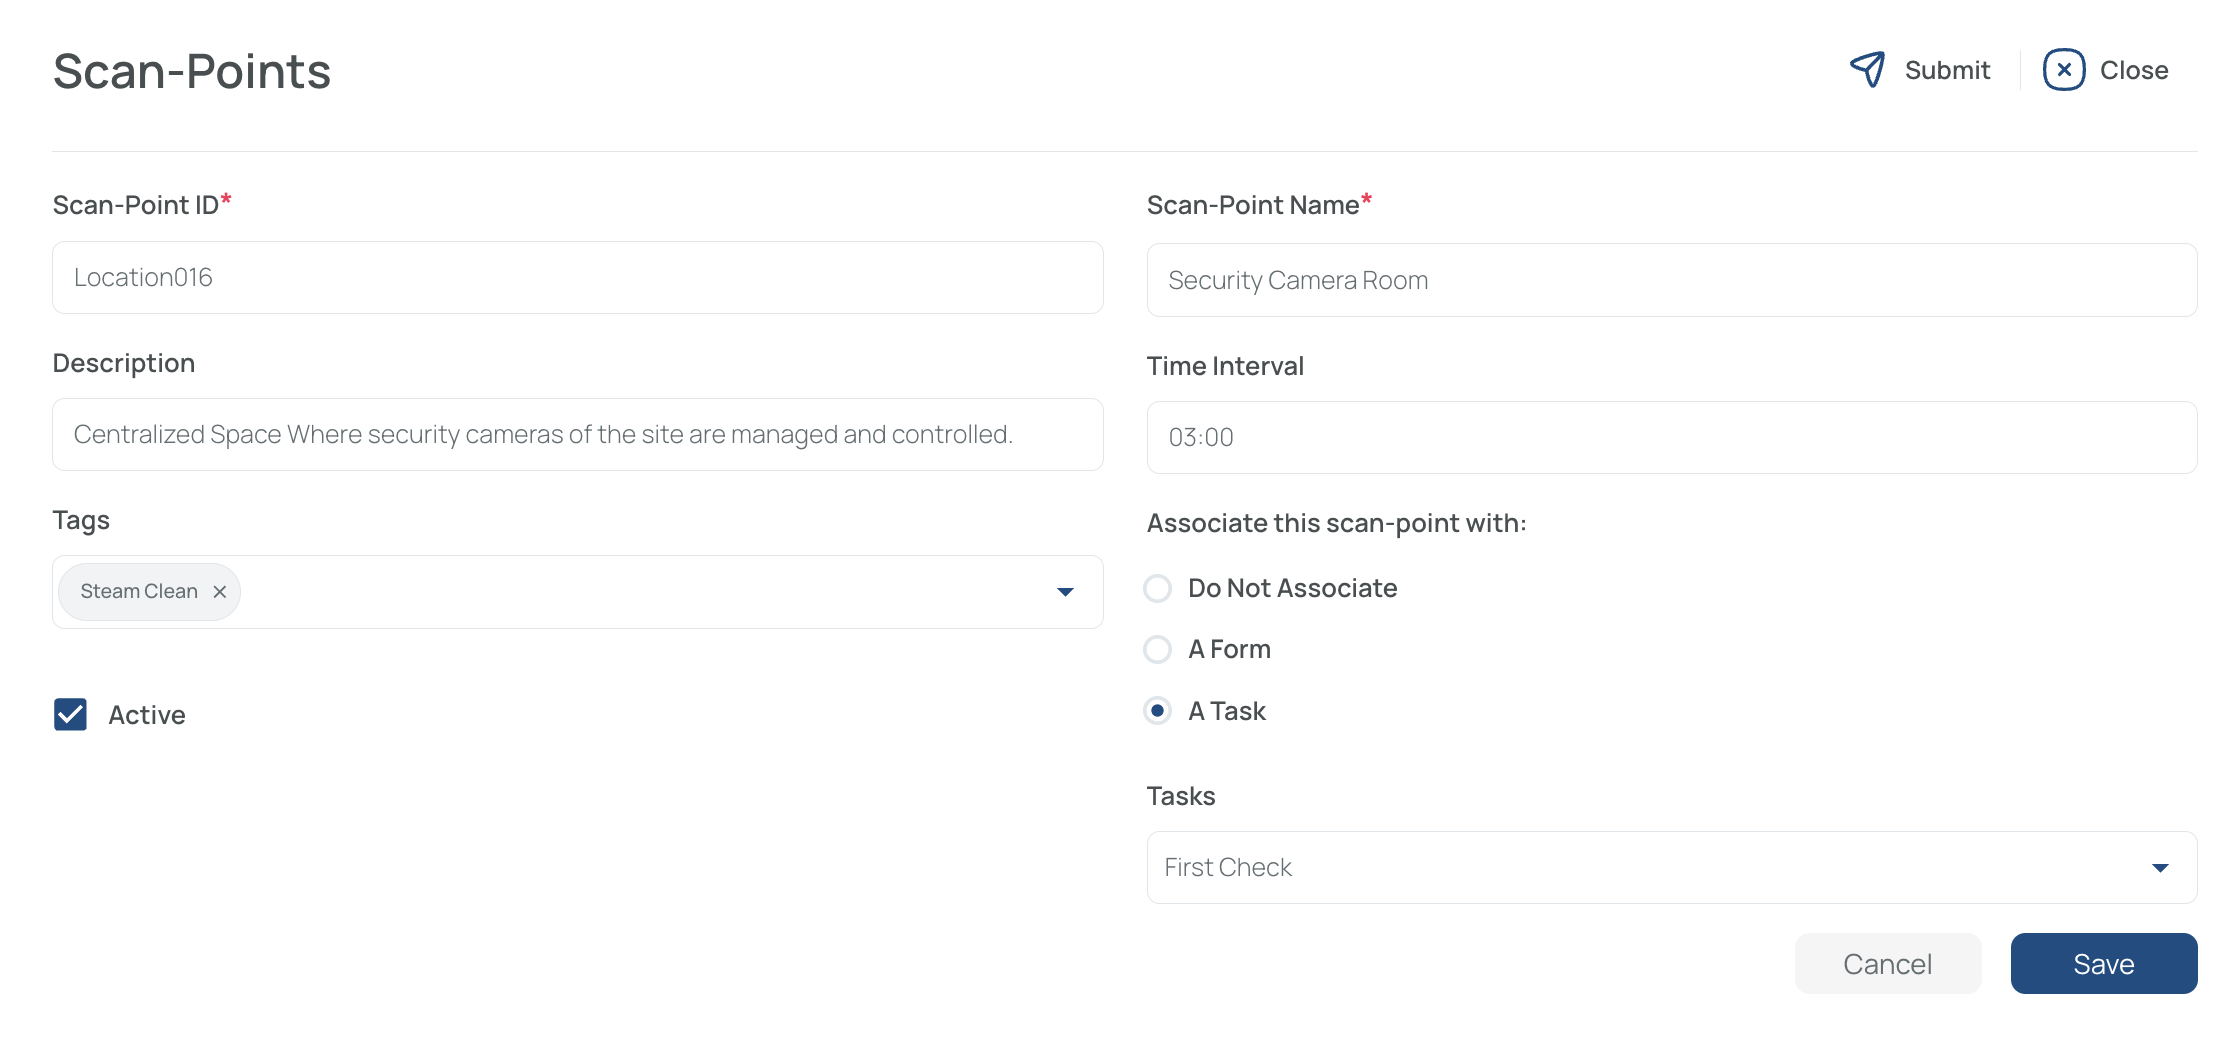
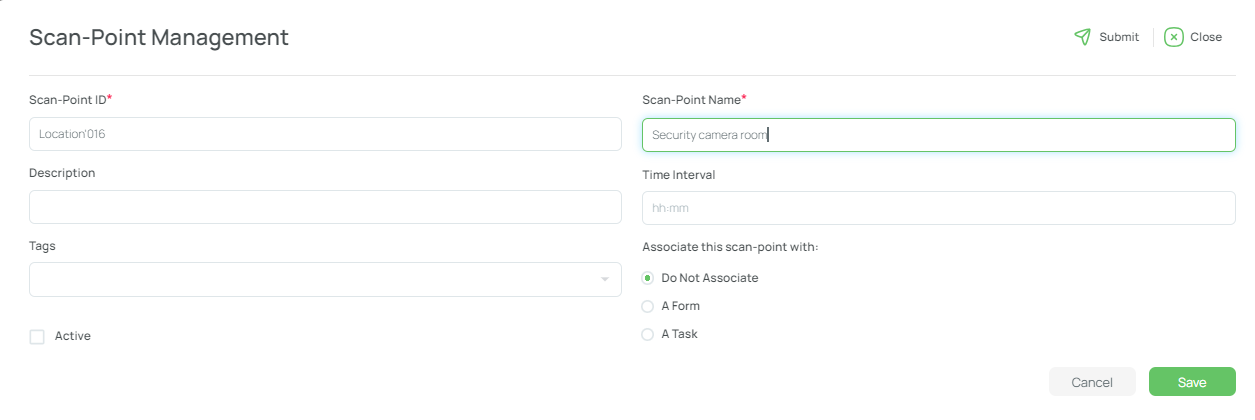
- Fill in the details:
Fill in the QR Code ID
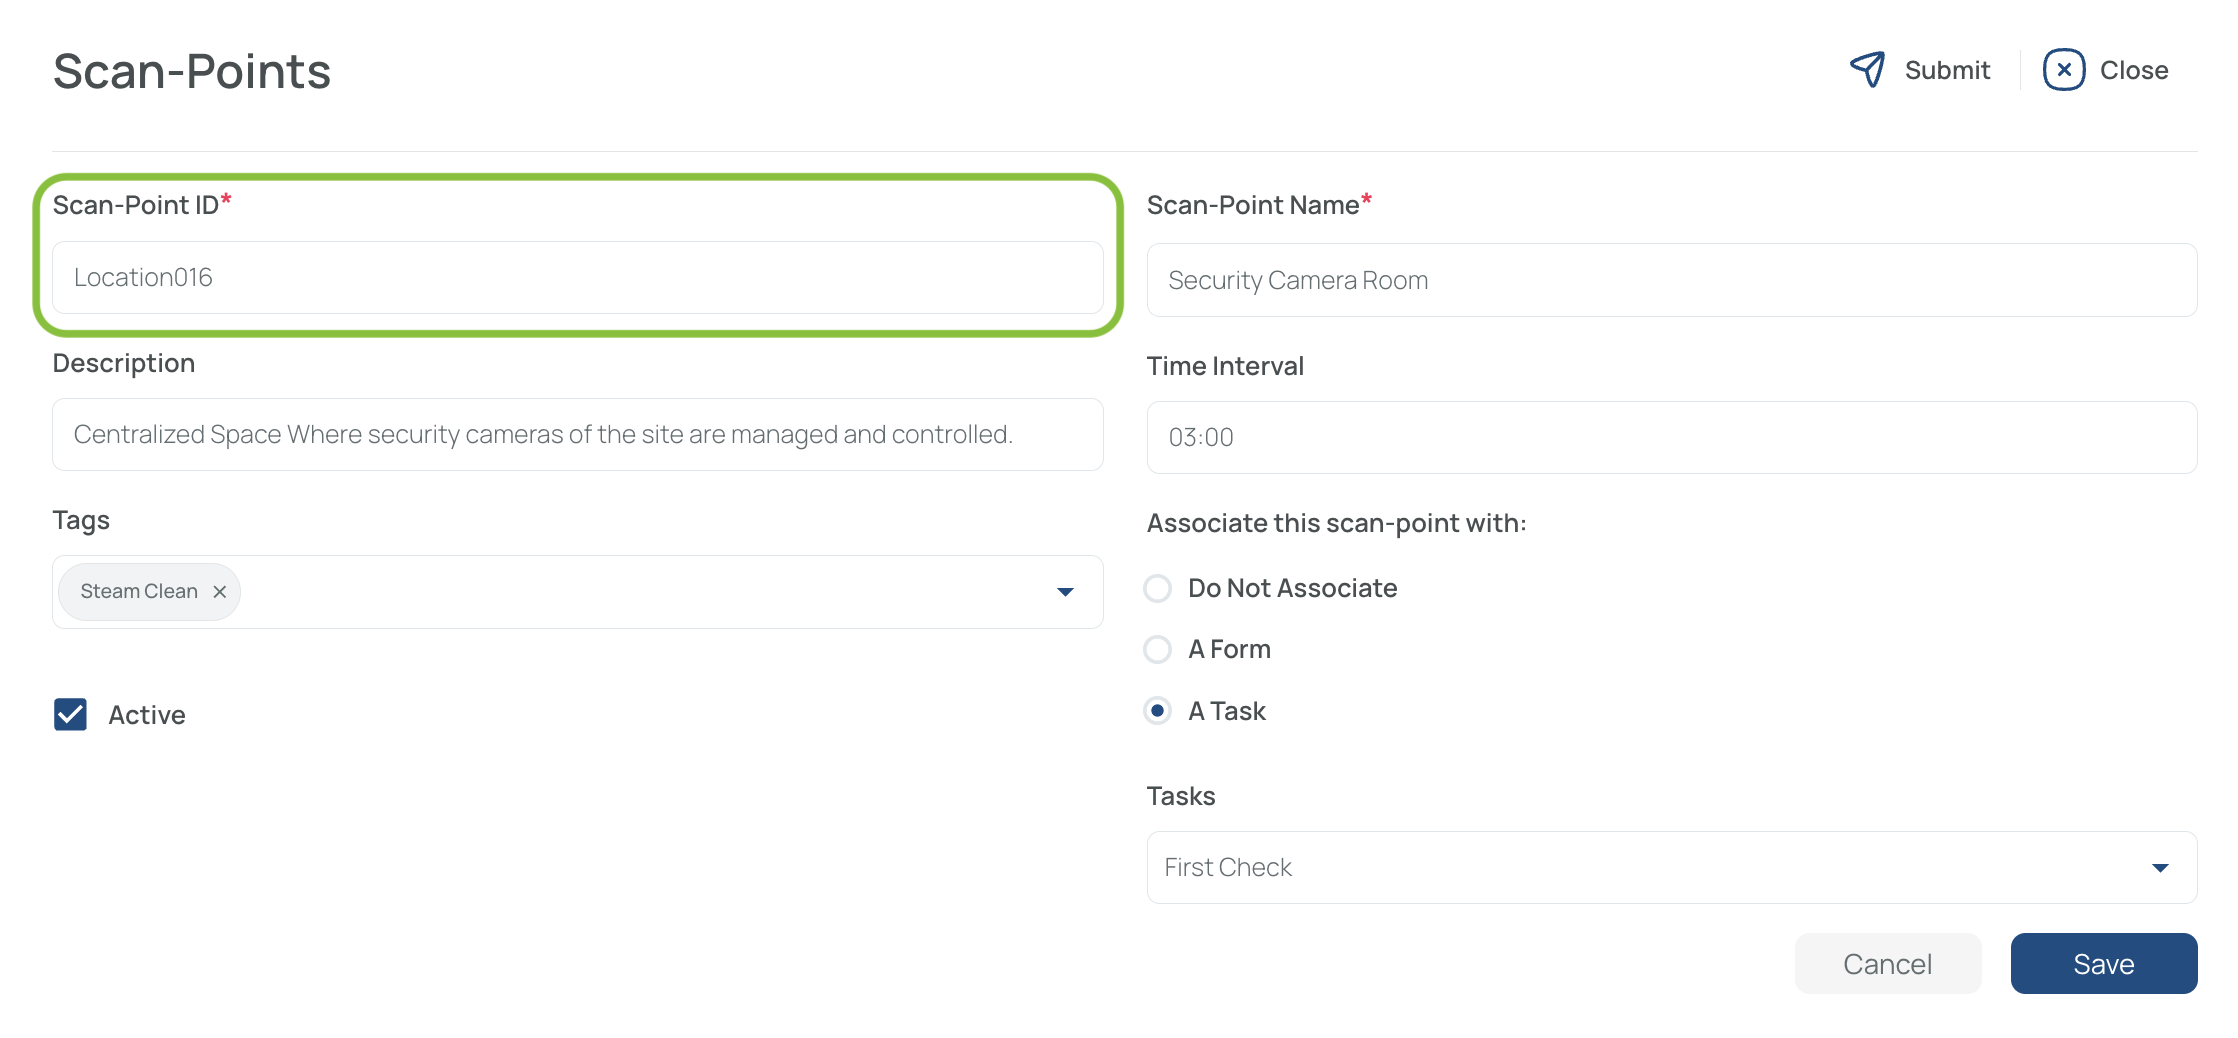
Use a unique, sequential identifier that matches the QR (e.g., Location001, Location016). This ID is case-sensitive and will help you organize and differentiate scan points.Refer to How to create a QR code for details on generating the actual QR code.
Add a Name
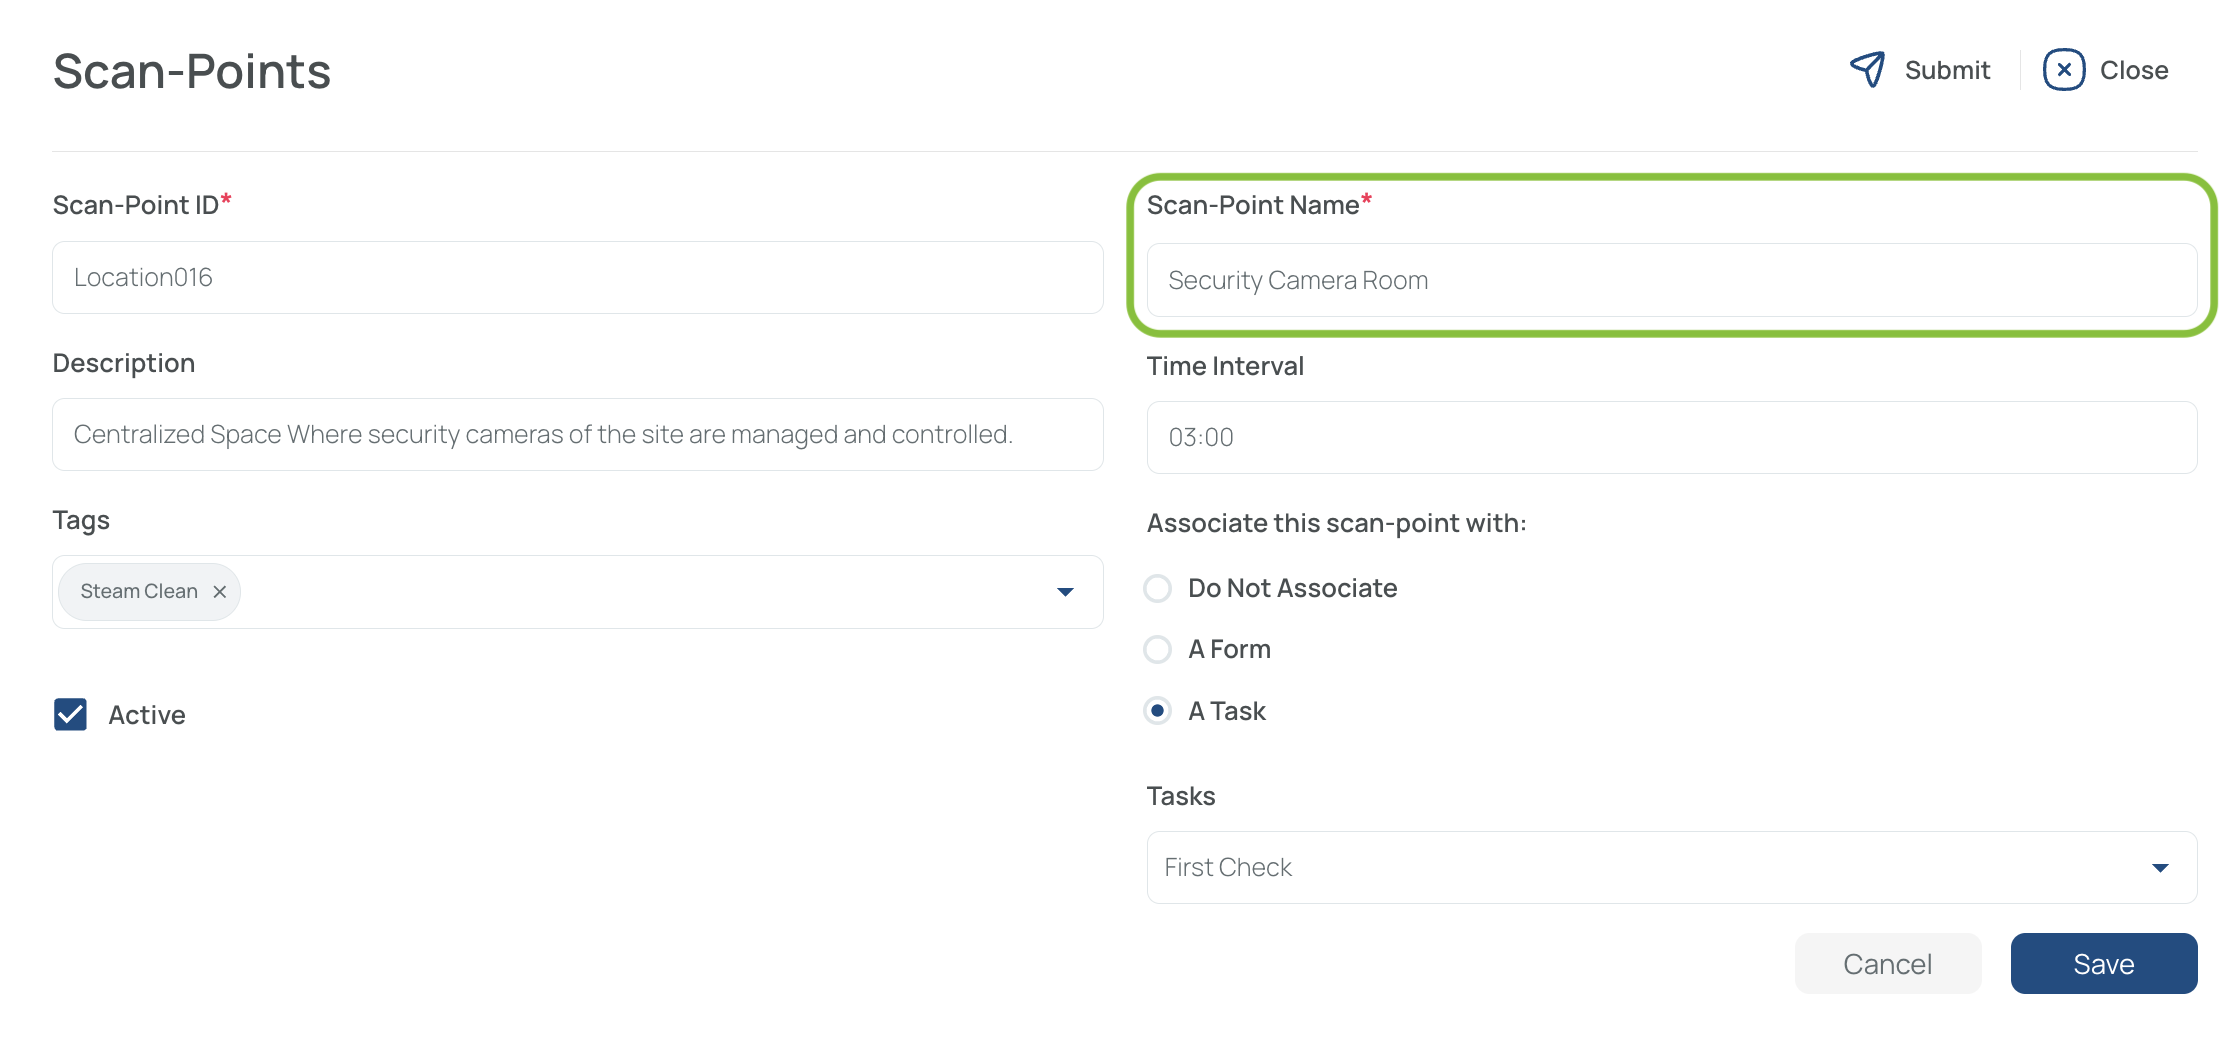
Provide a clear name (e.g., “Security Camera Room”) to quickly locate the scan point.
Add a Description
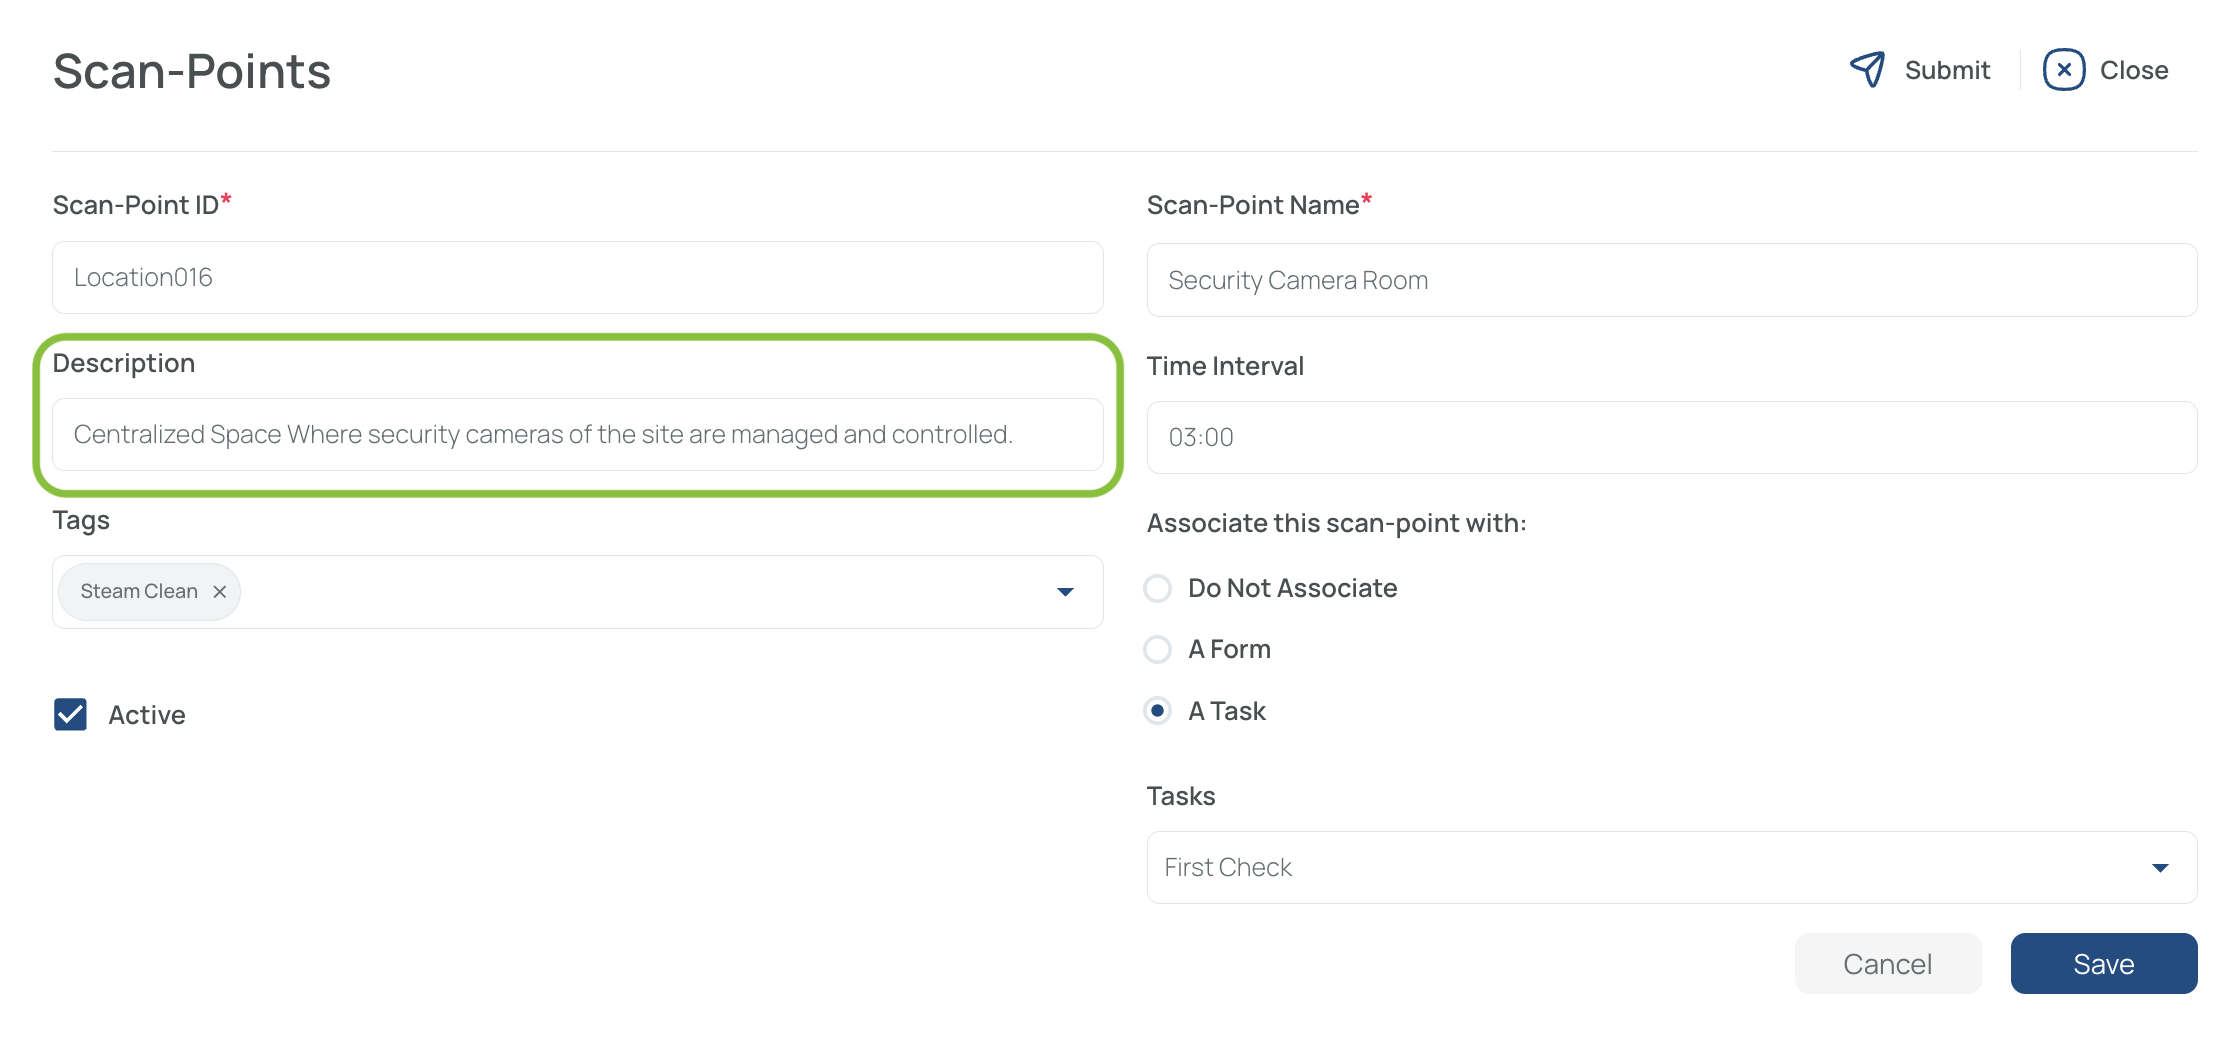
Include room numbers, distinctive features, or exact locations to help users find it easily.
Choose a Time Interval
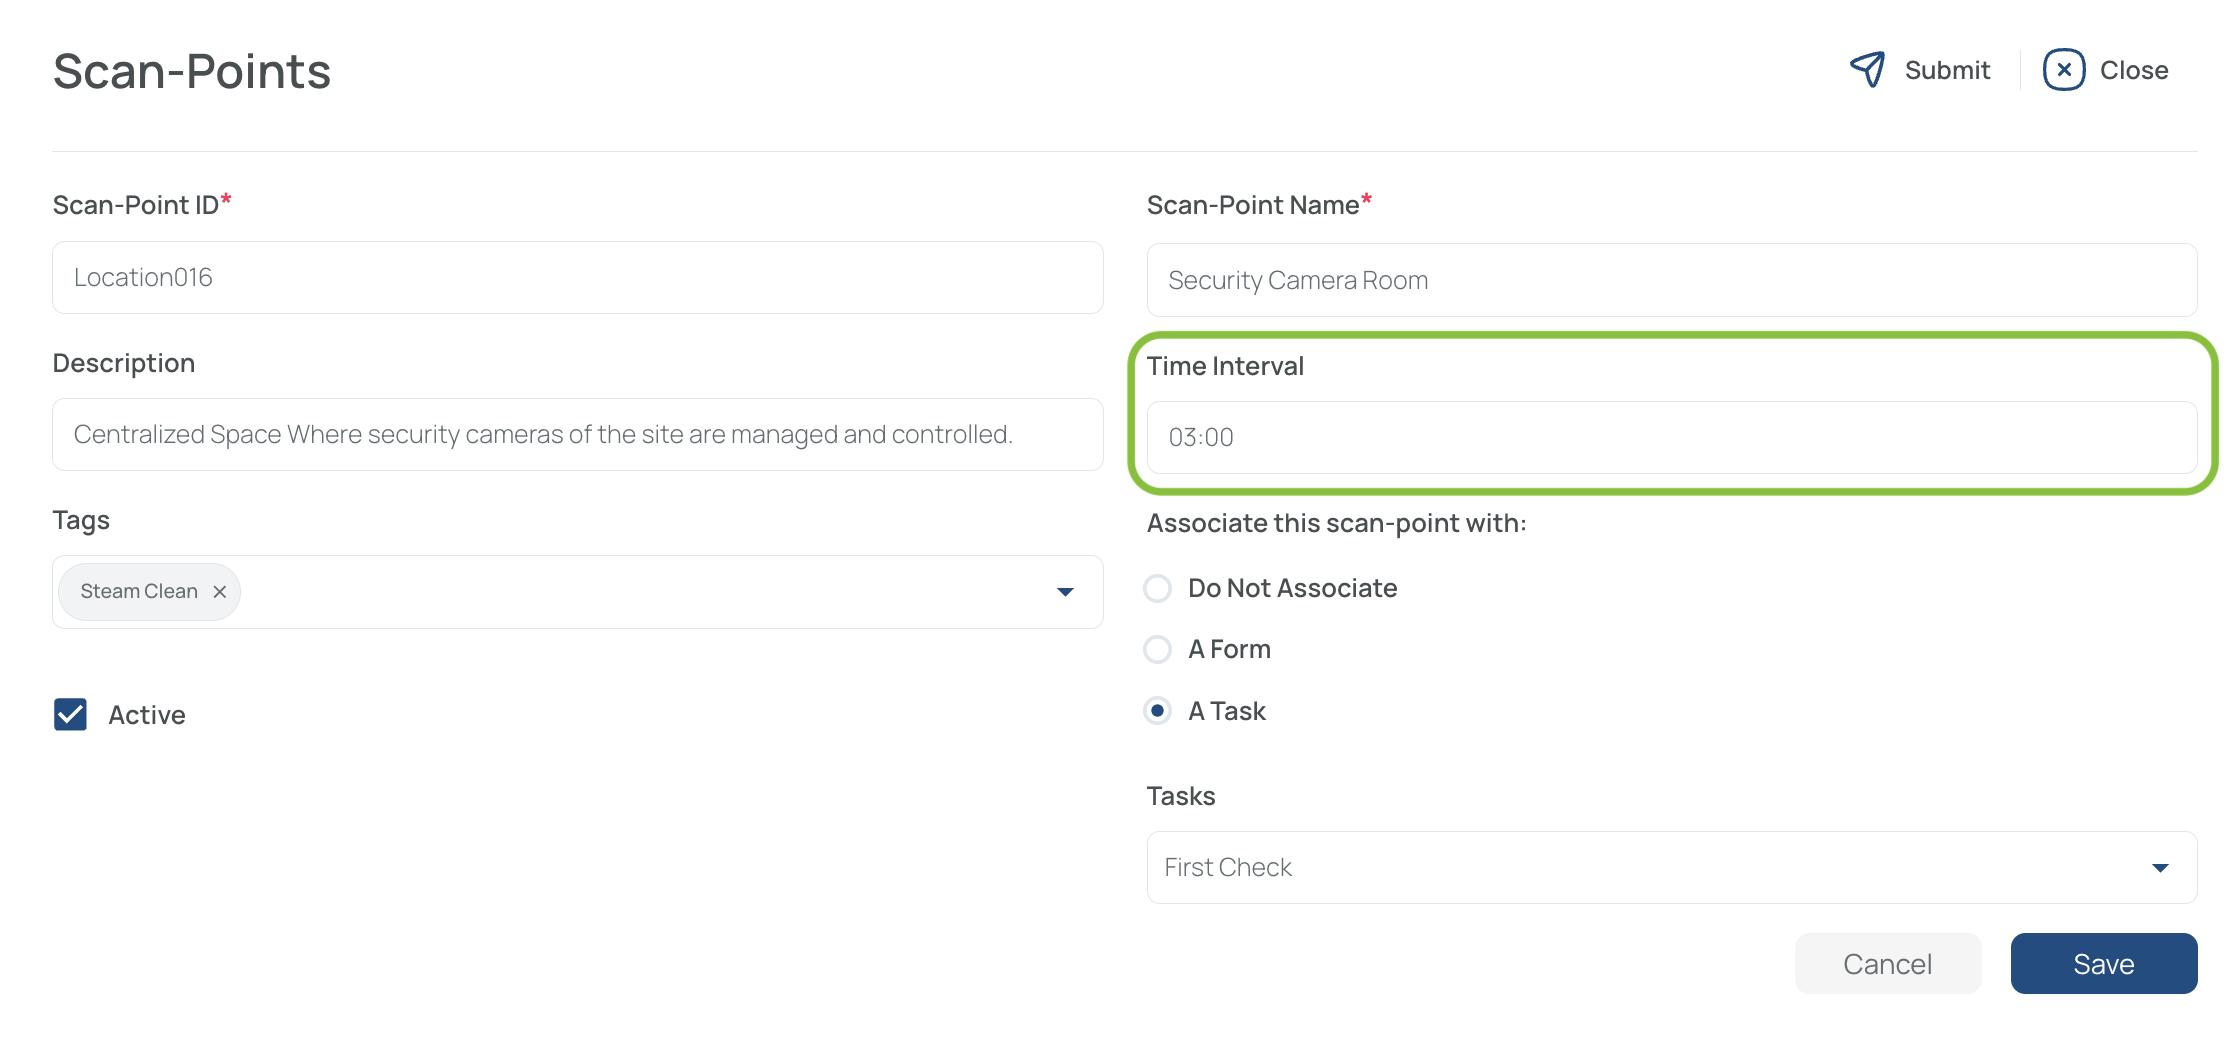
Enter the time in HH:MM format (e.g., 08:00) if you need periodic scans or want to classify your scan points for log comparisons. This is required for Time Studies, a function that demonstrates the scanning frequency of QR captures that have the time interval parameter marked; for example, how security patrollers perform their patrols, scanning each time they pass by the designated locations. Time studies enable you to confirm how frequently this scan was finished.
Associate a Predefined Tag (Optional)
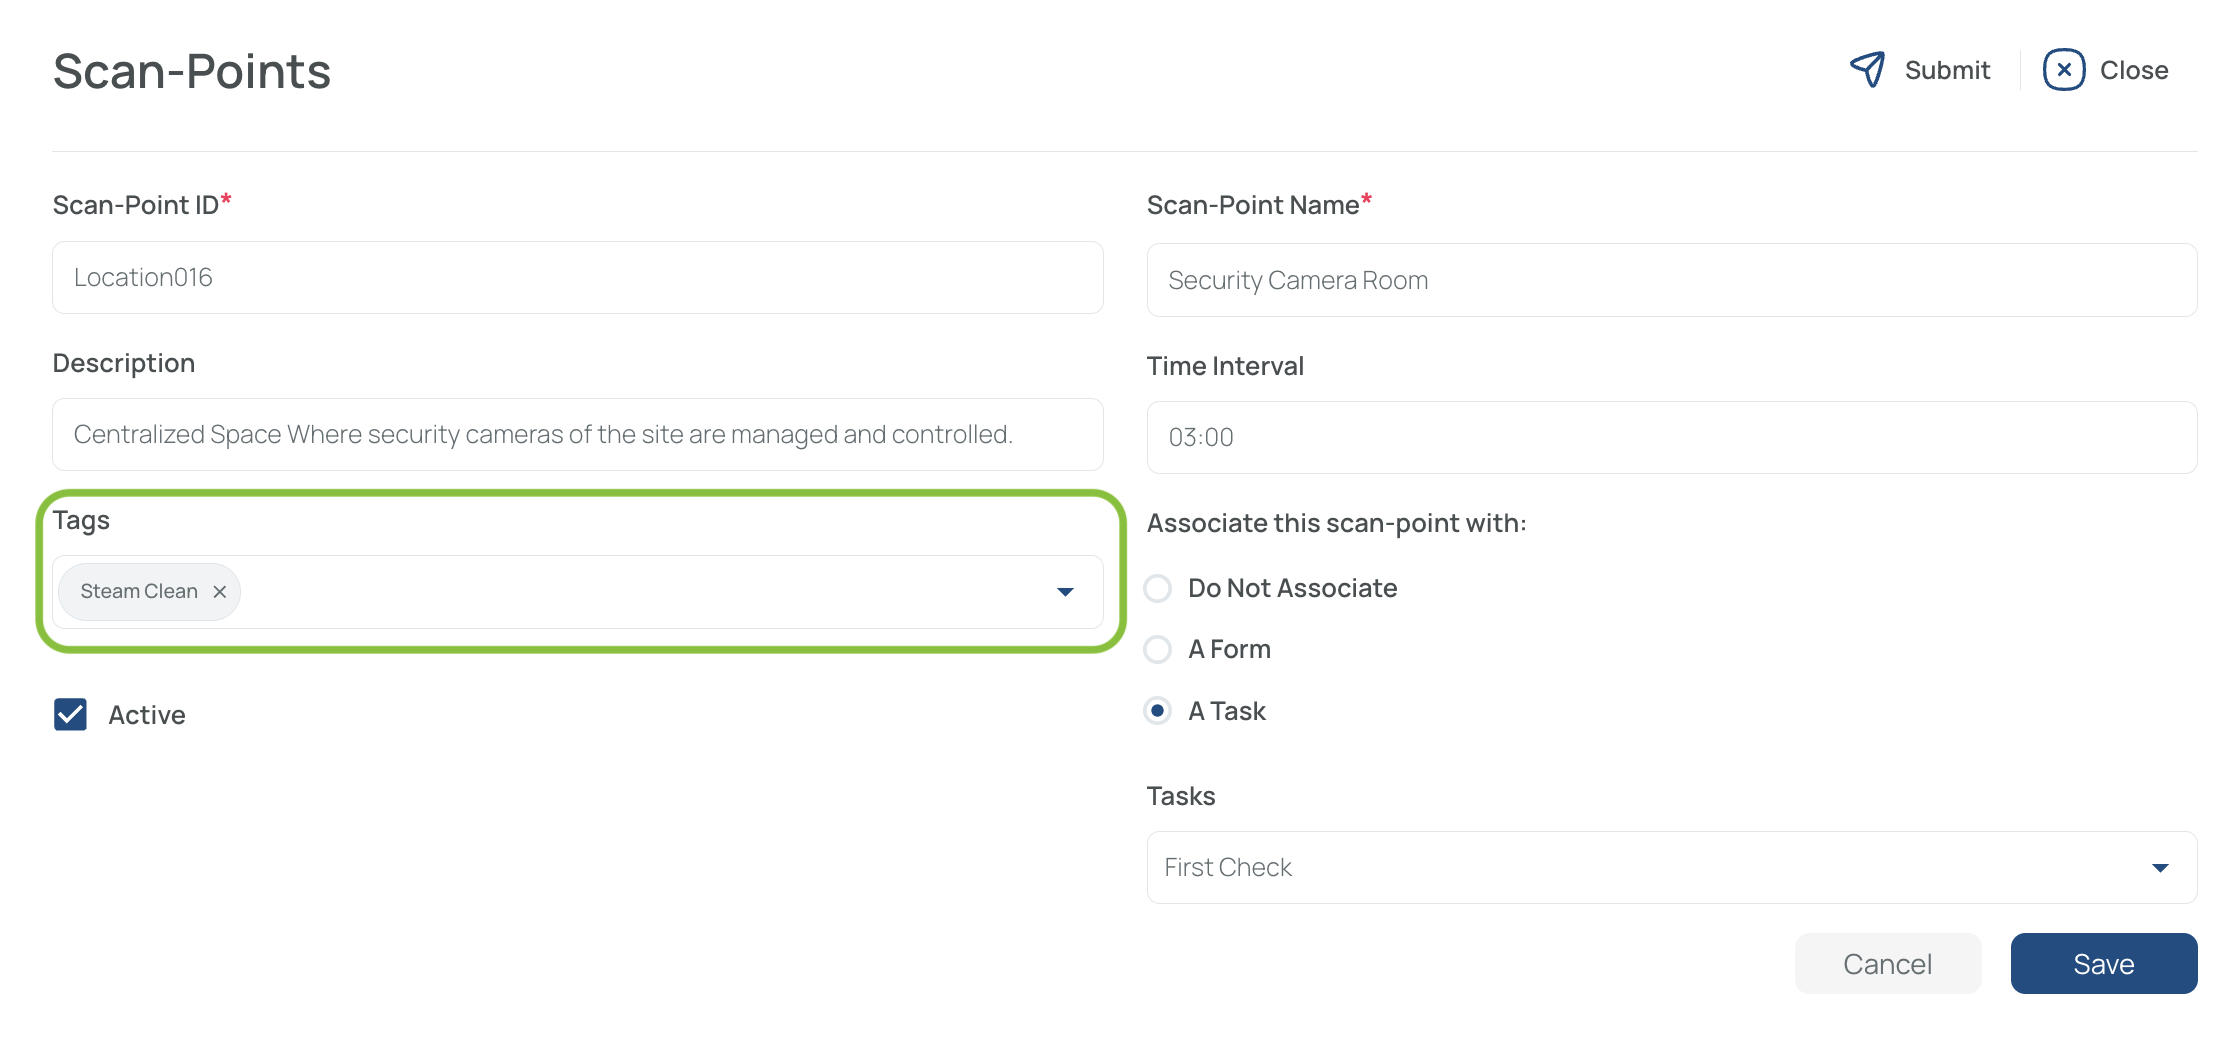
If you’ve created tags beforehand, select one in the dropdown.
Tags help segment data and simplify searches.
Link to a Task or Form (Optional).
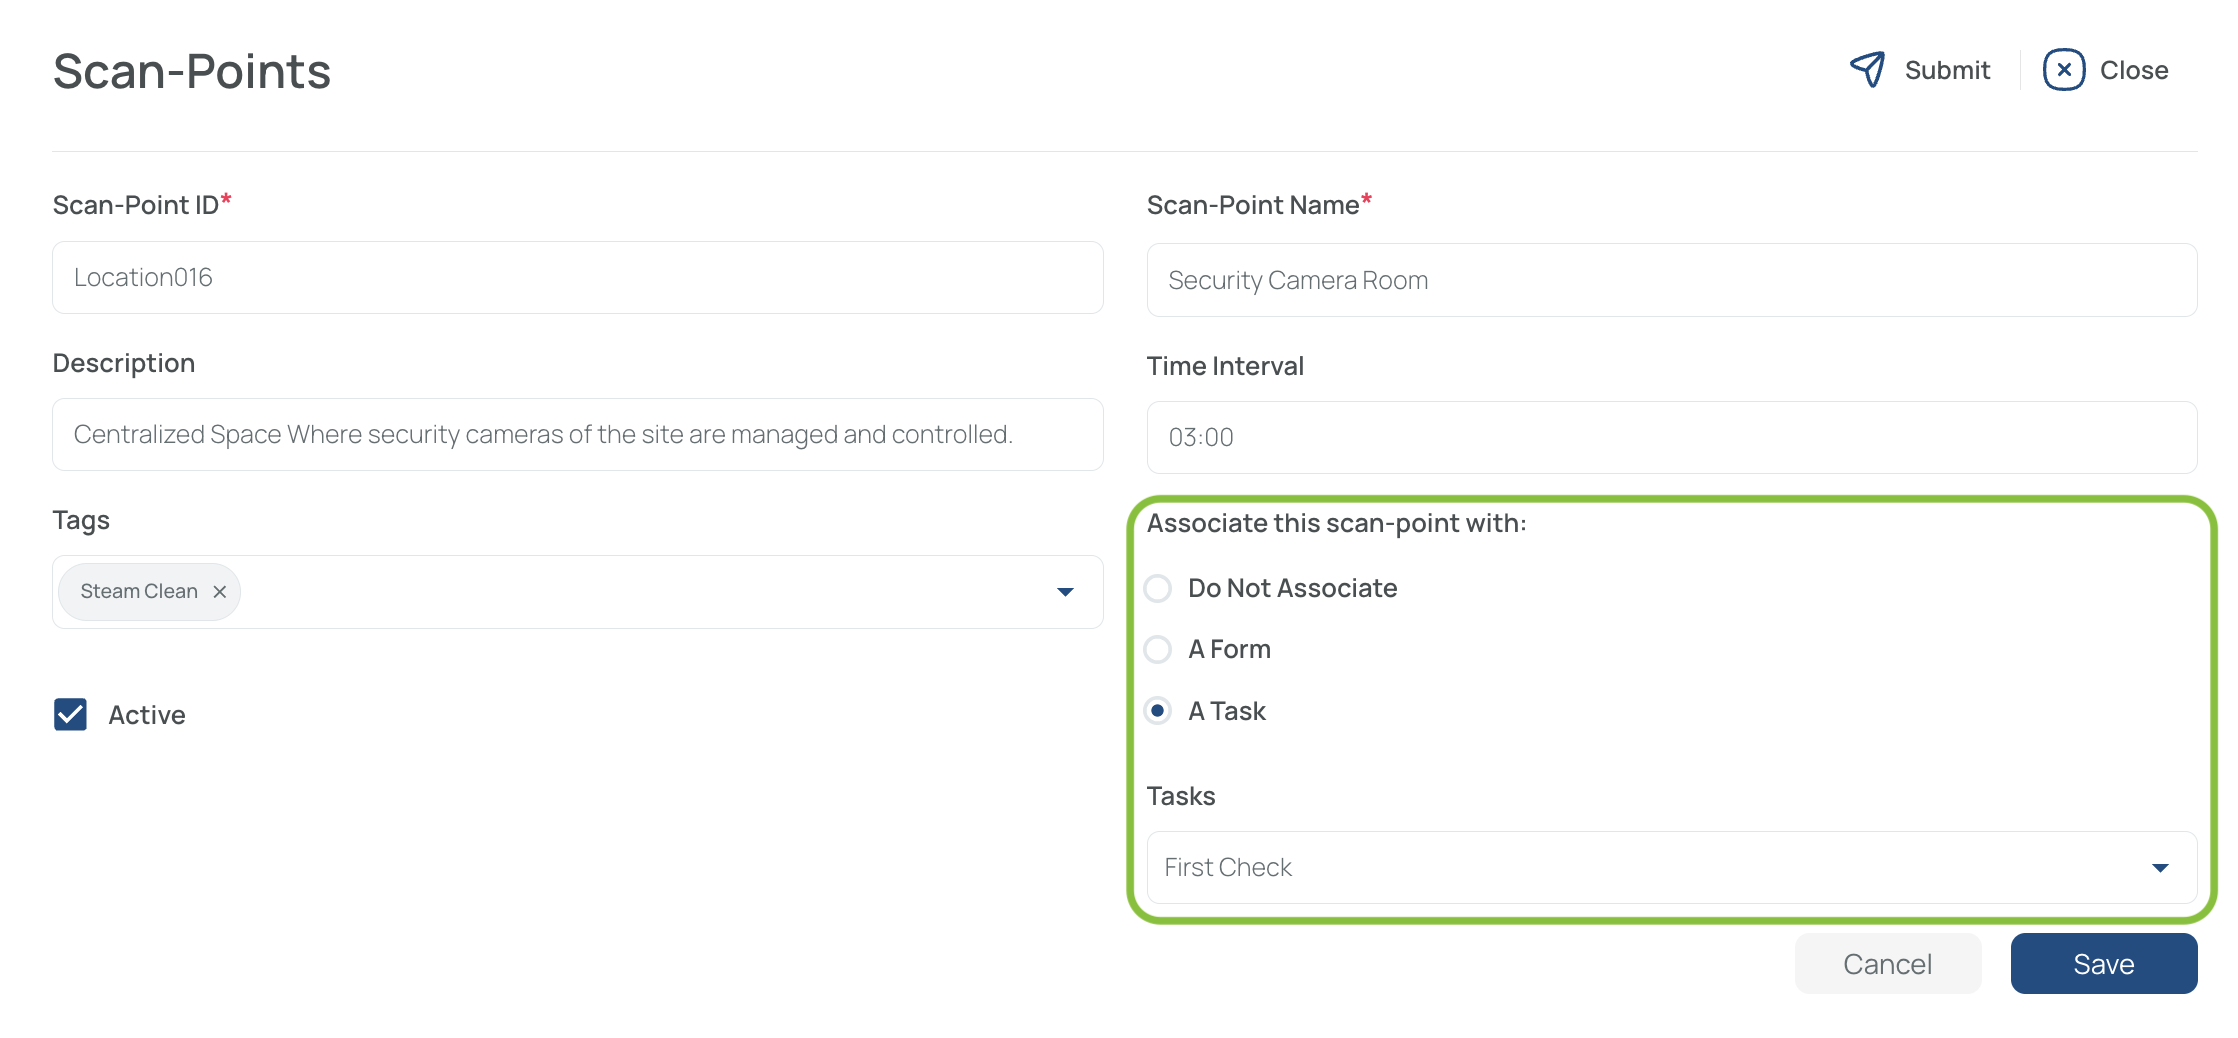
You can associate the scan point with an existing task or form. To mark that task or form as complete, the user must scan the point. This ensures the activity is tracked and verified in the system.
To associate this QR code with an existing task or form, select it from the dropdown menu.
Tasks/forms must be active to appear here.
- Mark as Active (active by default)
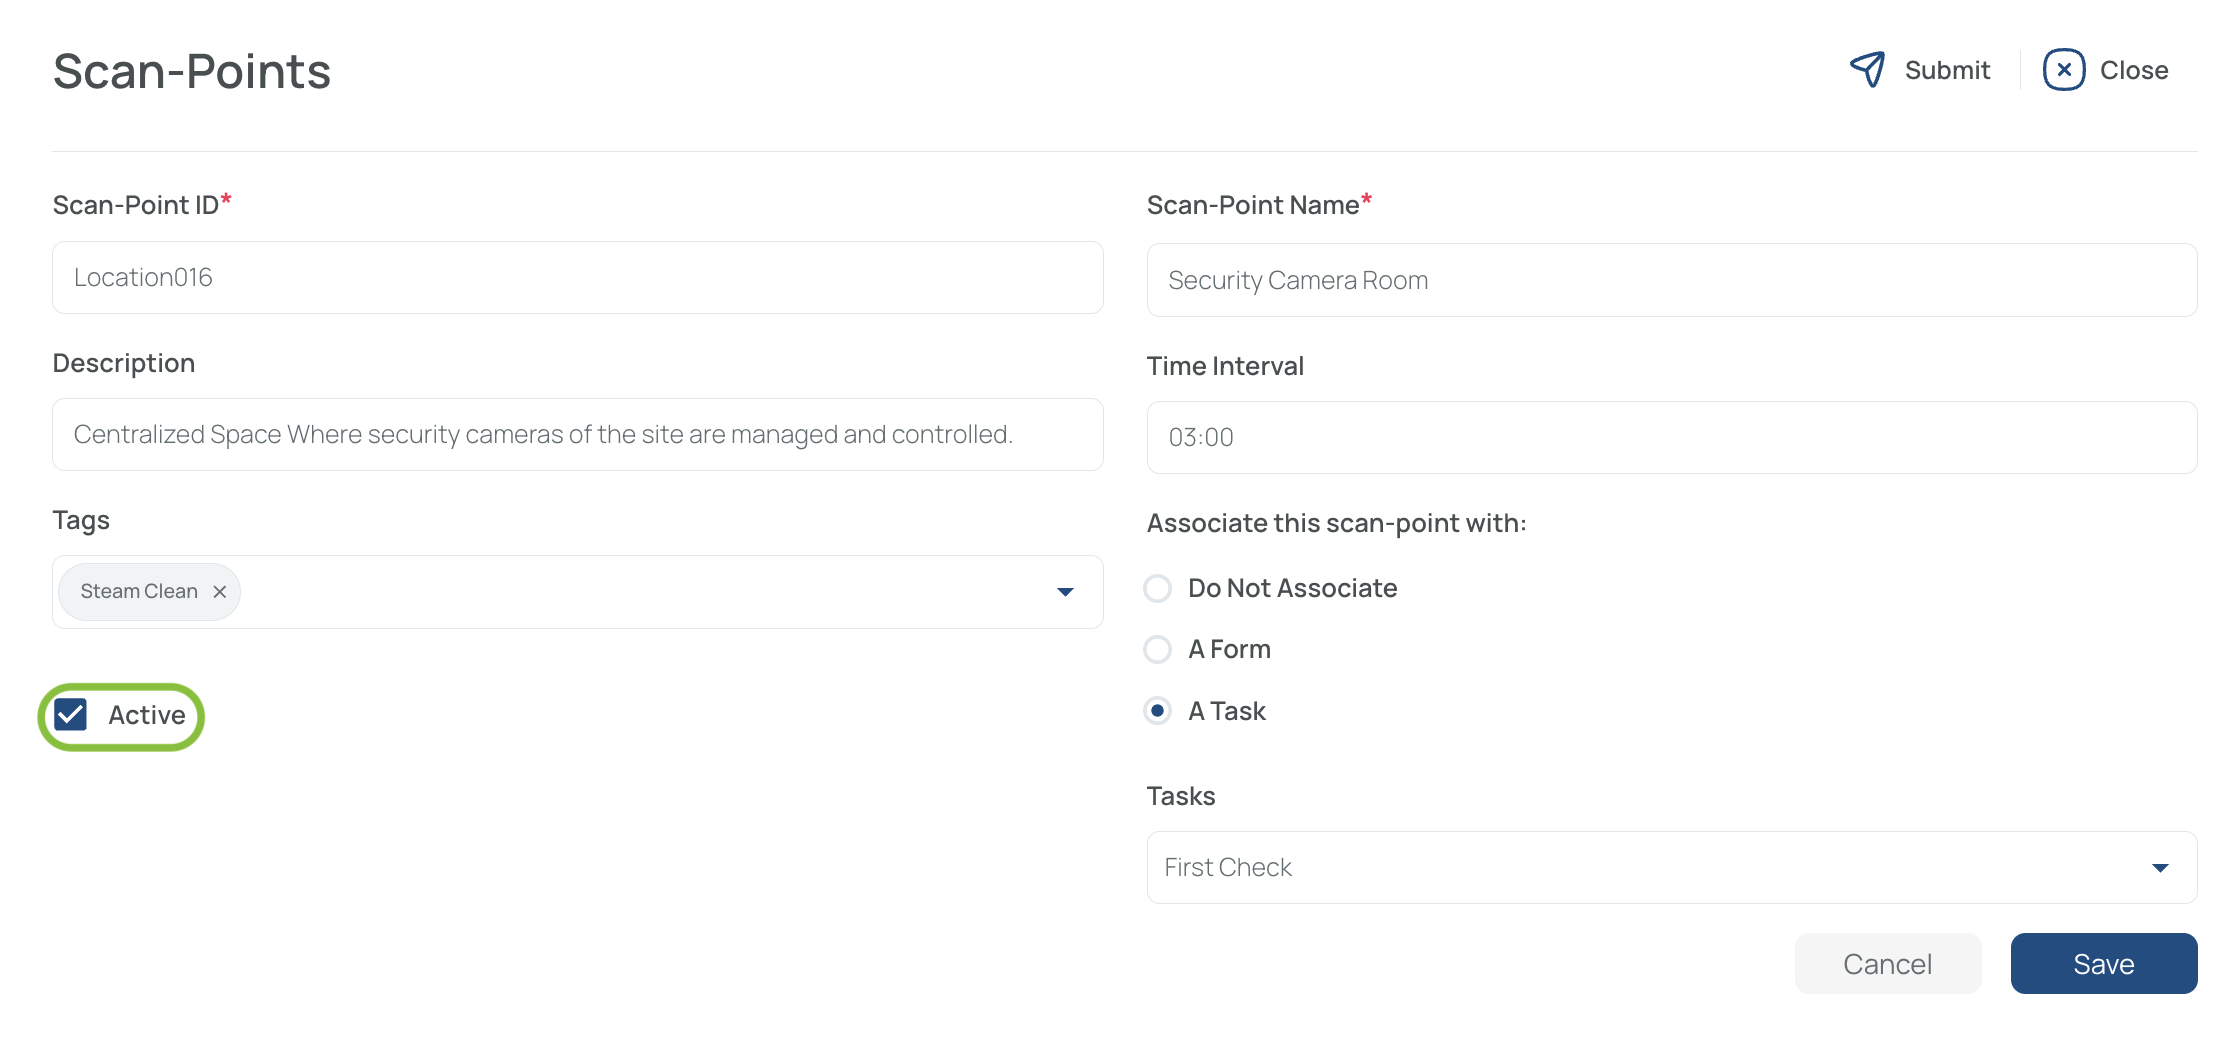
- Check the box to make this scan point visible to other users.
- If unchecked, it remains hidden but can be activated later.
- Save and Close
Note: Repeat these steps for each scan point you need to create.
Add an NFC Tag Scan Point
- Configure the NFC using the Mobile App.
- Fill in the details
Fill in the NFC Code ID
NFC (Near Field Communication) tags are small, passive devices containing a microchip and antenna.
You can scan any unassigned NFC tag with the mobile app, then update its details in the portal.
Do not modify the Scan-Point ID for any NFC, this will make the NFC configuration useless.
Add a Name
Provide a clear identifier (e.g., “Security Camera Room”) for quick reference.
Add a Description
Include any relevant details such as room number or distinctive features.
Choose a Time Interval
Enter the time in HH:MM format (e.g., 08:00) if you need periodic scans or want to classify your scan points for log comparisons. This is required for Time Studies, a function that demonstrates the scanning frequency of QR captures that have the time interval parameter marked; for example, how security patrollers perform their patrols, scanning each time they pass by the designated locations. Time studies enable you to confirm how frequently this scan was finished.
Associate a Predefined Tag (Optional)
If you have previously created tags, assign one here to segment data and simplify searches.
Link to a Task or Form (Optional)
If needed, associate this NFC tag with an existing task or form (they must be active).
- Mark as Active
- Check the box to make this scan point visible to mobile users.
- Uncheck to temporarily hide it.
- Save and Close
Note: Repeat the procedure for each NFC tag scan point you need to create.
Edit Scan Points
Follow these steps to update any existing scan point (QR code or NFC tag):
- Click the name in the QR Code you want to edit.

- Modify the Current Data
- Scan-point ID: Must be part of a sequential order and represent the scan point (QR or NFC) and once configured can not be modified.
- Name: A quick identifier to help locate it.
- Description: Extra details (location, room number, distinctive features).
- Time Interval: E.g., “once per hour,” prompting periodic scans.
- Predefined Tag: Associate an existing tag to assist with segmentation or searches.
- Task/Form Association: Choose whether to link the scan point to an existing task or form (must be active).
- Active Box: If checked, makes the scan point visible to users.
- Save and Close.
Delete Scan Points
-
Check the scan point(s) you wish to remove.
- You can select multiple scan points at once.

-
Click “Delete.”
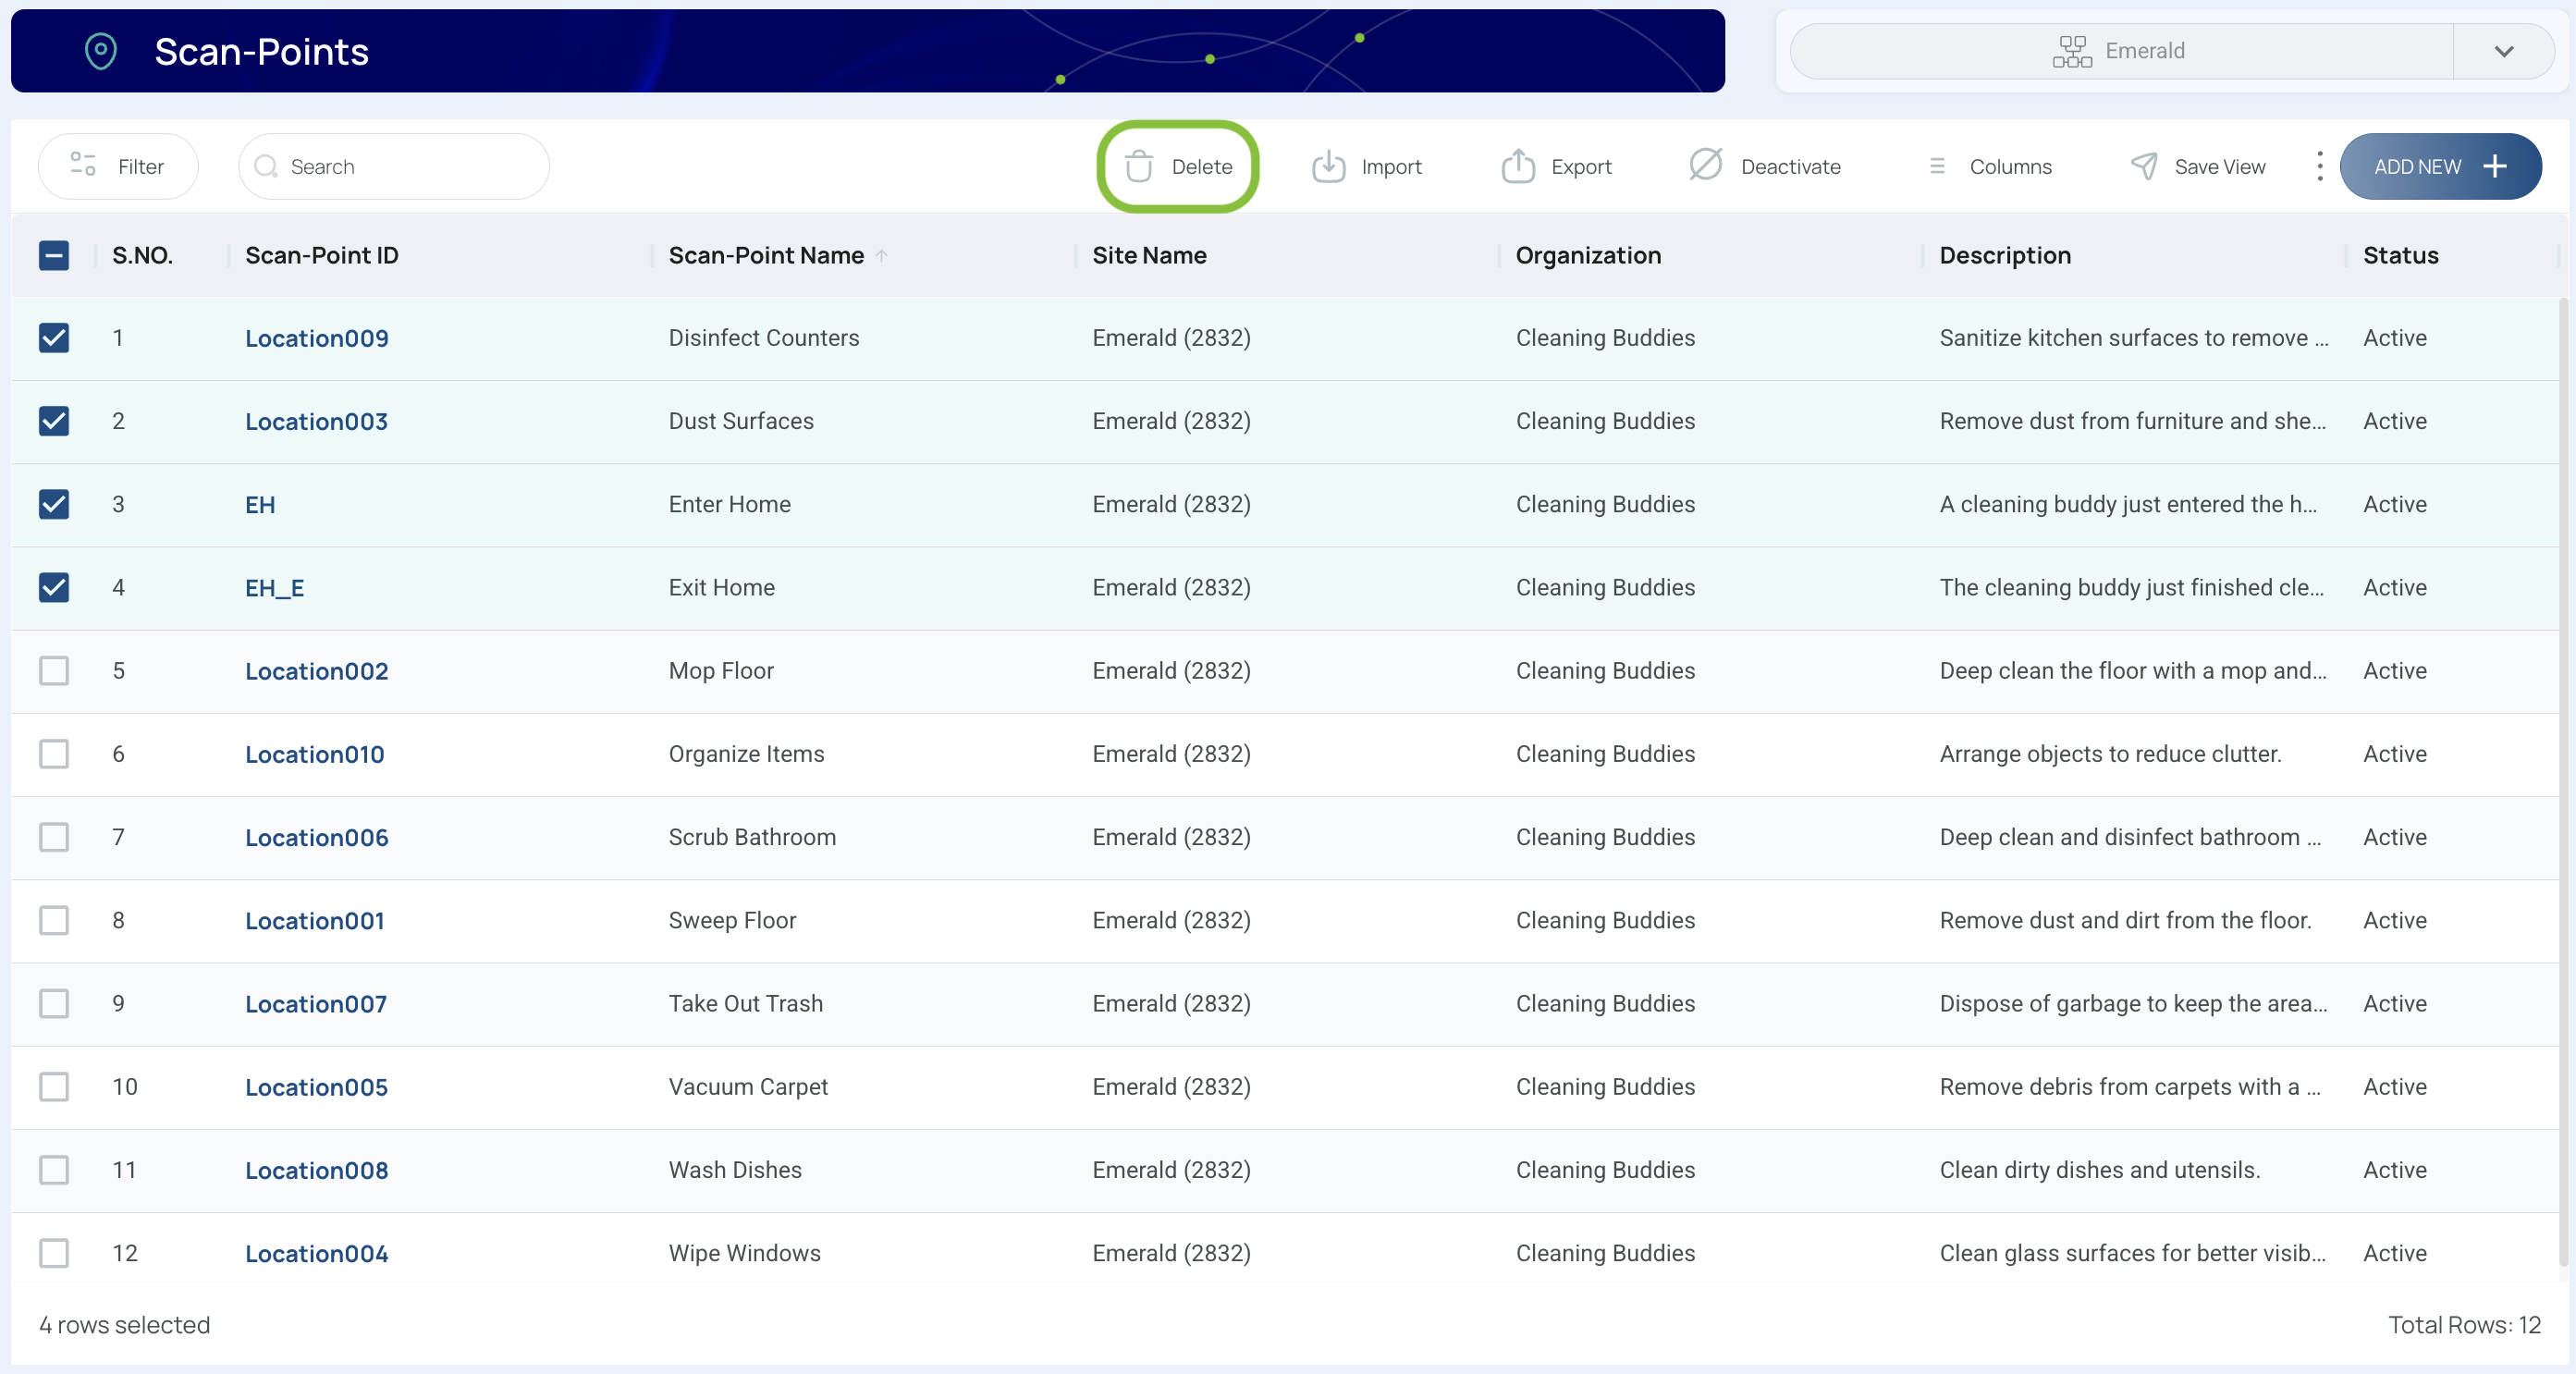
- All selected scan points will be discarded.
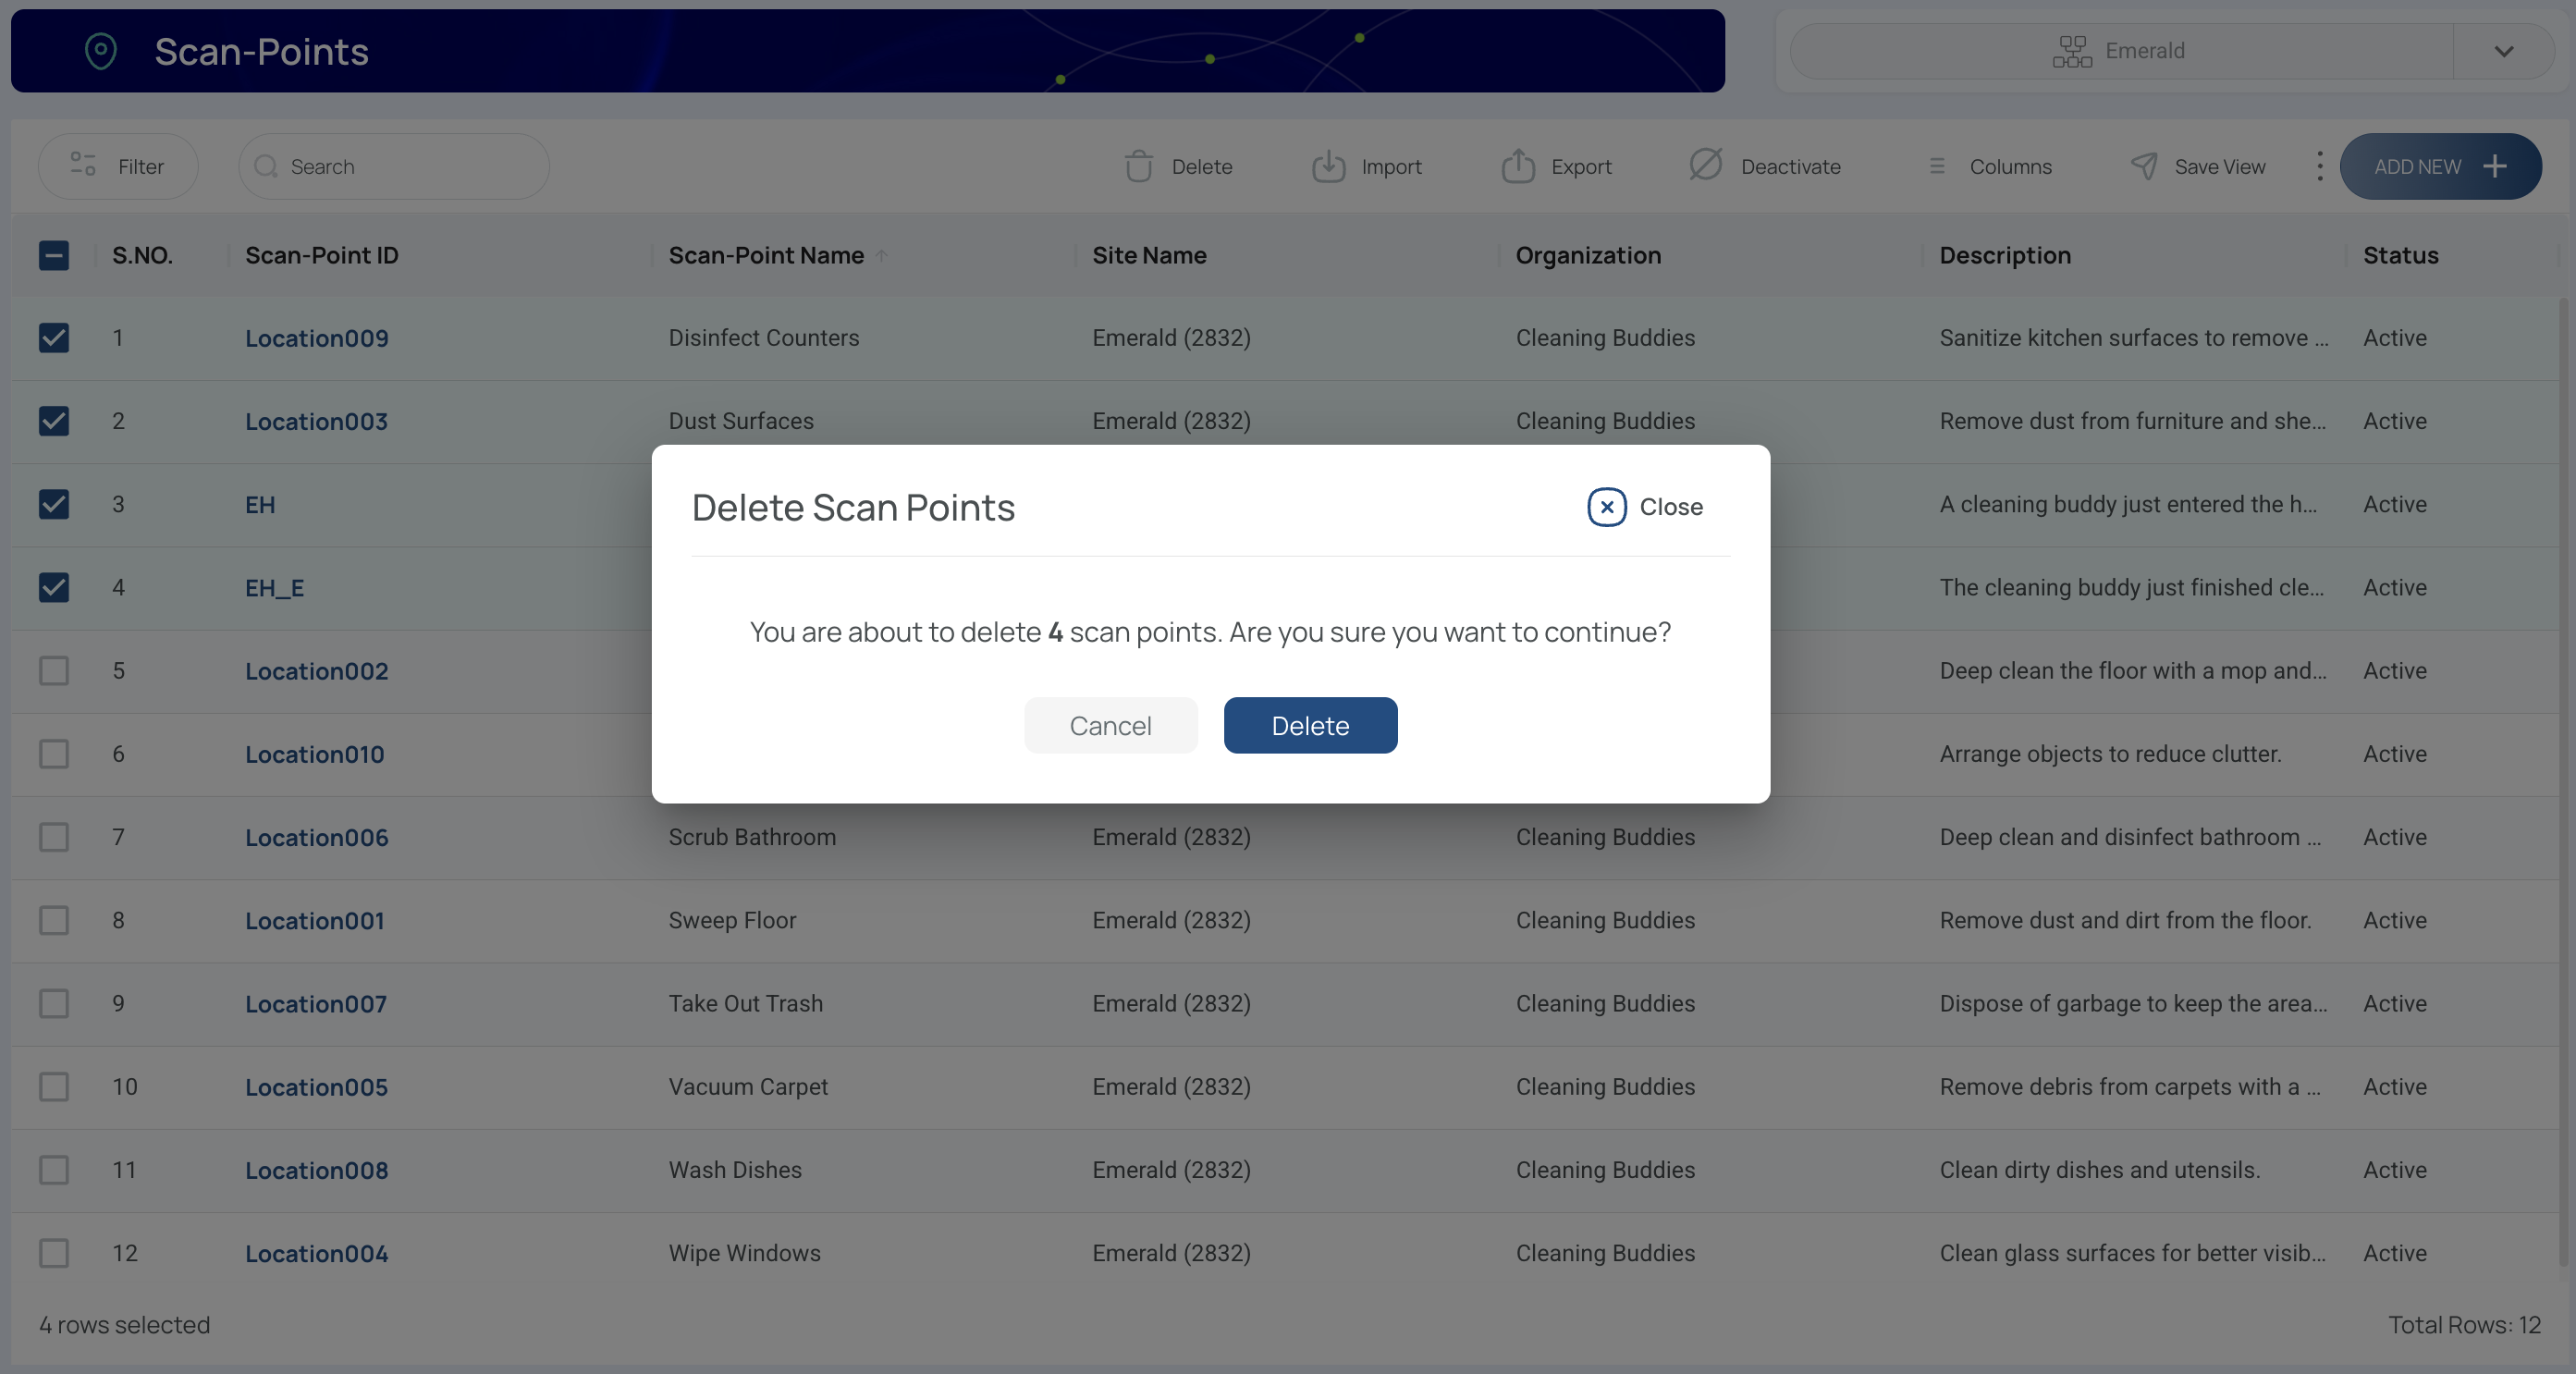
- Confirm and close
Export Scan Points
Exporting scan points to an Excel file can help you manage data offline or share with others.
- Click the “Export" button.
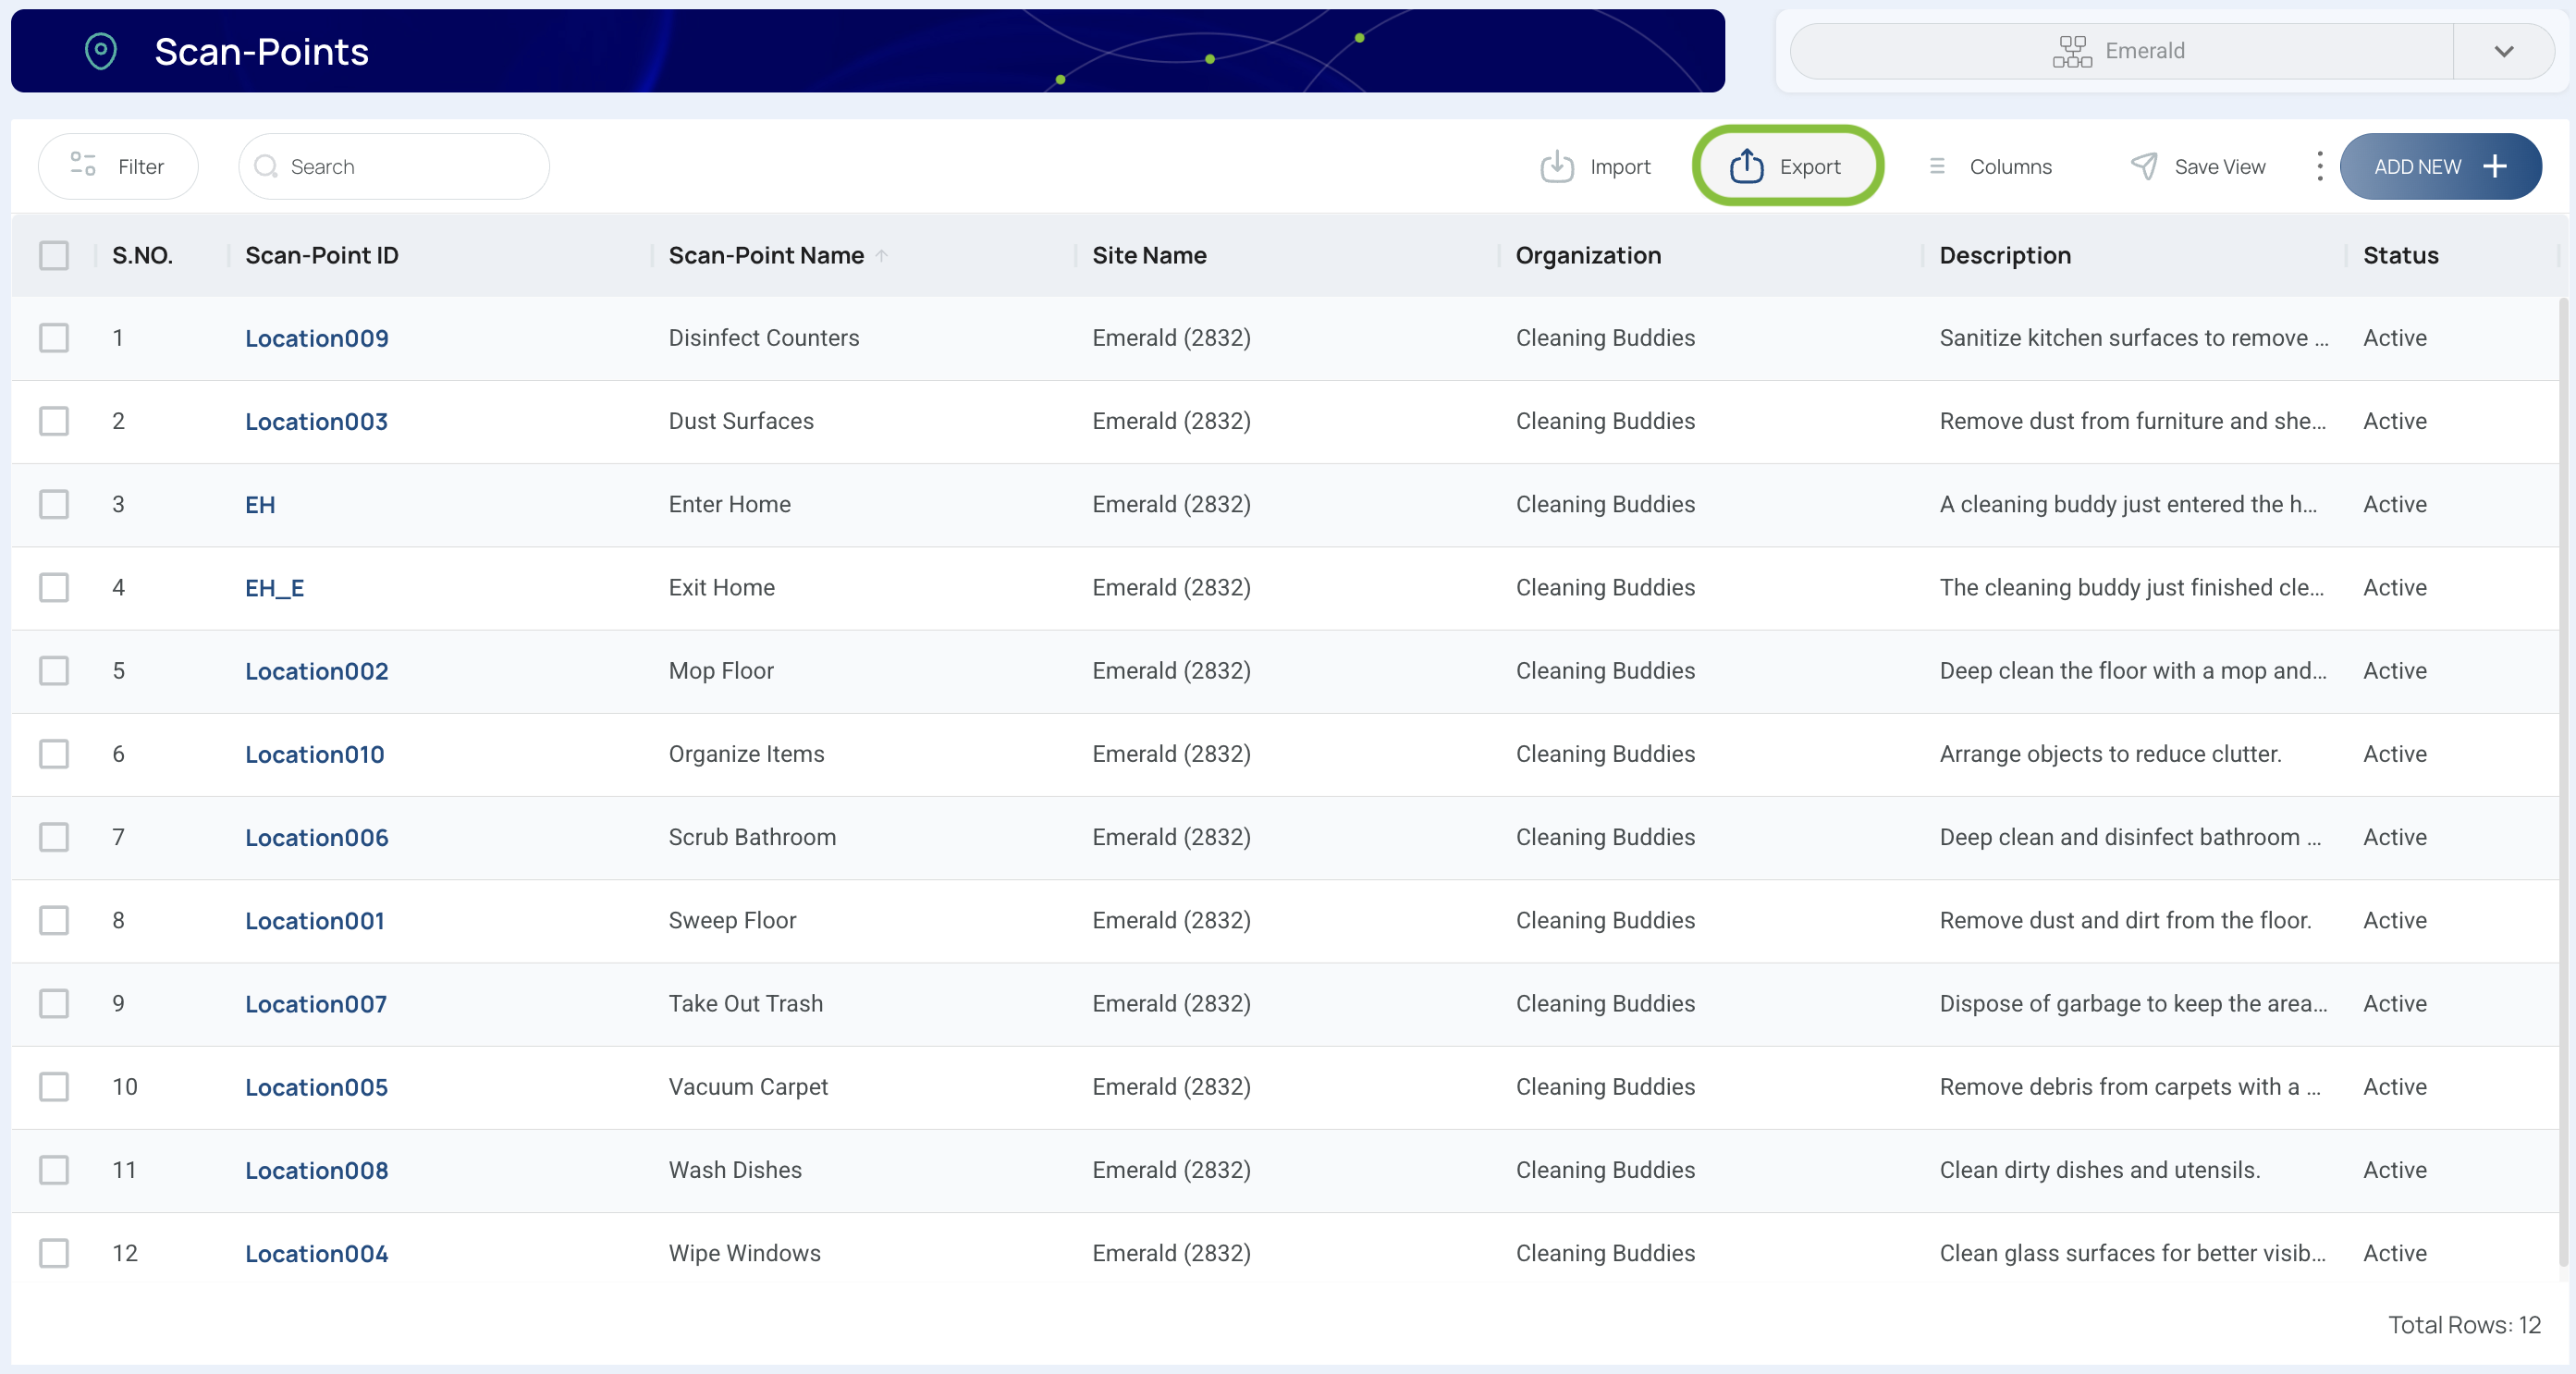
- Export the Excel file. Choose all data or only the current view. Export All Data exports all the required information in the format necessary for importing, including every column needed for the process. In contrast, Export Current View exports the data exactly as the user has configured it, preserving the applied filters, sorting, and the order of columns as seen in the current view.

Note:
- If the file is within size limits, it will download directly to your computer.
- If it exceeds size limits, it will appear in the “Downloads” section on the platform.
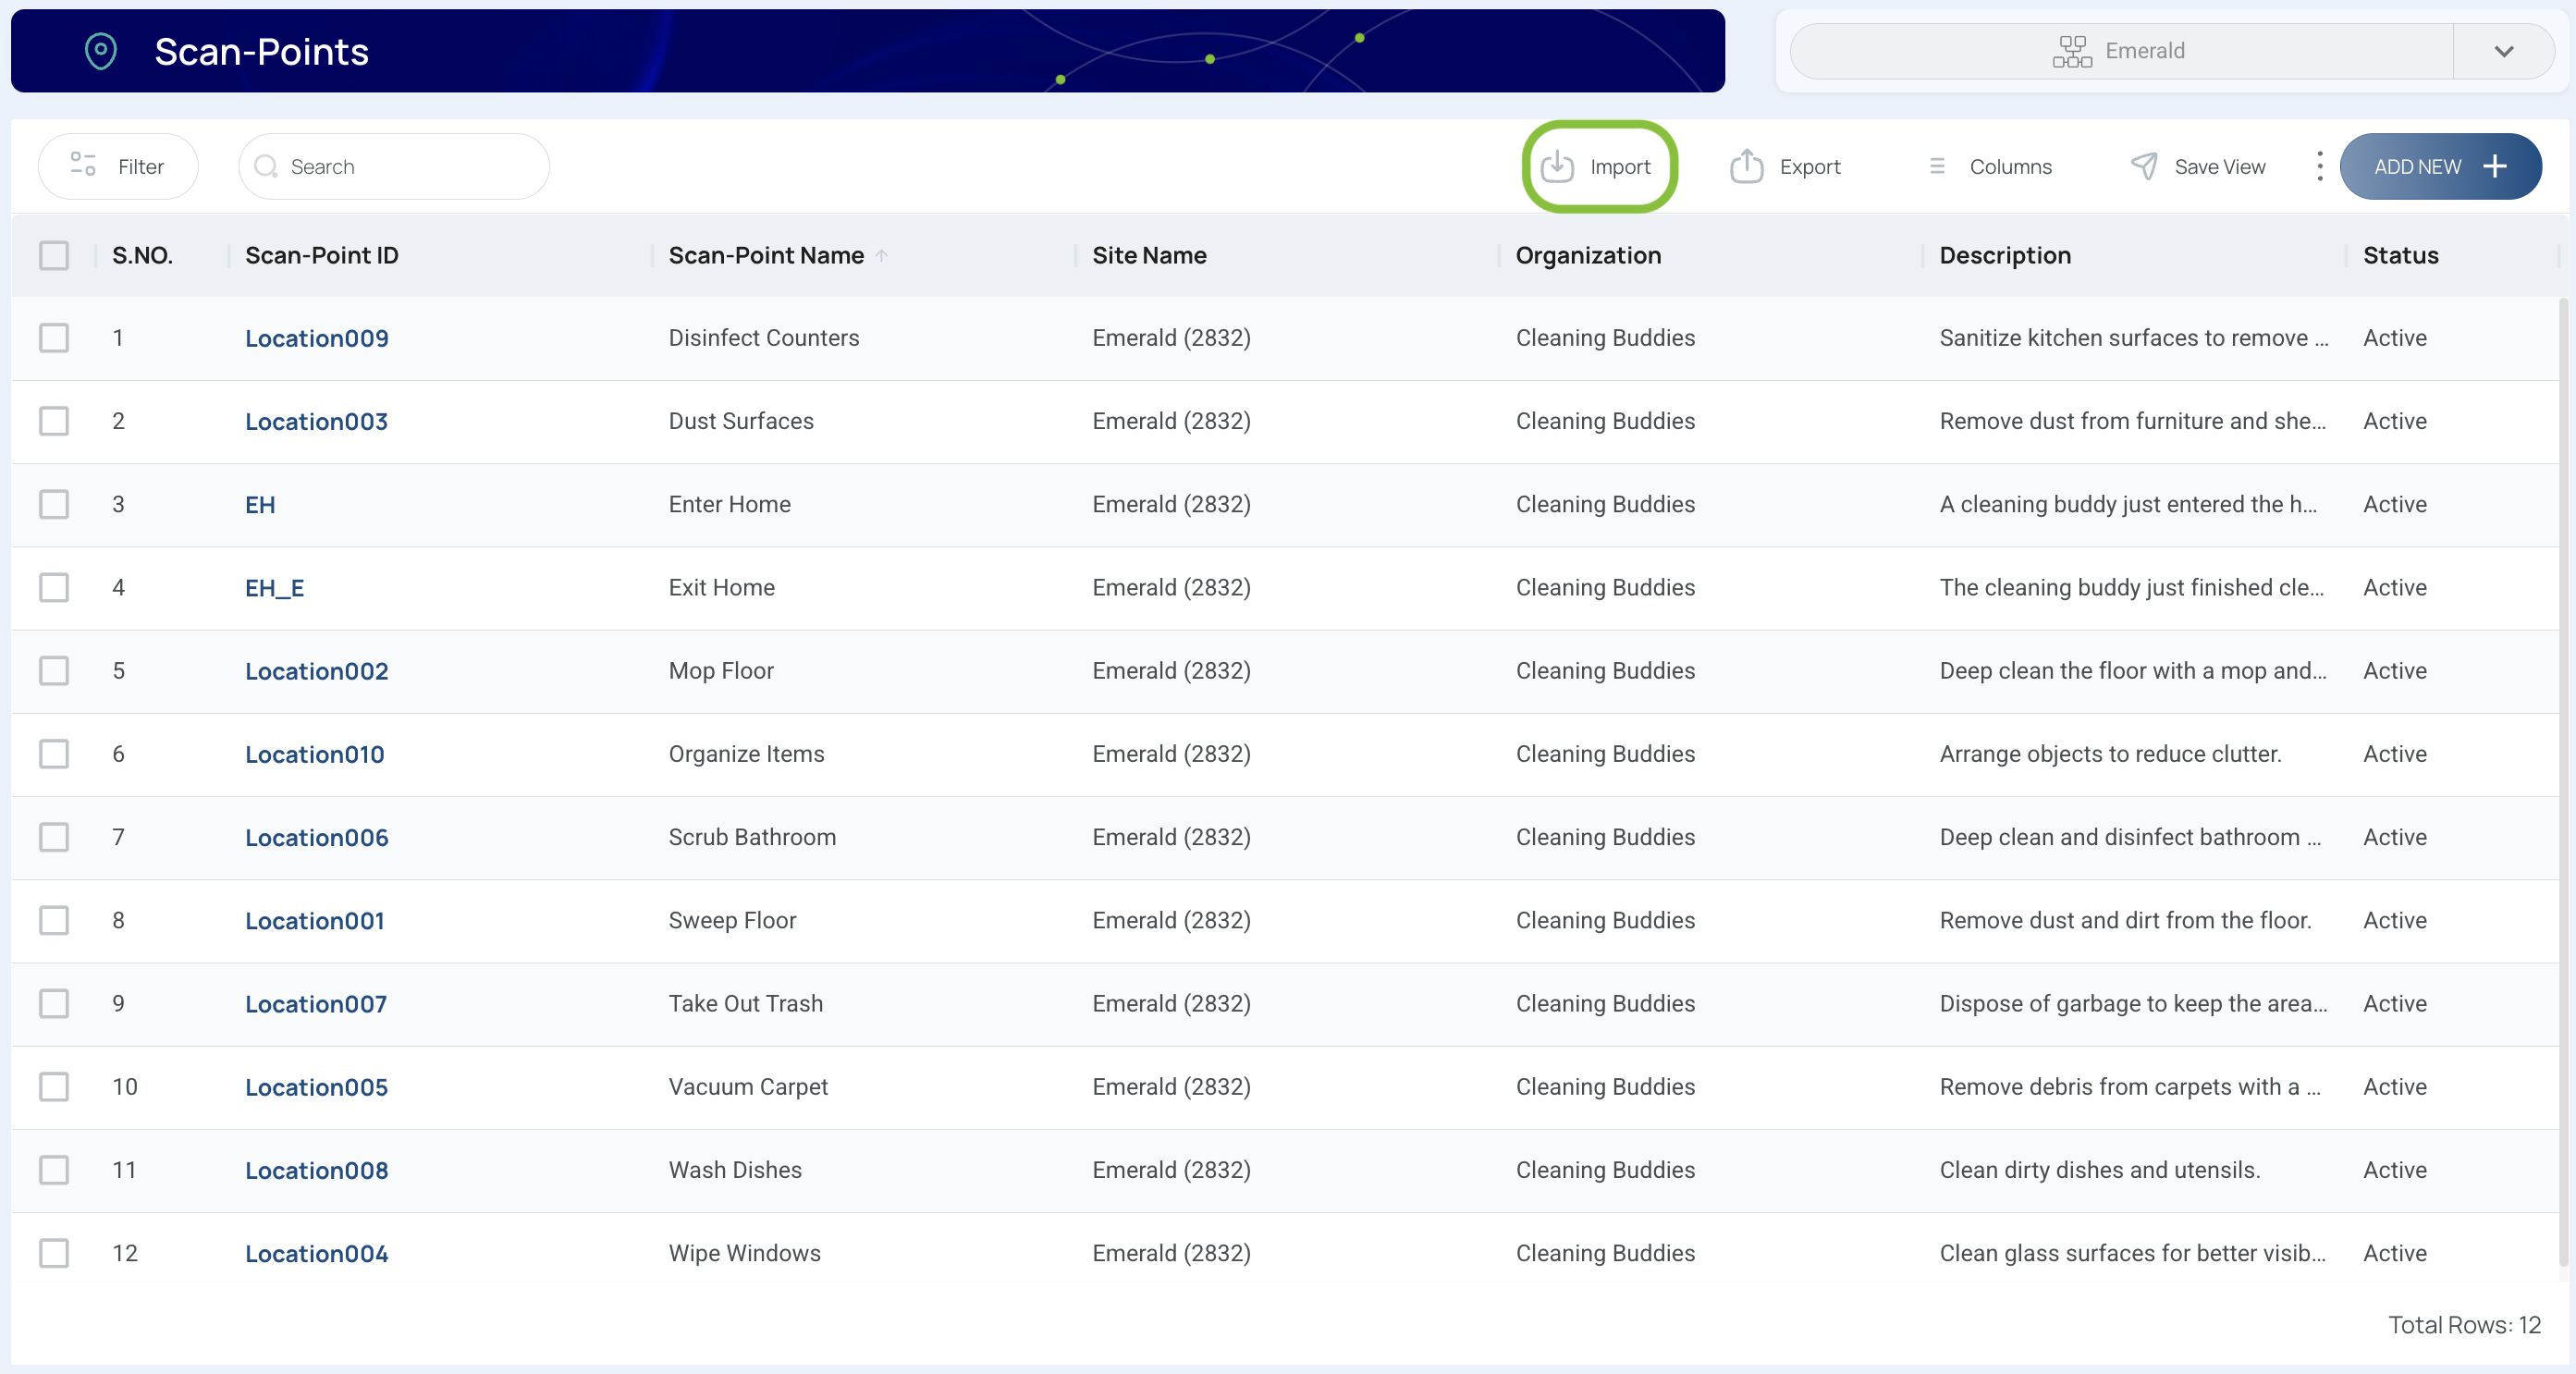
Import Scan Points
If you have multiple scan points to add at once, you can import them from an Excel template. Follow these steps to speed up your setup process:
- Click the “Import” button.
- Download the template to fill in your scan point data. (Each row represents one scan point.)
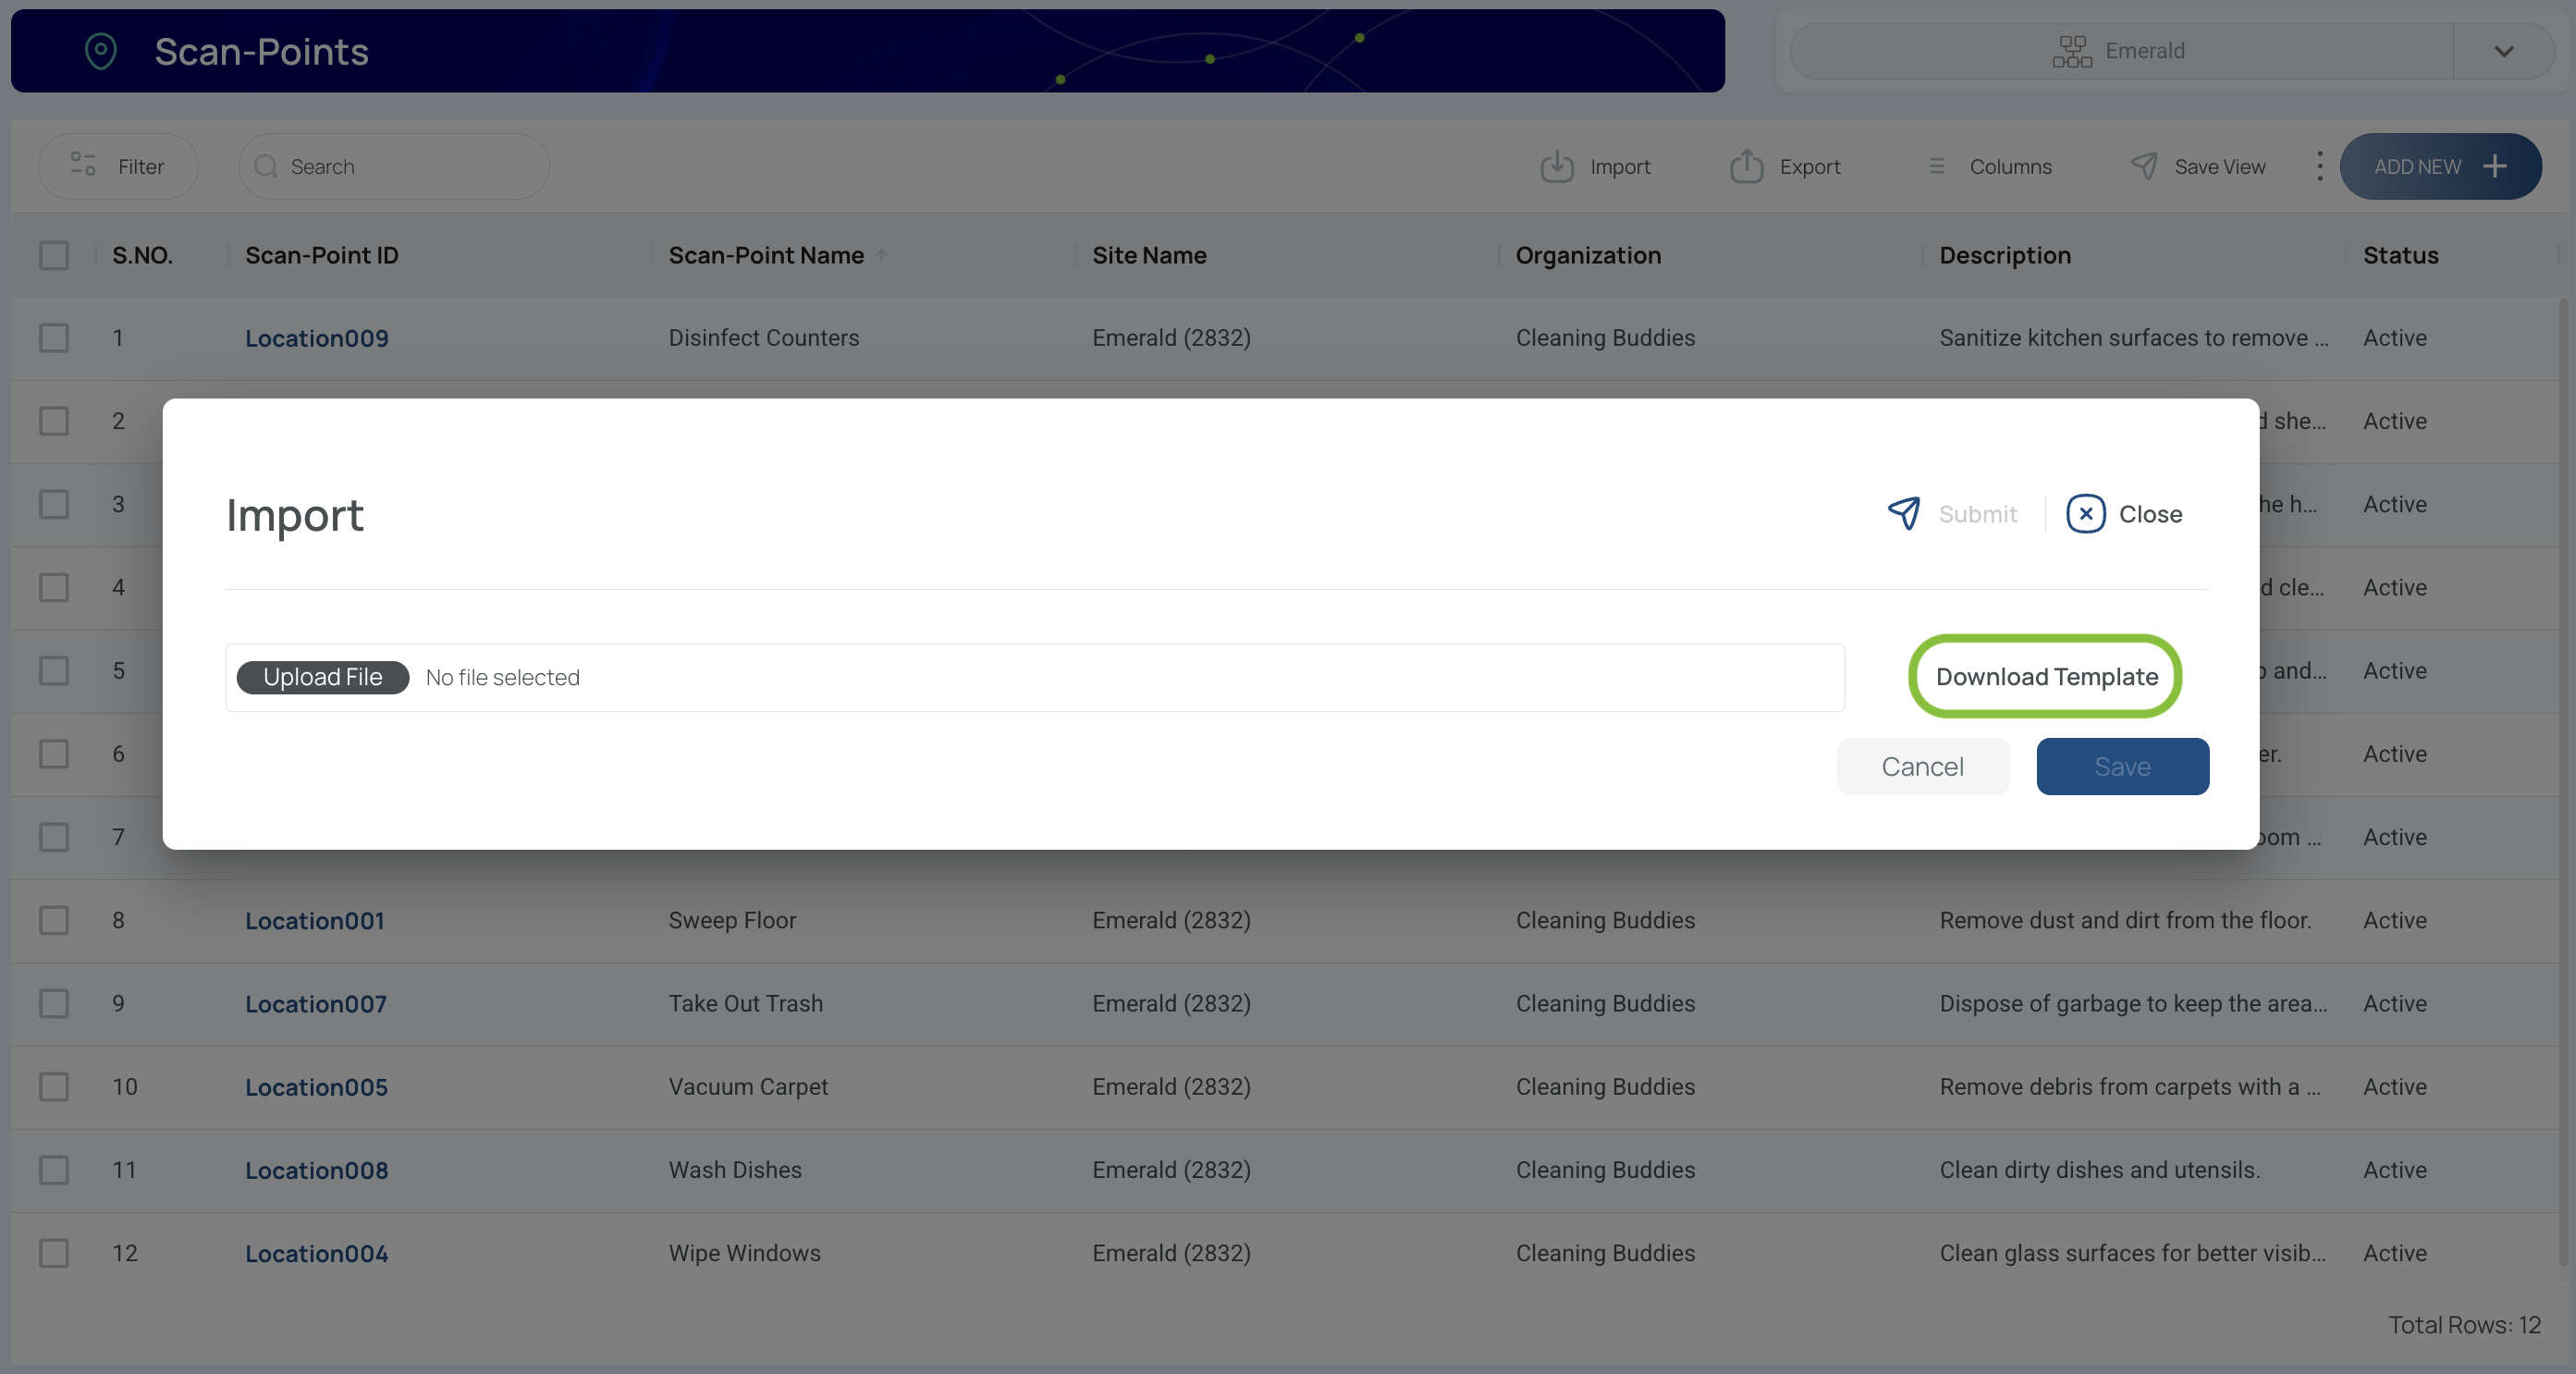
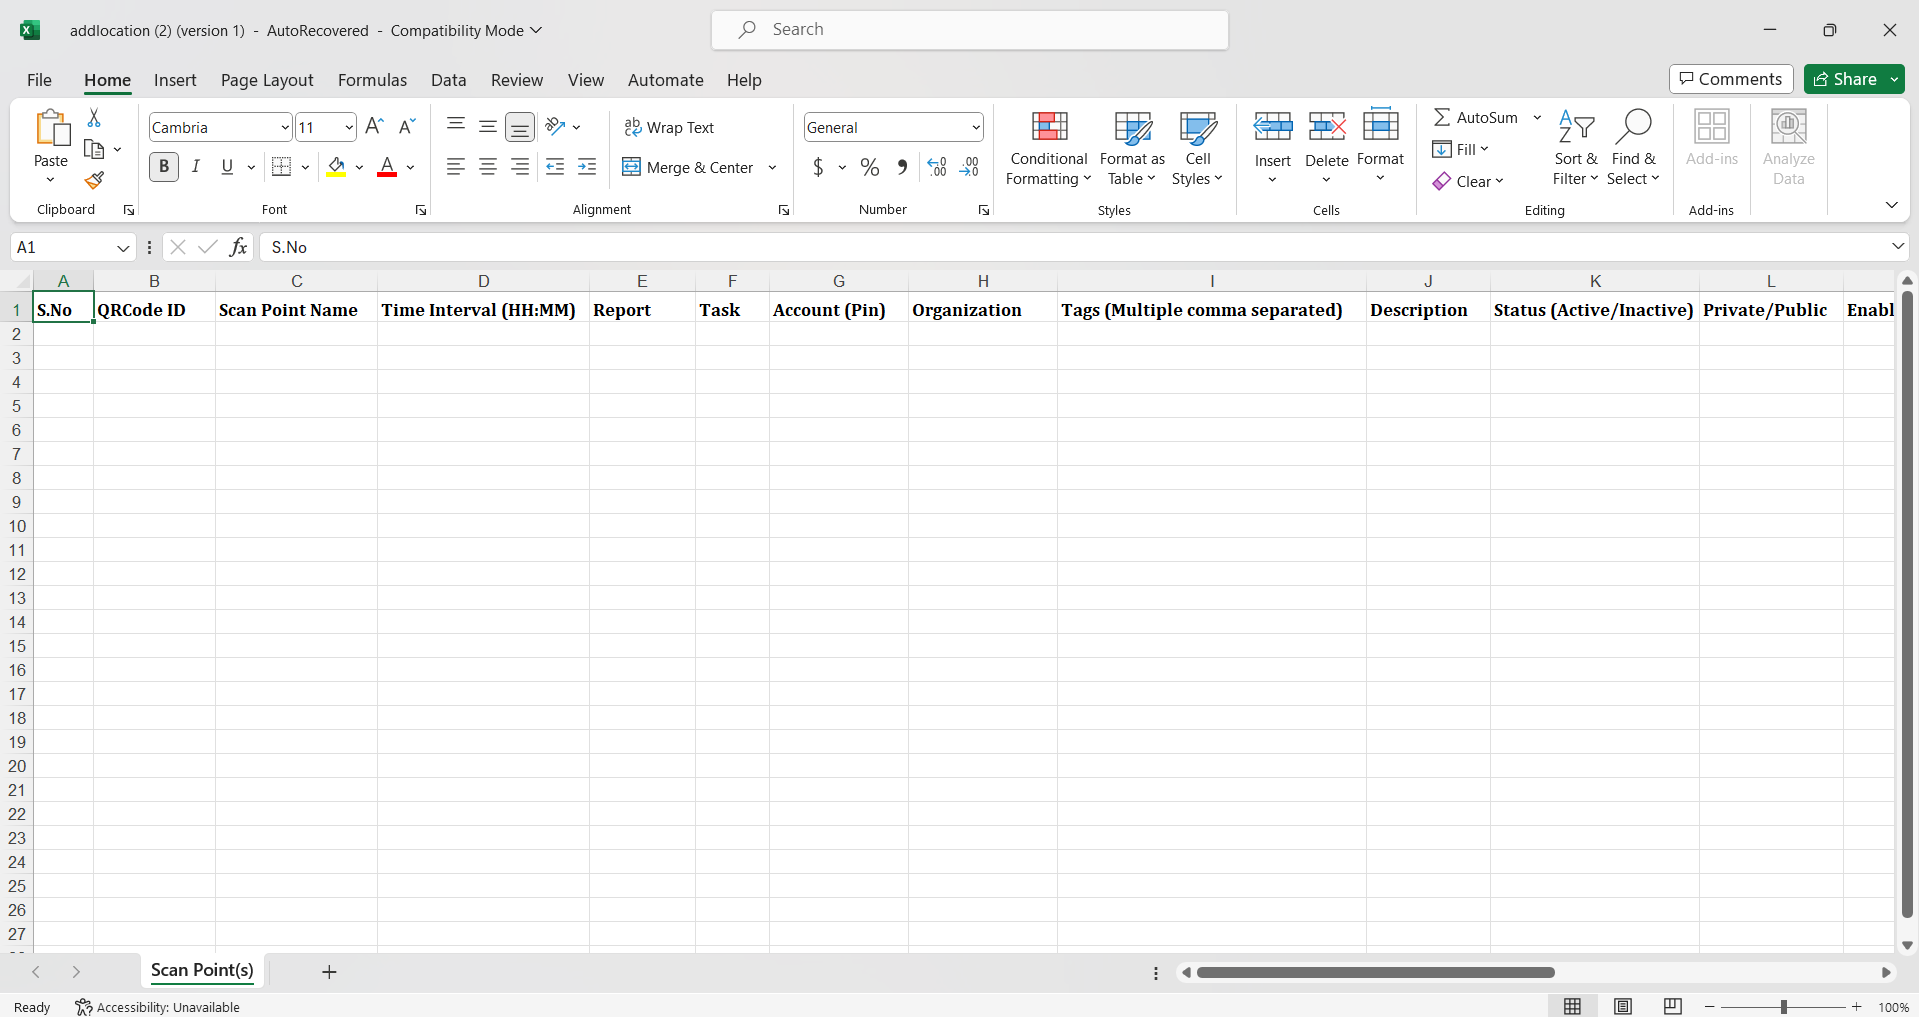
Template
- Send the completed template with the required information to support so that we can assist you with the import process.