Schedule: Add, Edit and Delete Schedules
Learn how to create, edit, and delete Schedules in mobohubb, enabling you to assign jobs or shifts to users, configure time-off requests, manage shift replacements, and set notifications for various scheduling events.
In this guide, you'll learn
- How to add a new schedule, edit existing schedules, configure user acceptance, manage notifications, and delete schedules safely.
The Schedule feature in mobohubb allows you to assign jobs or shifts to each user, monitor attendance, and ensure proper resource allocation. A well-organized schedule provides a clear overview of who is working when, helps maintain high customer service standards, and maximizes operational efficiency.
Add a Schedule
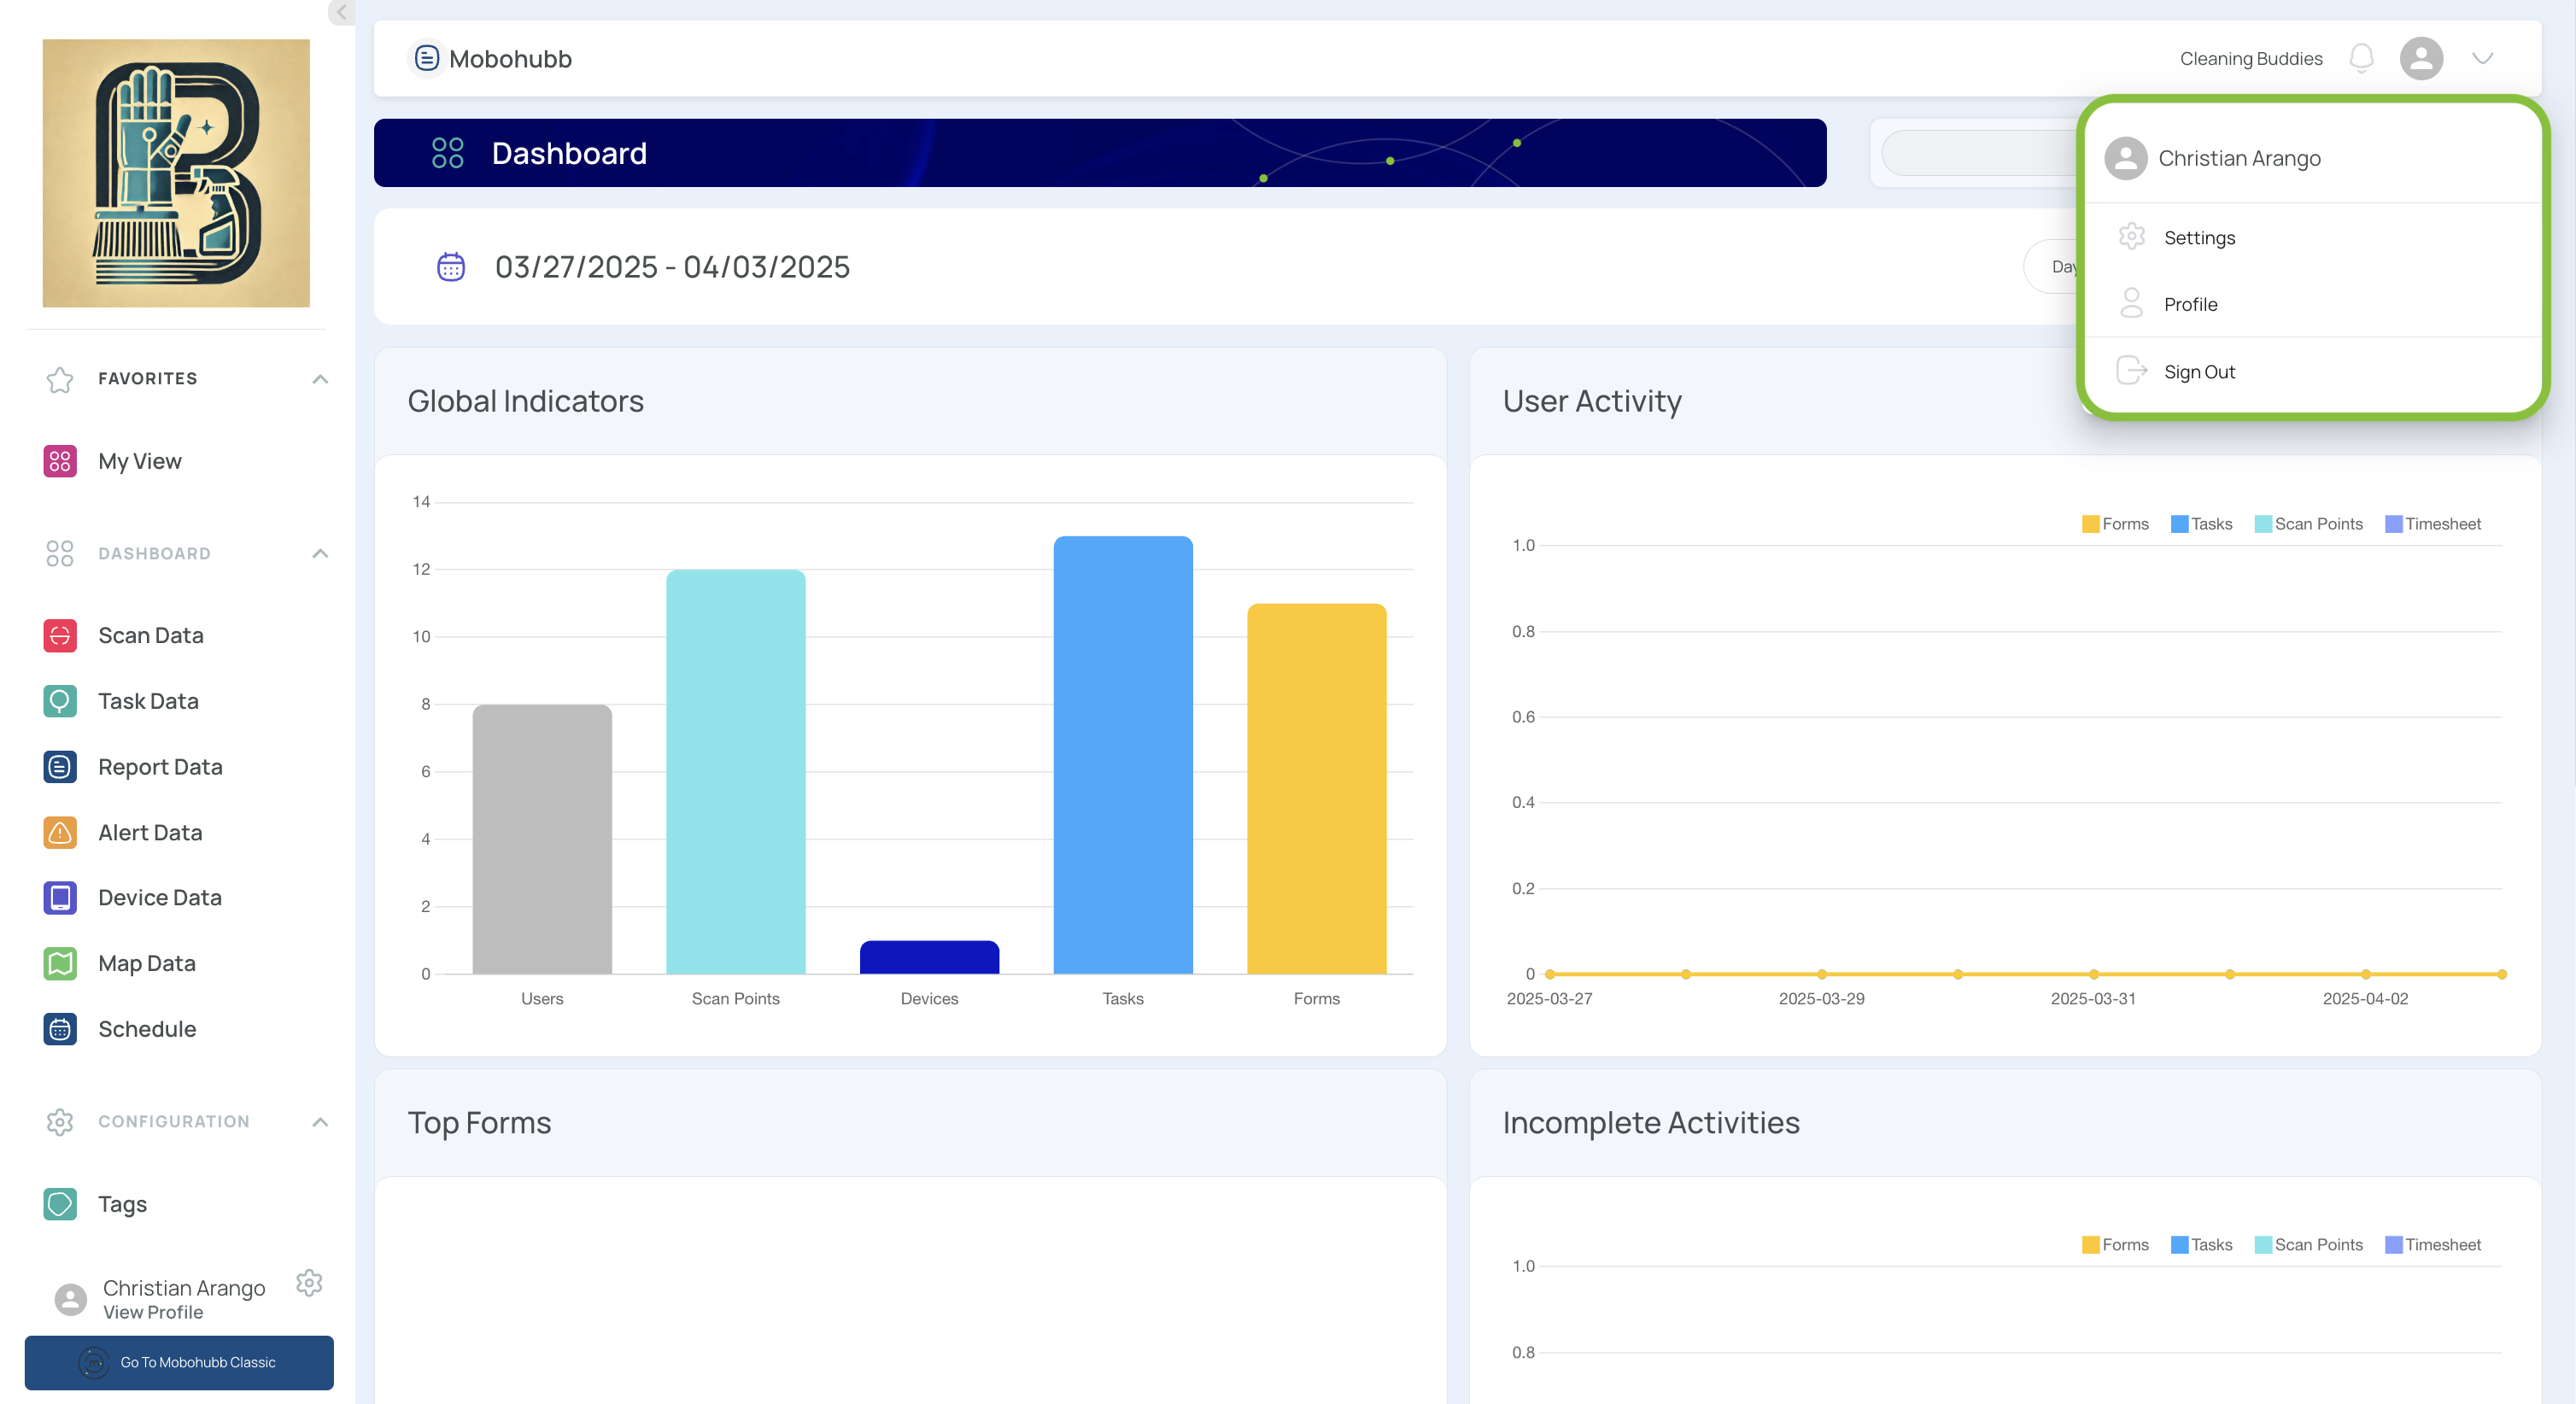
- Navigate to the Portal’s Top Menu and select Settings from the dropdown.
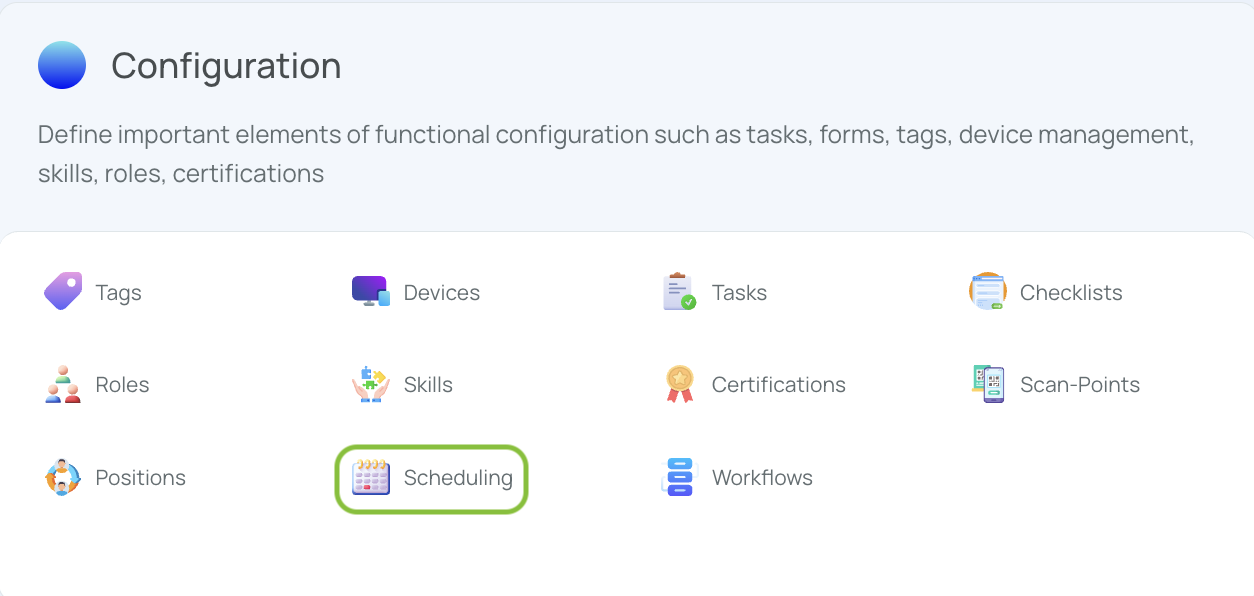
- From the Configuration section, select Scheduling.
- Click “Add new”.
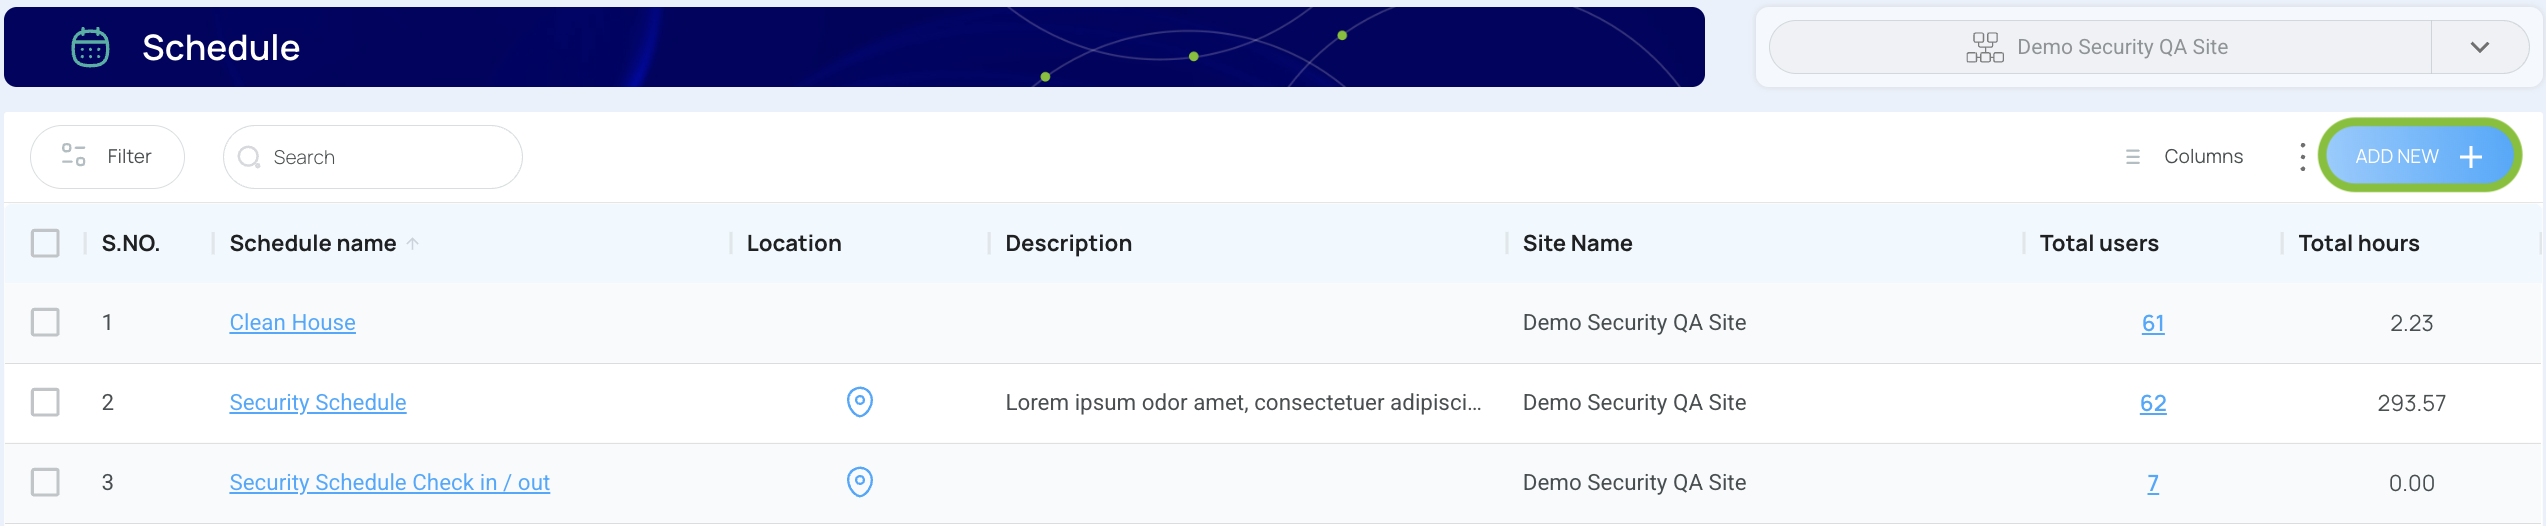
- A new configuration menu will appear.
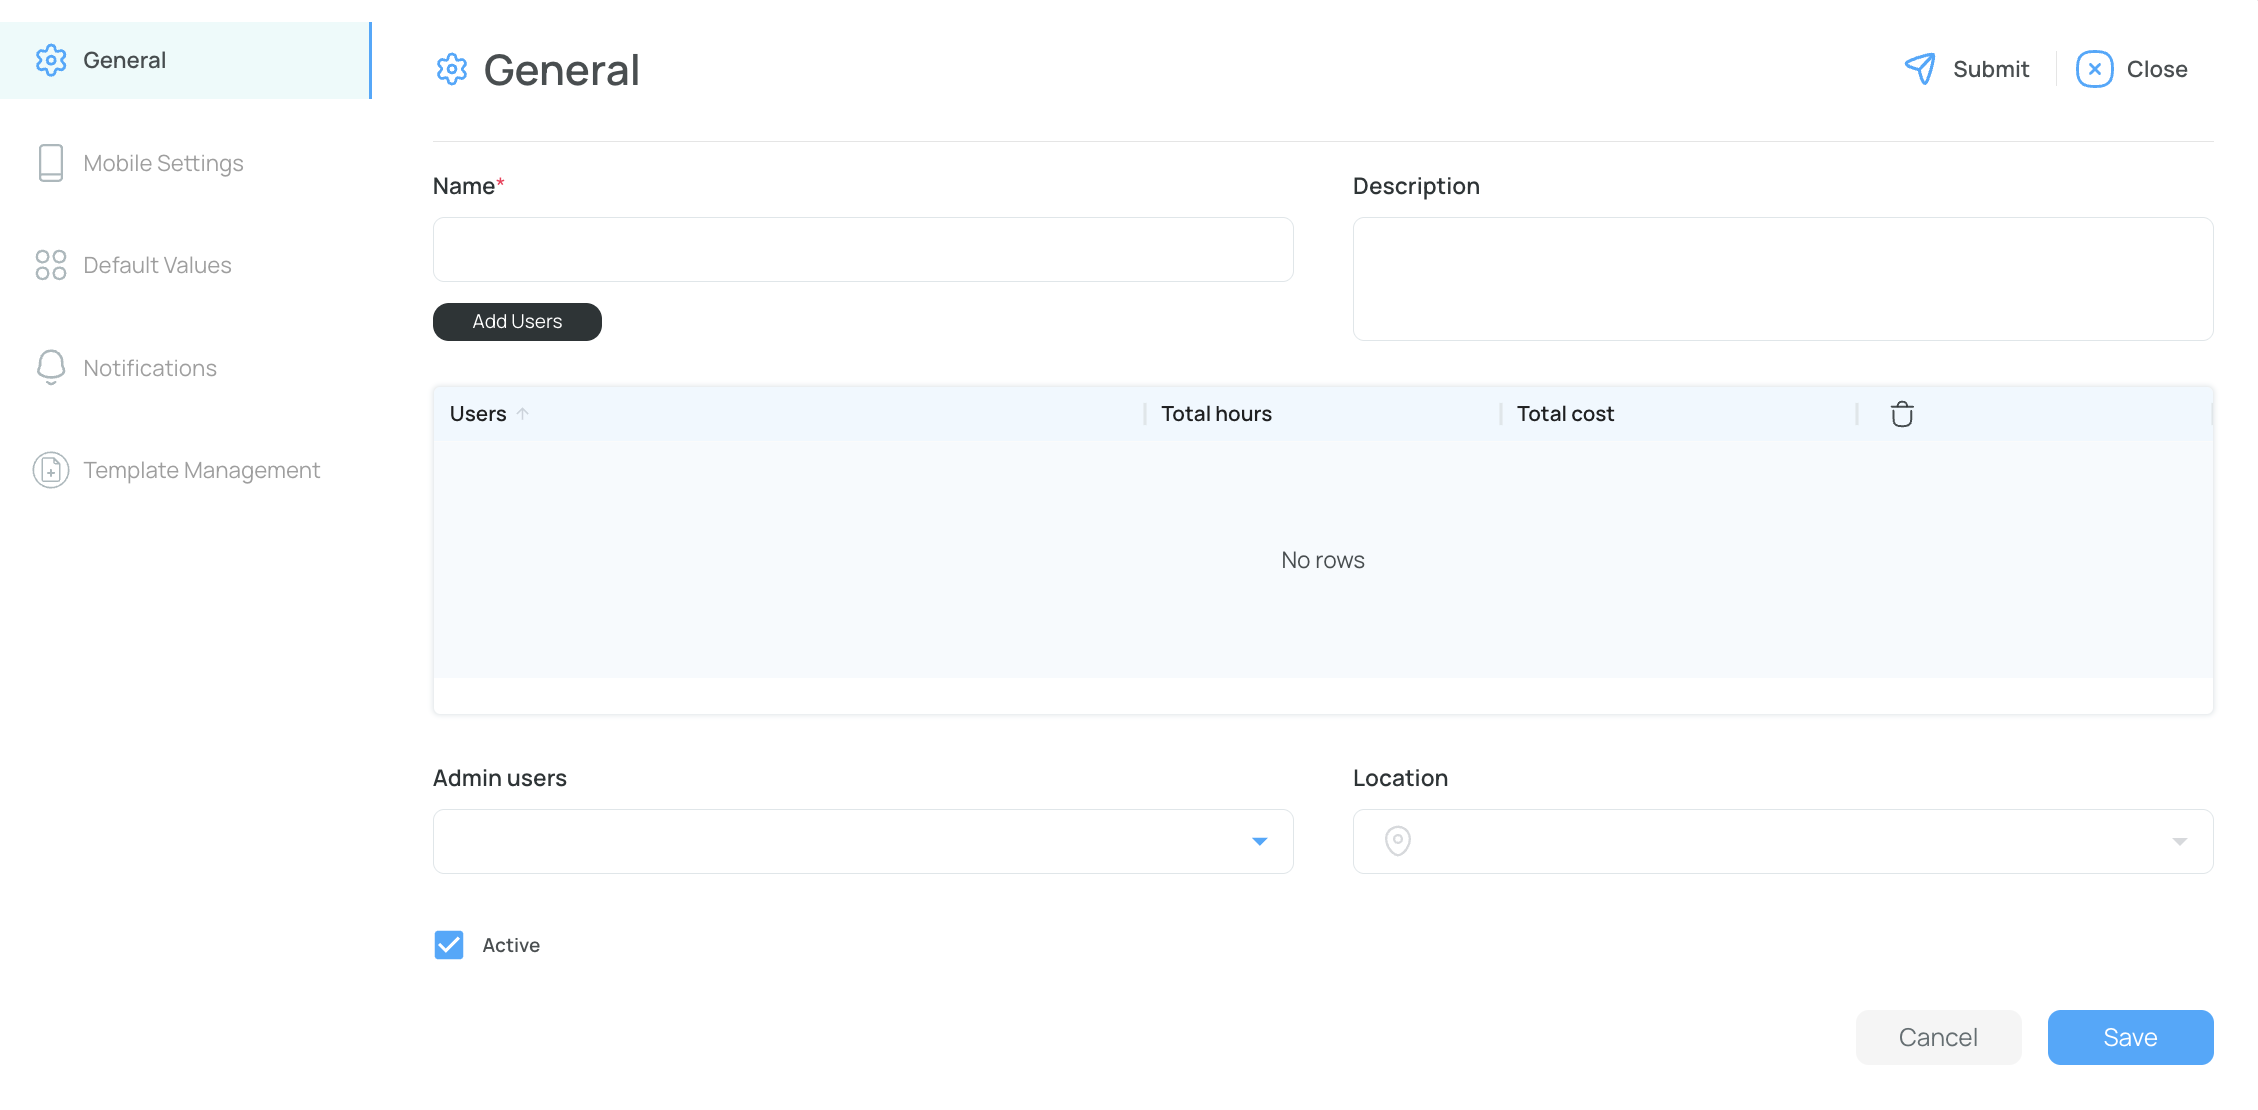
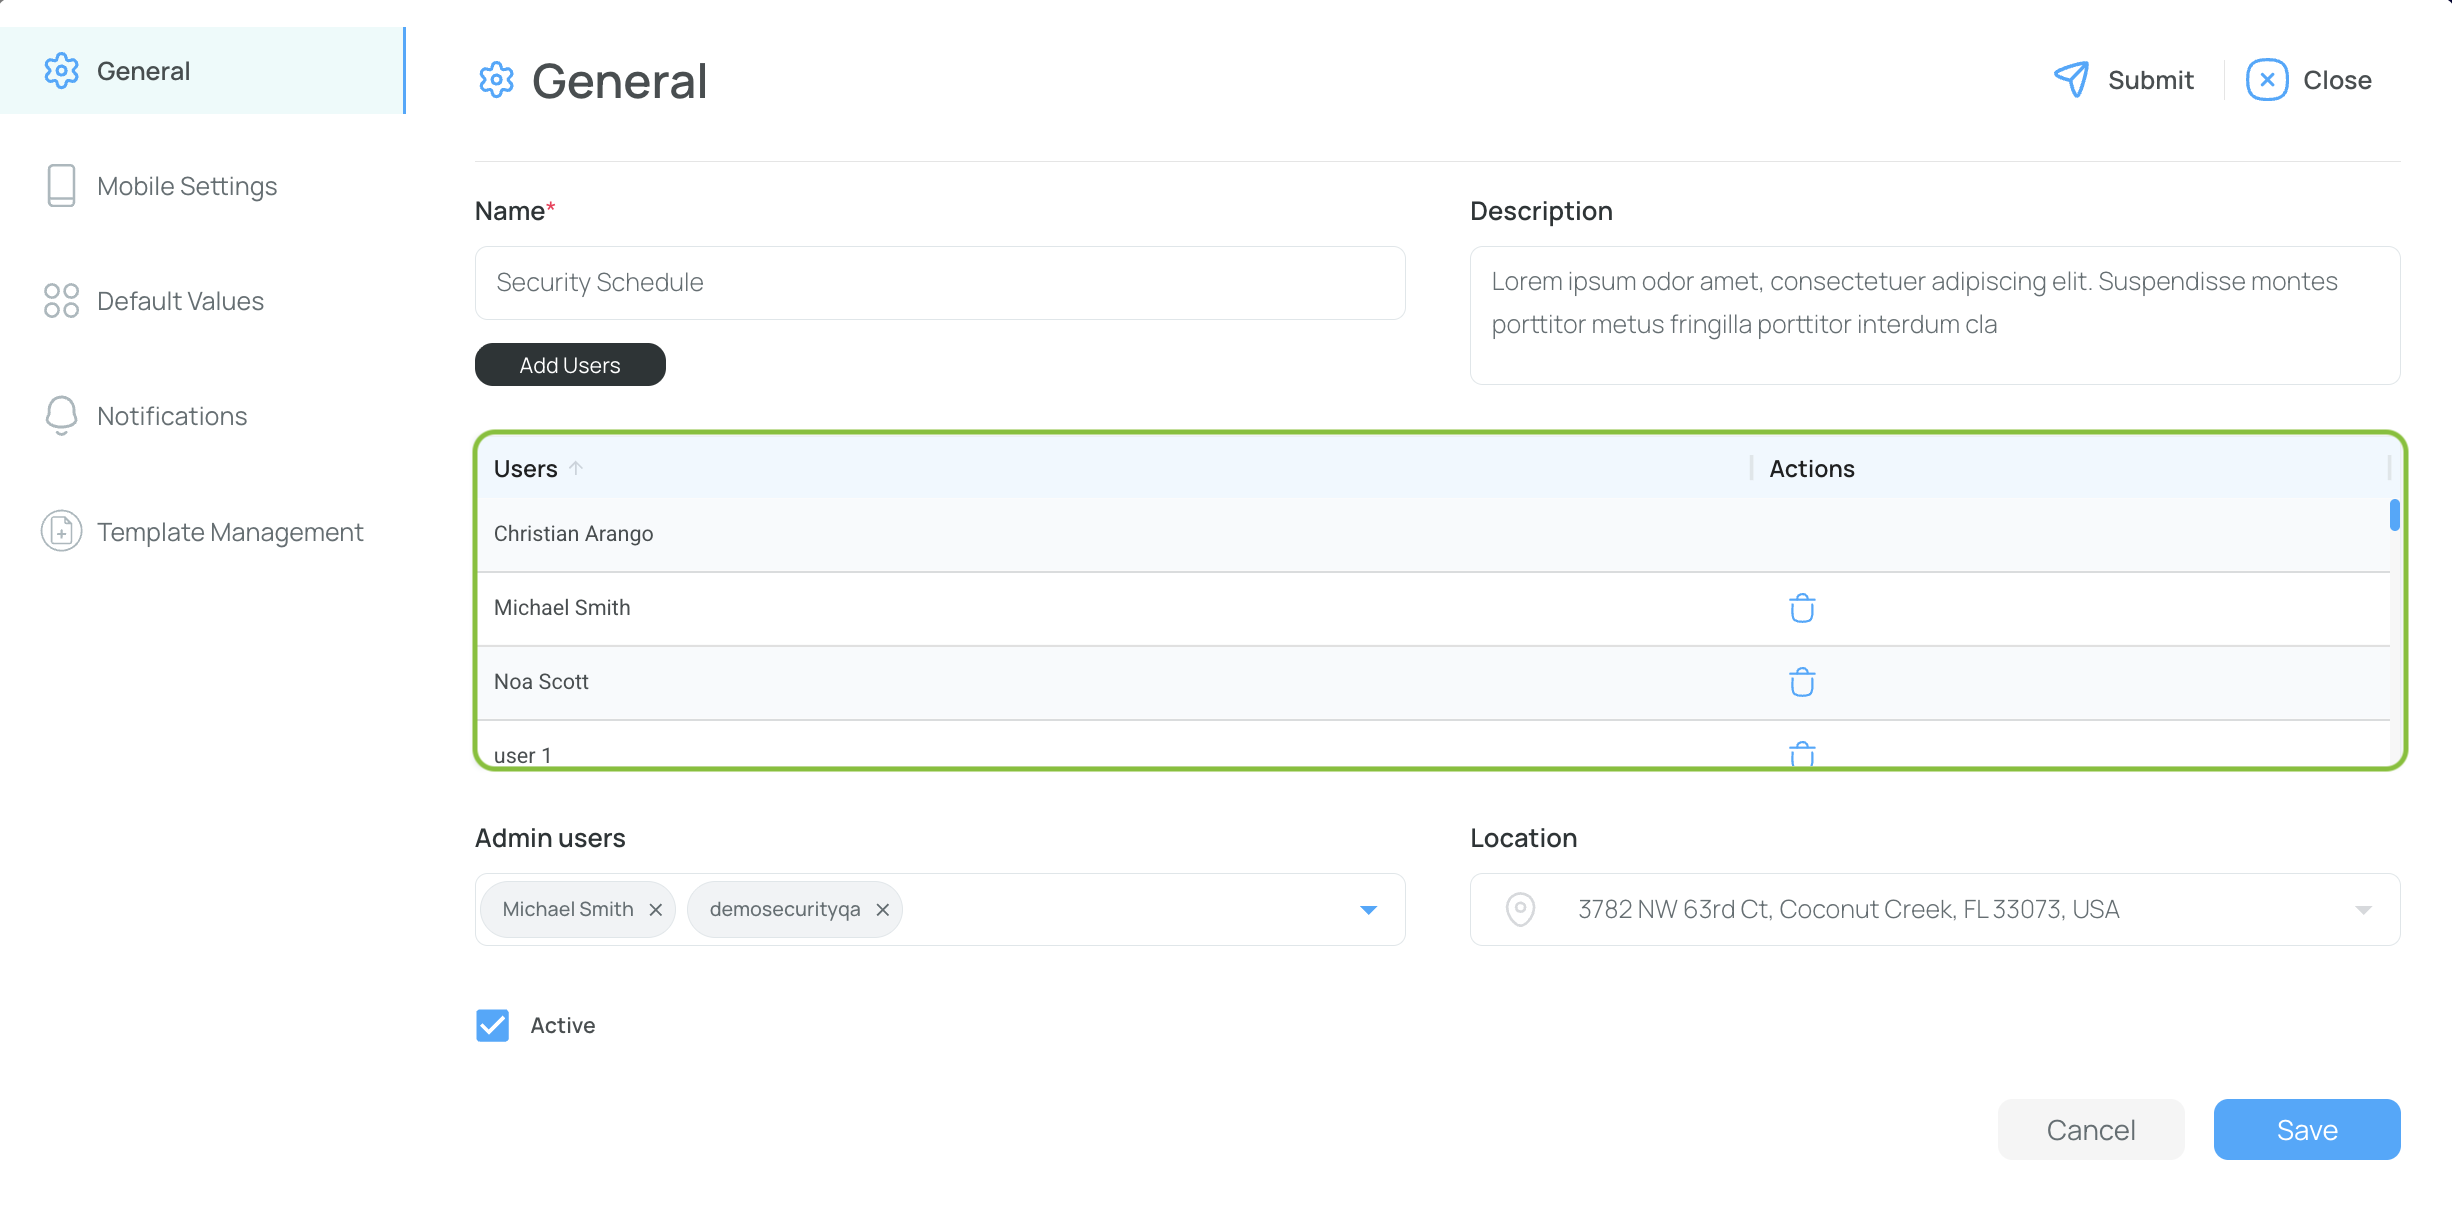
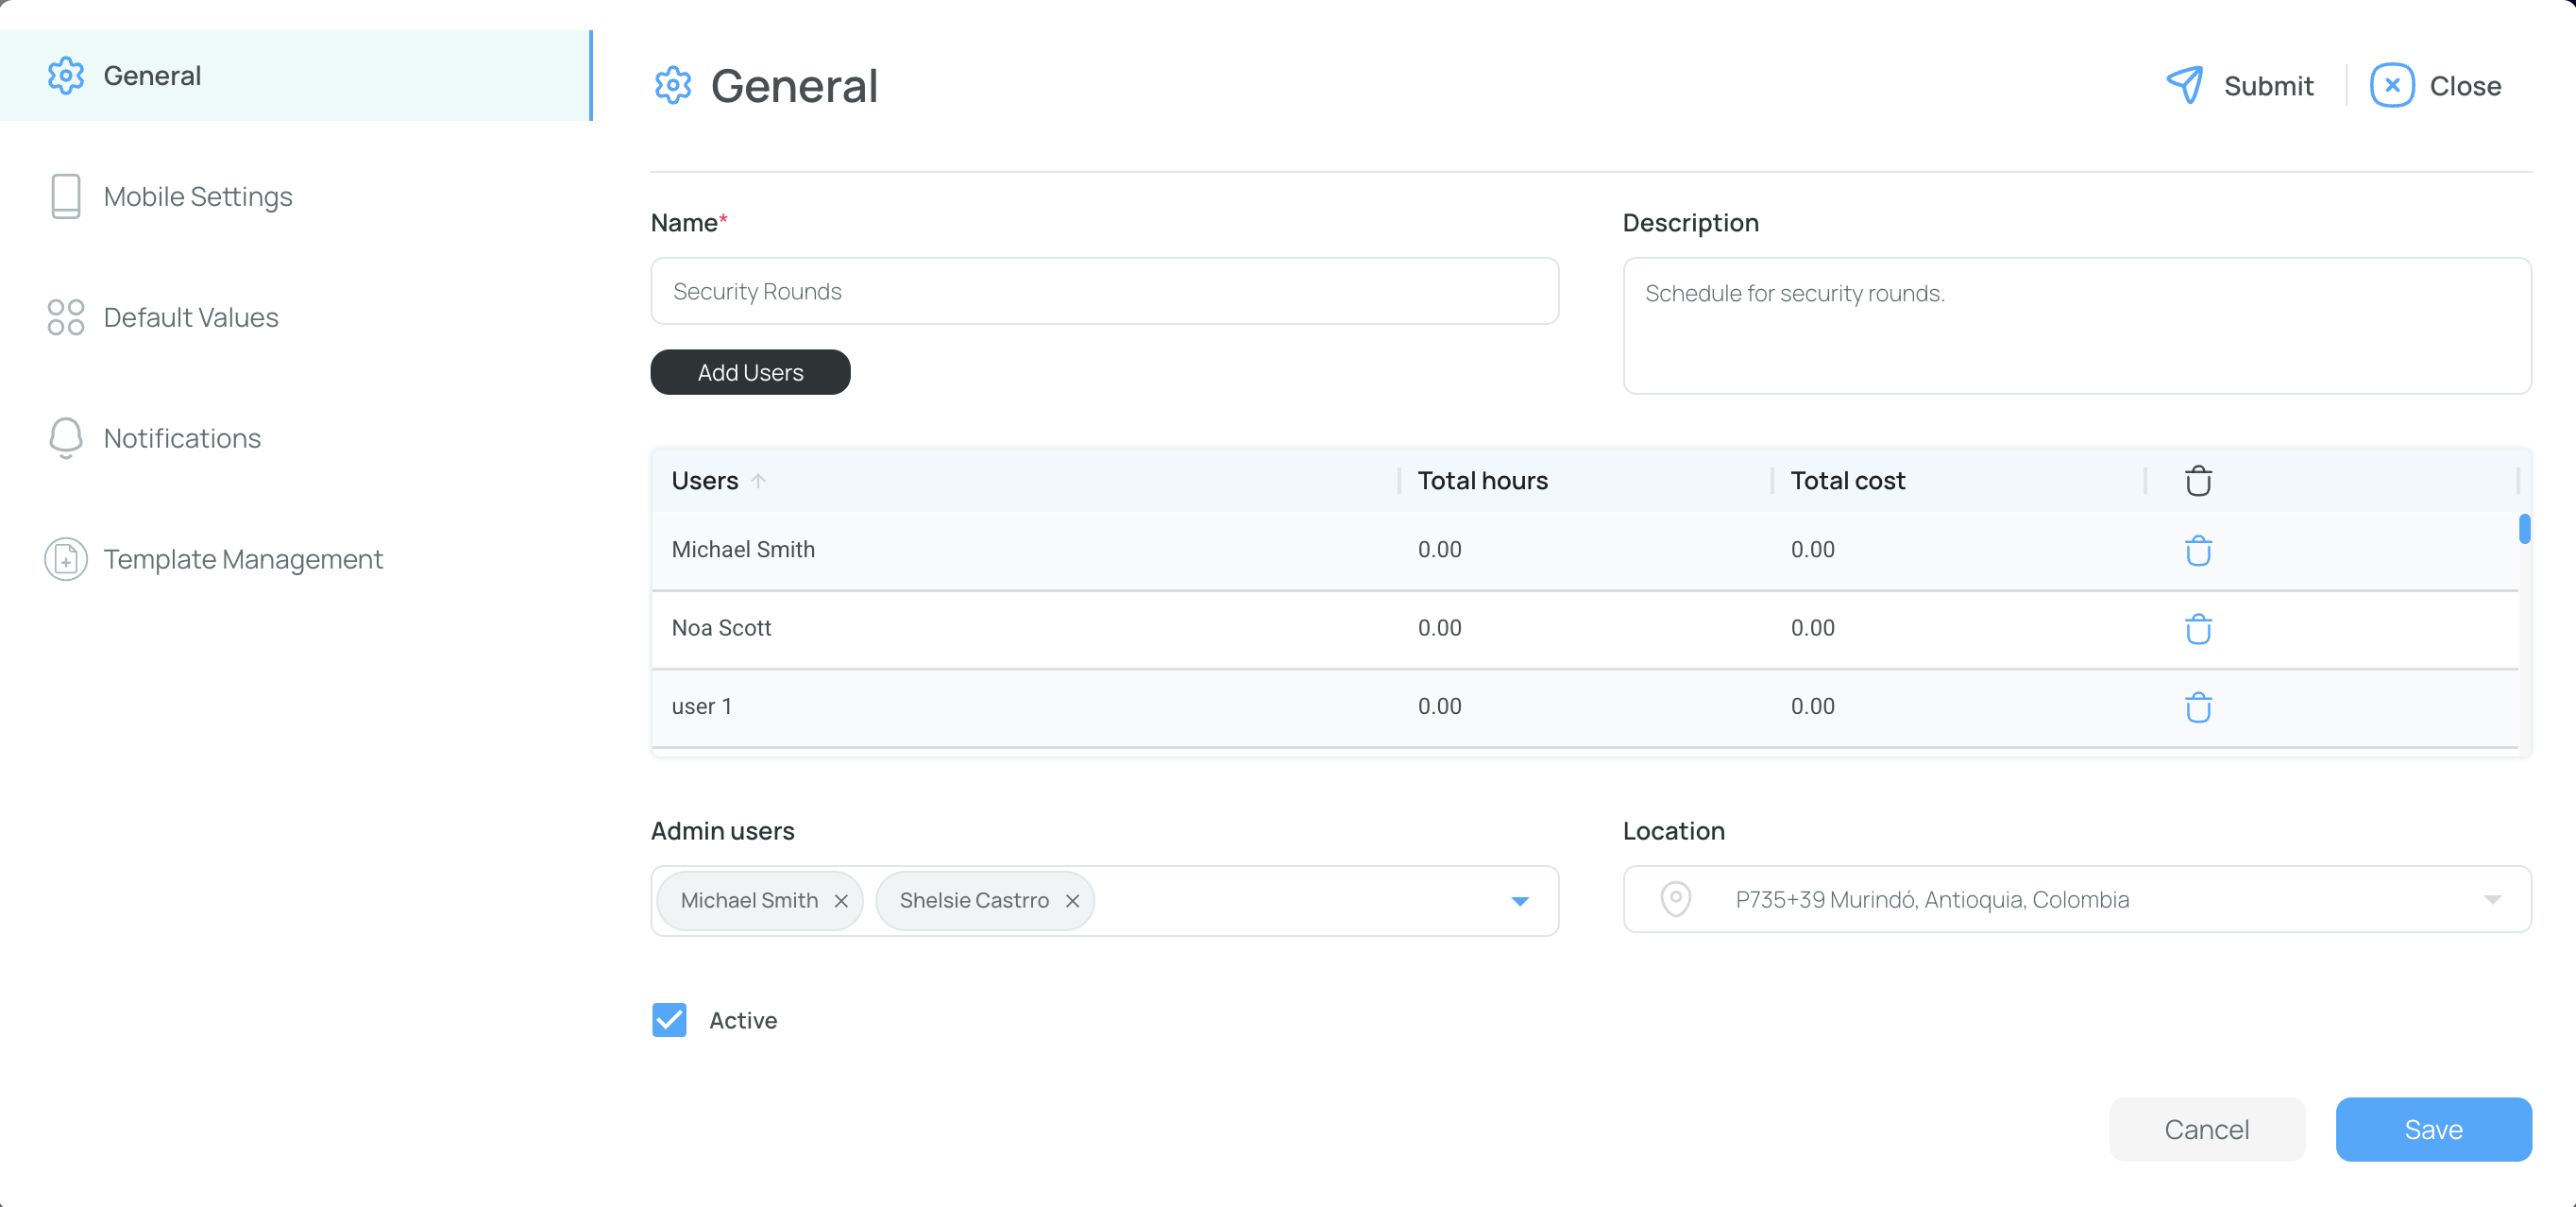
General Tab
- Name: Specify the schedule’s name.
- Description: Provide a brief overview of the schedule’s purpose.
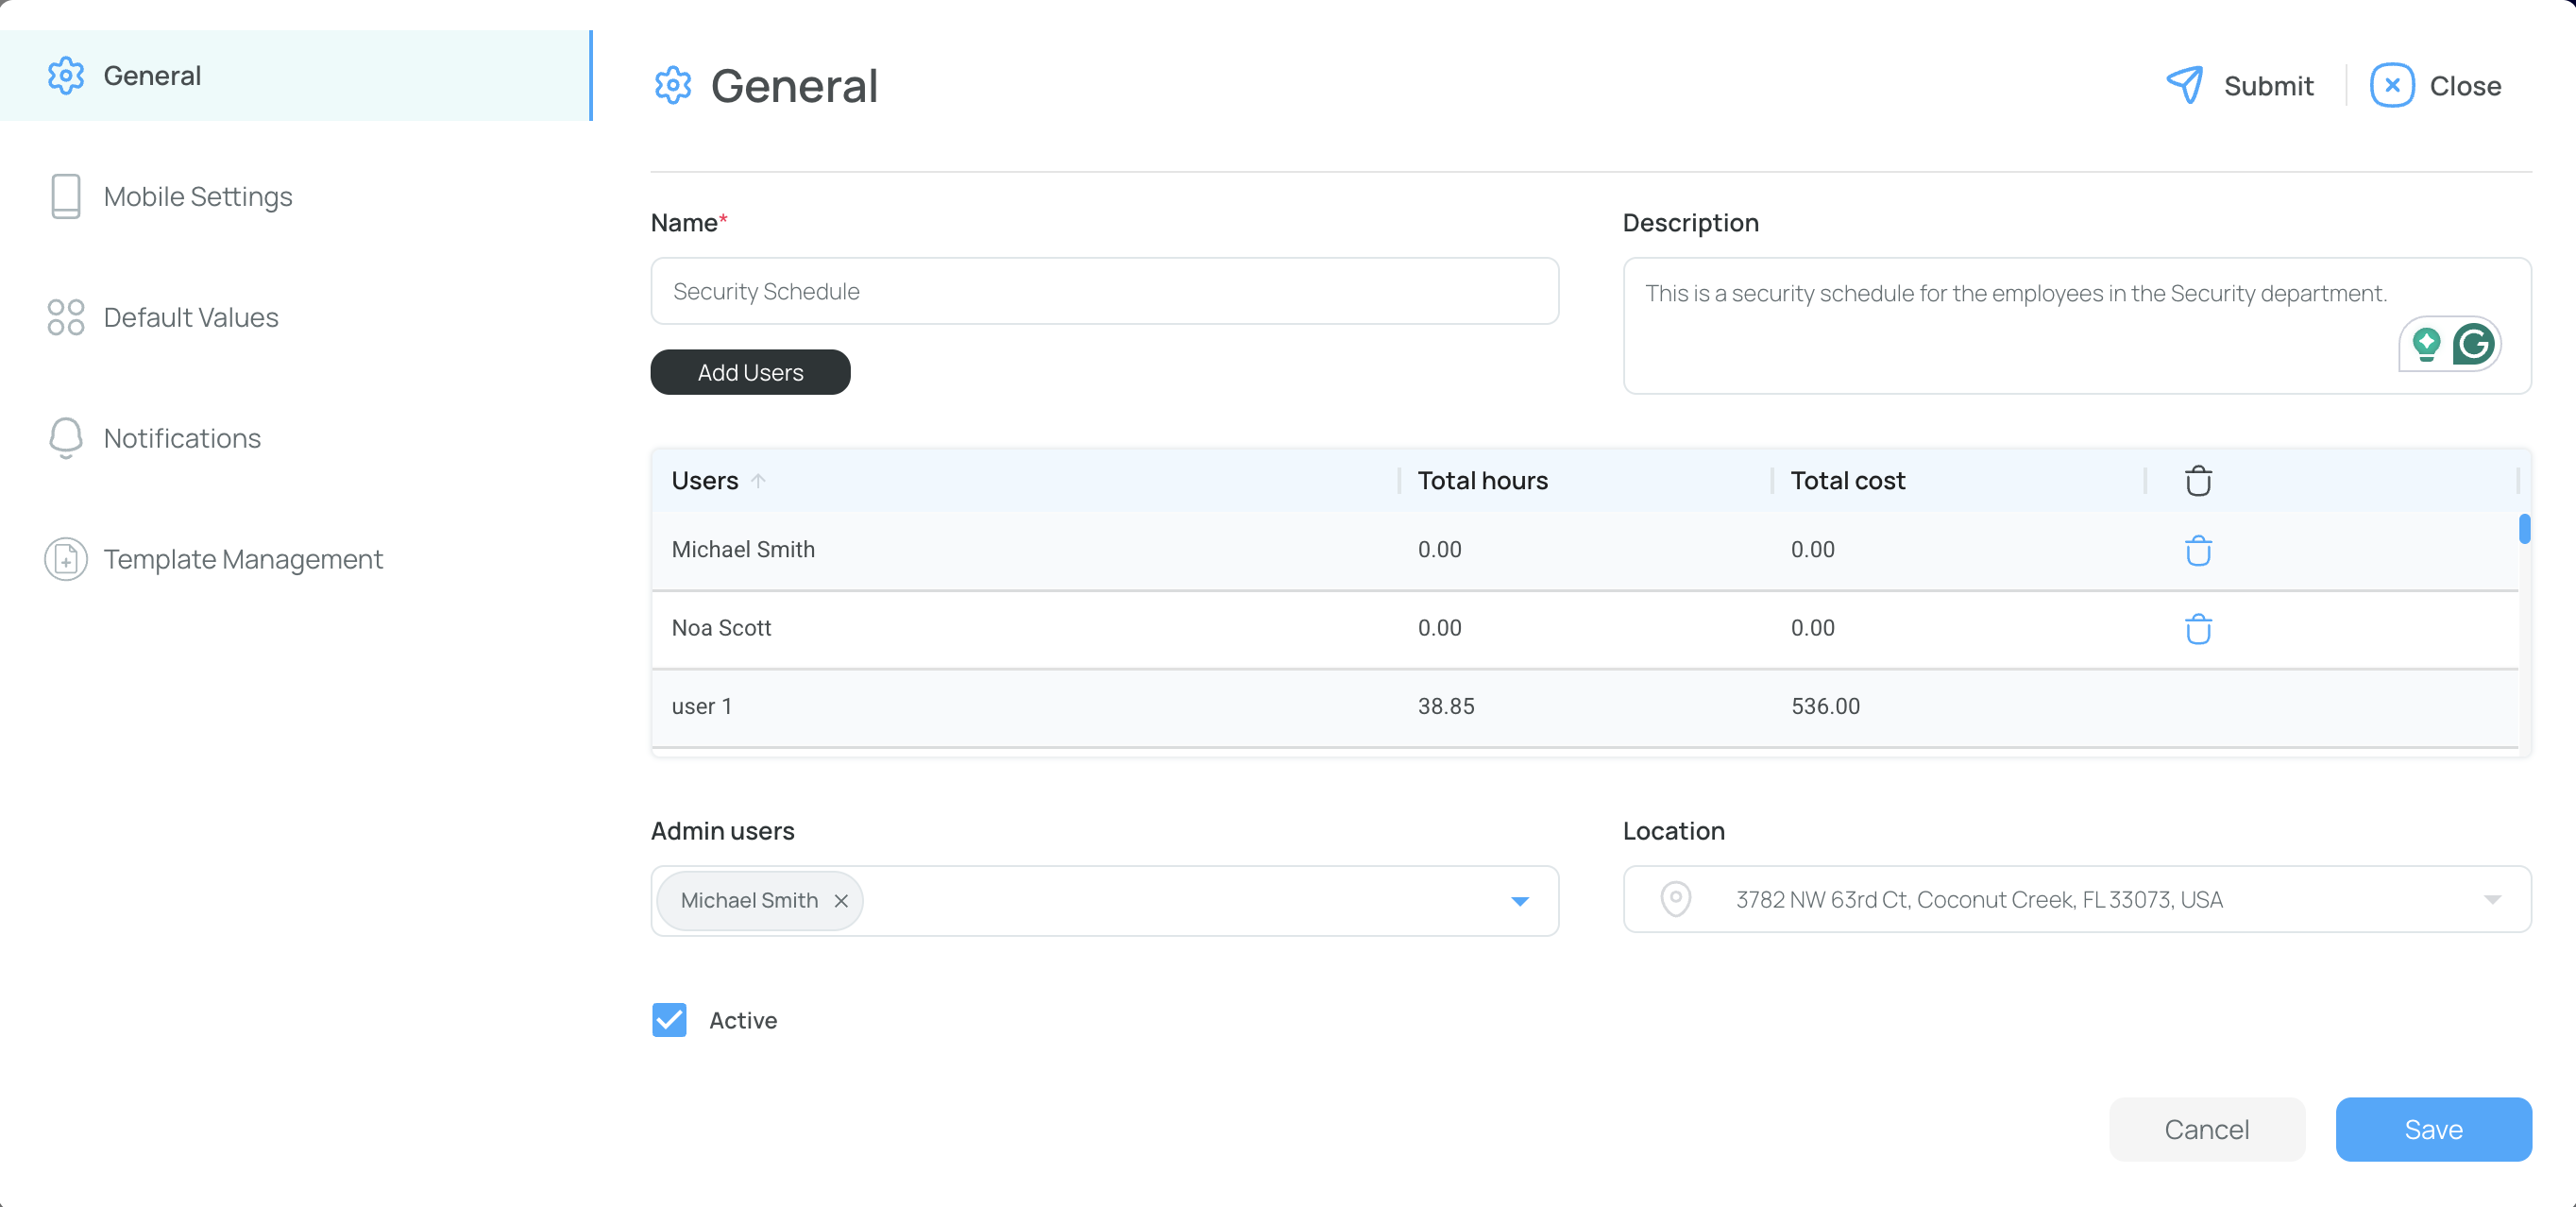
- Users: Add users by pressing the "Add Users" button, selecting users from the “Assign users” window, and clicking "Add".

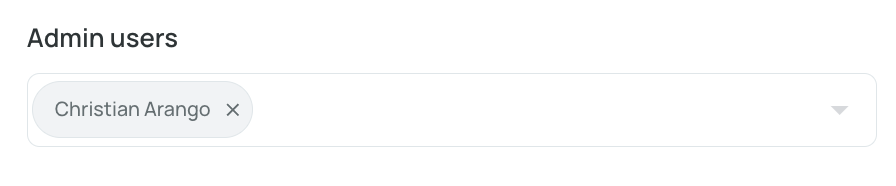
- Admin User: Designate one or more administrators for this schedule. Administrators will receive notifications and approval requests for unassigned shifts or other schedule changes.
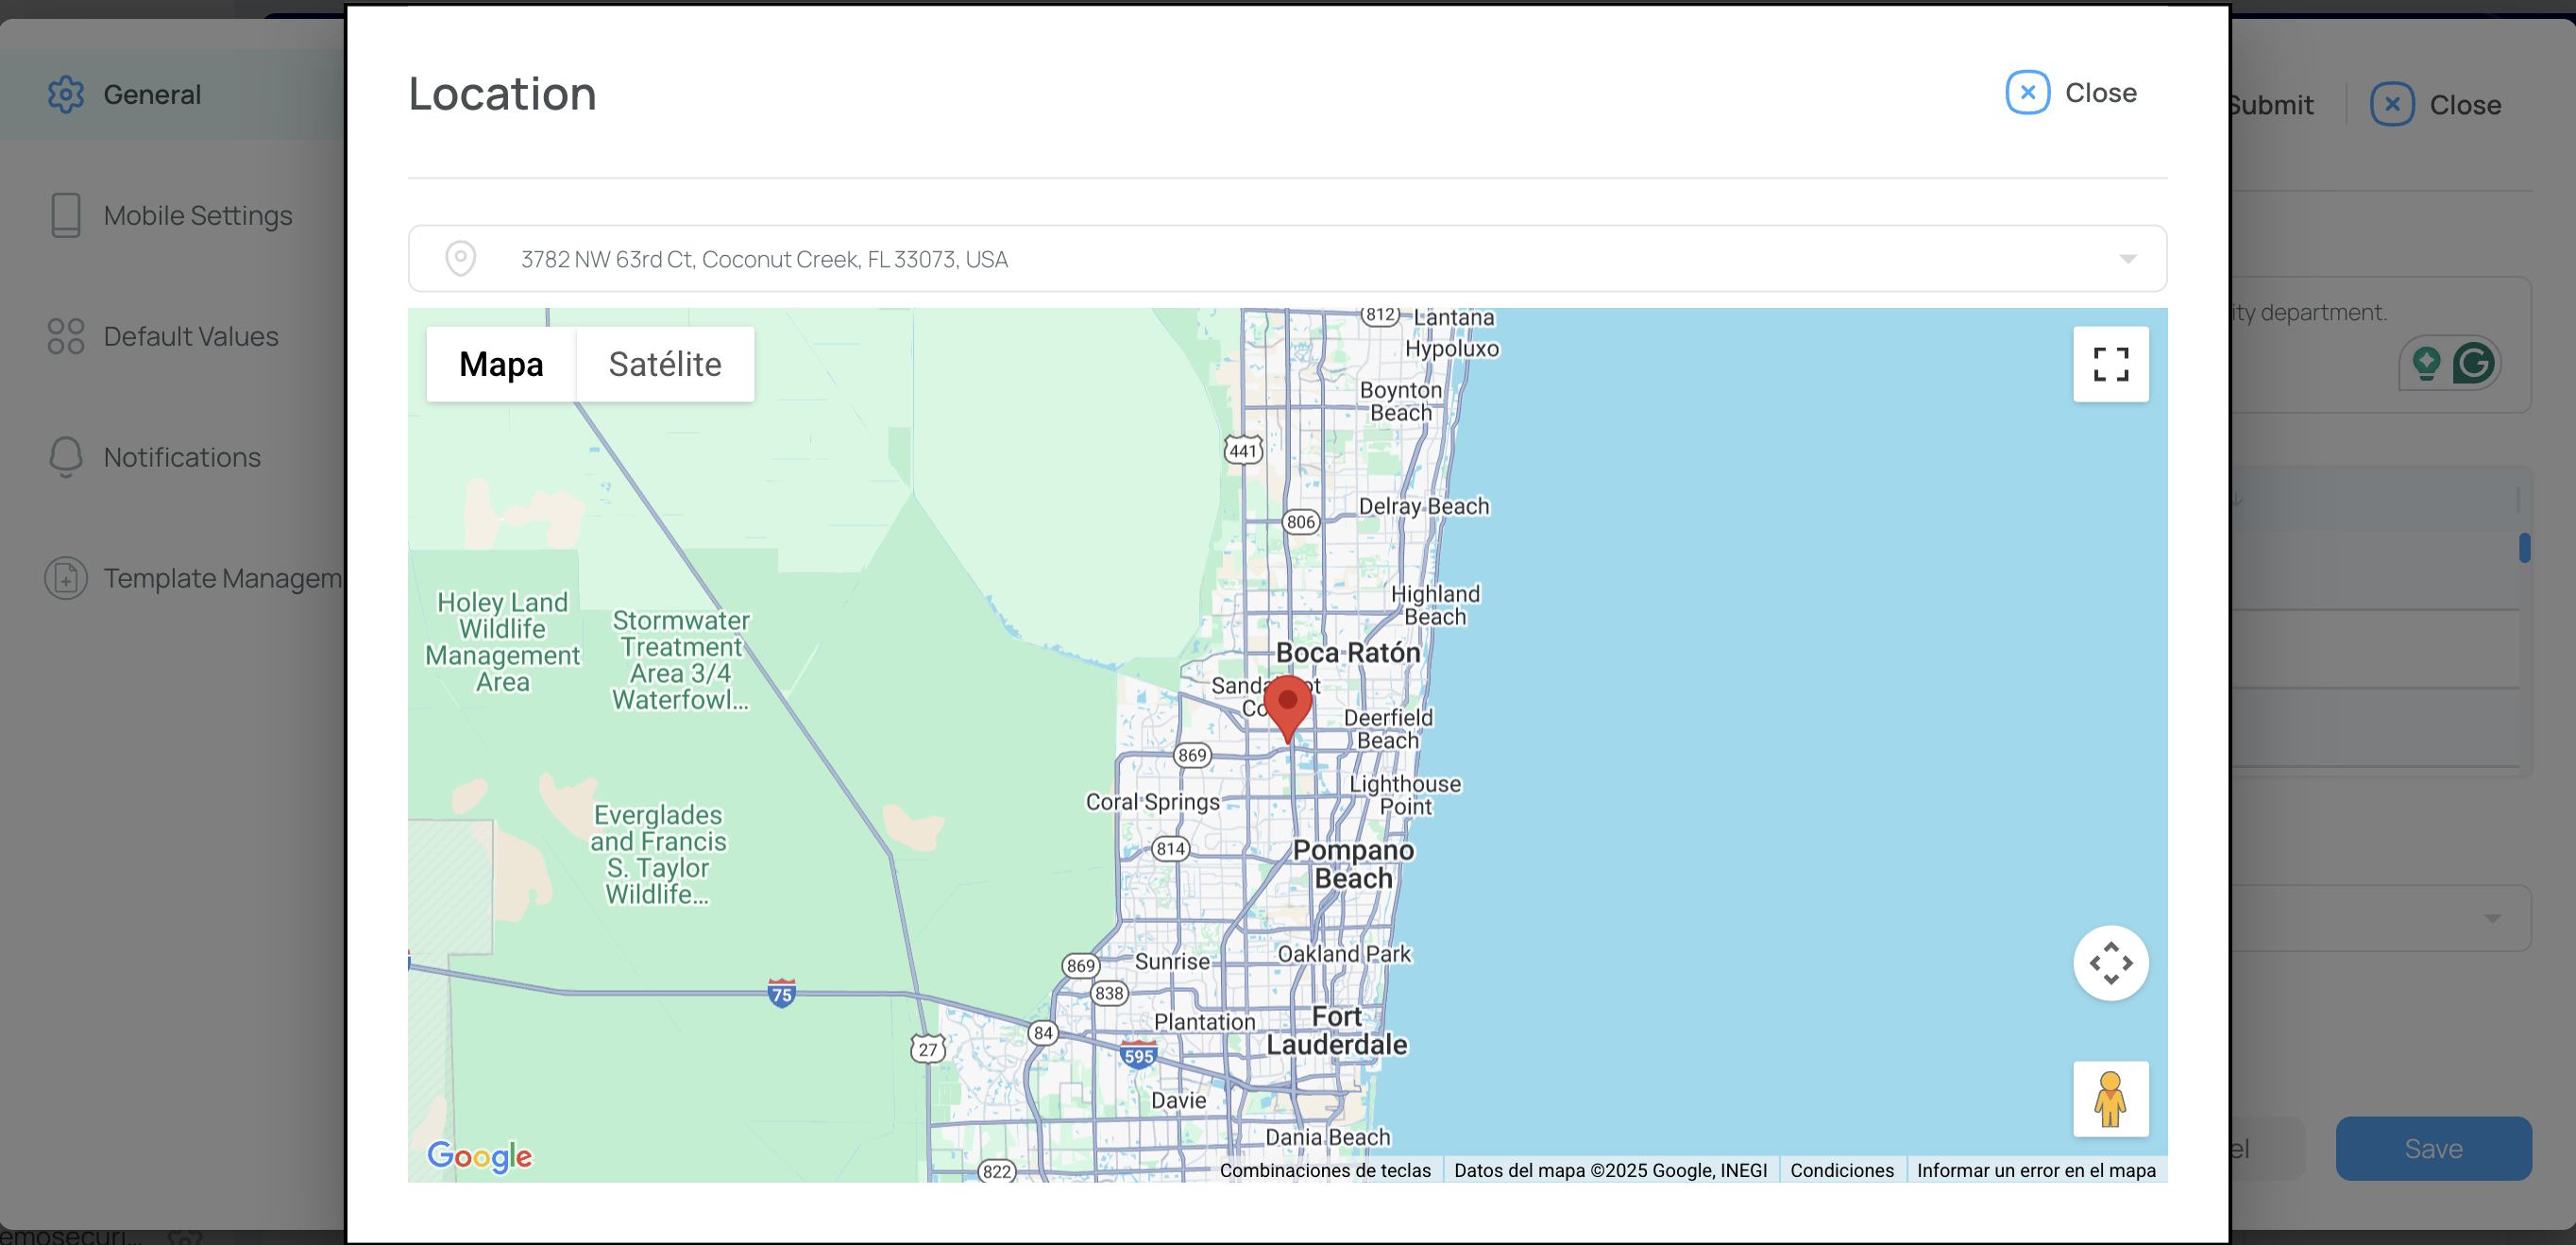
- Location: Select a location using the interactive map or by typing an address.
- Active: Check this box to mark the schedule as “active.” By default, this should be checked. If unchecked, the schedule will be hidden from the list of active schedules.
Click "Save" to continue to the next tab.
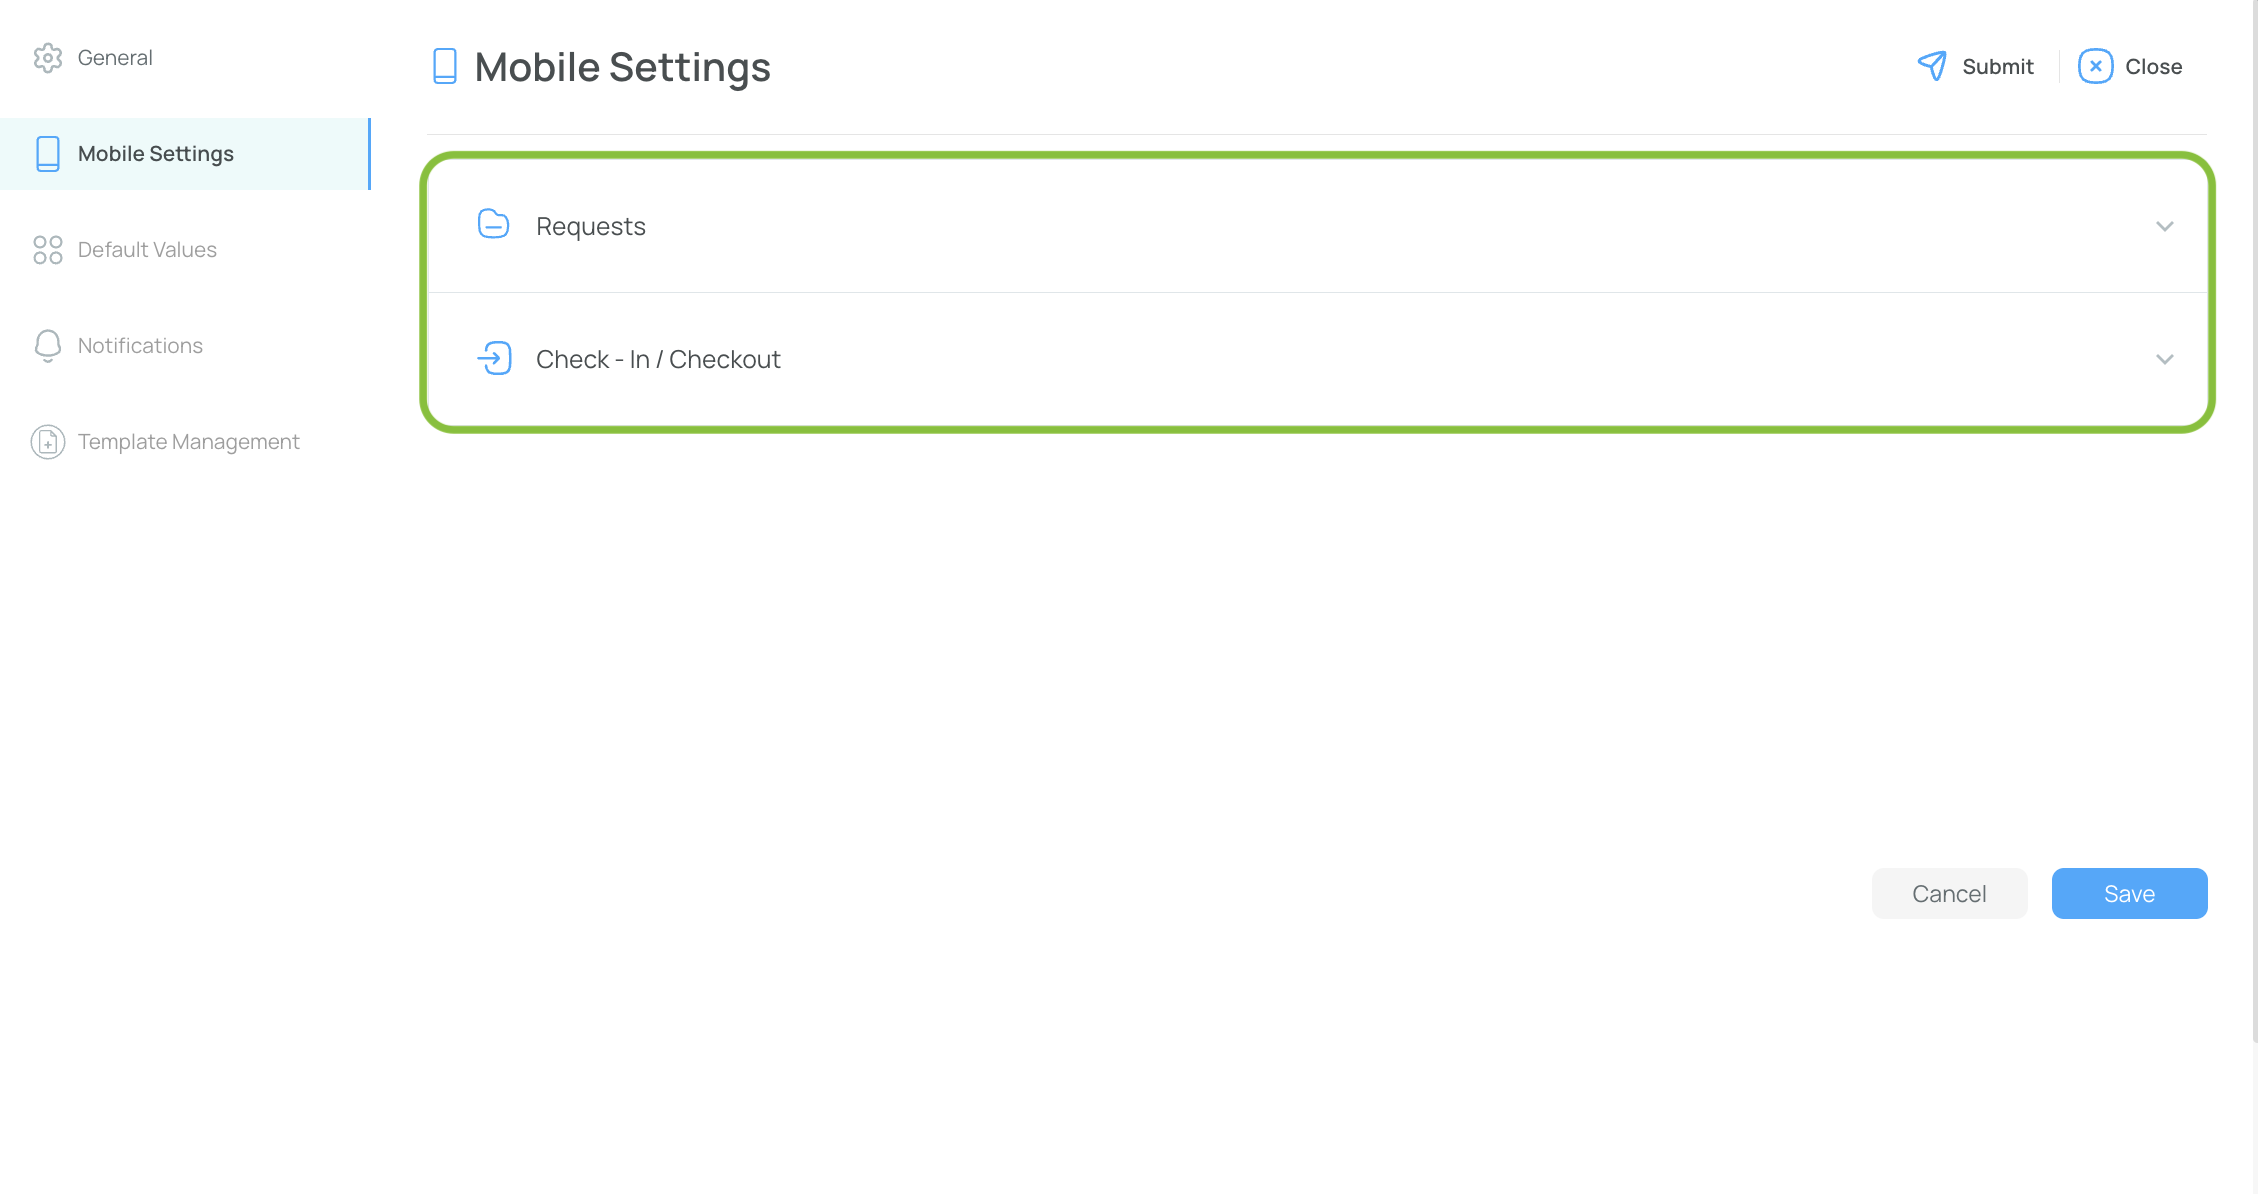
Mobile Settings Tab
This section includes two tabs: Requests and Check-in/Checkout. Be sure to configure both.
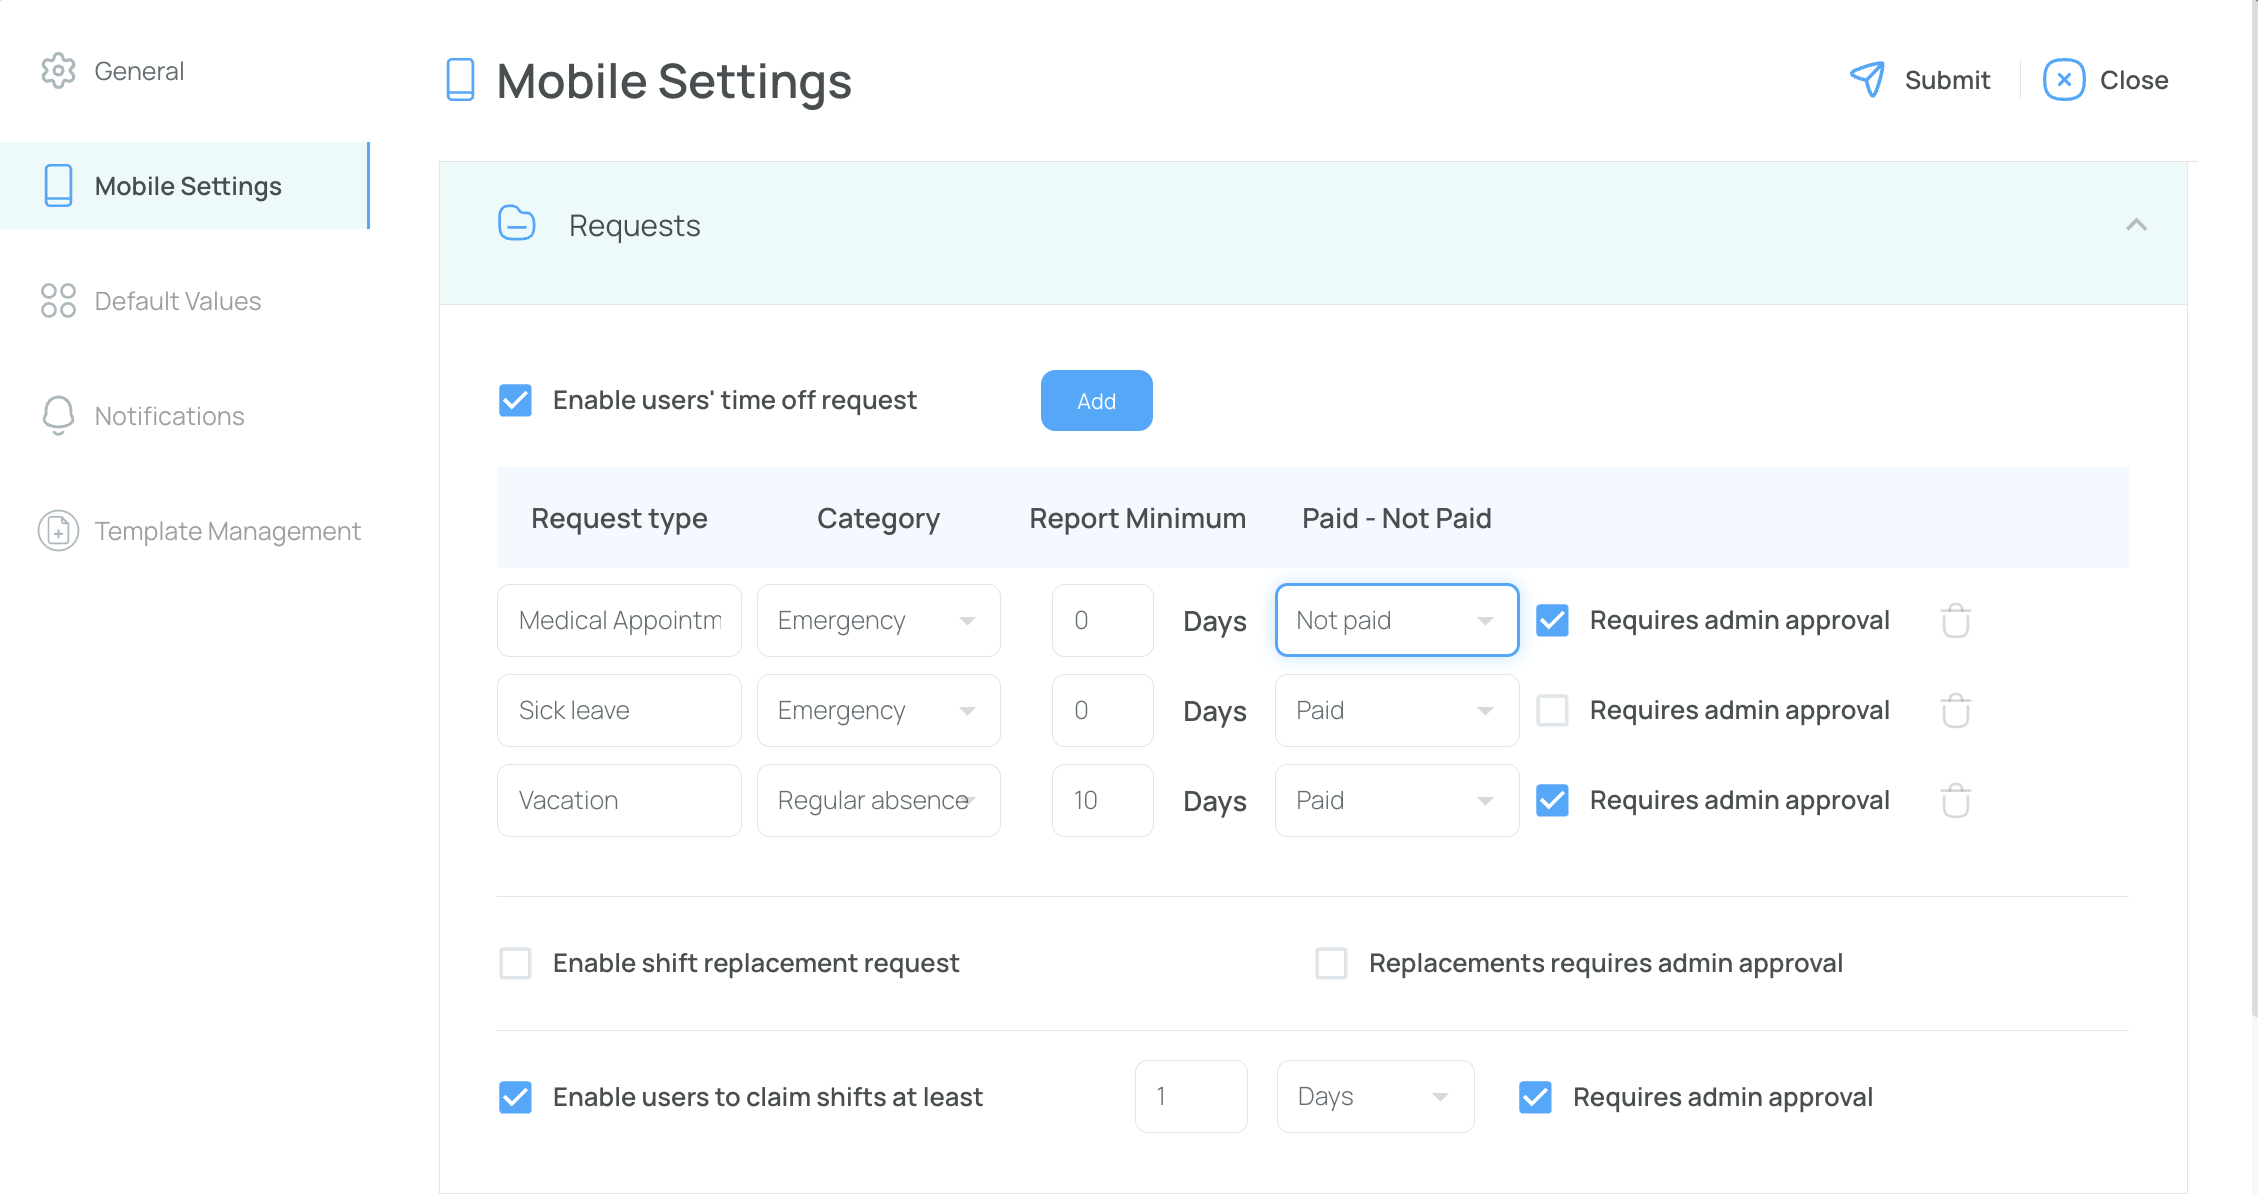
Requests (Time off, Claim shift, Replacement)
-
Time off requests:
- Enable or disable users' ability to submit time-off requests.
- Request type: Label the request type (e.g., “Vacation”).
- Category: For example, “Emergency” or “Regular Absence.”
- Report minimum: Set a minimum notice period before a request can be submitted.
- Paid or Unpaid: Define whether the time off is paid or unpaid.
- Requires admin approval: If checked, an admin must approve the request before it’s processed.
-
Shift Replacement:
- Enable the ability for users to request shift replacements.
- Replacement requires admin approval: If checked, admins must approve the replacement request.
-
Claim Shifts:
- Enable the option for users to claim shifts.
- Time window: Set a cutoff time (in days/hours/minutes) before which claims can no longer be made.
- Claim requires admin approval: If checked, admins must approve any claimed shifts.
Check-in/Checkout
By default, this is integrated with the clock.
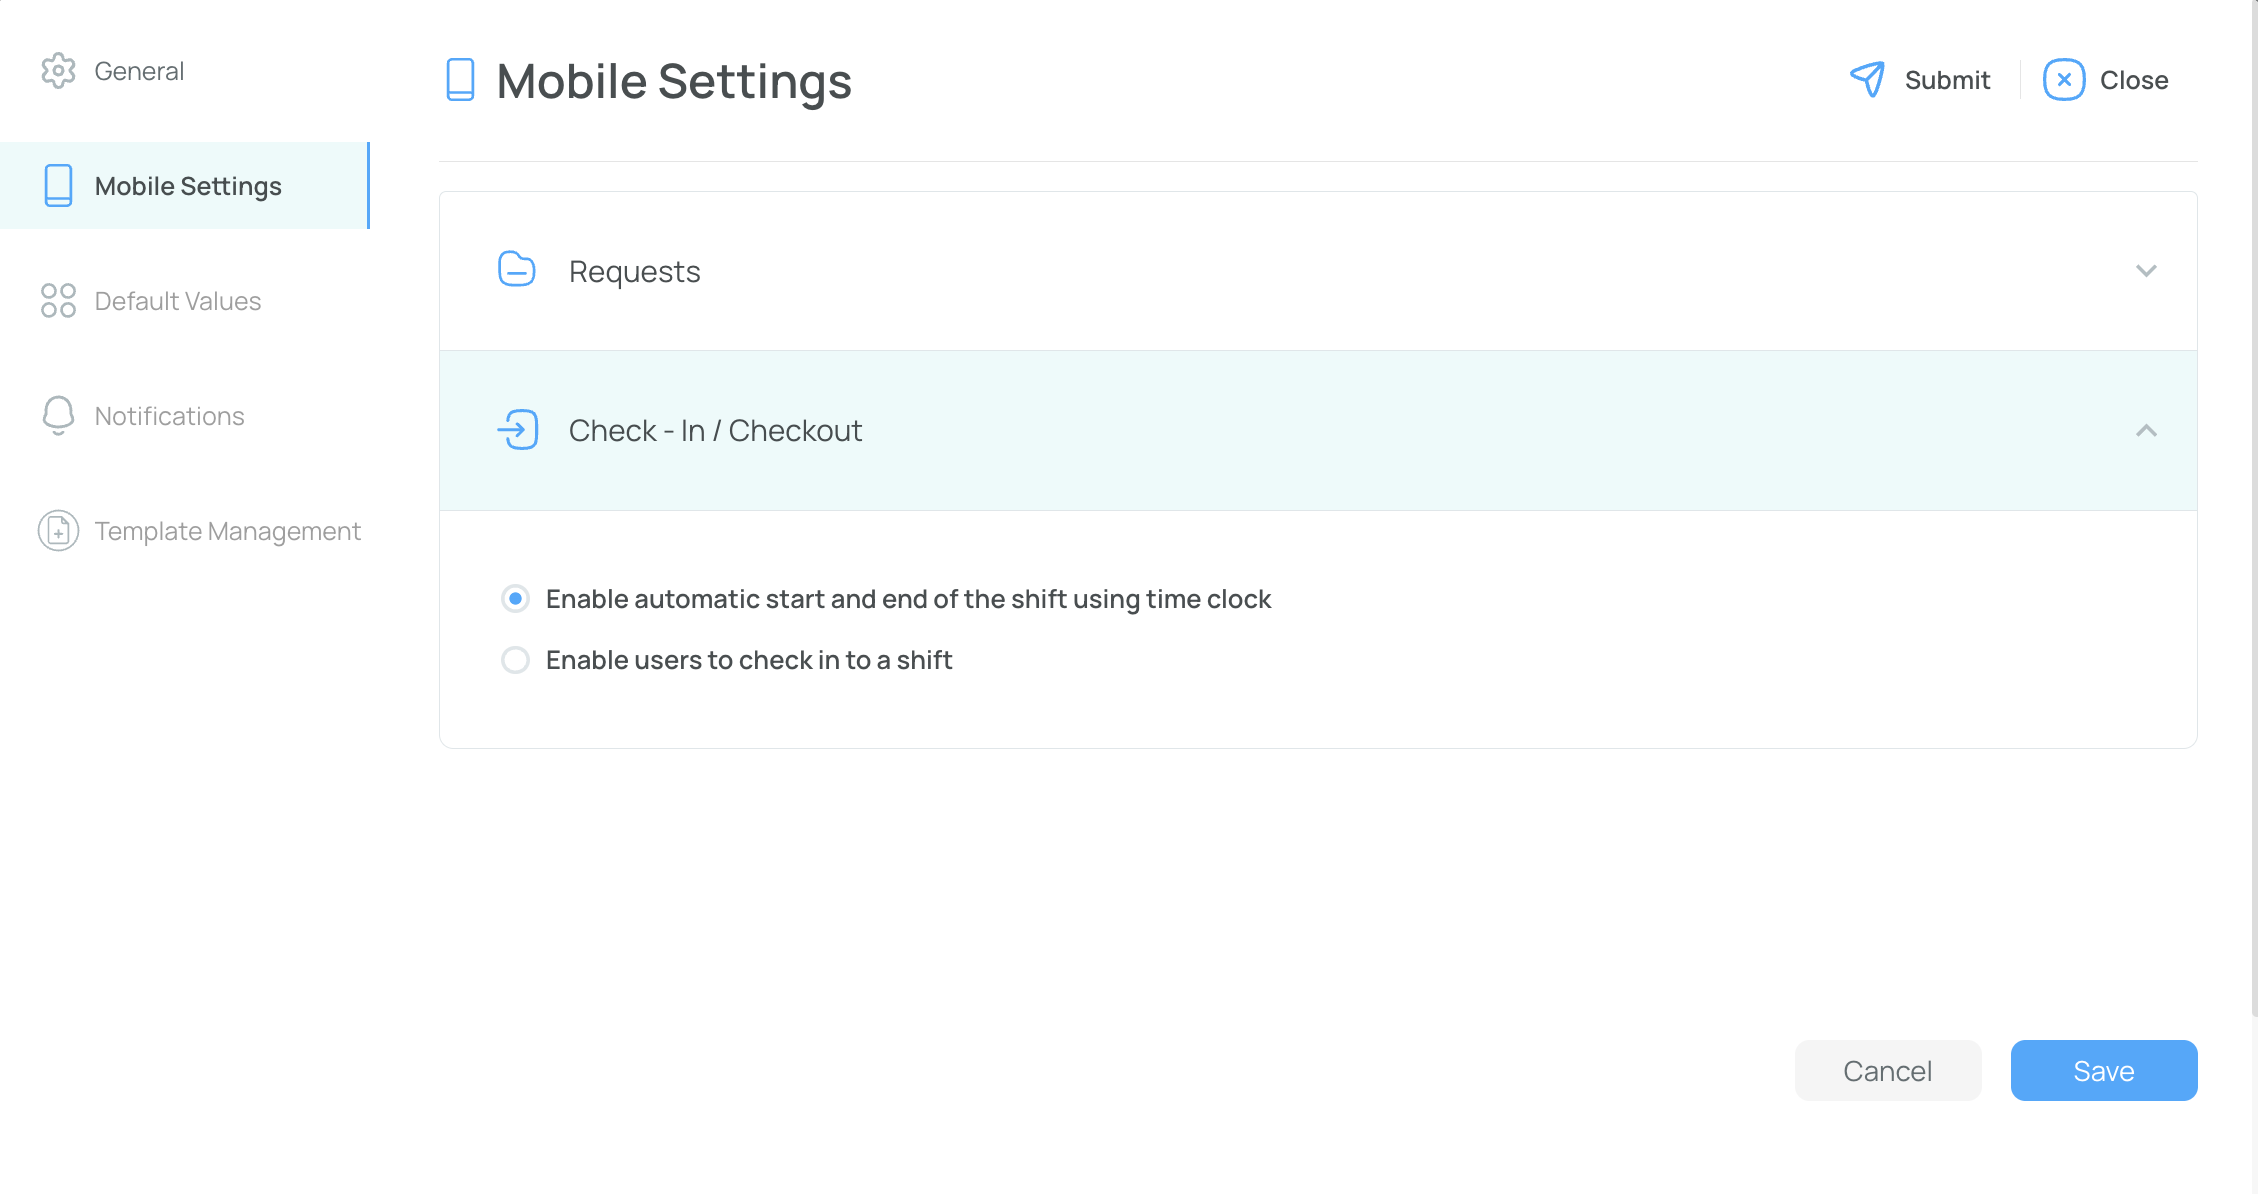
- Allow users to check in and out via the mobile app's clock functionality.
- Alternatively, automatically start/end the shift when the scheduled time arrives.
Click "Save" to confirm your changes.
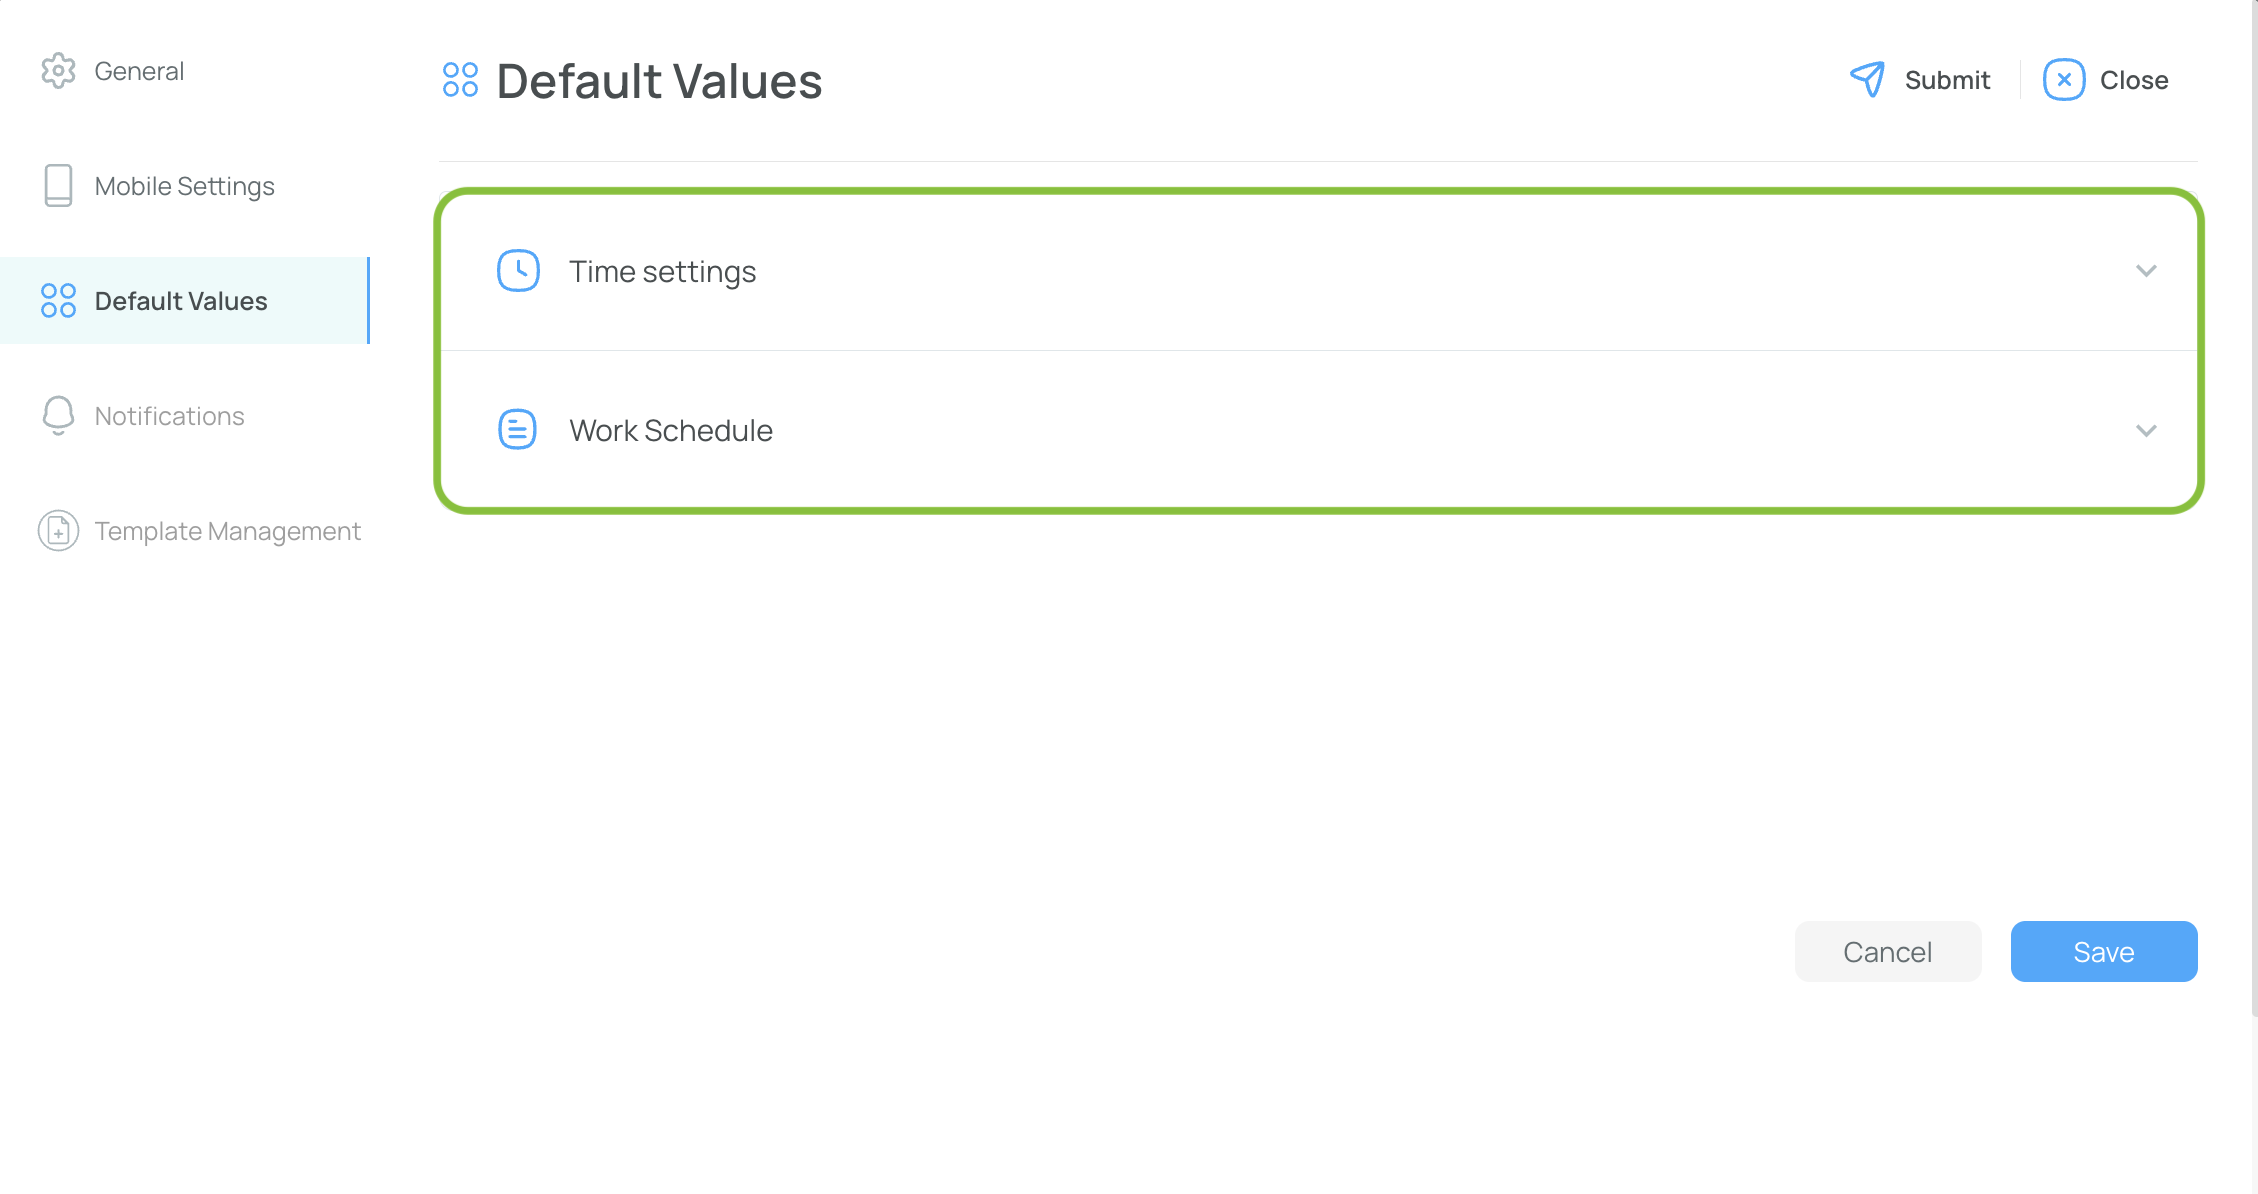
Default Values Tab
This section includes two tabs: Time Settings and Work Schedule. Make sure to configure both.
Time Settings
In this tab, you can configure settings for the work week and working hours.
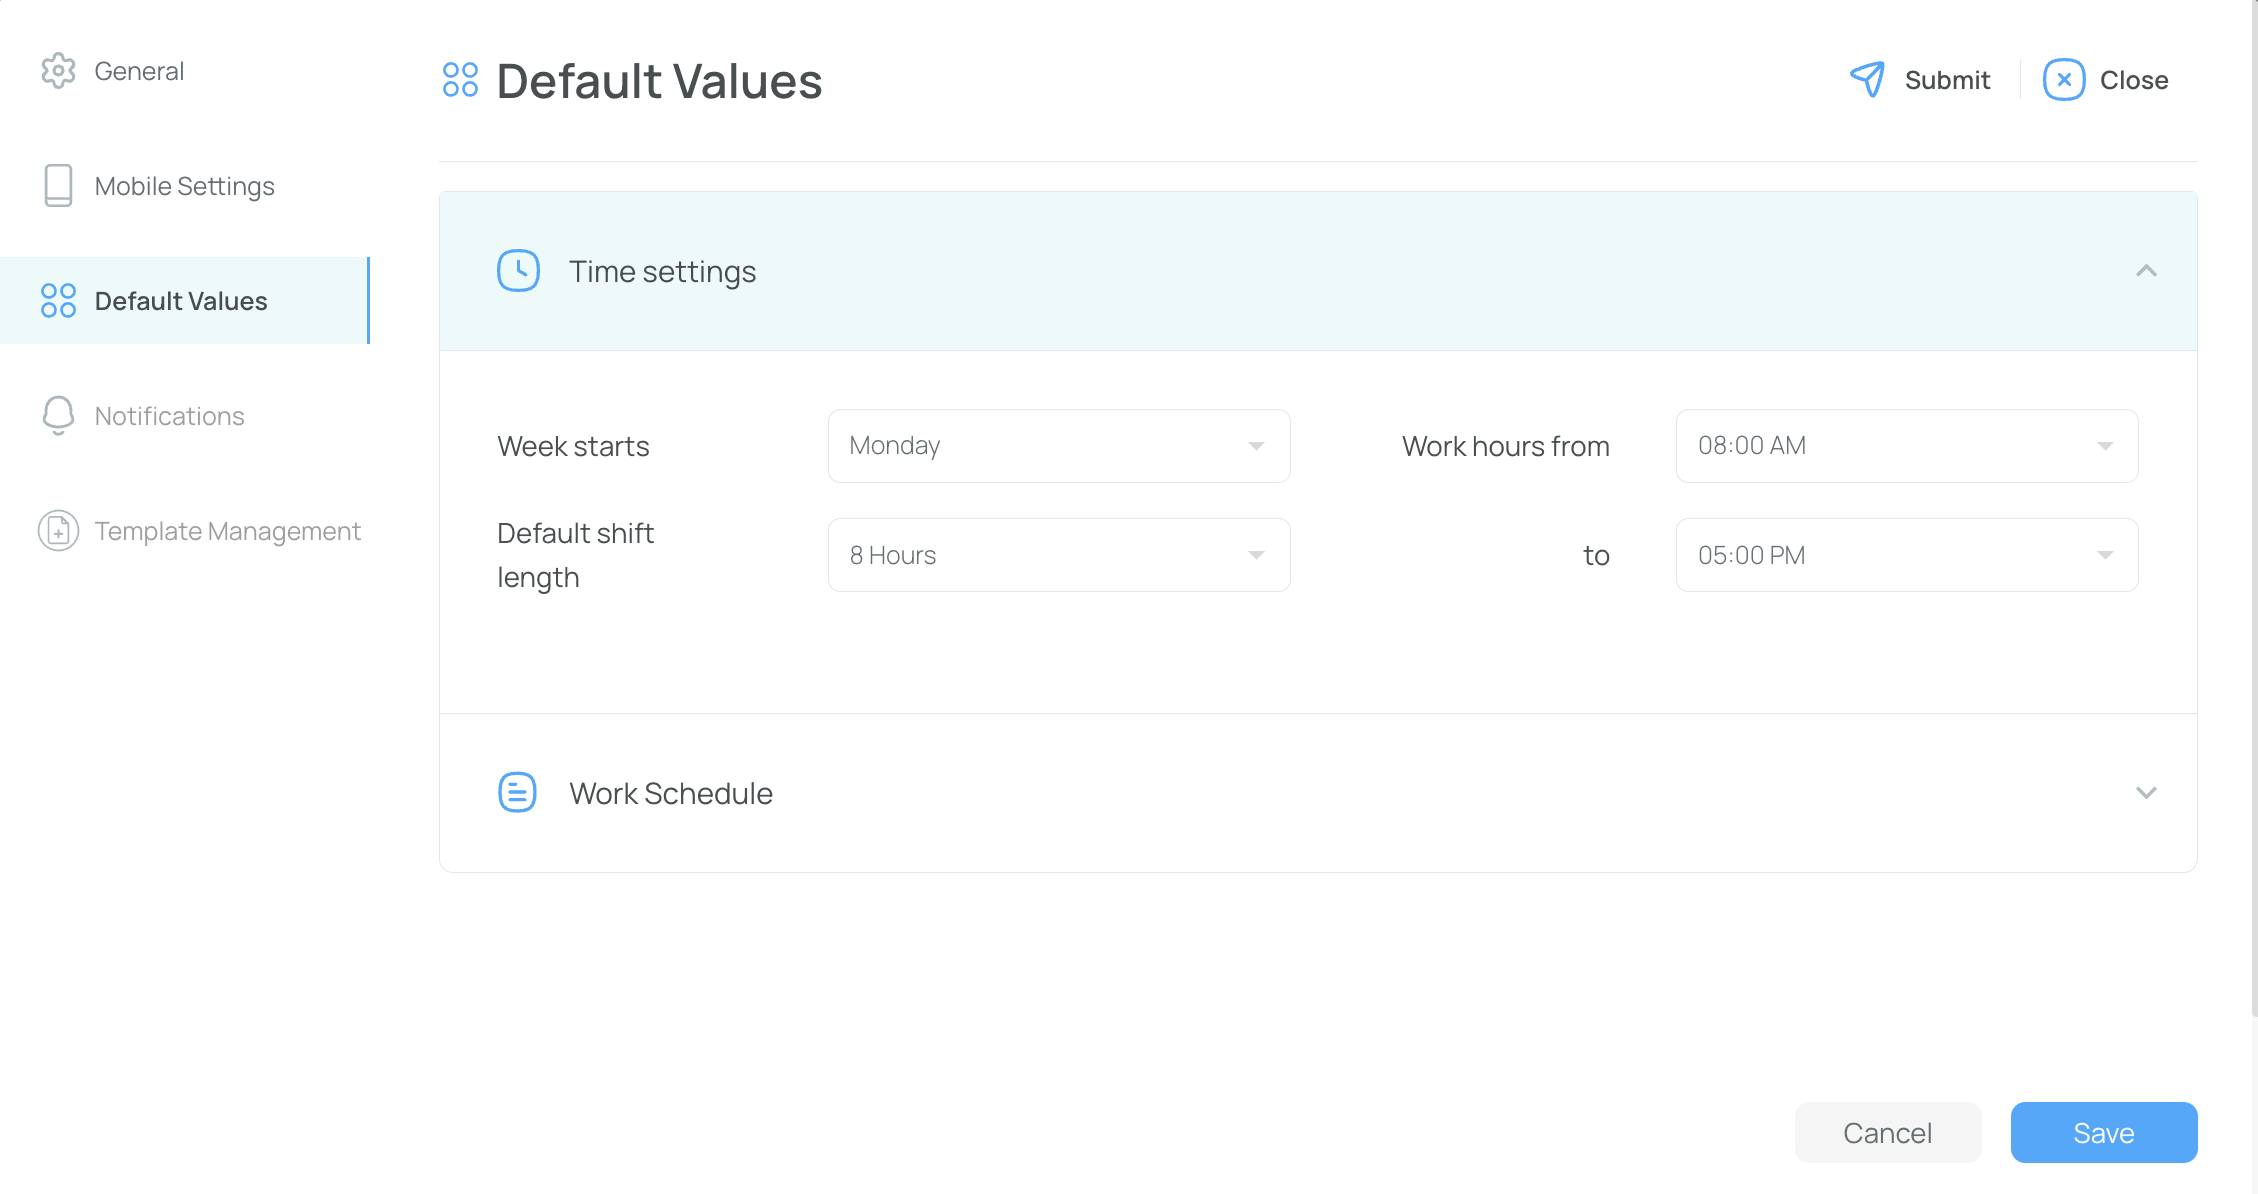
- Week starts: Select the day when the week starts.
- Default shift length: Set the default number of hours for shifts.
- Work hours from/to: Set the working hours, for example, from 8 AM to 5 PM.
Work Schedule
This section allows you to configure limits on hours worked per week and per day.
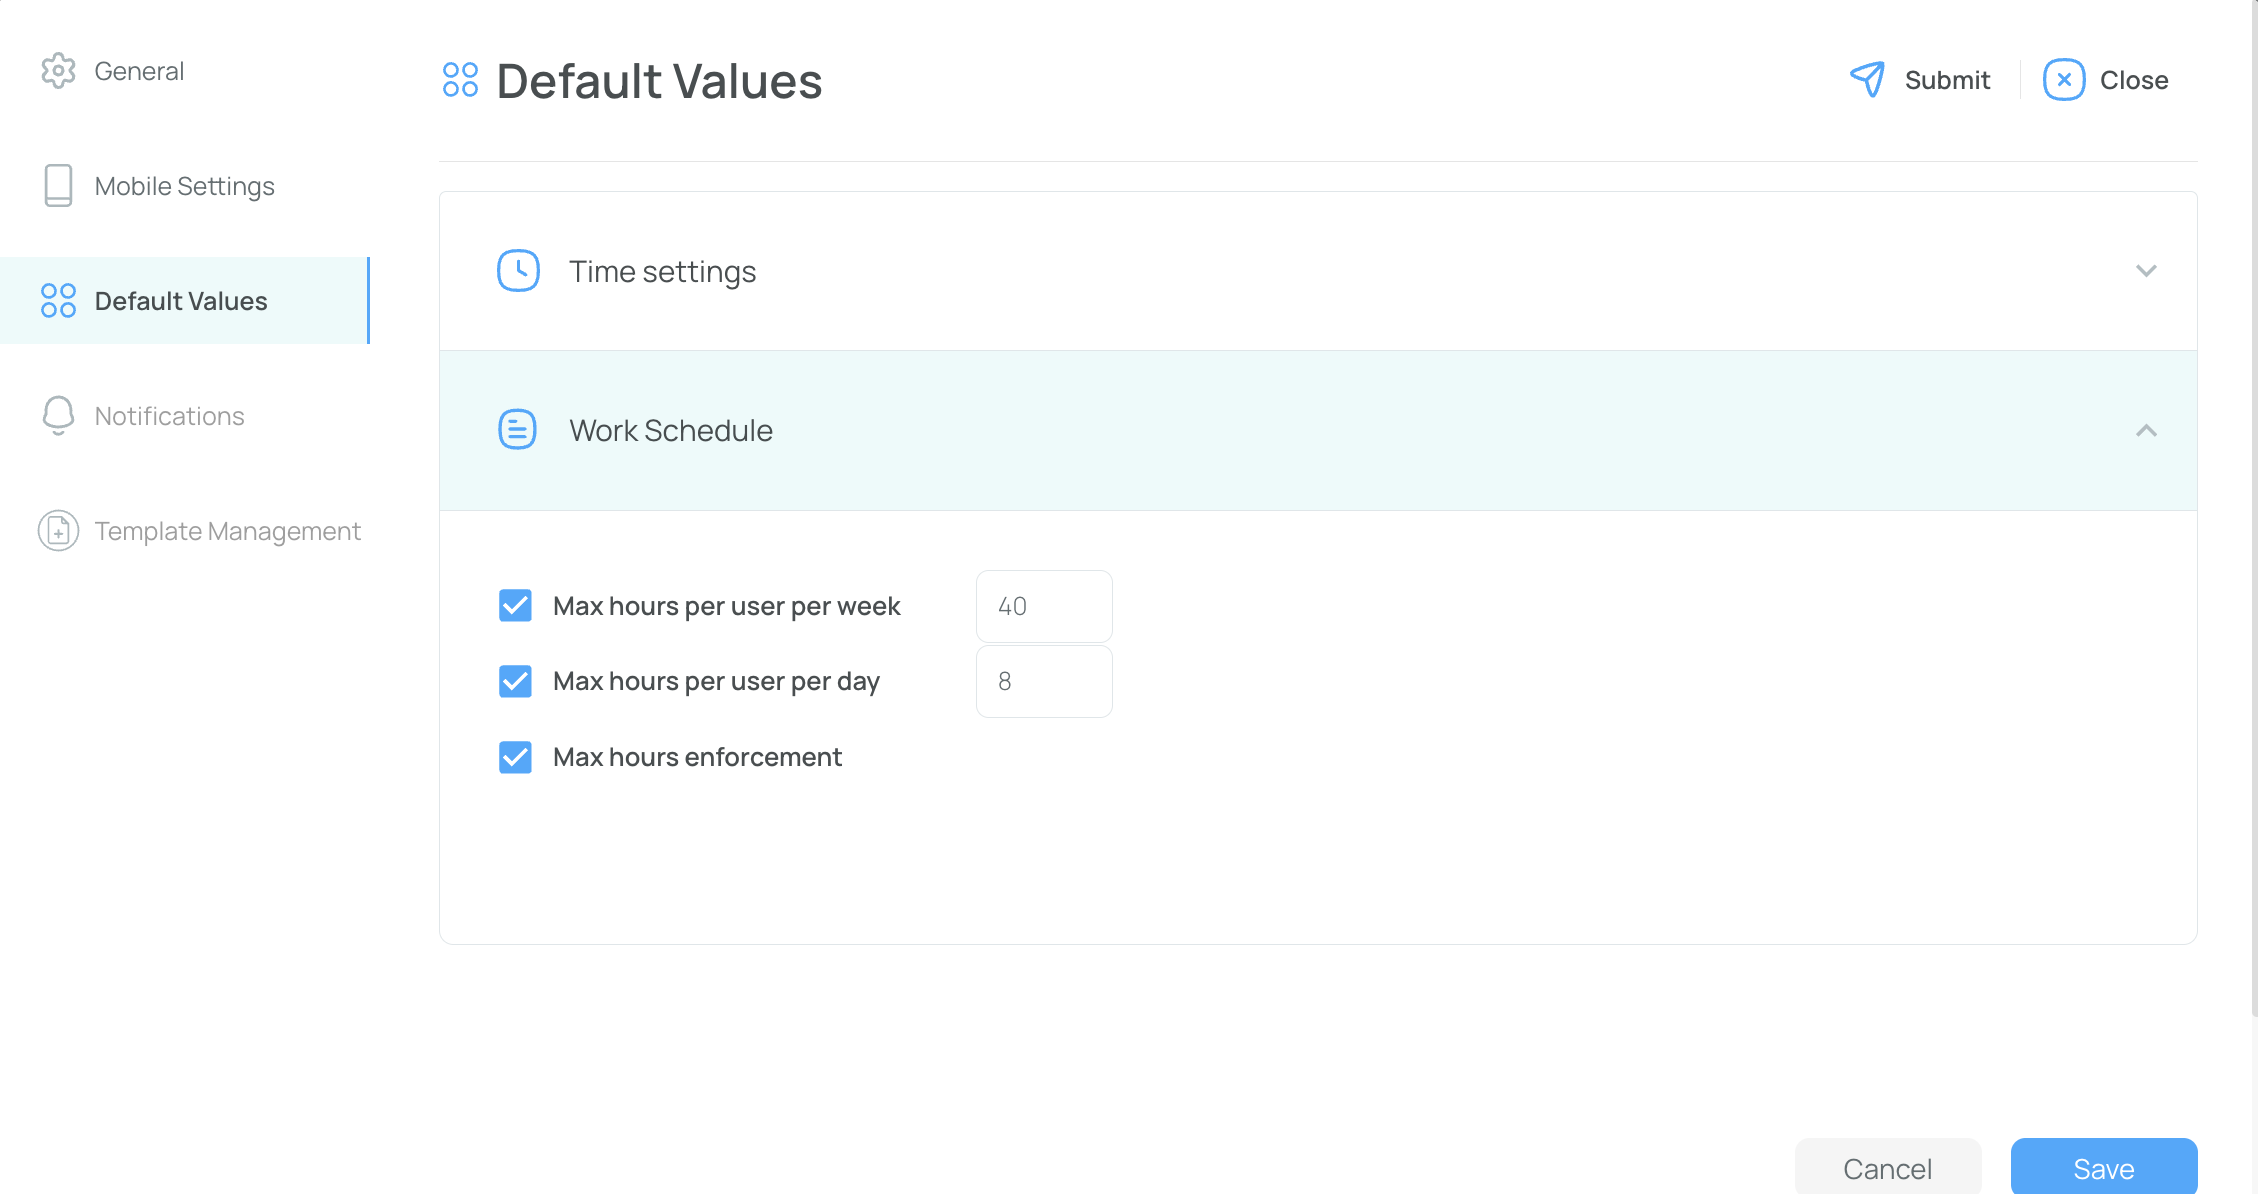
- Max hours per user per week: Set a maximum number of hours a user can work per week.
- Max hours per user per day: Set a maximum number of hours a user can work per day.
- Max hour enforcement: Prevent users from being assigned shifts that exceed the maximum limits.
Click Save to confirm.
Notification Tab
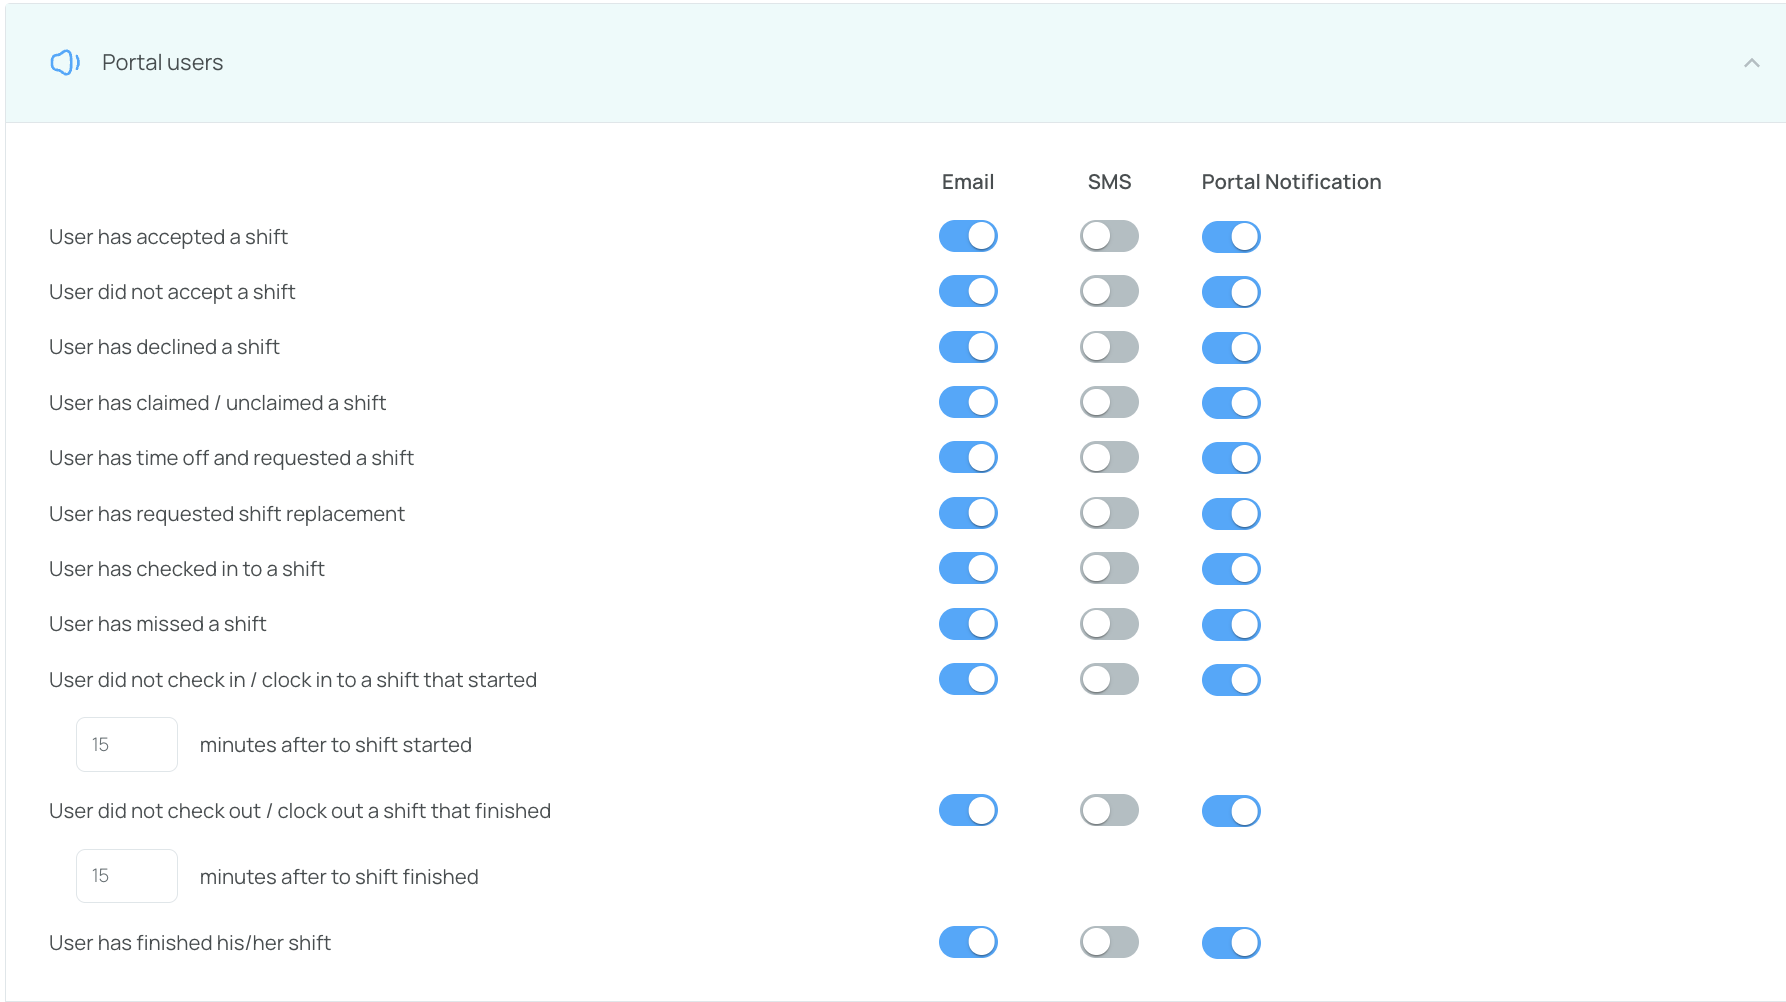
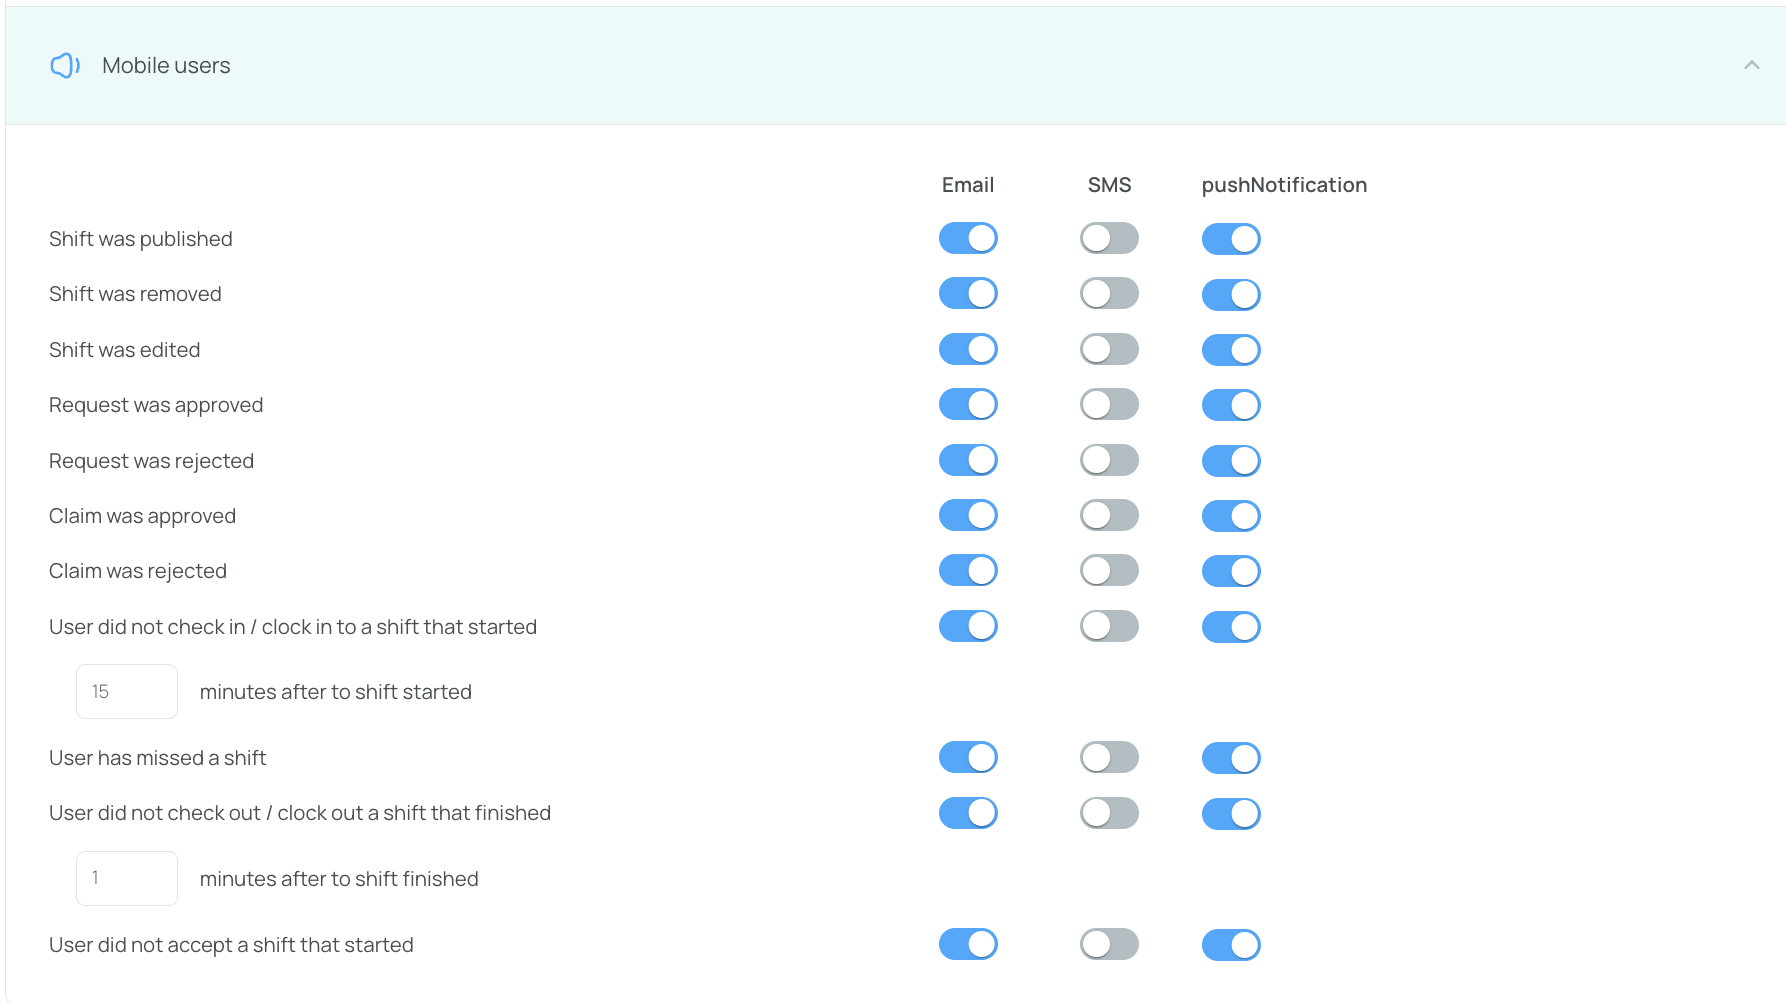
Configure how portal users (administrators) and mobile users (employees) receive notifications about schedule events. For each event, you can check or uncheck to send notifications via Email, SMS, or push notifications. By default, SMS notifications are turned off. Be sure to configure both options.
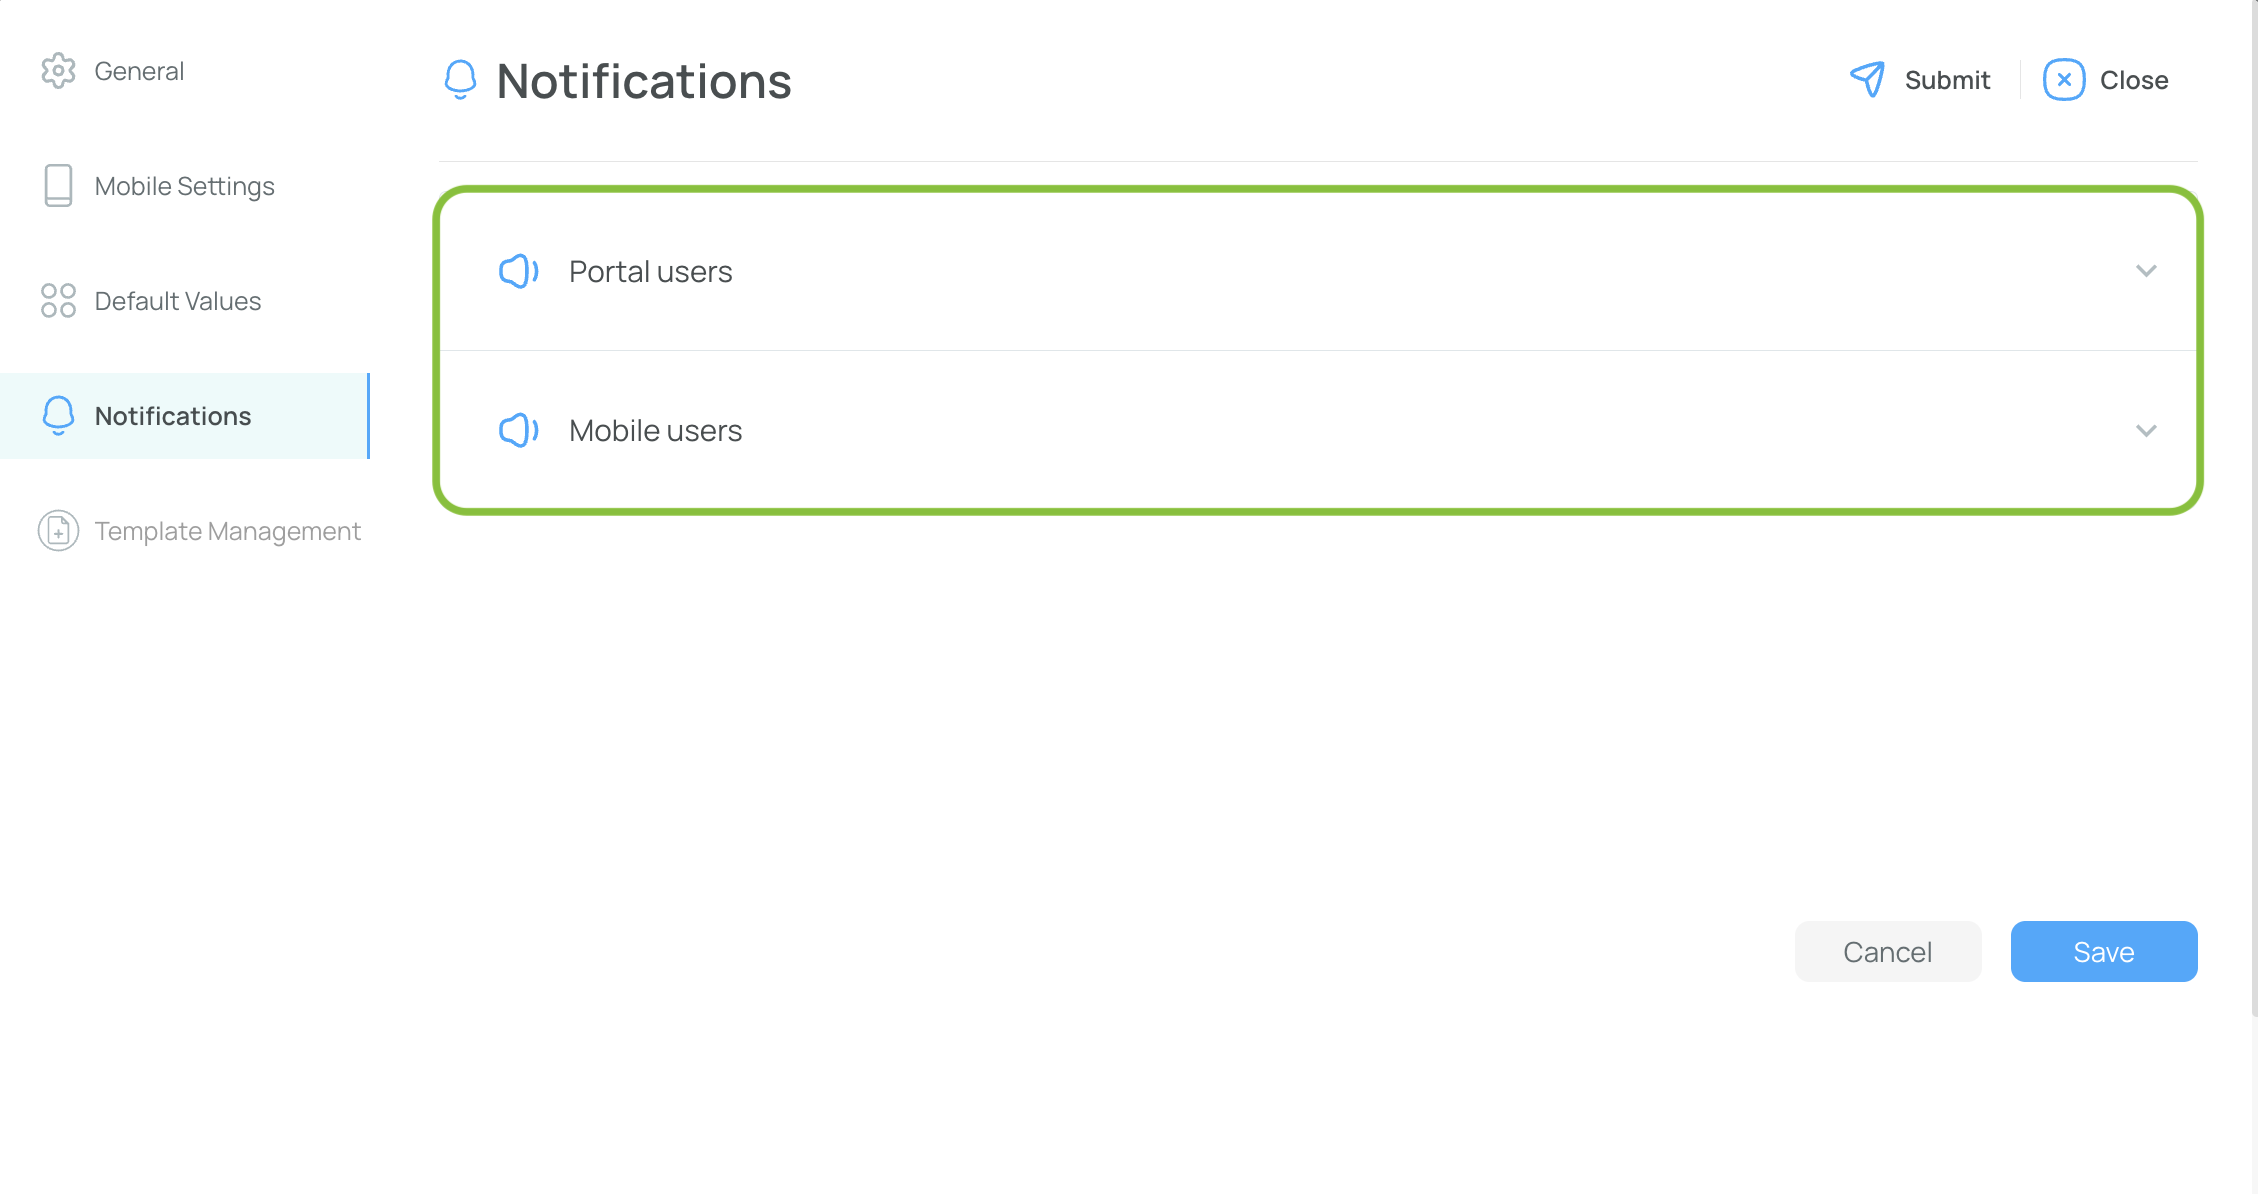
Portal Users (Admins)
Mobile Users
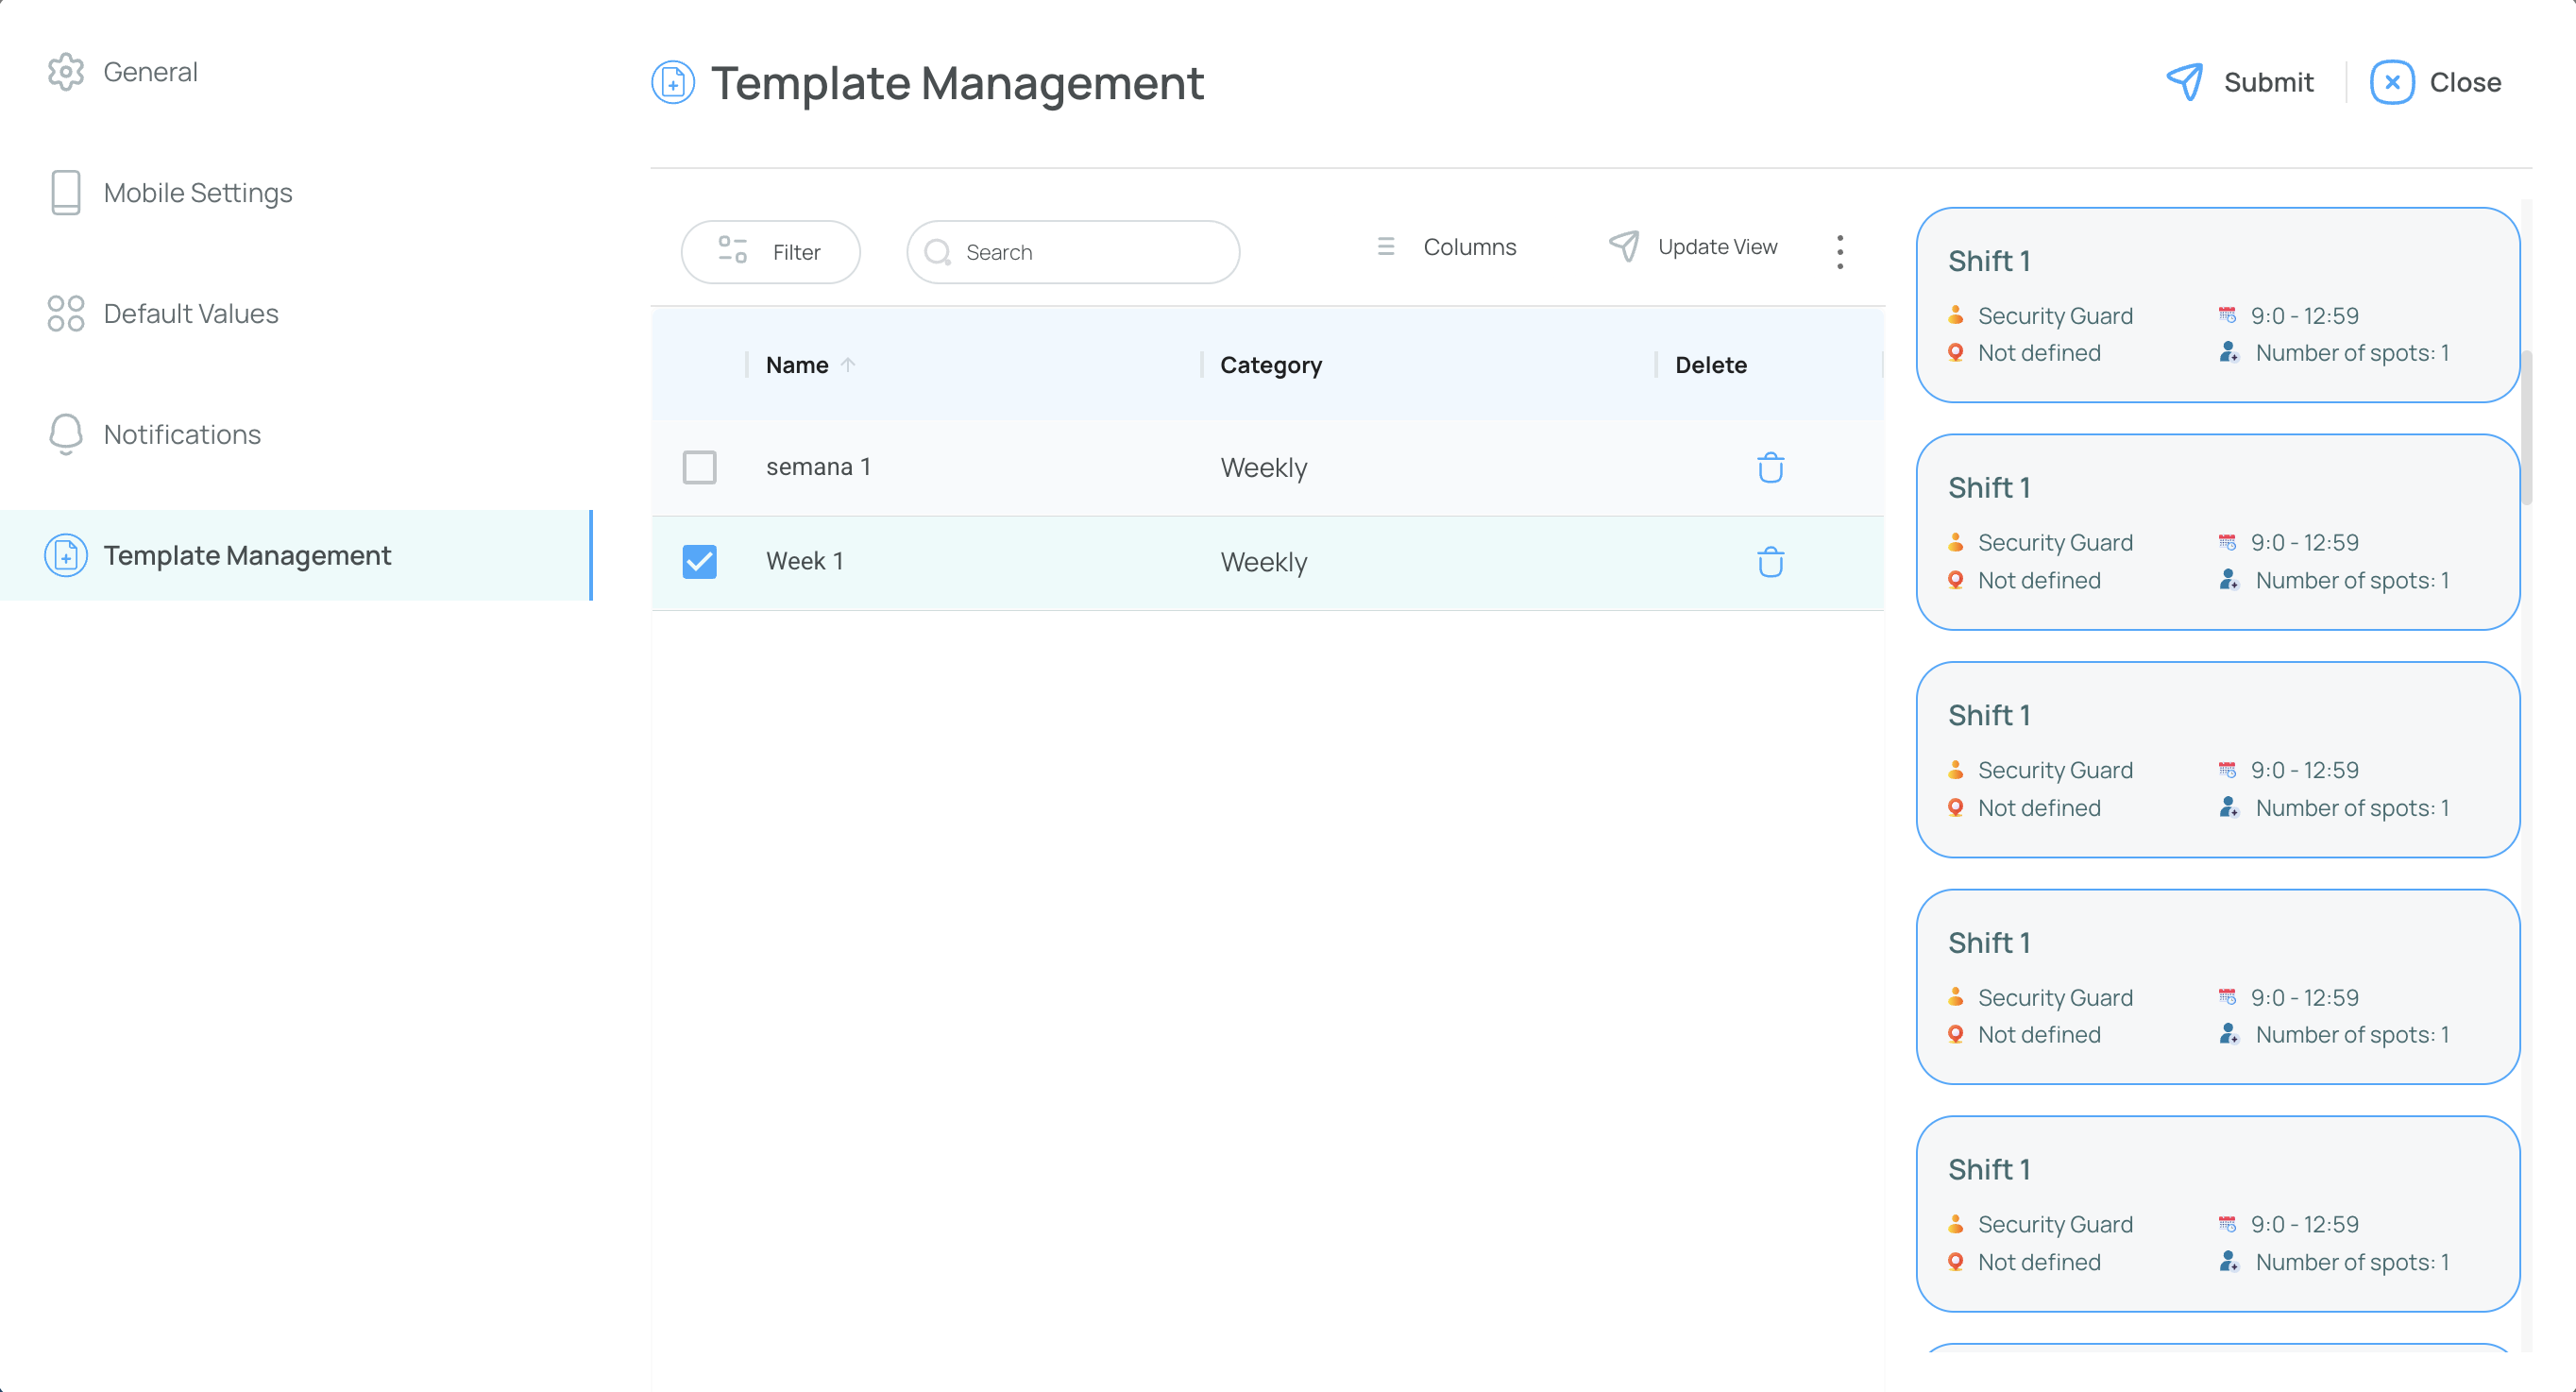
Template Management Tab
This tab provides an overview of all the templates you've created. Use it as a reference to manage your templates. You can delete one or more templates at a time.
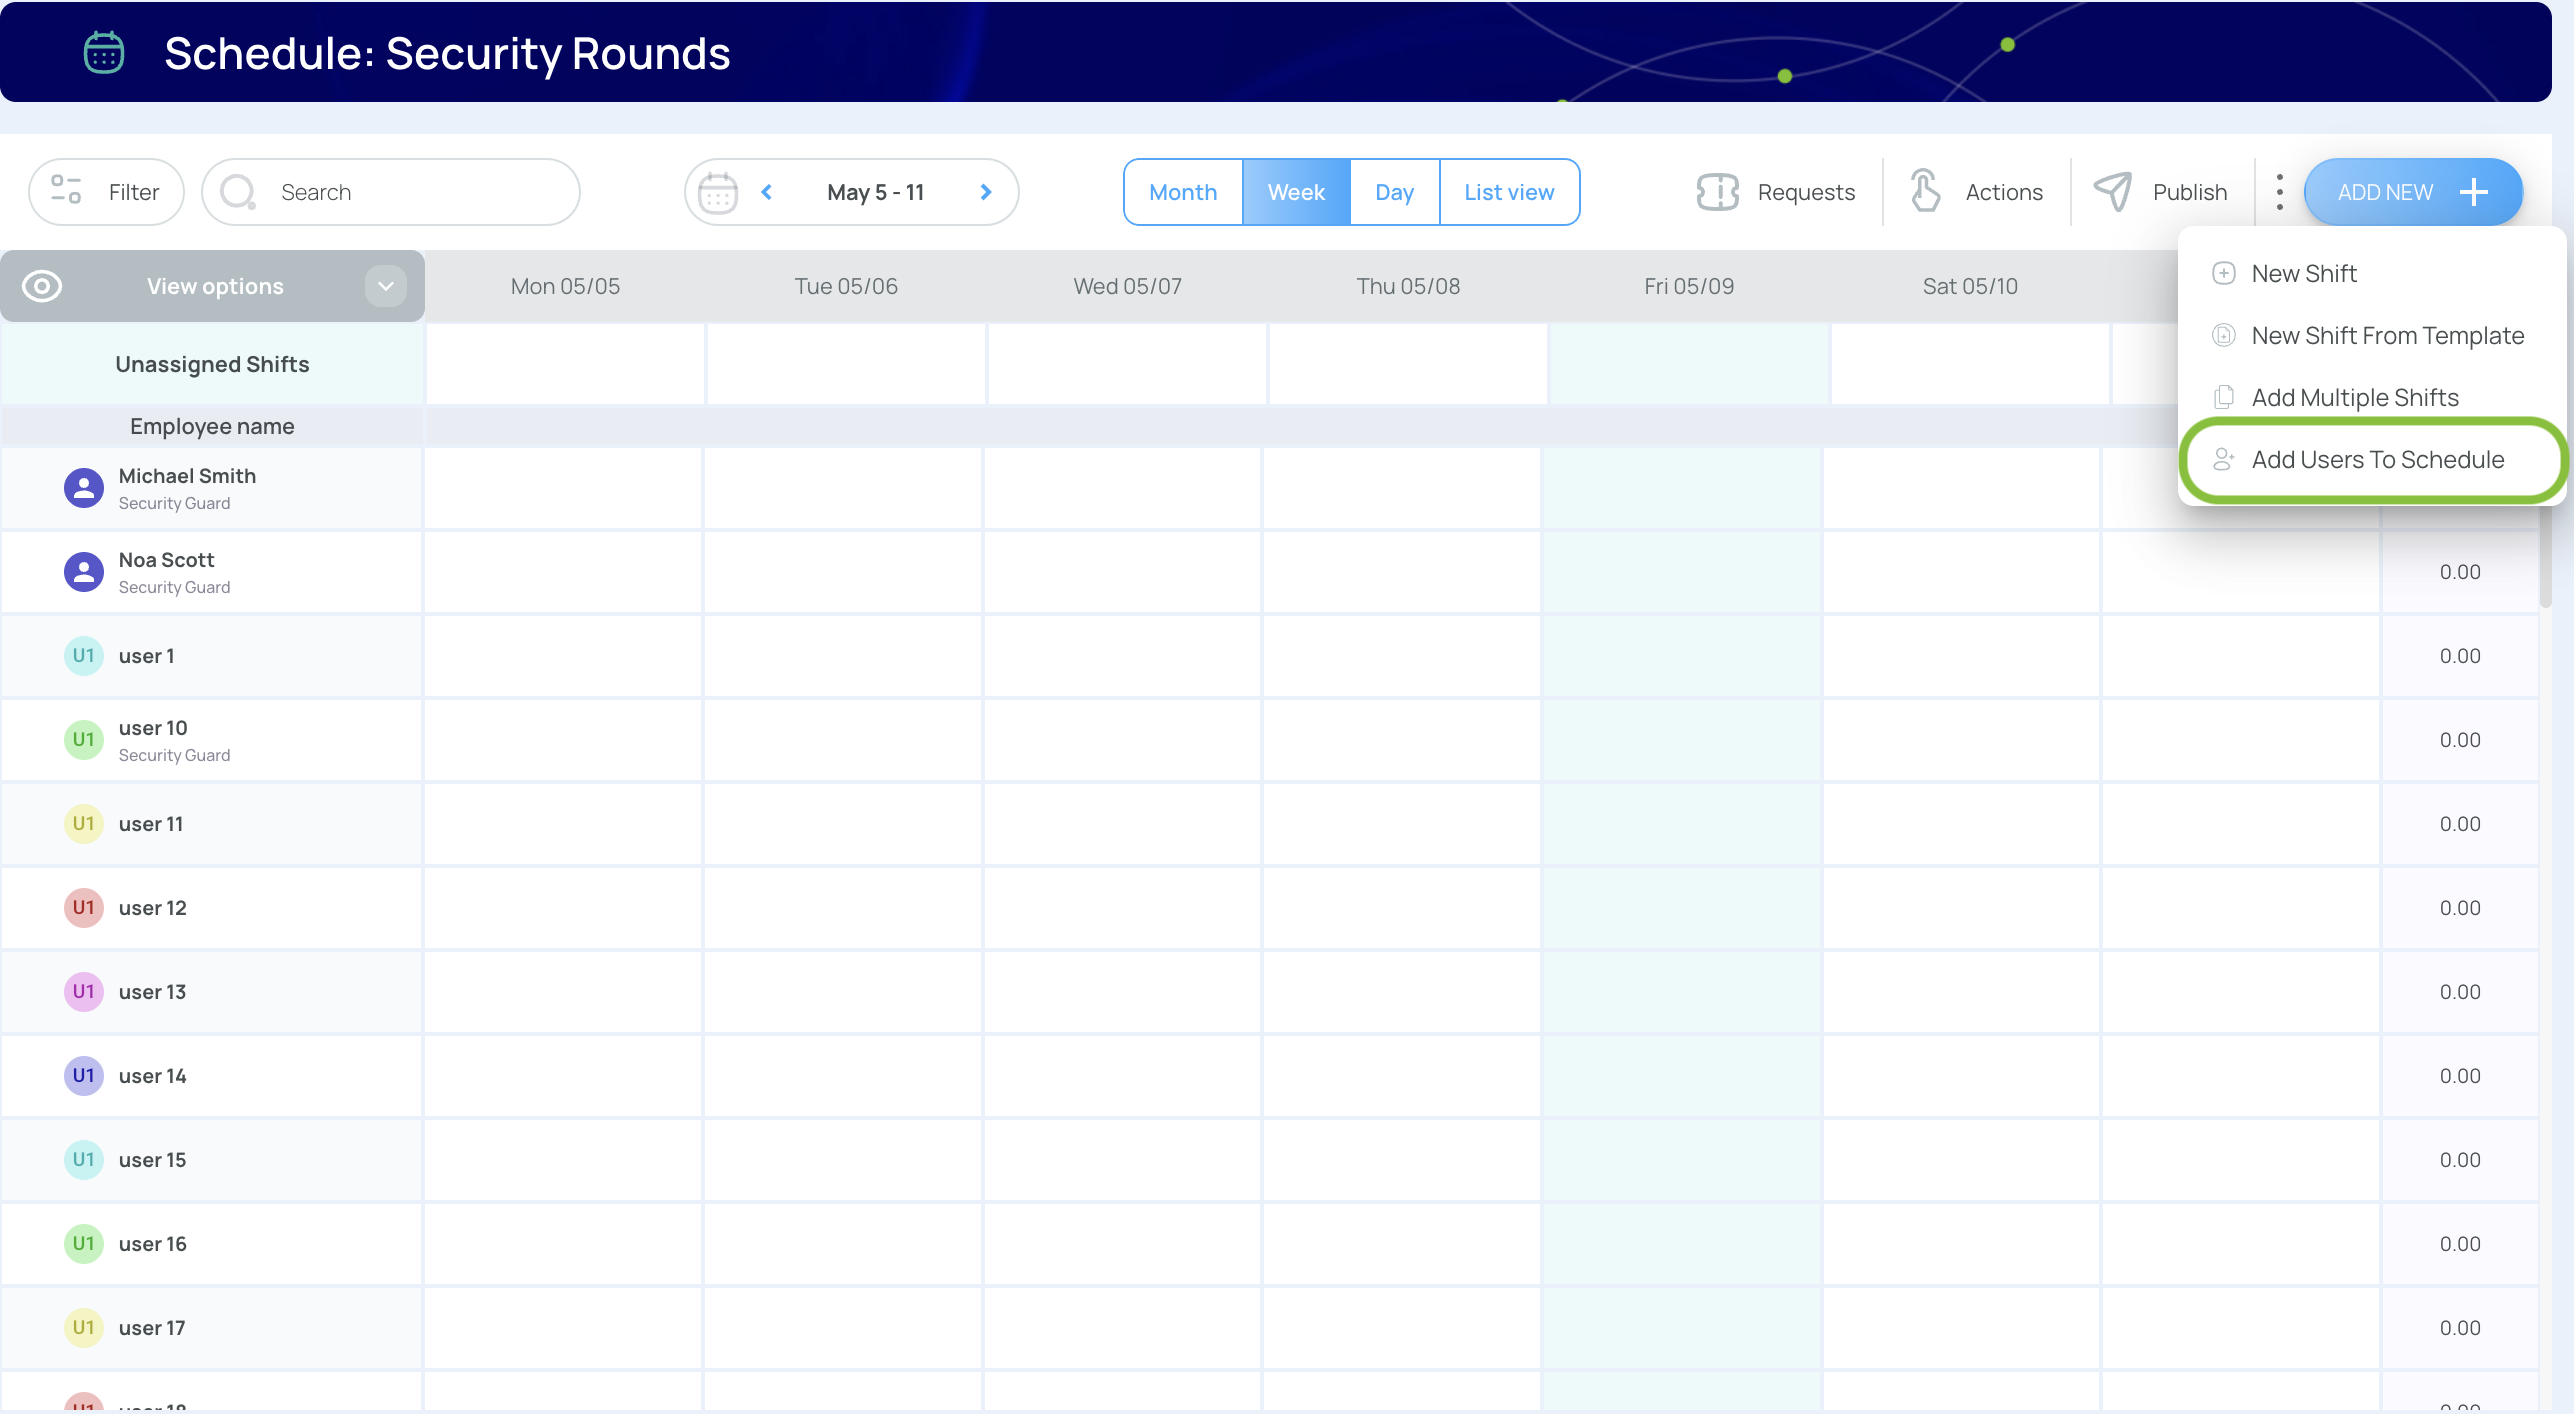
Add Users to Schedule
In mobohubb, only users already associated with the schedule can be assigned shifts. If you need to include additional individuals in a specific schedule, follow these steps:
-
Open the schedule.
-
Click “Add New”, and then select "Add Users to Schedule".
- Check the users you want to include.

Use the search bar to quickly locate specific names or roles.
- Click “Add” to confirm your selections.
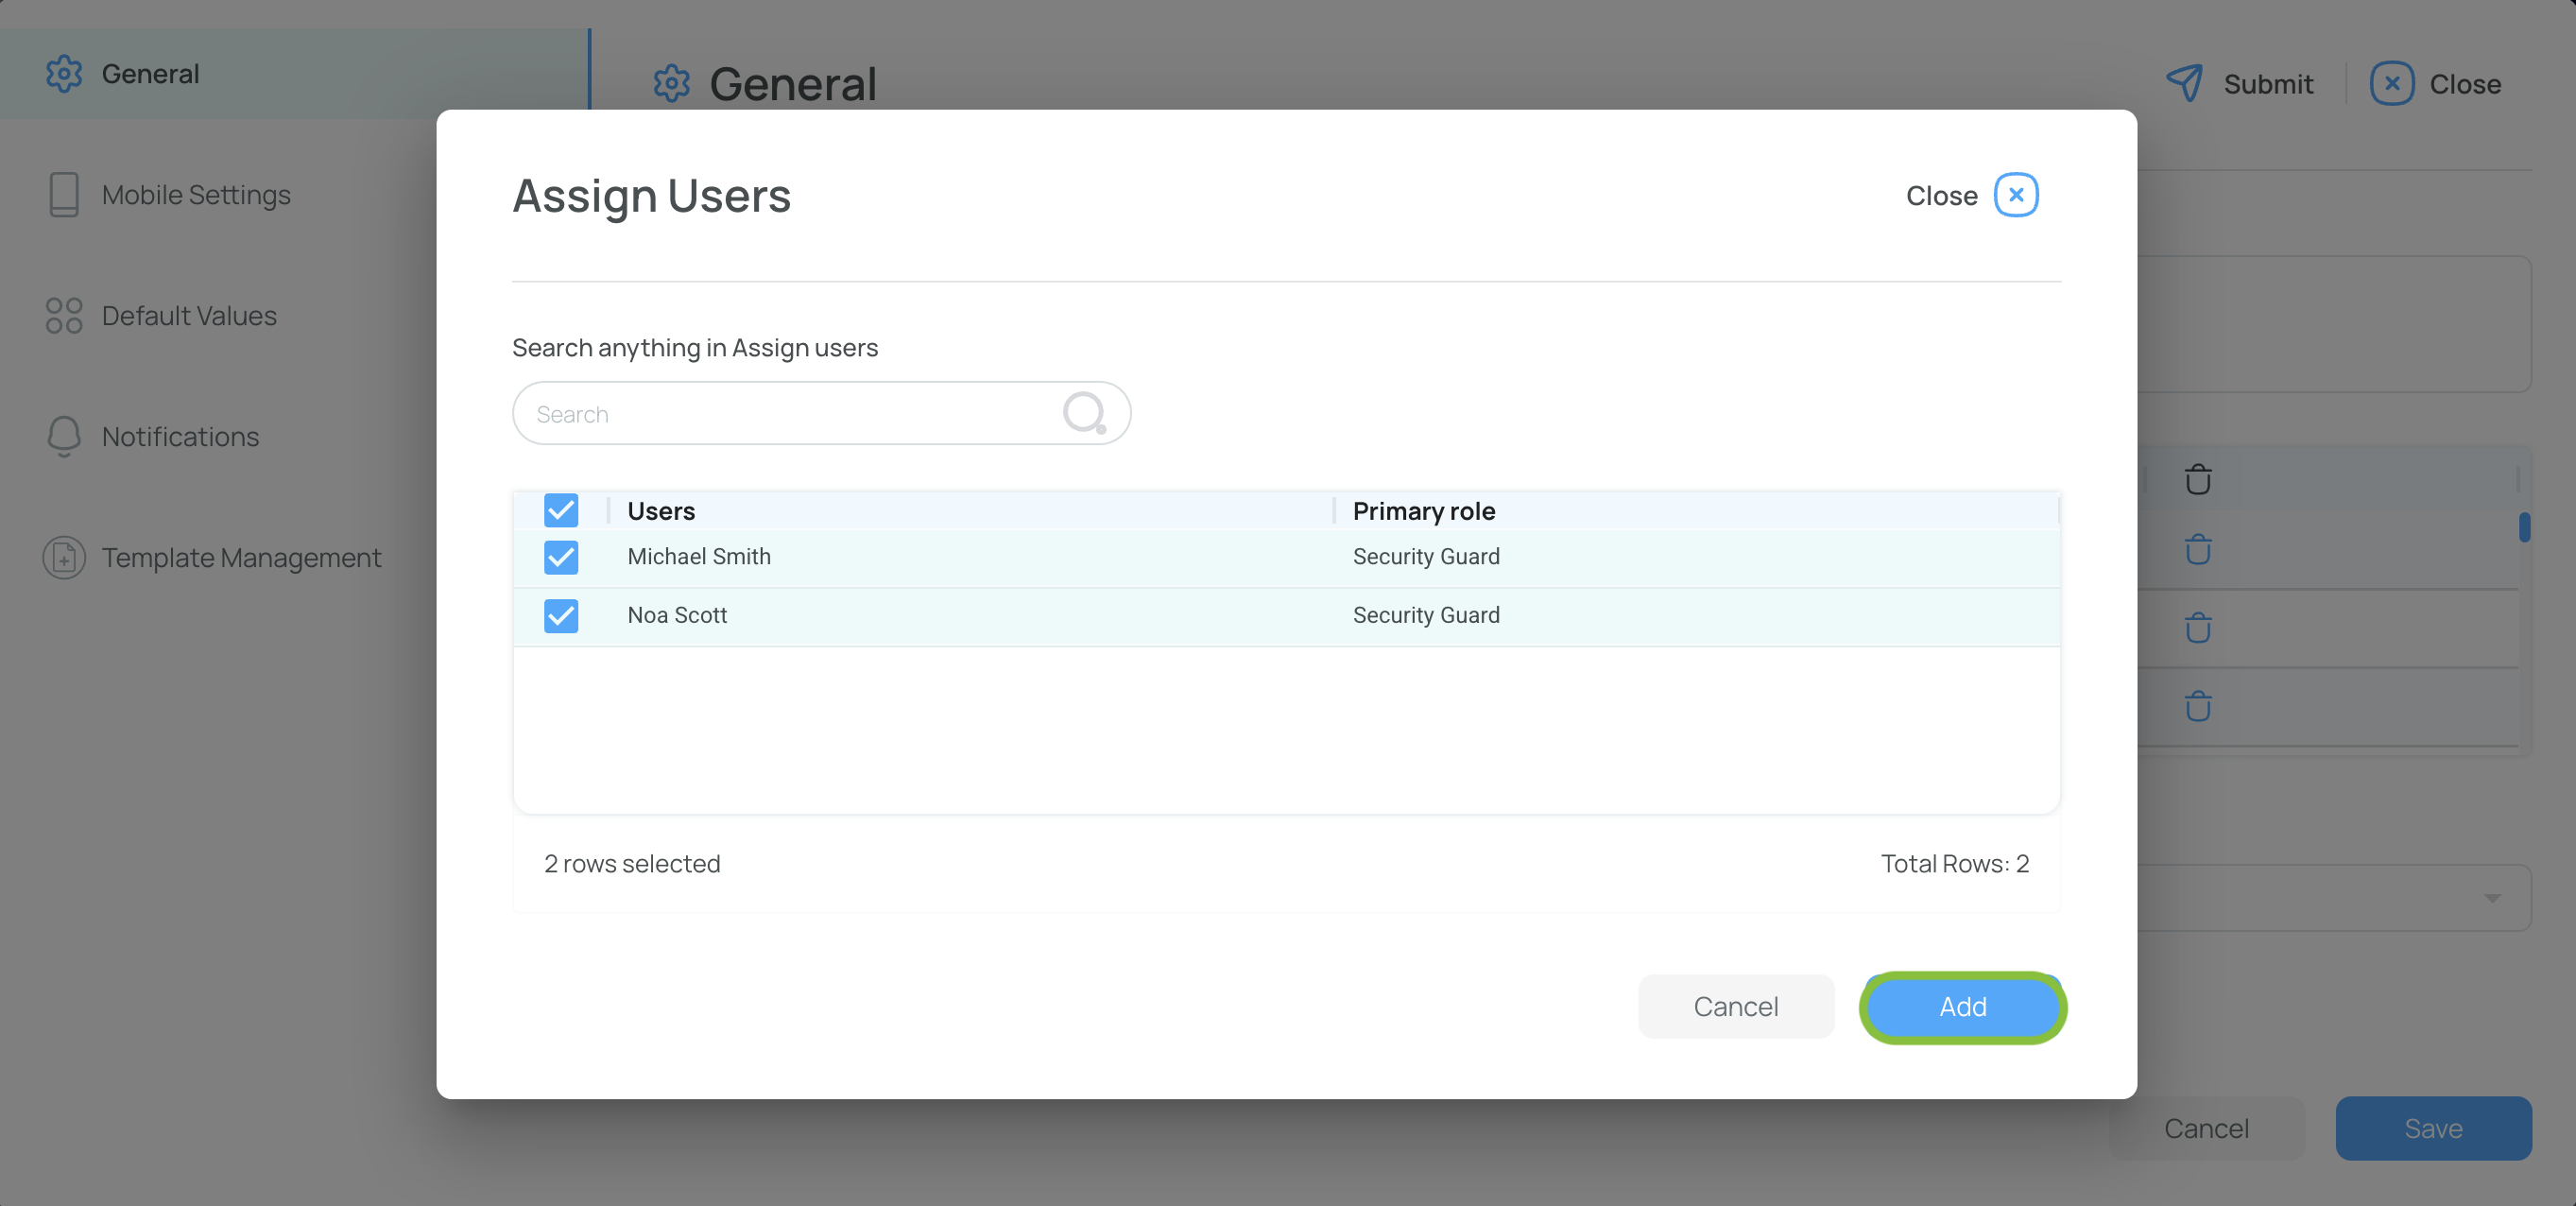
- Save your changes to finalize the updated user list.
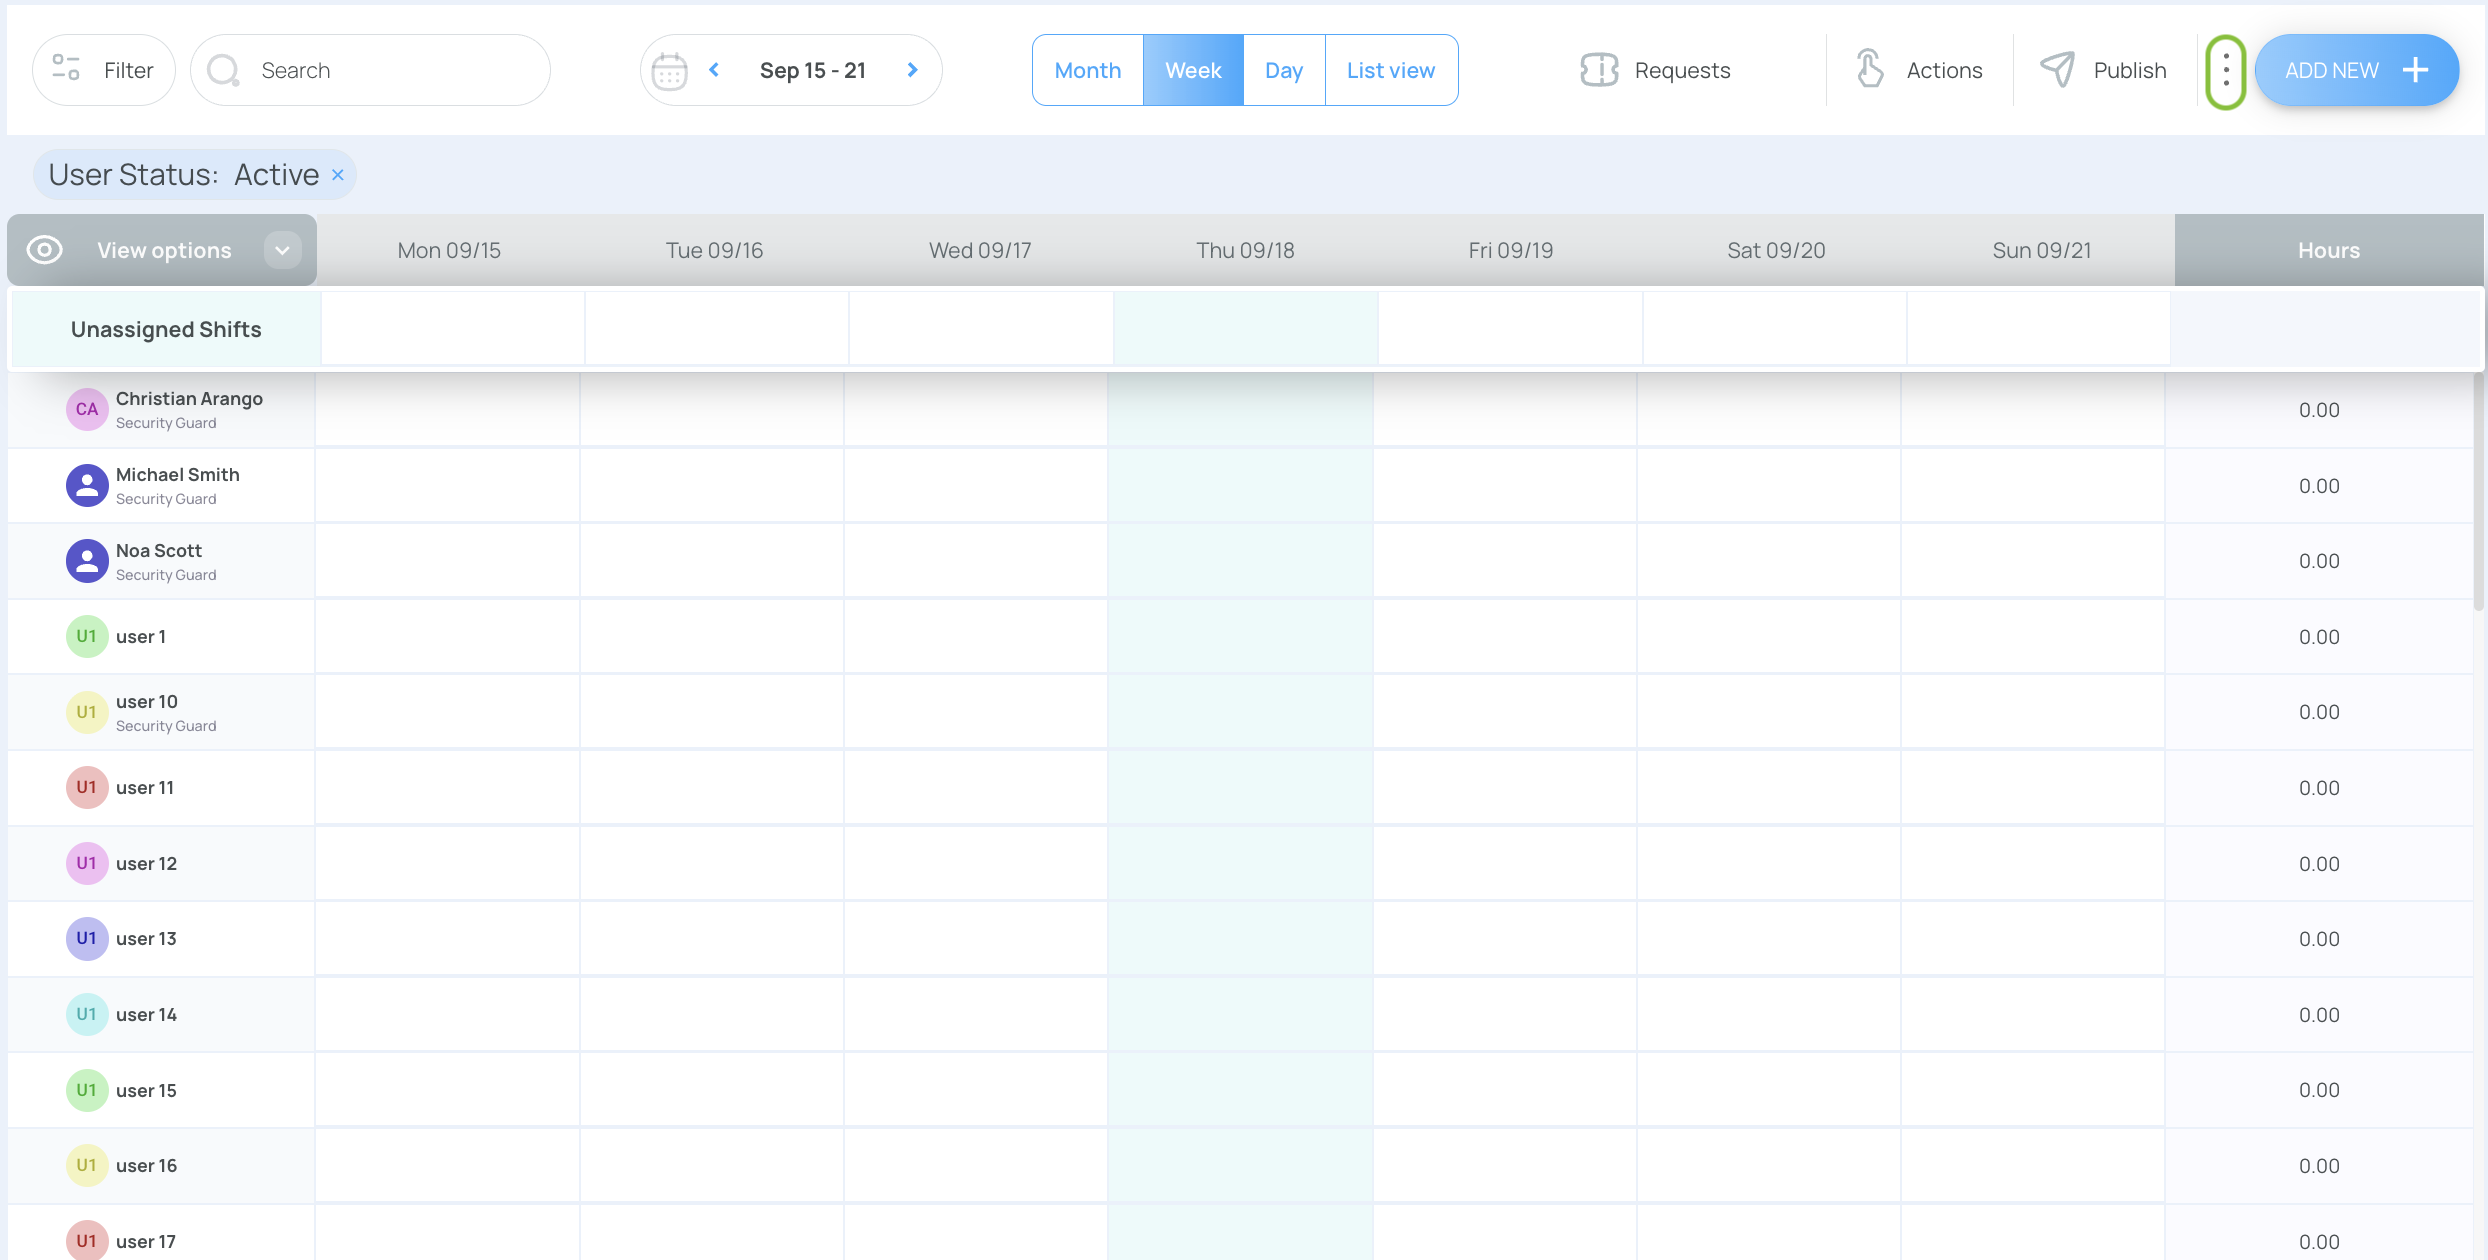
Delete Users from Schedule
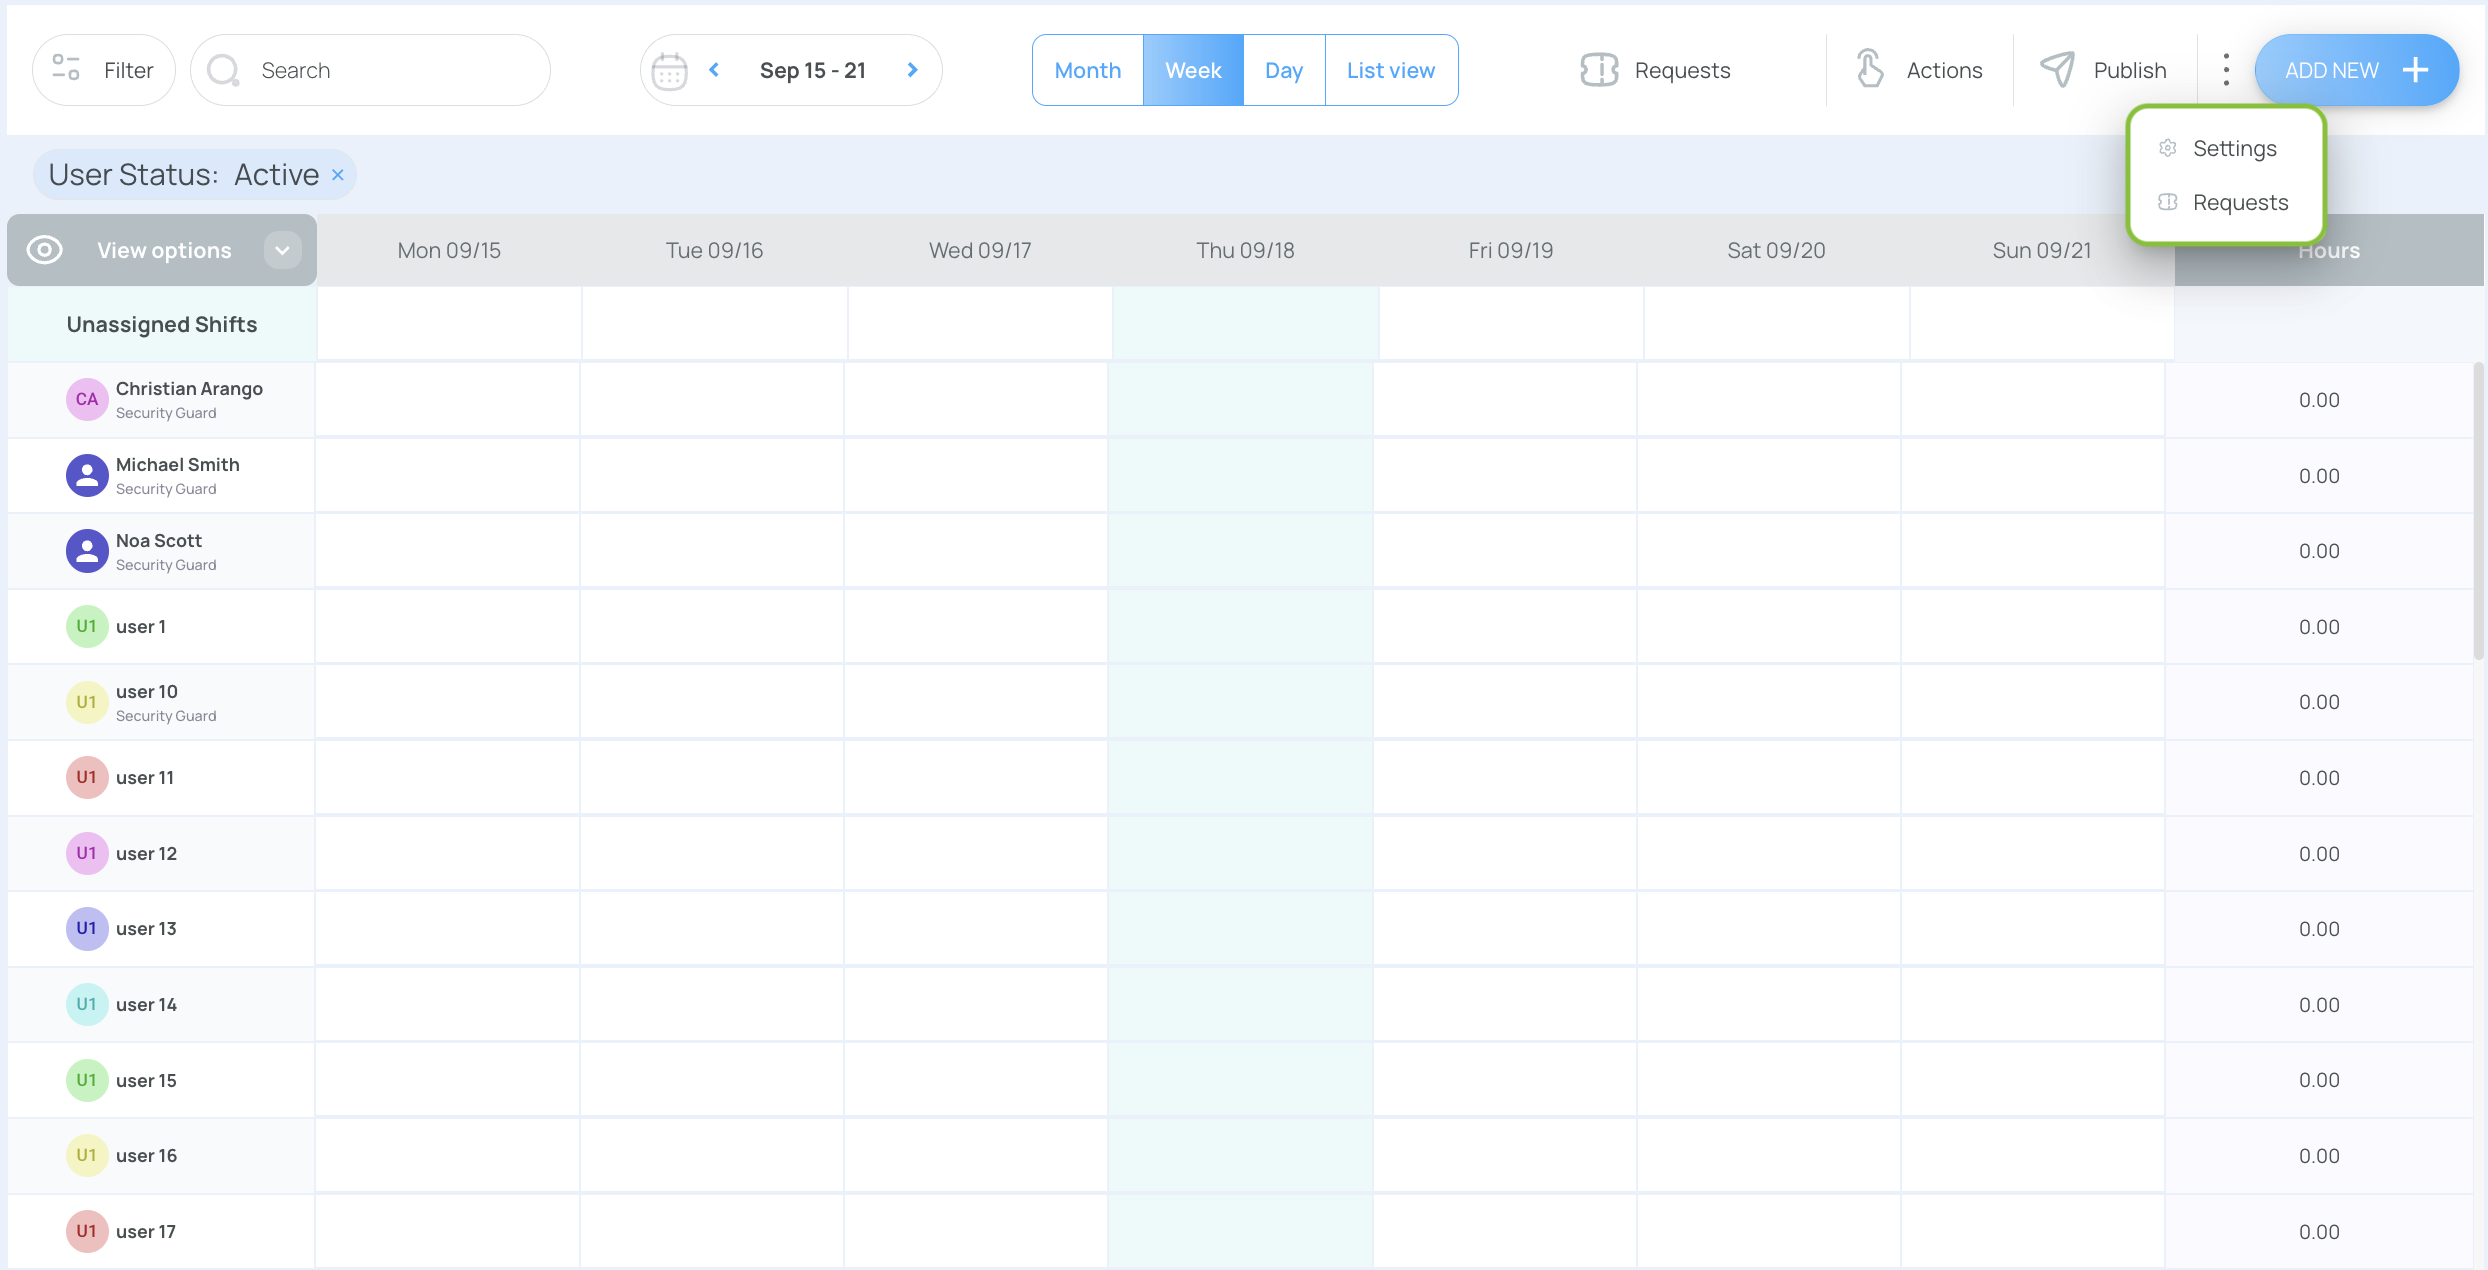
- From the schedule, click ⋮.
- Select Settings.
- In the General tab, locate the Users table and press the Delete button under the Actions column to delete a user from the schedule.
- Save your changes.

Edit a Schedule
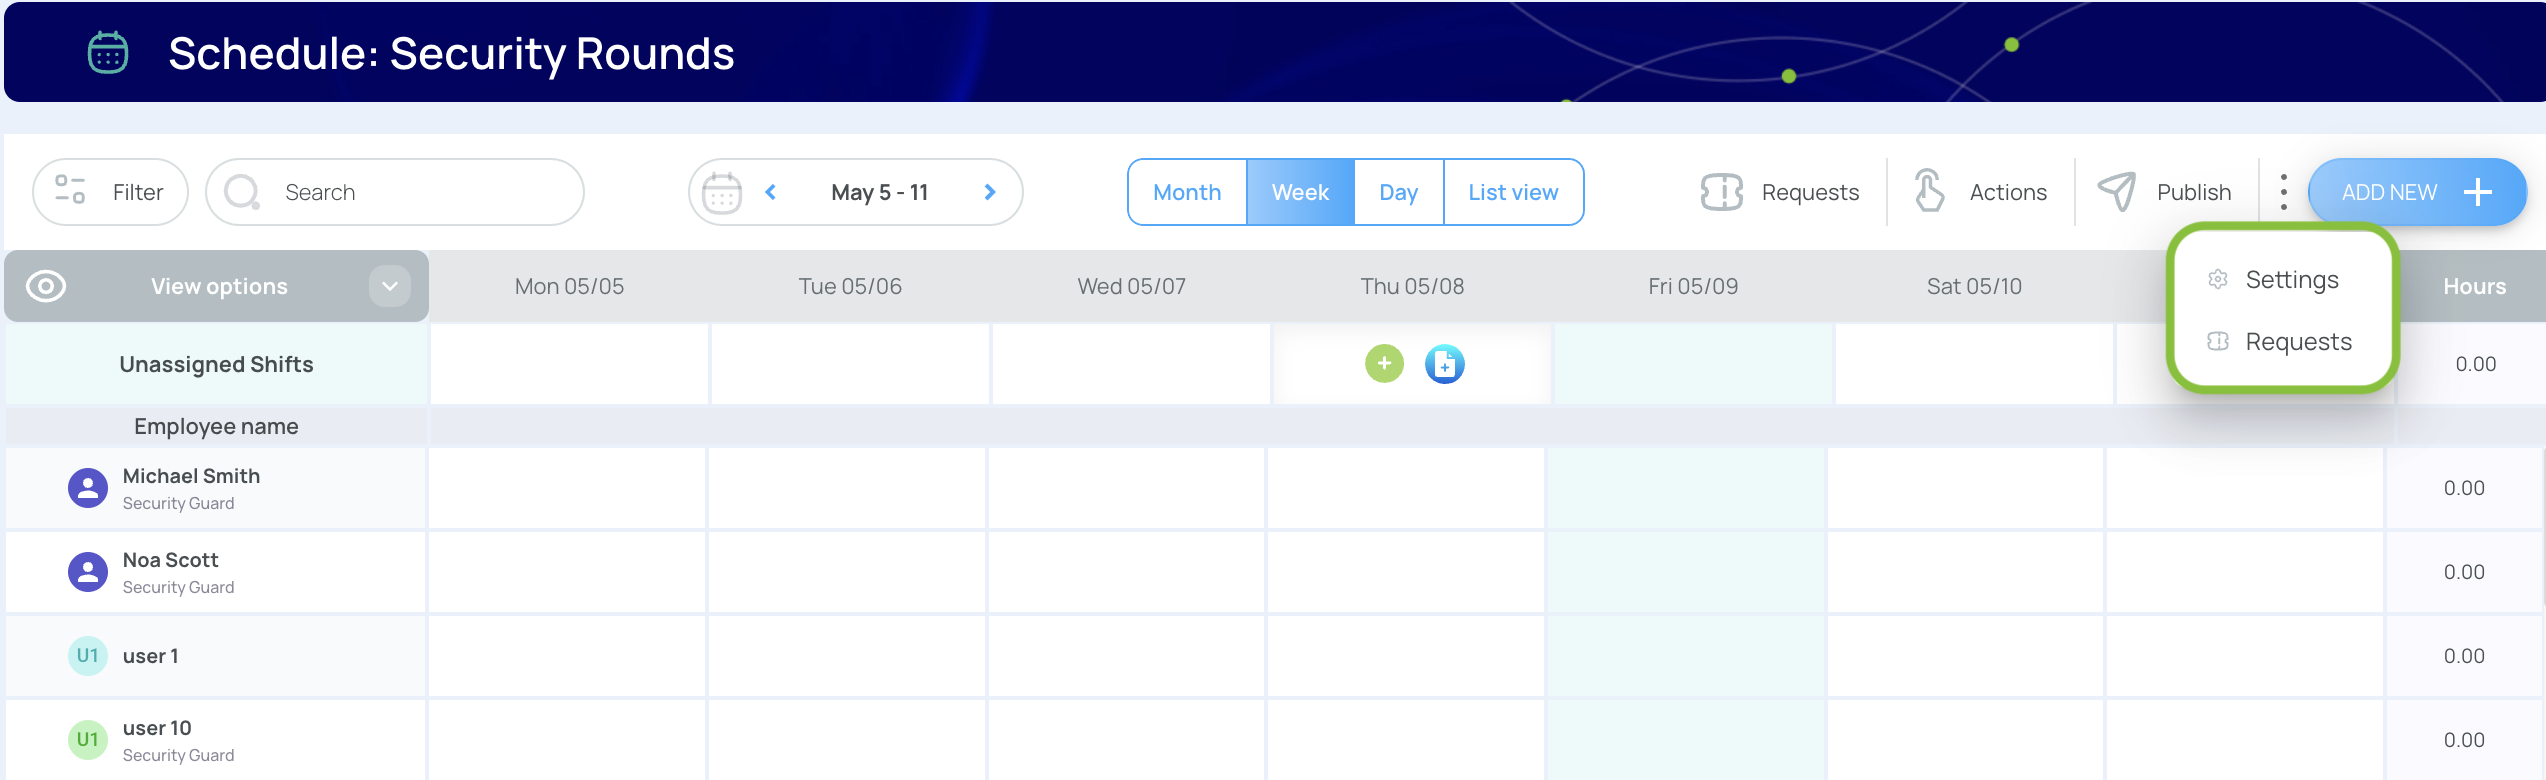
- From the Schedules list, click the name of the schedule you want to modify.

- From the schedule screen, click the 3-dot menu, and then press Settings.
- Modify data in any of the tabs (General, Mobile Settings, Default Values, Notification, or Template Management).
- Save and Close when finished.
Delete a Schedule
You can only delete schedules with no data records. This is to ensure that critical information is not lost.
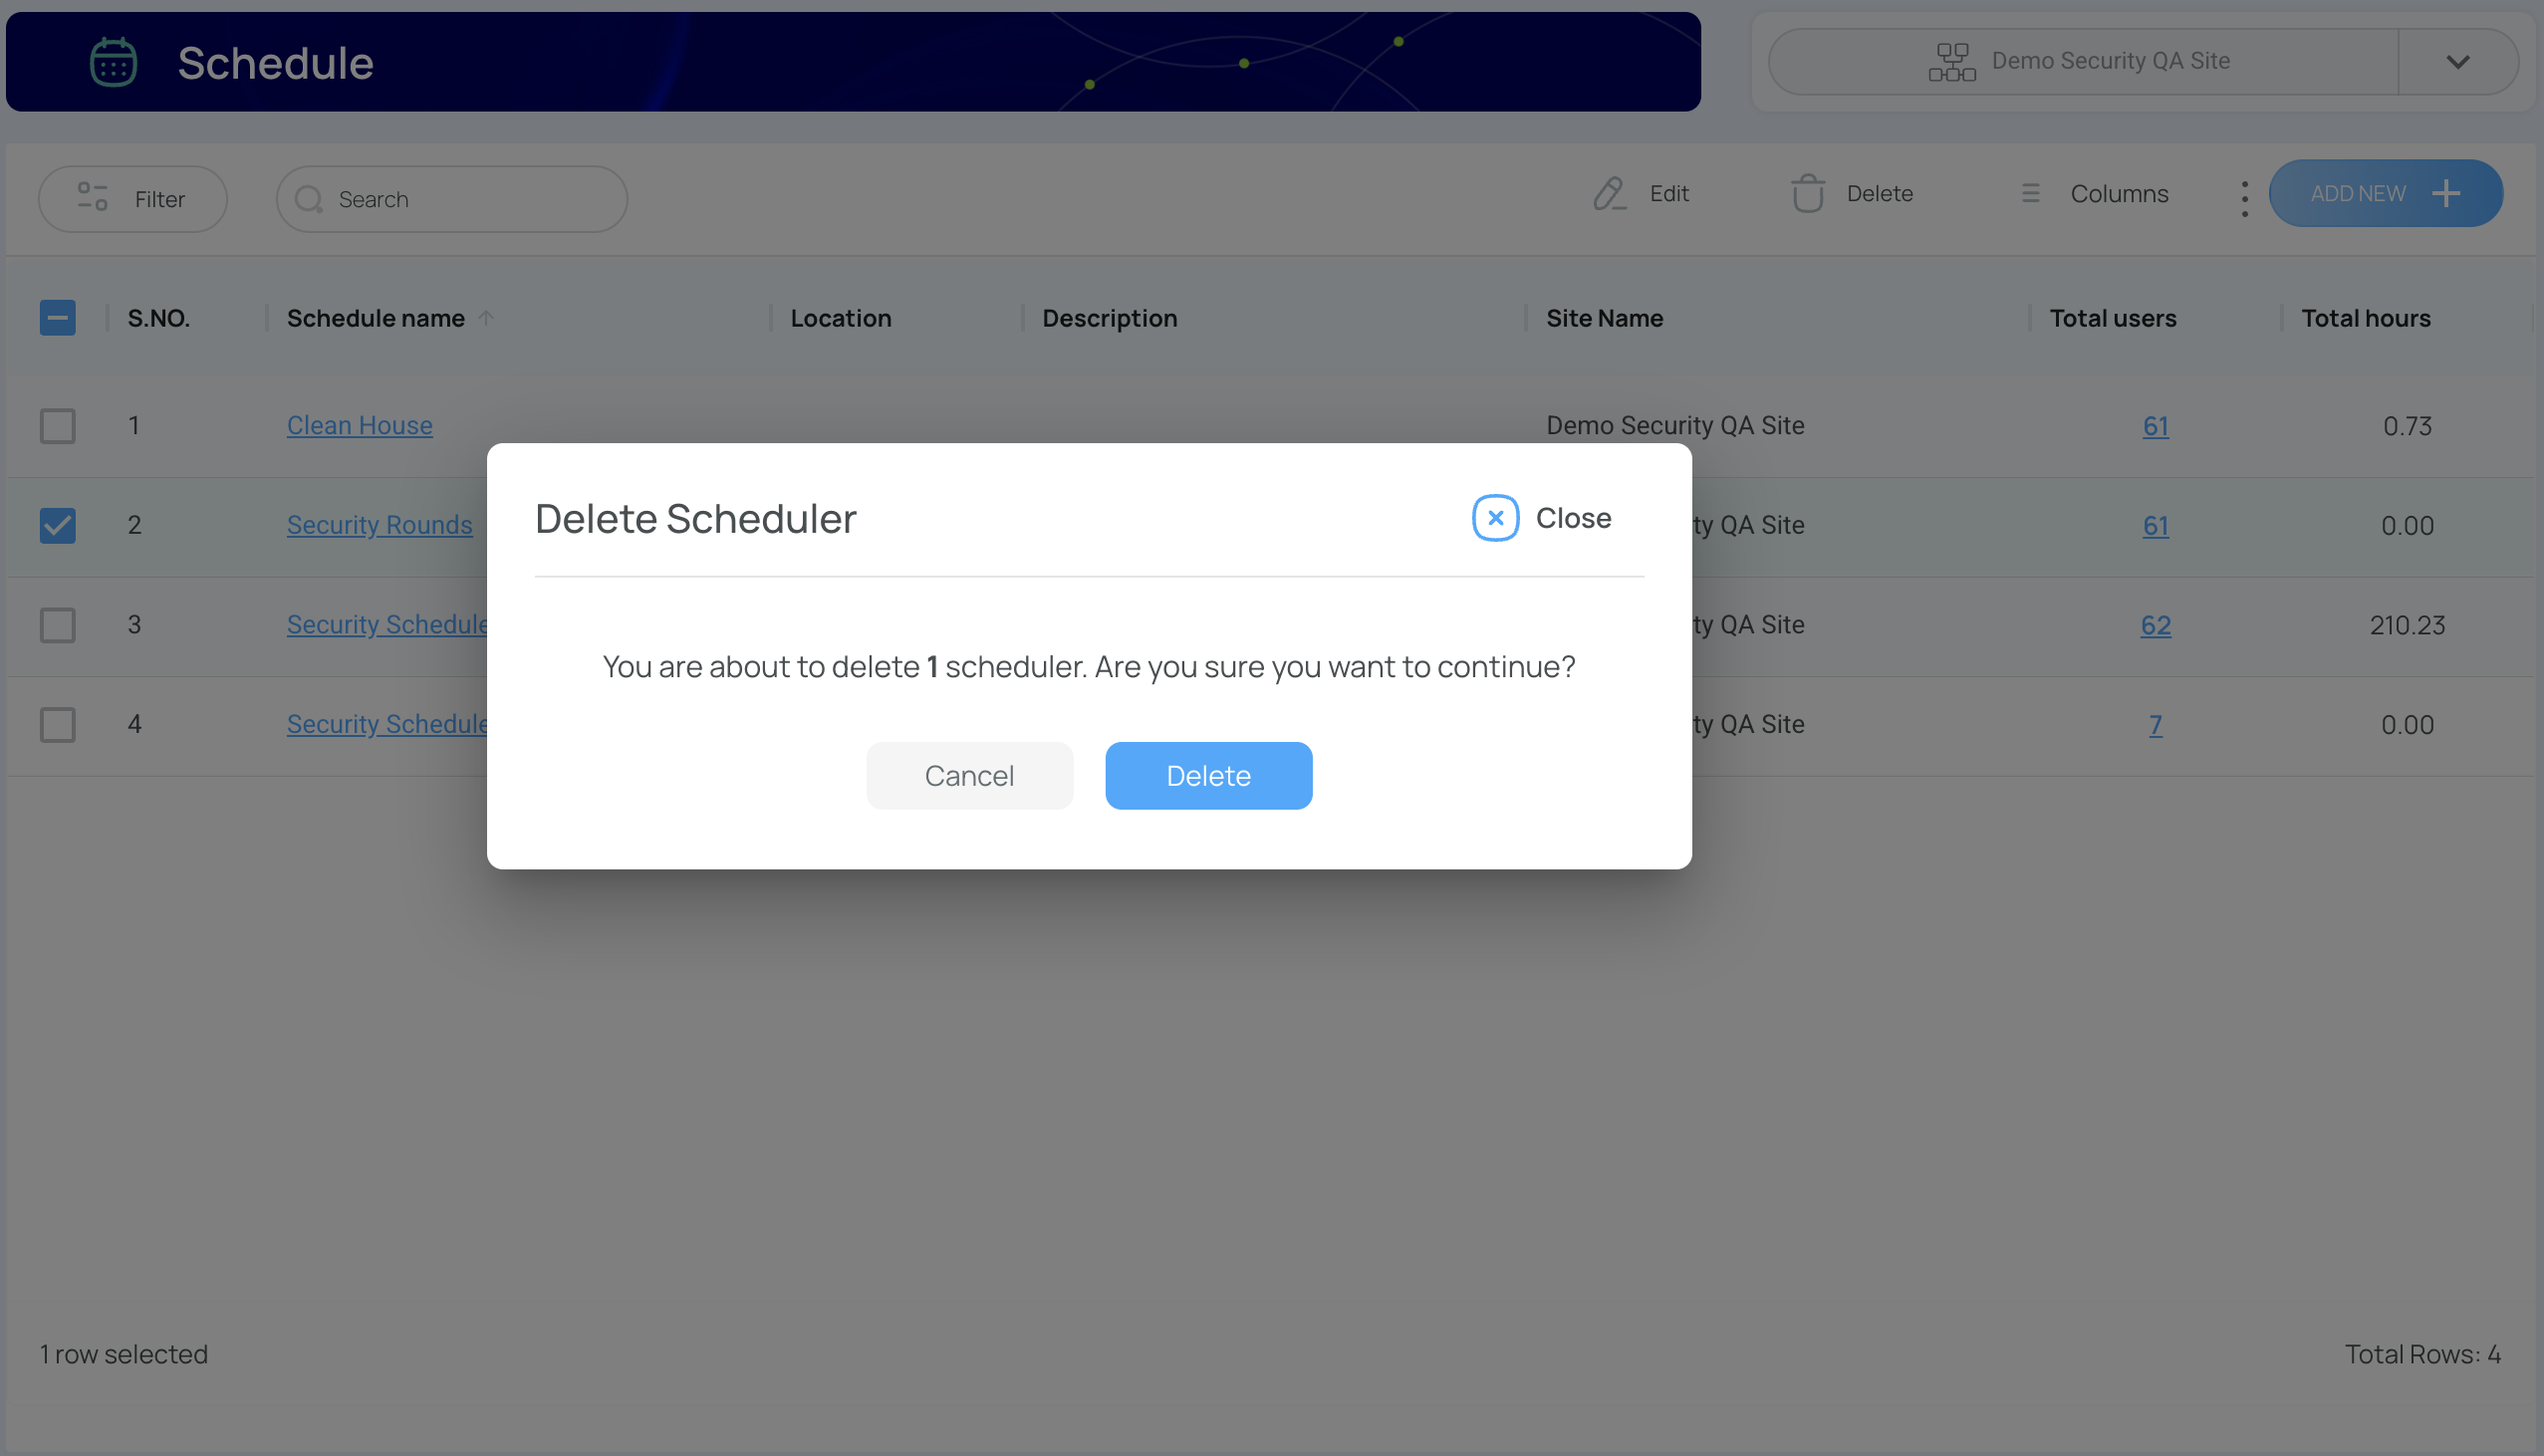
- From the Schedules list, check the schedule(s) you want to remove.
- Click “Delete”.
- Confirm your choice. The schedule will be deleted if it’s empty.
If the schedule contains records, the system won’t allow you to delete it. You can either modify or archive it to preserve the essential data.