Users
Learn how to add, edit, and activate/deactivate users in mobohubb. This guide explains how to manage users, assign security groups, and update personal information for both web and mobile access.
In this guide you'll learn
- How to add new users using the portal
- How to edit existing users to update their personal information
- How to activate or deactivate users to control access
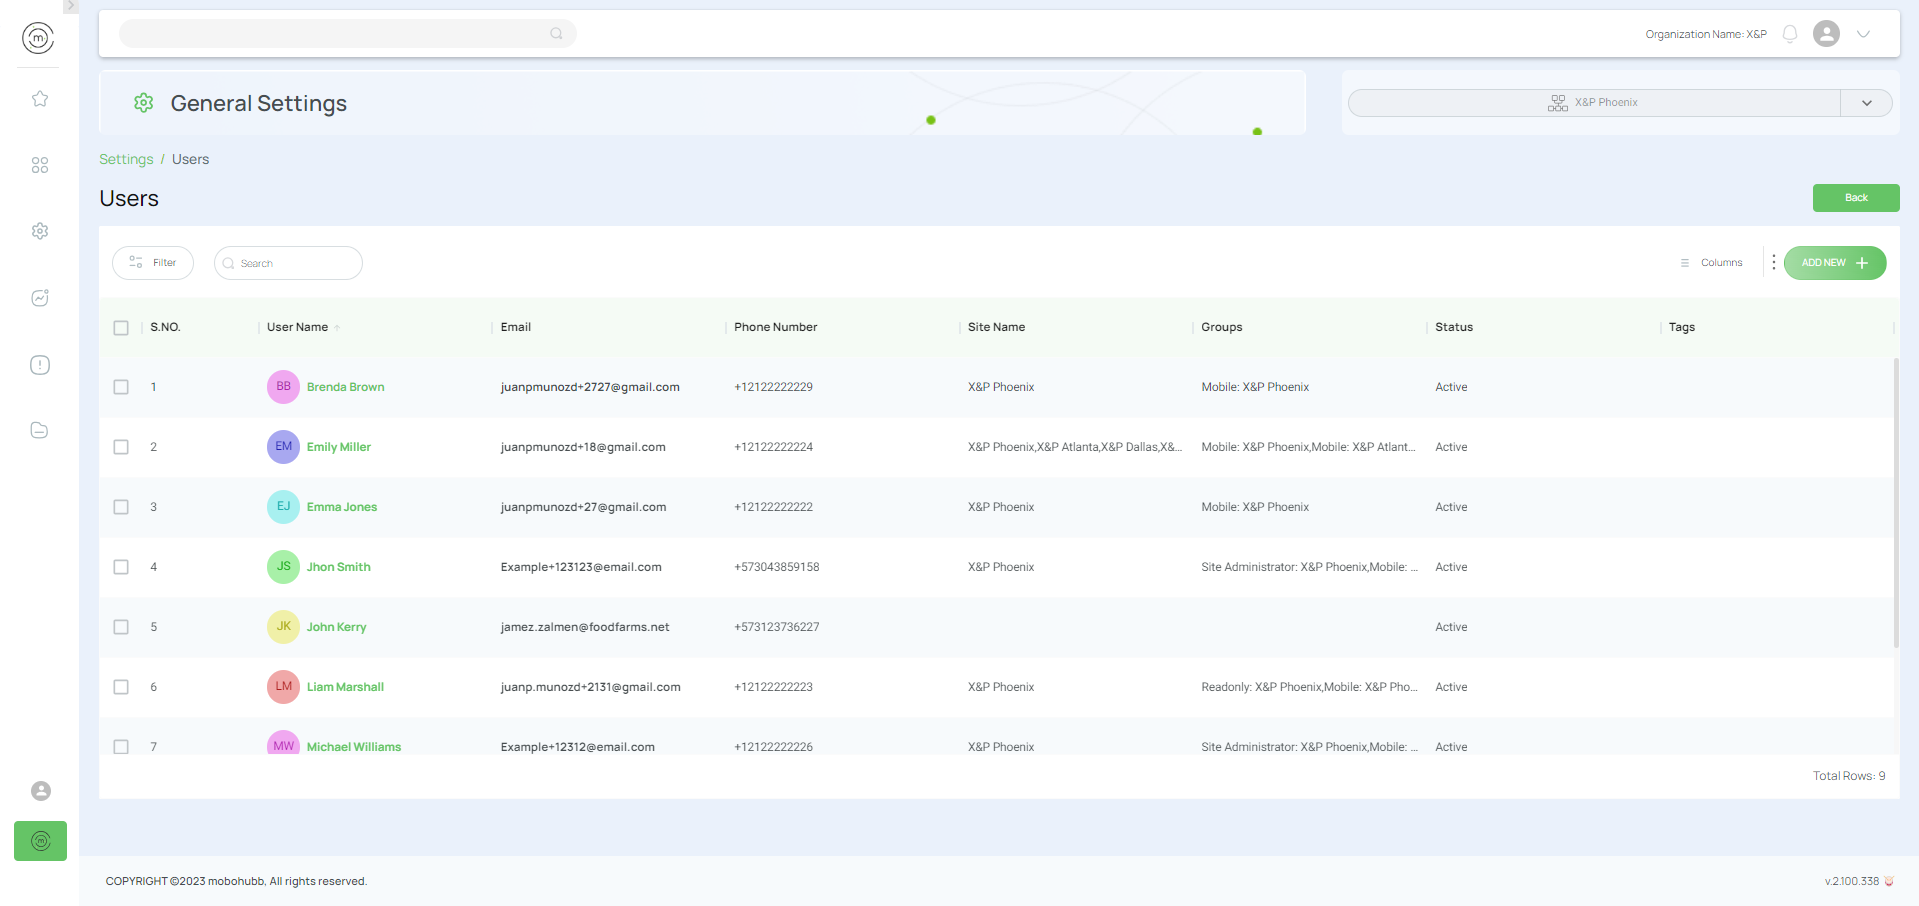
Add Users
To add a new user:
- Navigate to the portal’s top menu and Click on Settings.
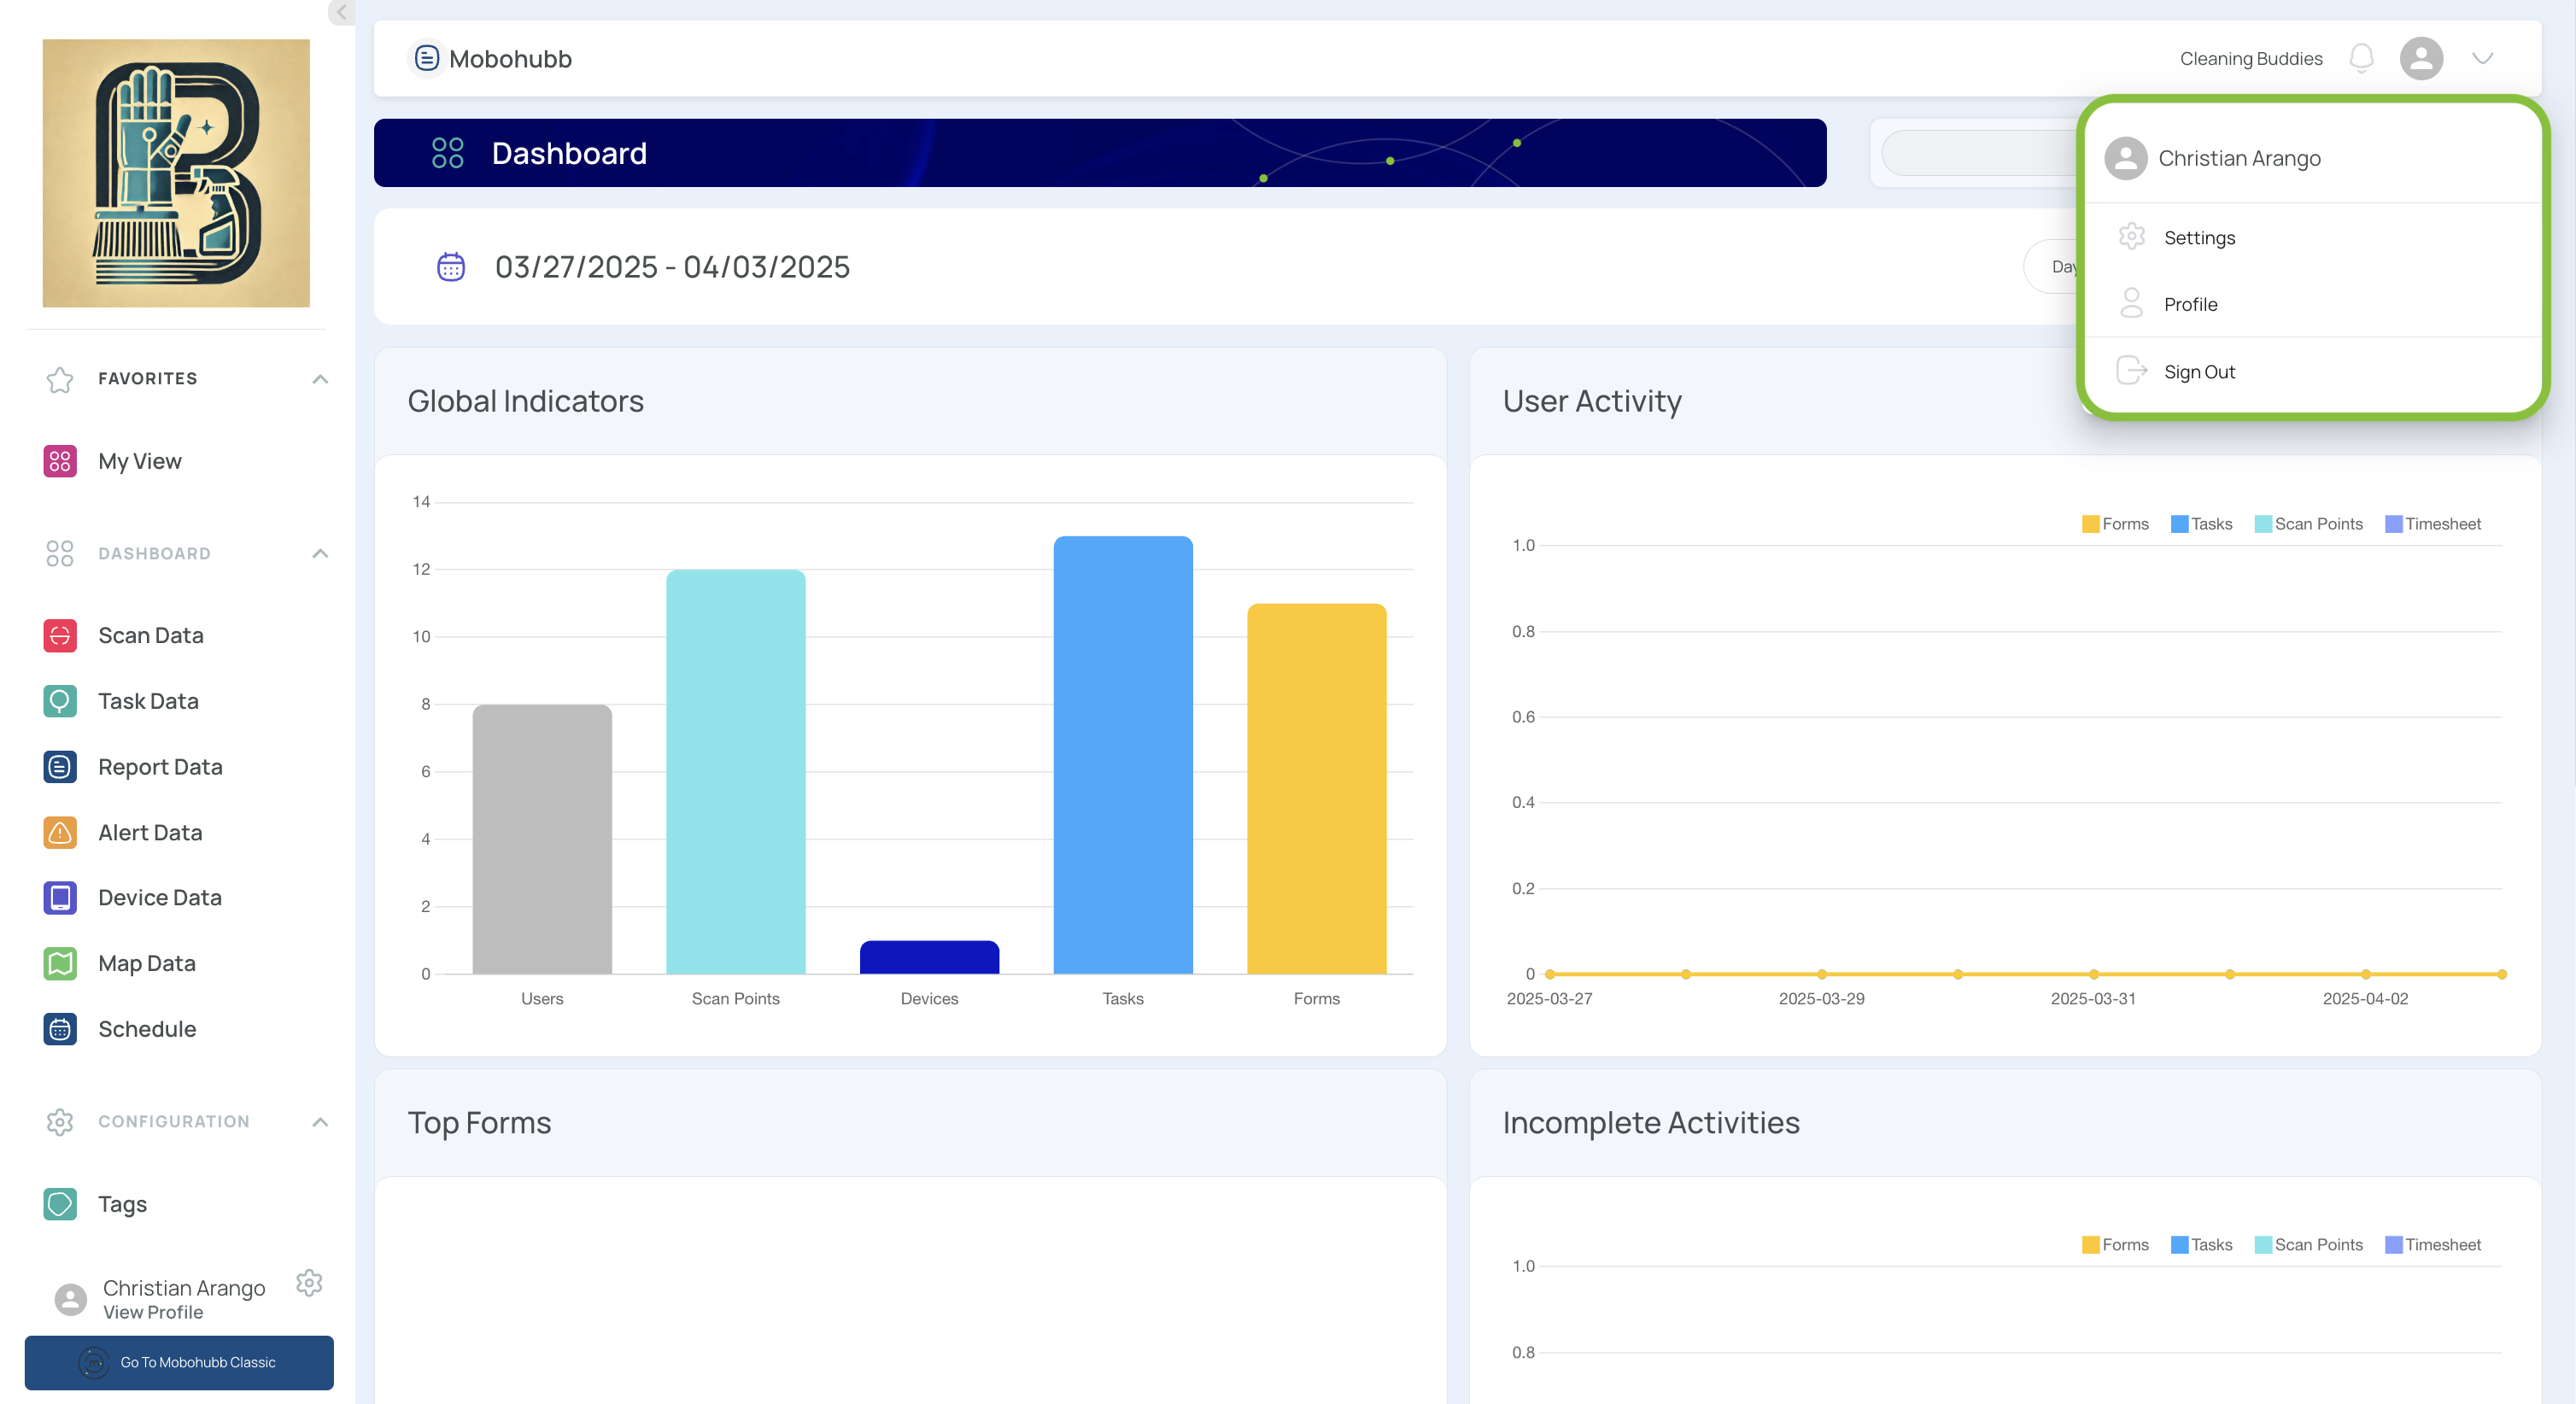
- Navigate to "Users."
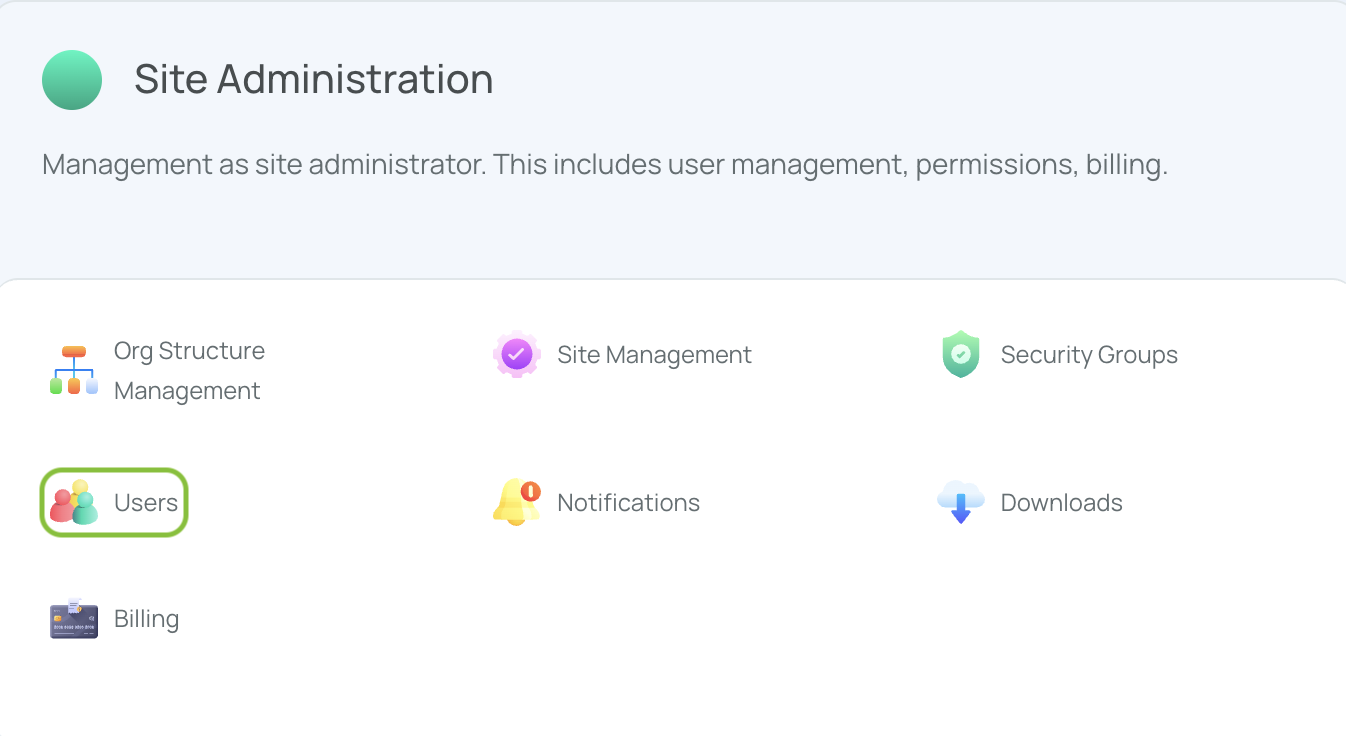
- Within the Site Administration area, click on the Users section.
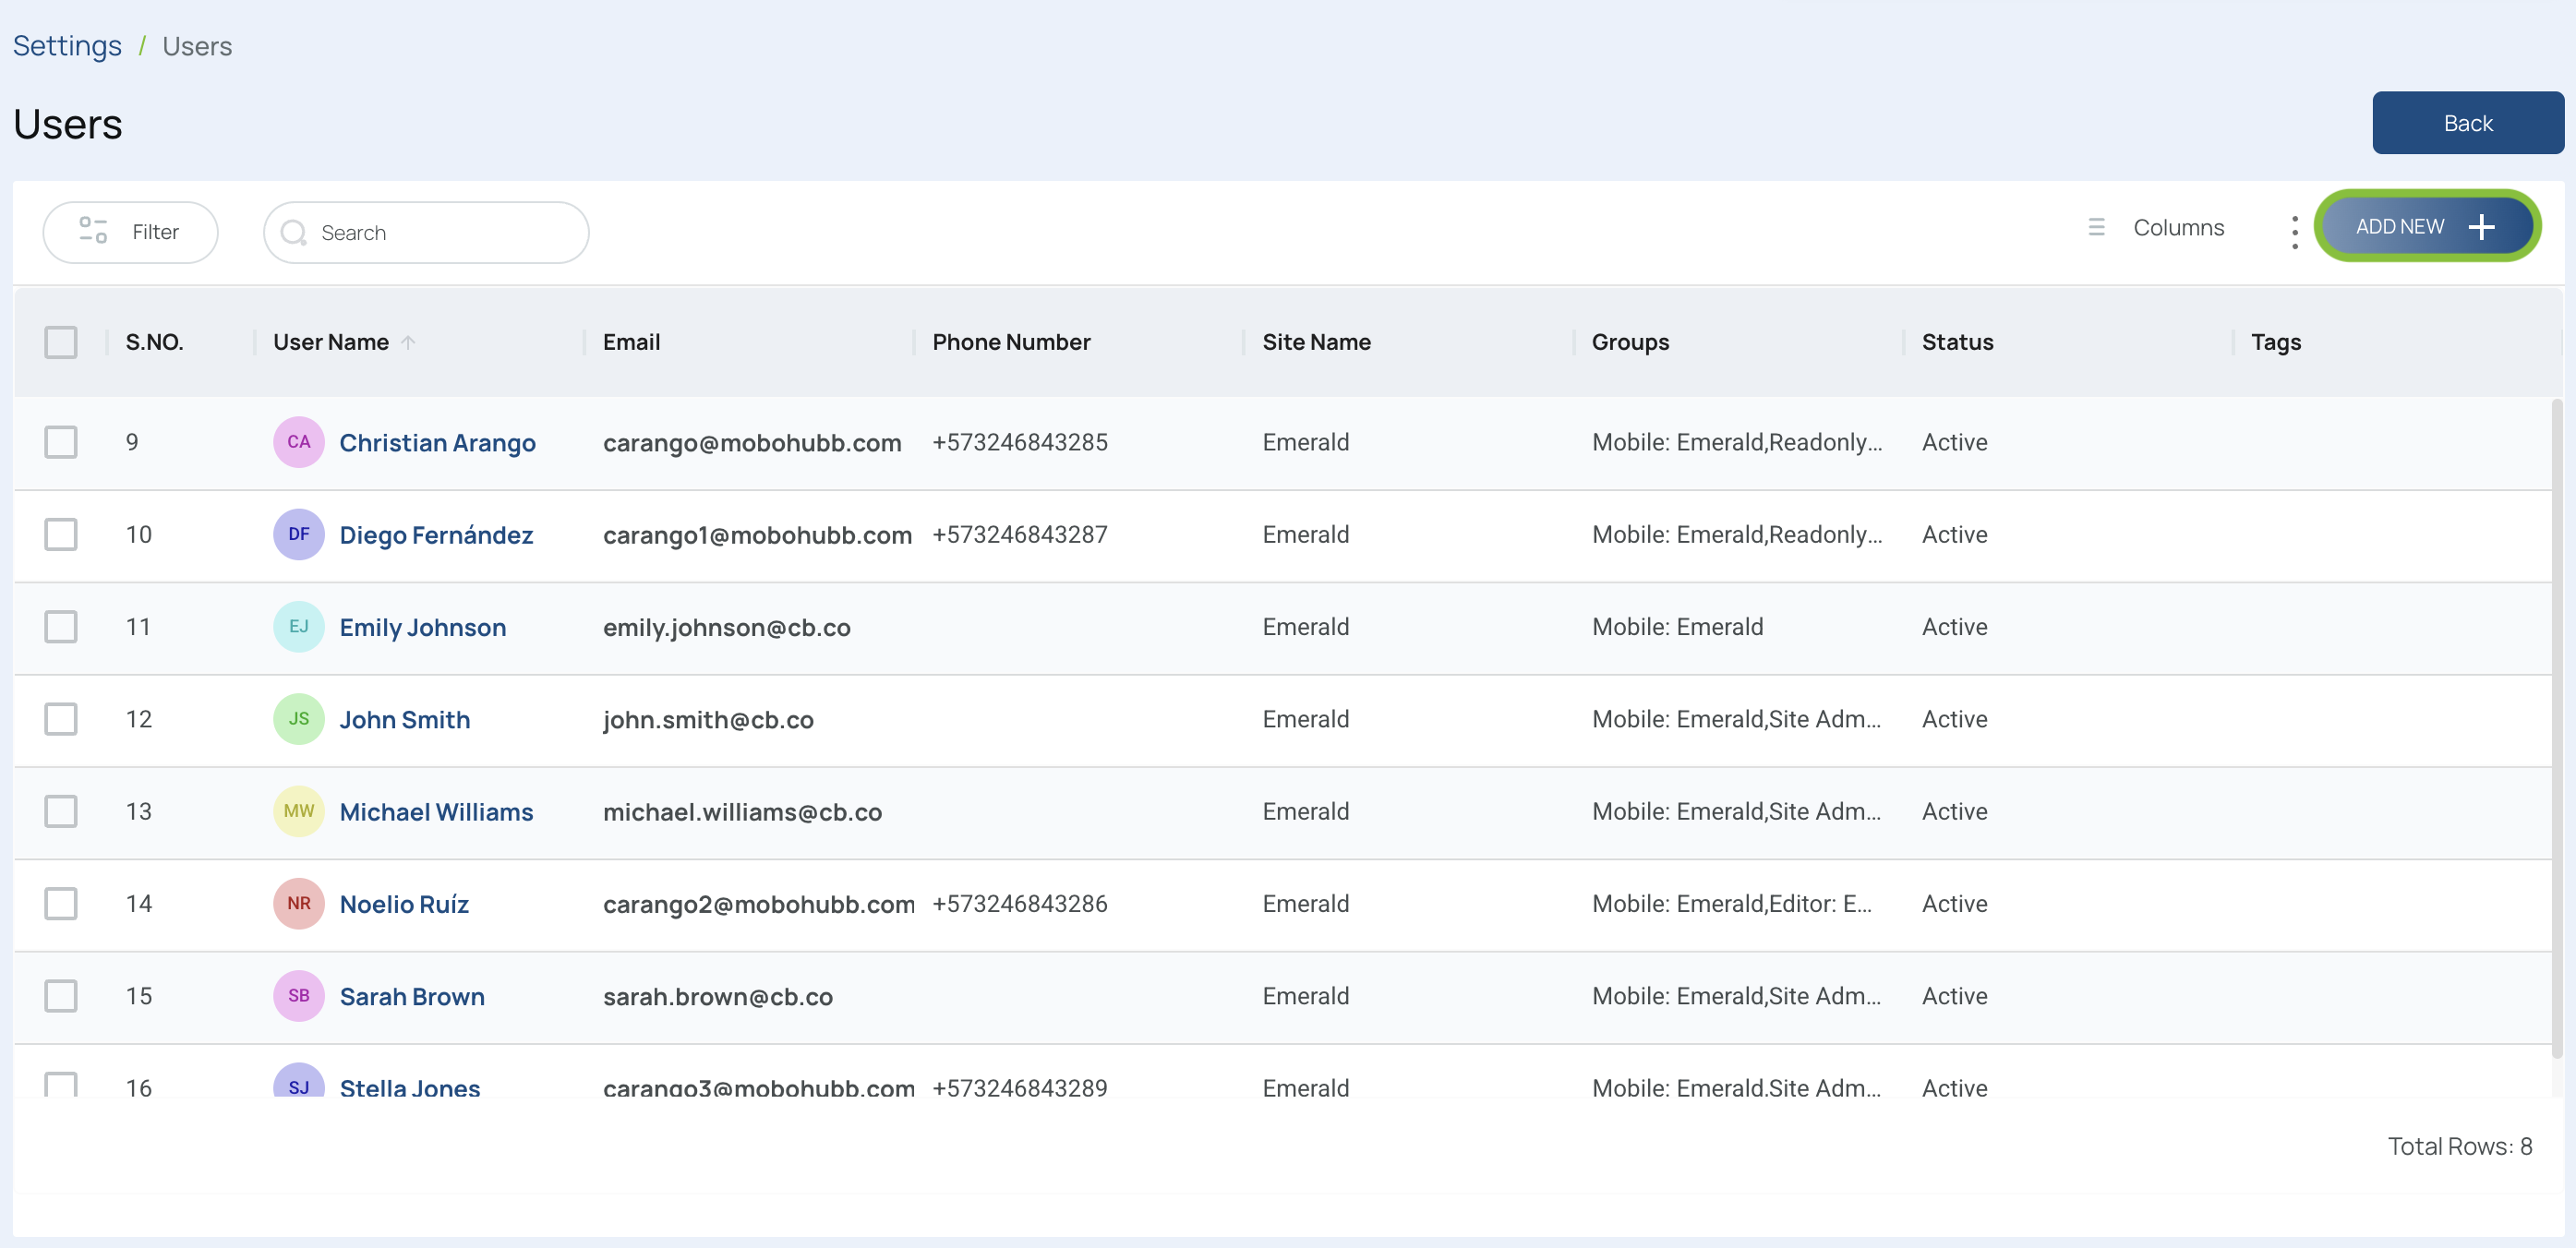
- Click on the "Add new +" button in the user’s section.
- Enter the new user’s data and fill in the "First Name" and "Last Name" fields.

- Fill in the "Phone Number" and "Email Address" fields.
Note: This email address will be the username.
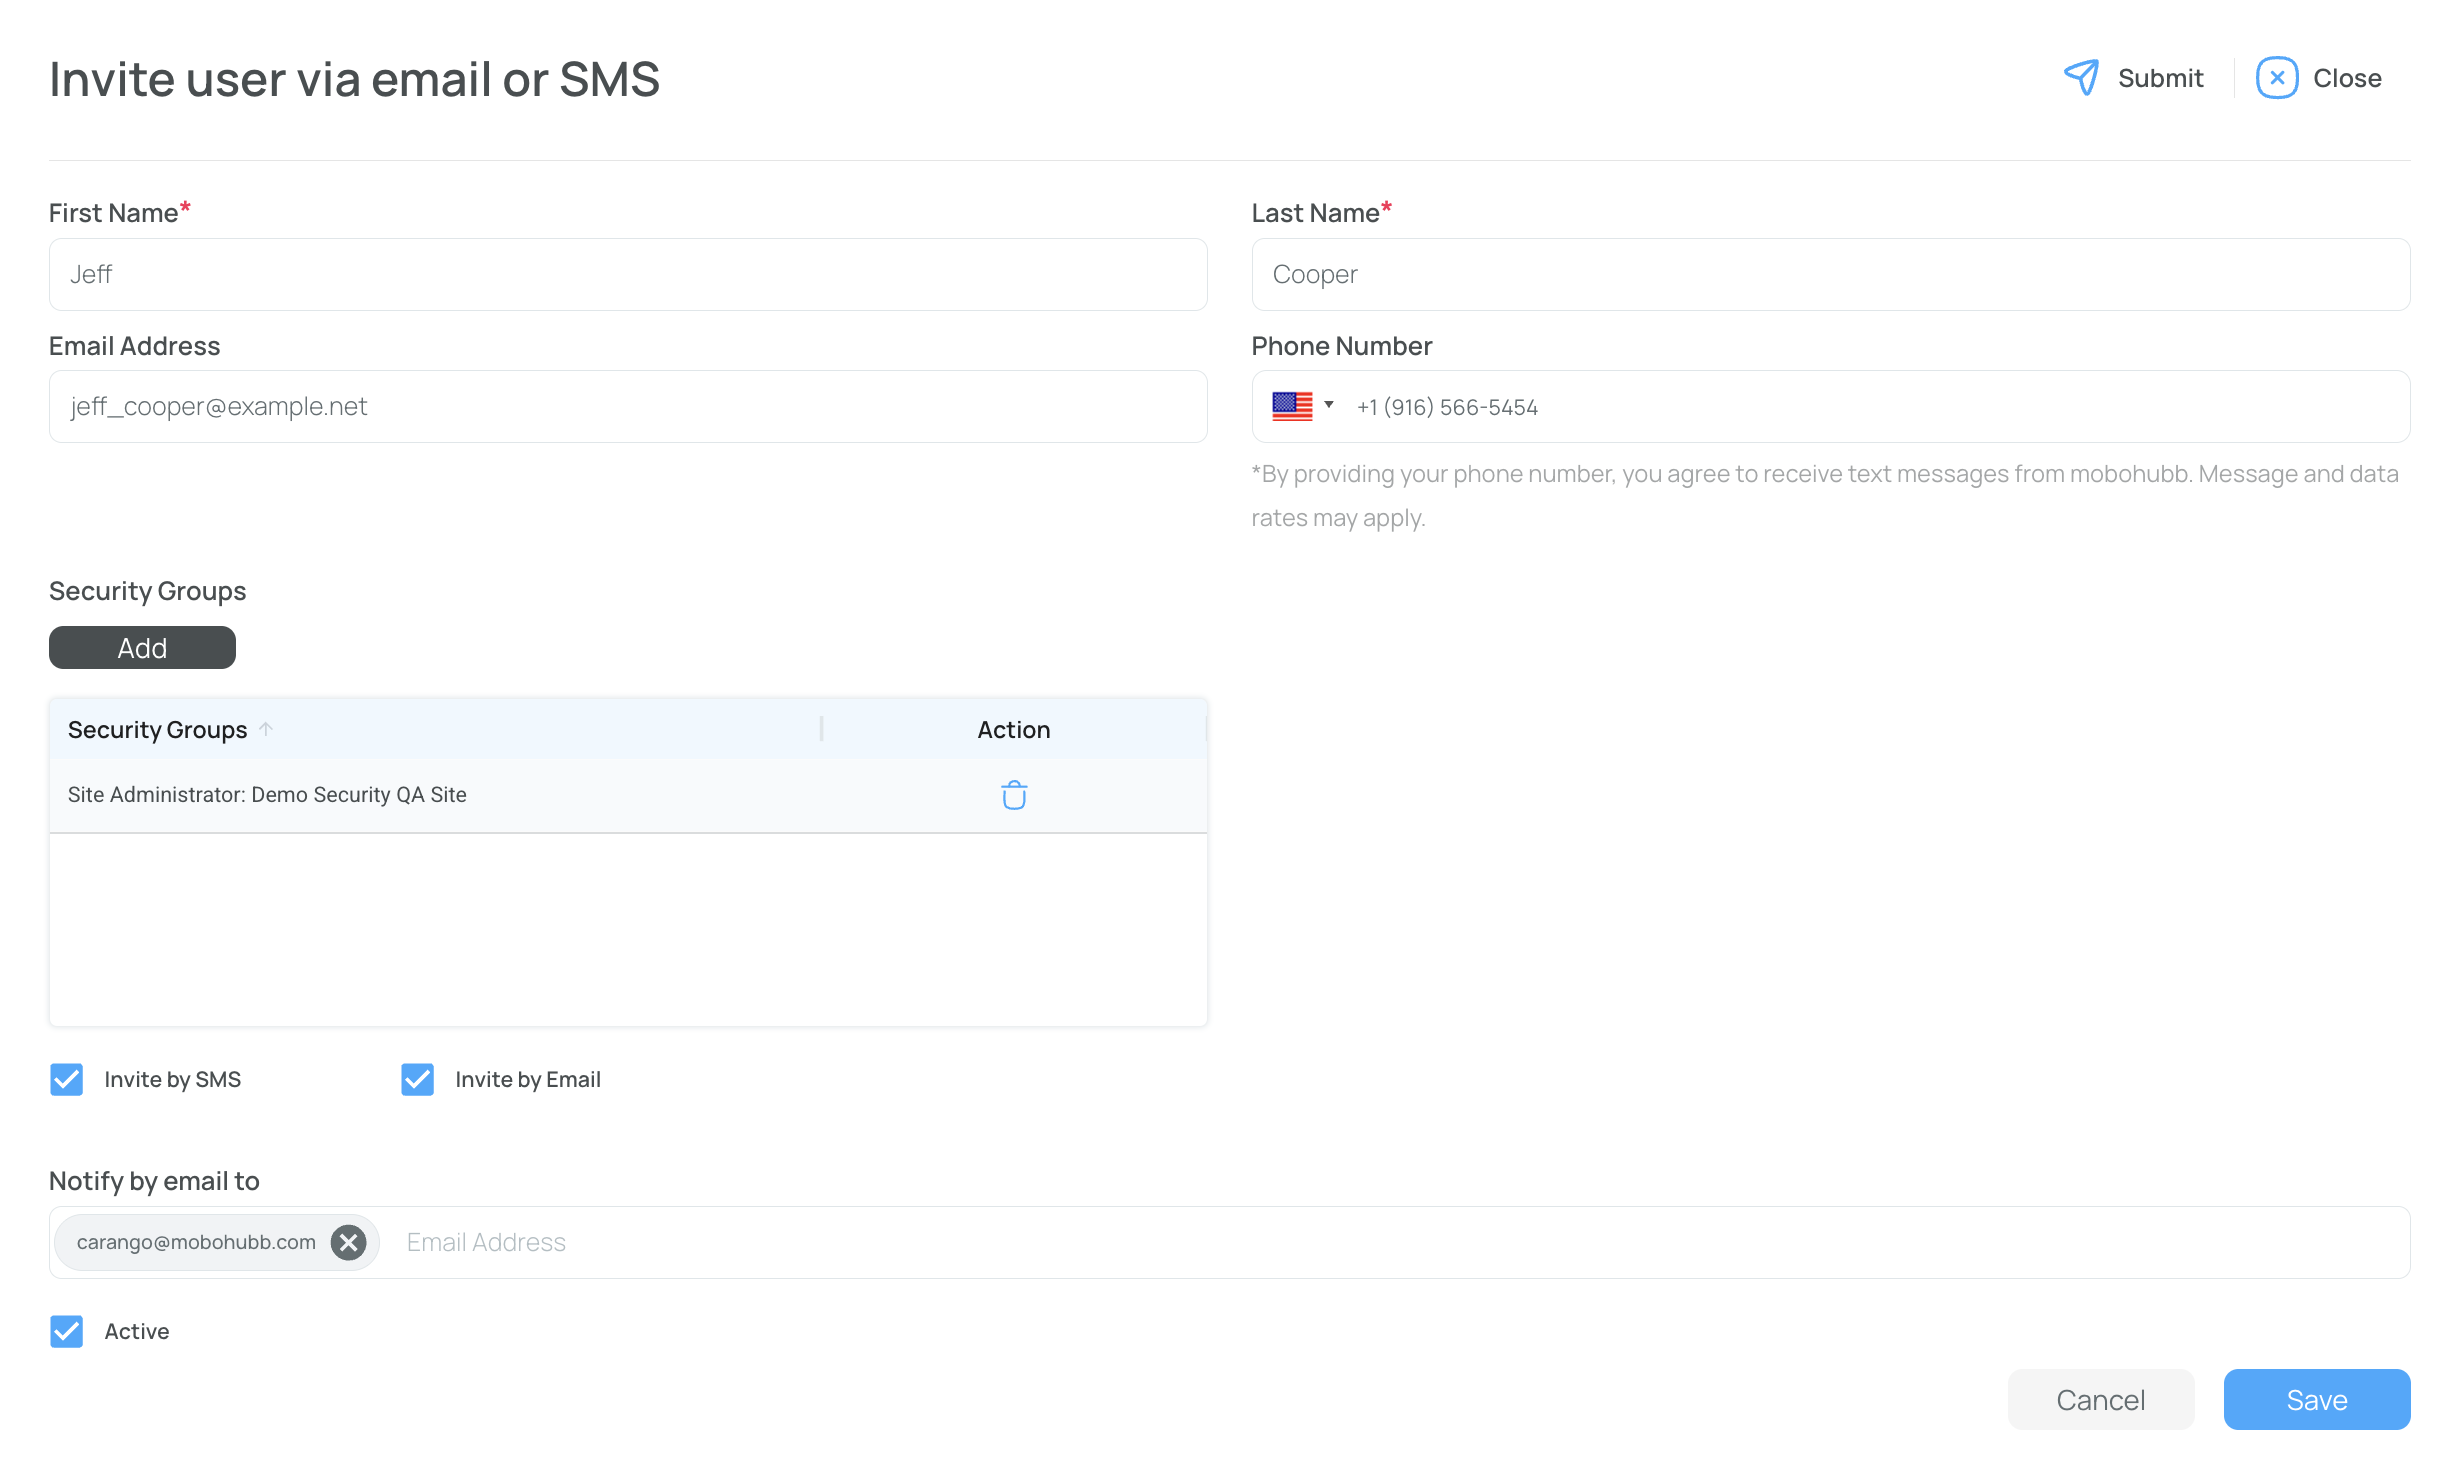
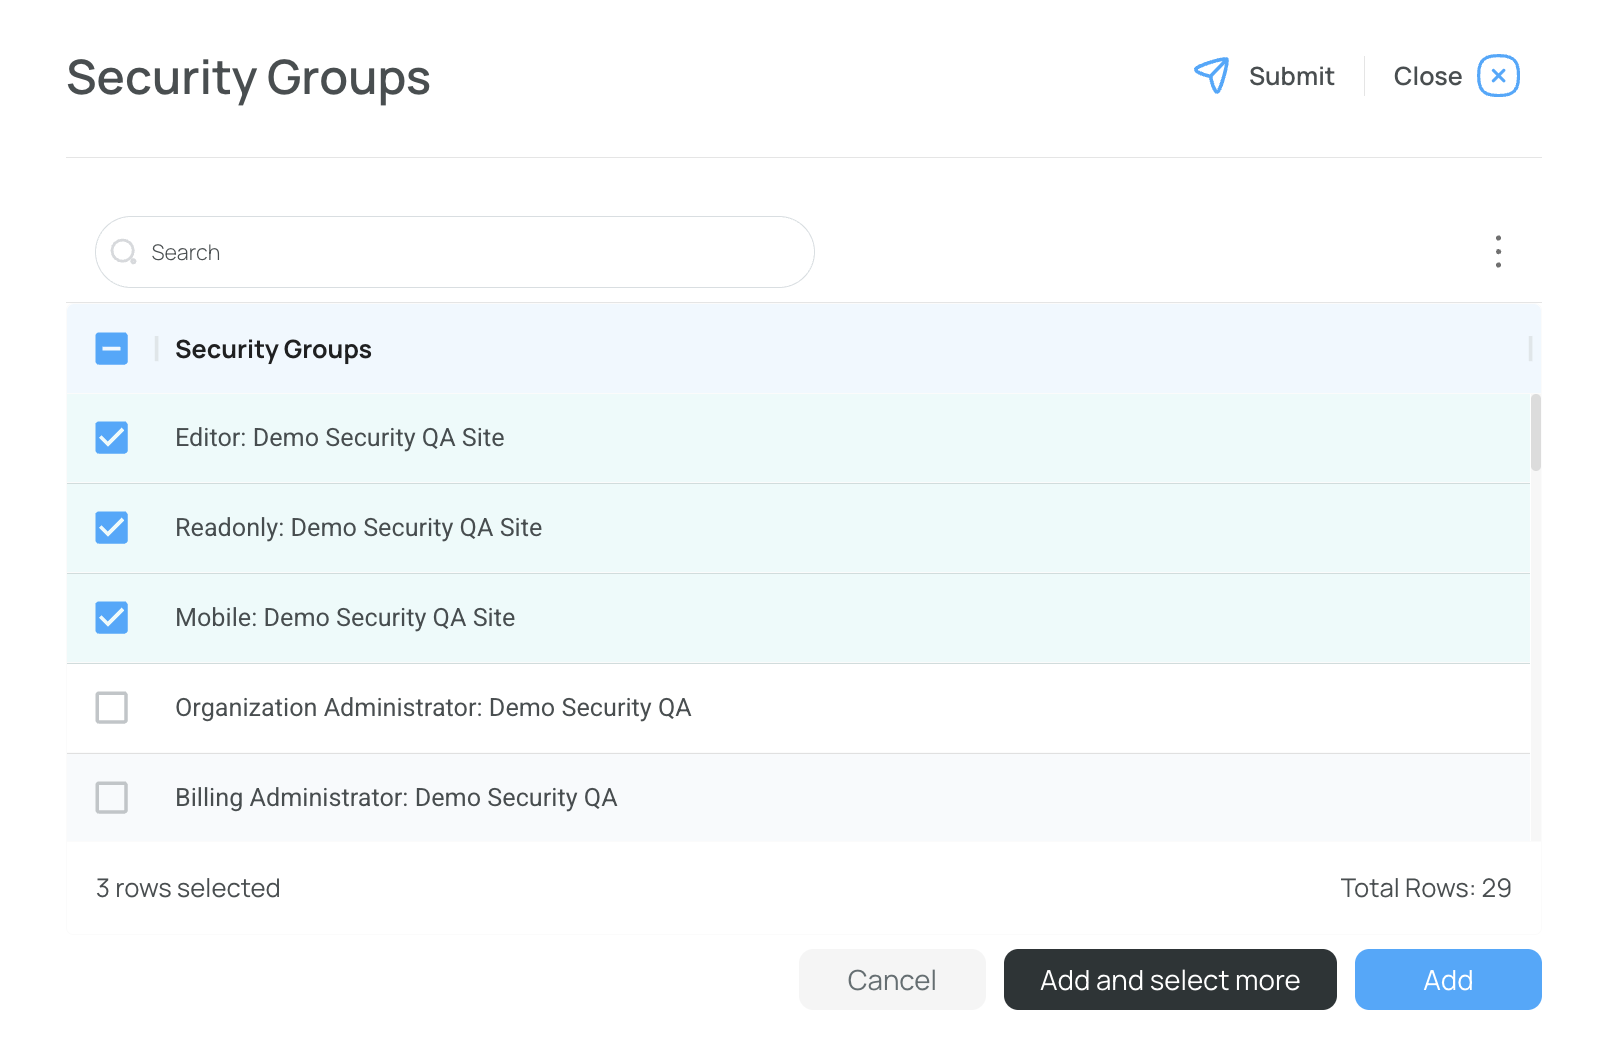
- Choose the Security Group from the dropdown menu. Press Add ans select more to continue adding more security groups. Press Add to save the selection and close the window.
- Choose between "Invite by SMS" or "Invite by Email" by checking the desired box.
- When you send an email invitation, the user is expected to use their username and password to log in.
- When you send an SMS invitation, the user is expected to use the SMS verification code to log in.
- You may check both methods.
Note: If you choose "Invite by Email," fill in the notification email address. This can differ from the user's email.
- Click the "Save" button in the form to create the new user.
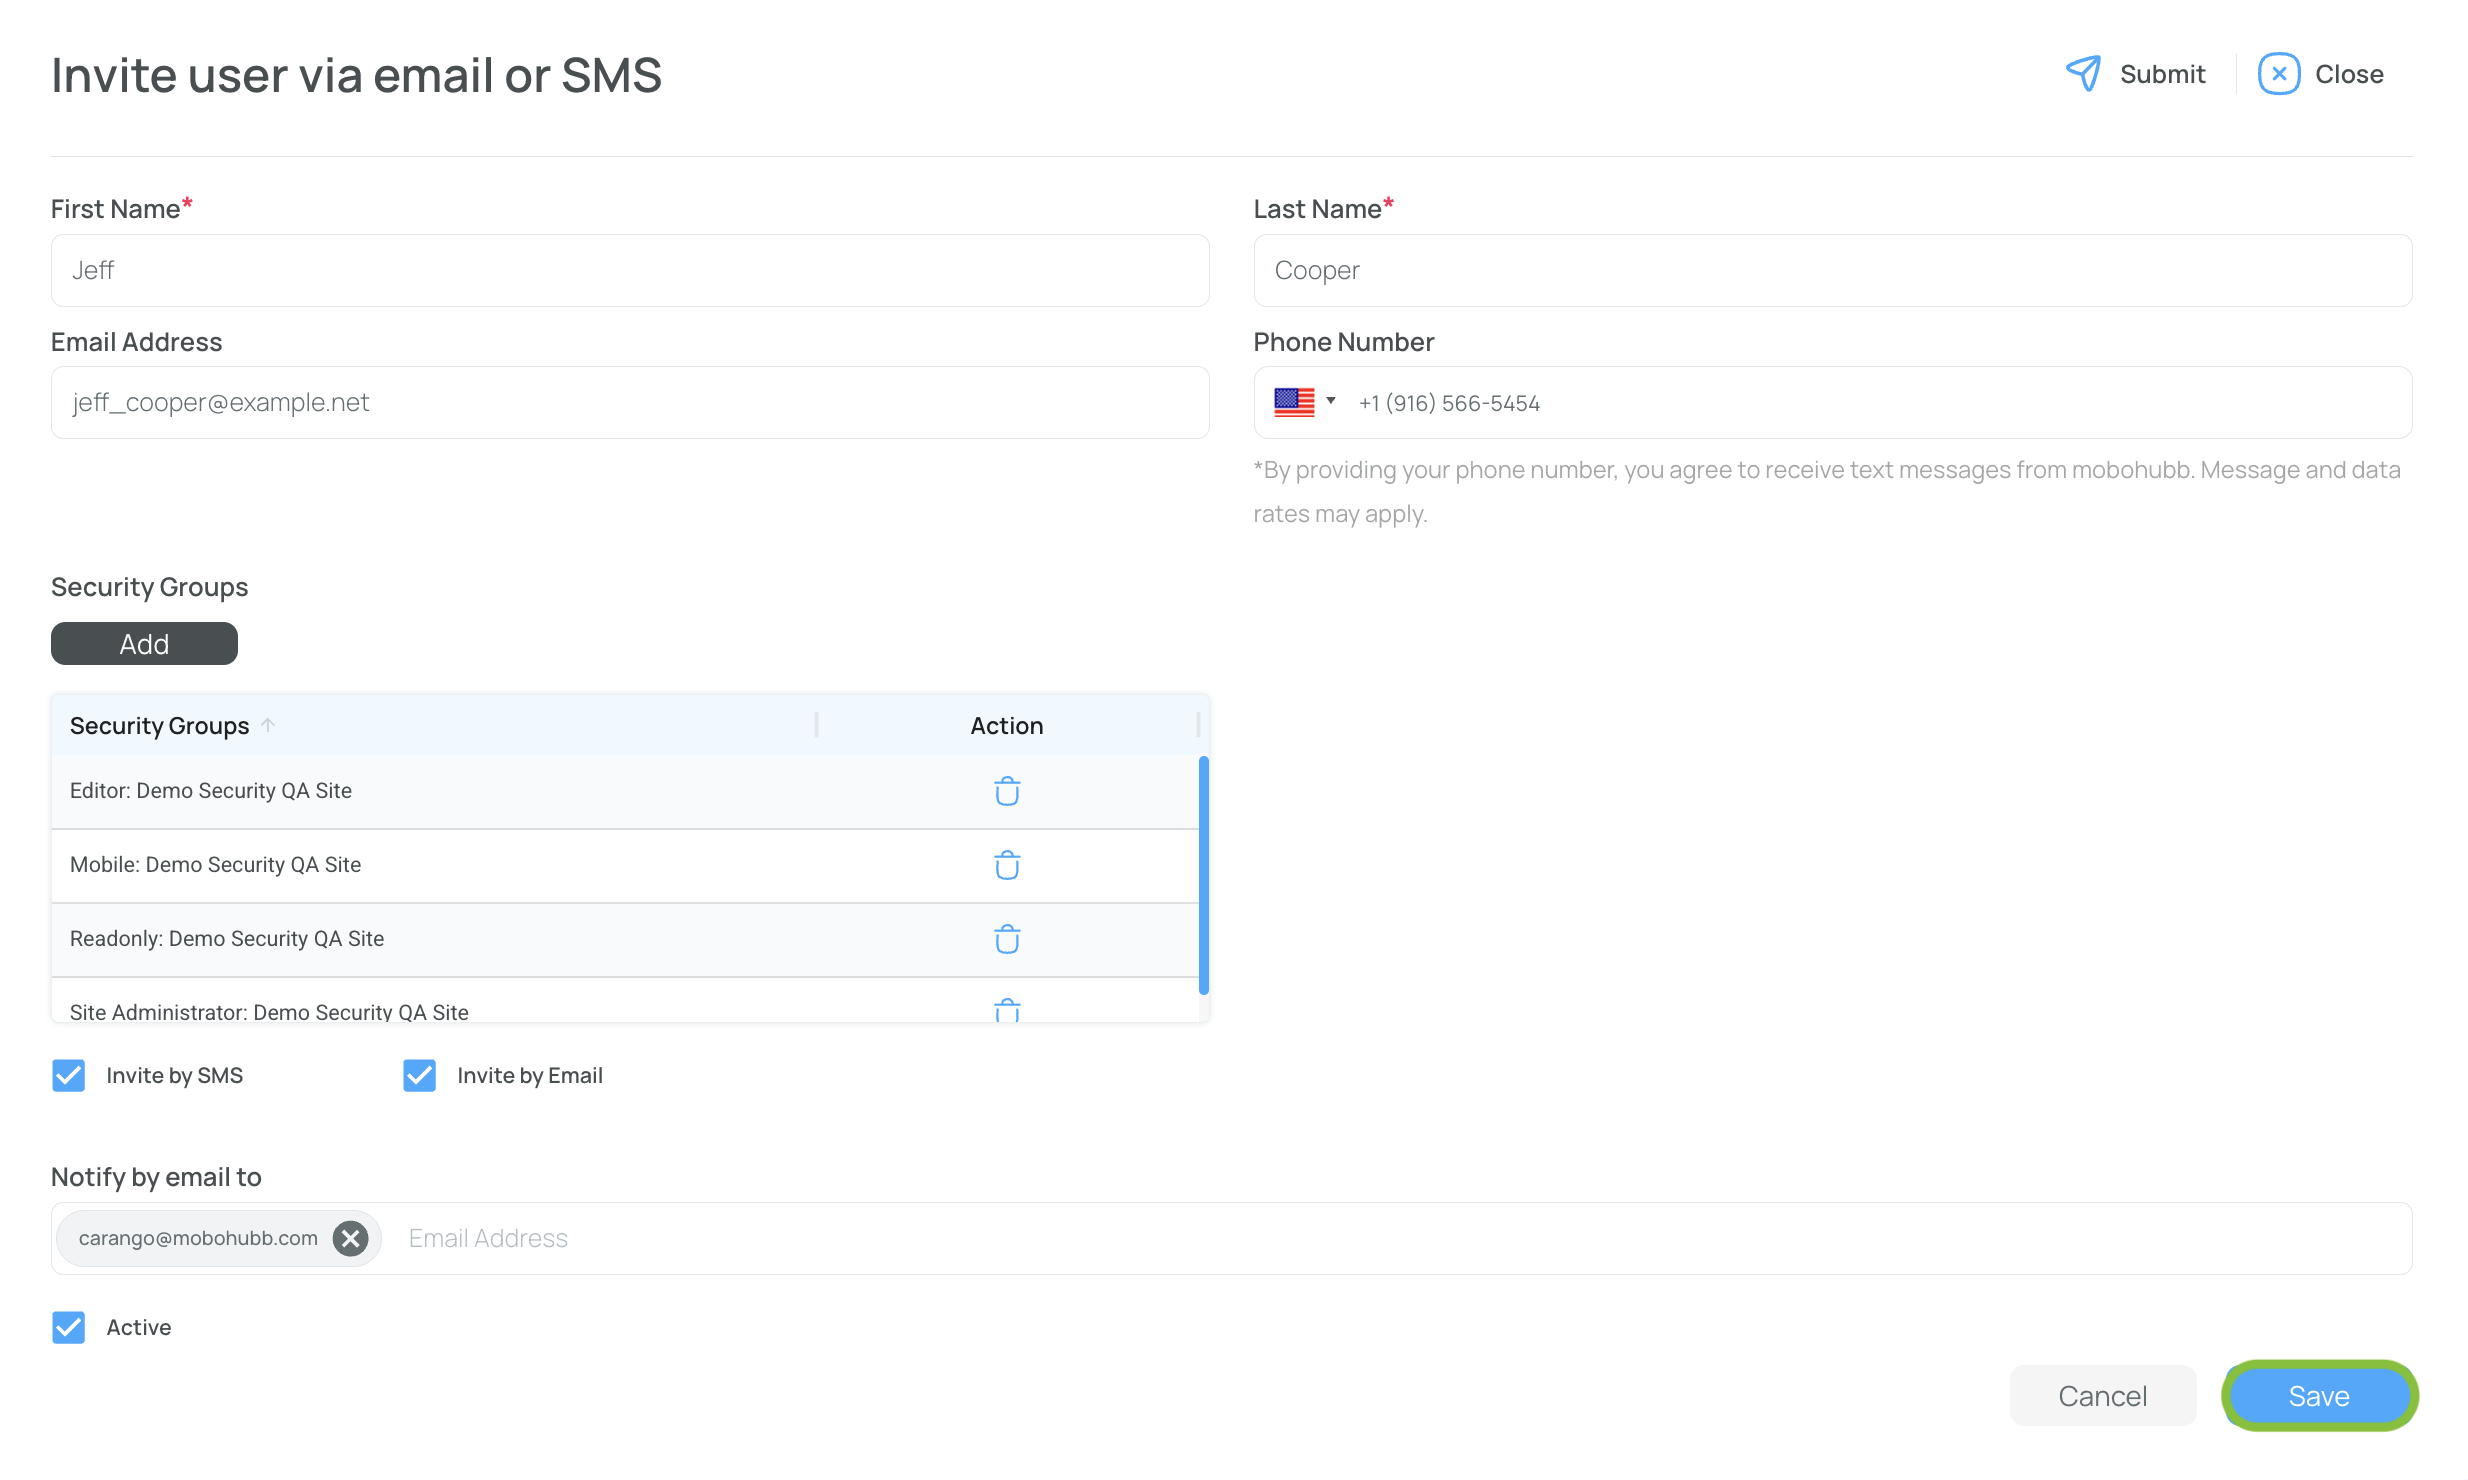
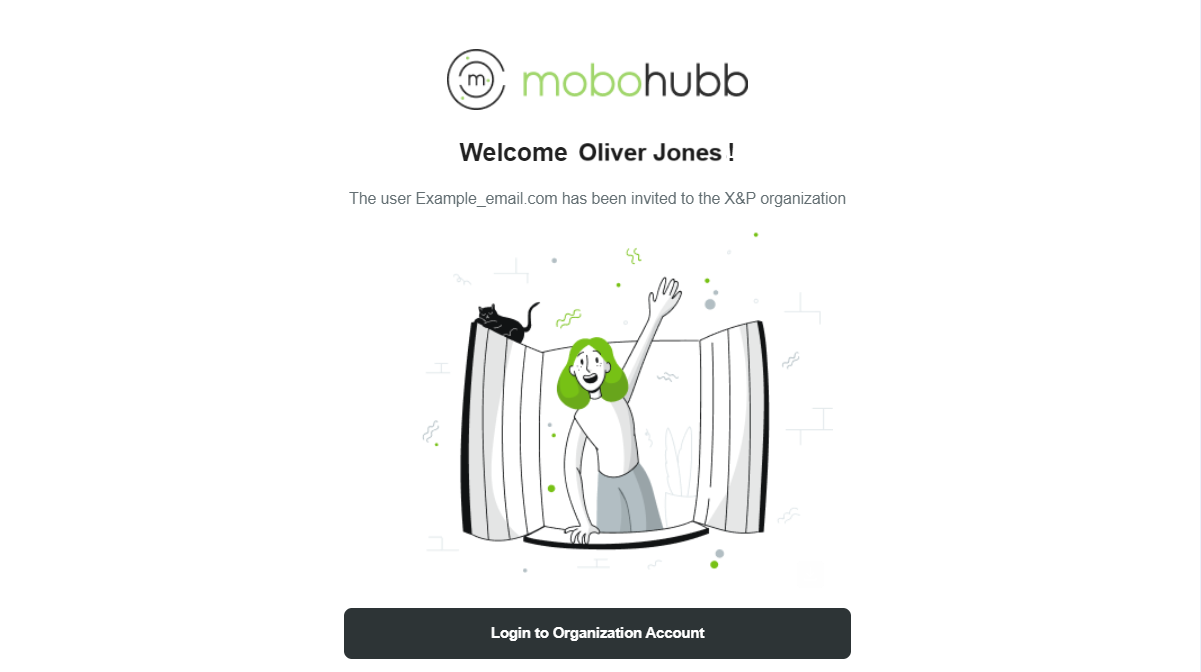
- The person will receive an email or SMS (depending on their chosen method) with a link to confirm their registration.
Note: Repeat the procedure for each new user.
Edit Users
To edit an existing user:
- Click the user you wish to update.
- Fill in the empty fields or modify existing information in each section.
Note: There is a section with further details under User's Personalization.
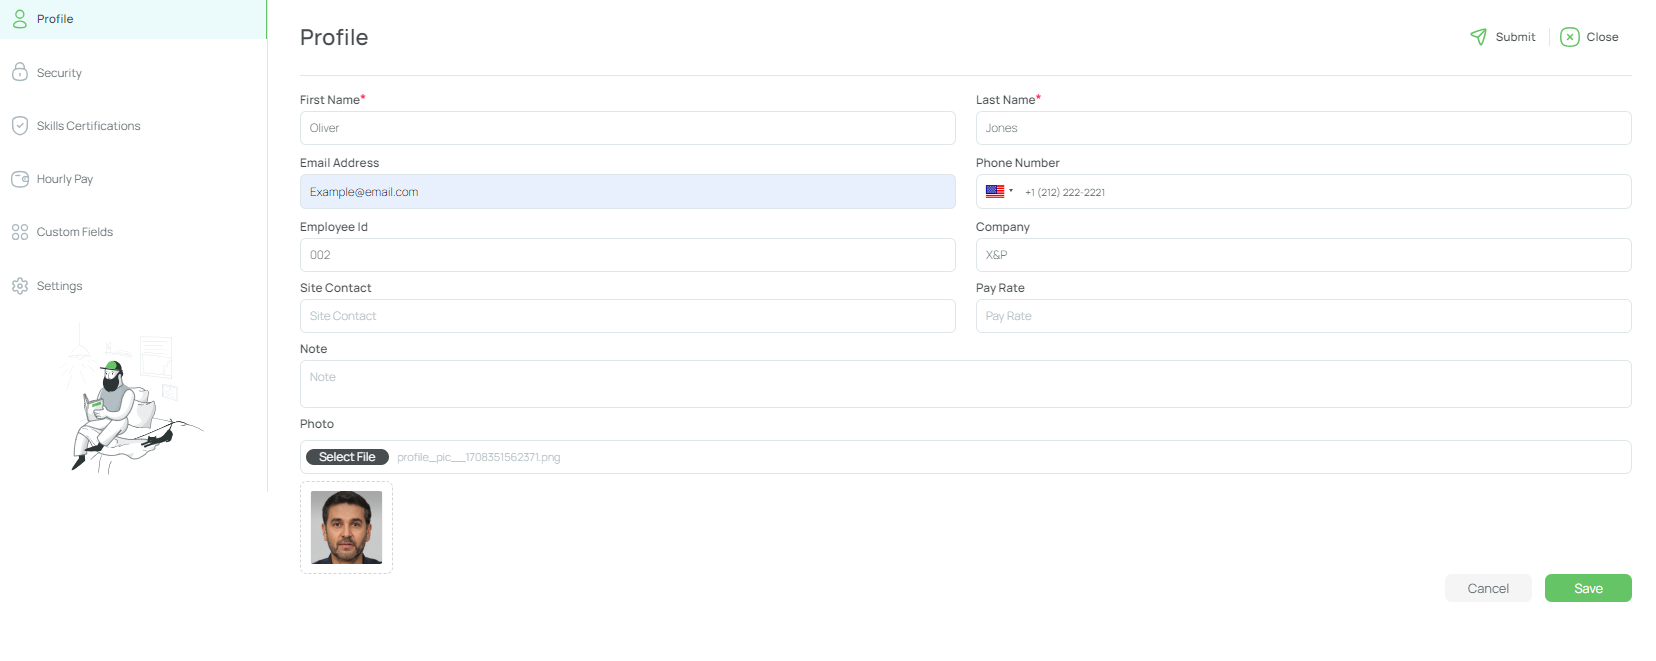
- Click the "Save" button on EACH tab you want to modify. Tabs save information individually.
- Close the window by clicking the "Close" button.
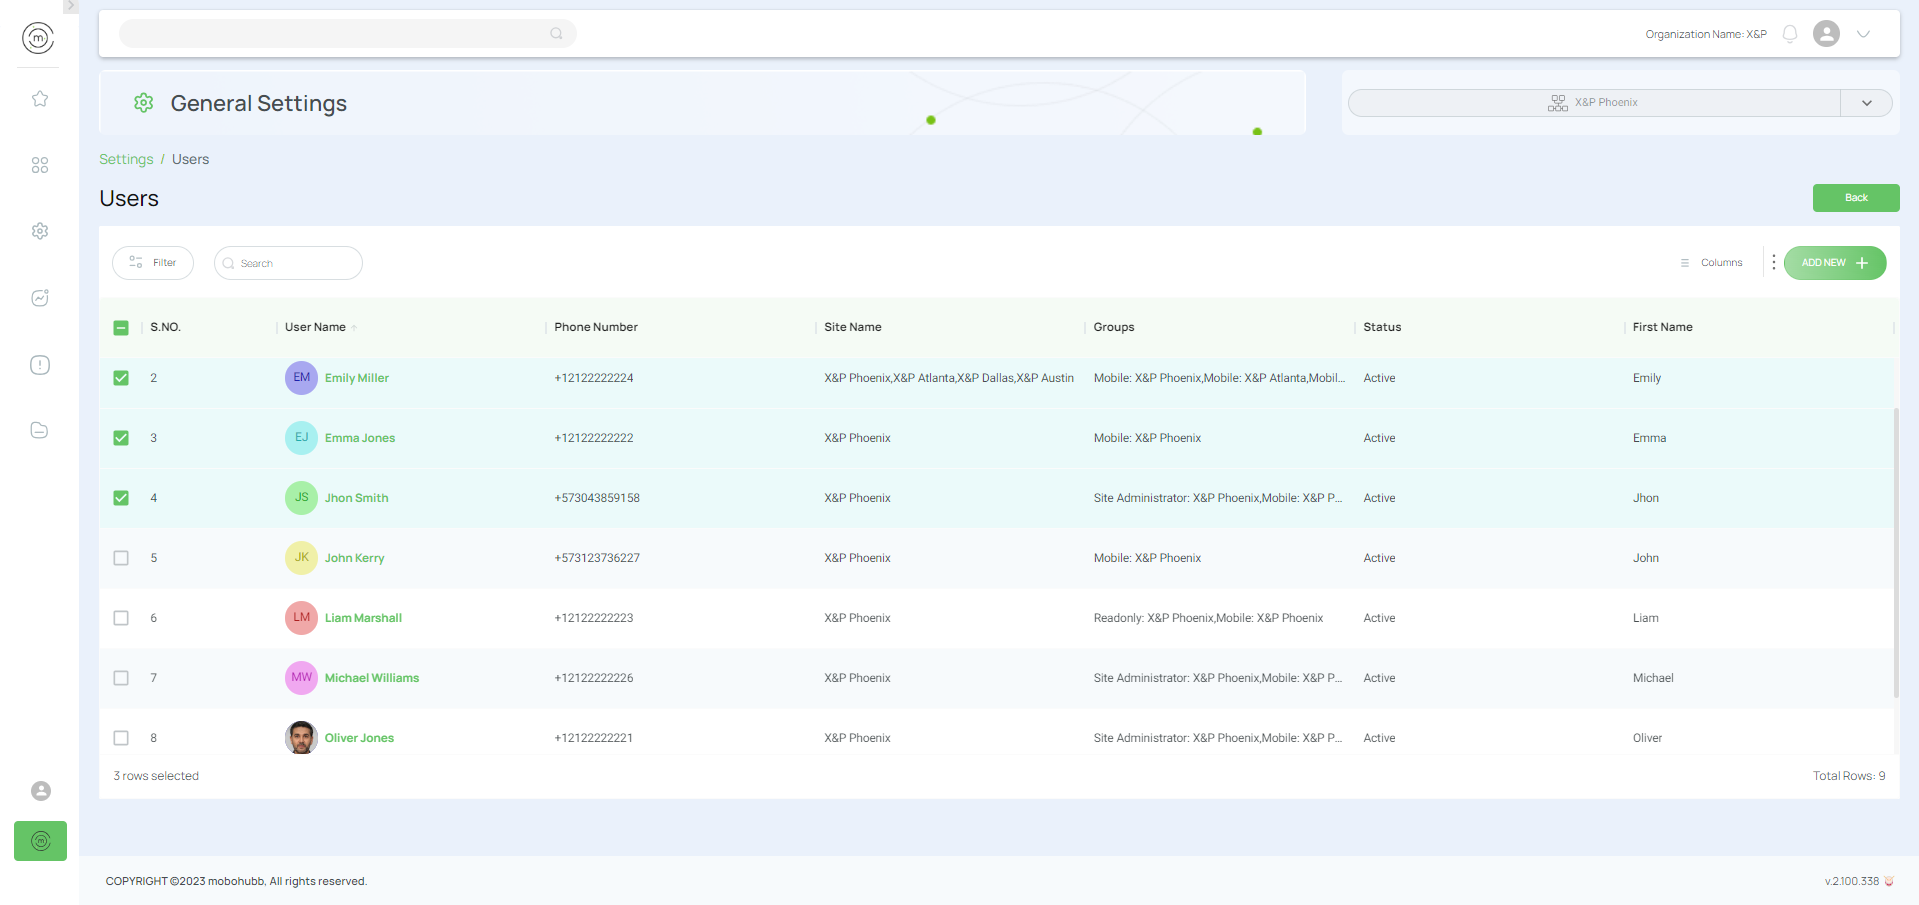
Activate or Deactivate Users
To activate or deactivate an existing user:
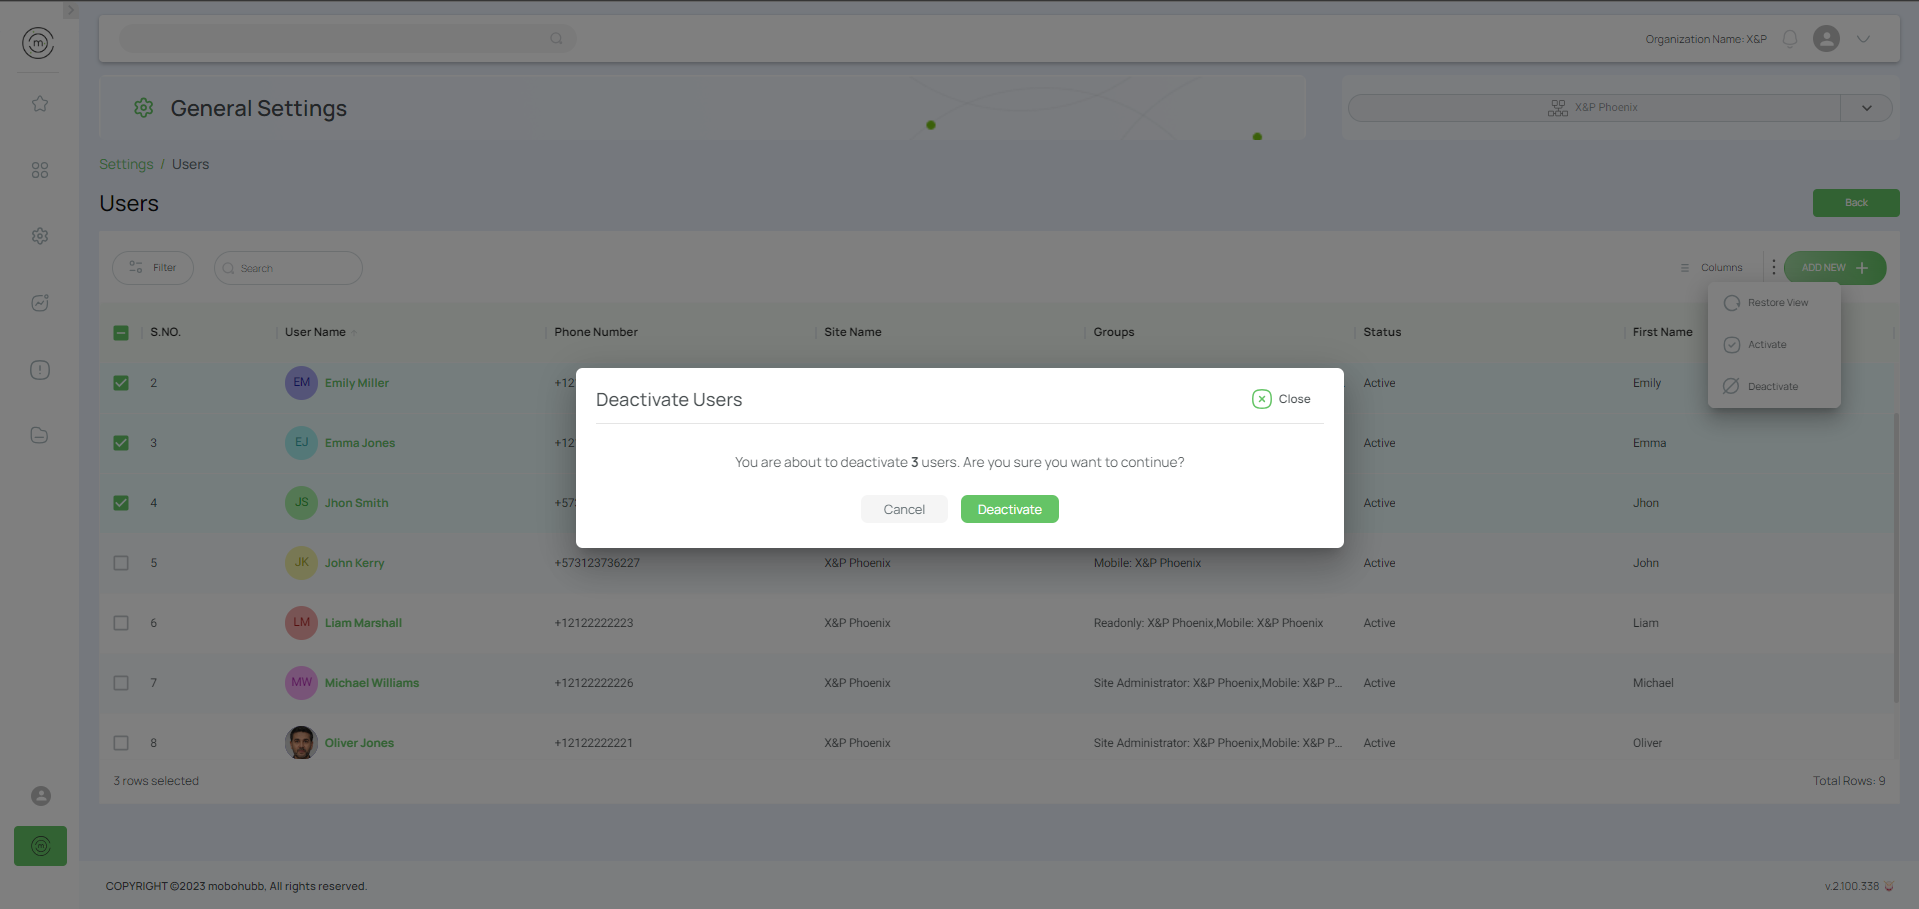
- Click on the checkbox for the users you want to modify.
- Click "Activate" or "Deactivate" depending on the case.
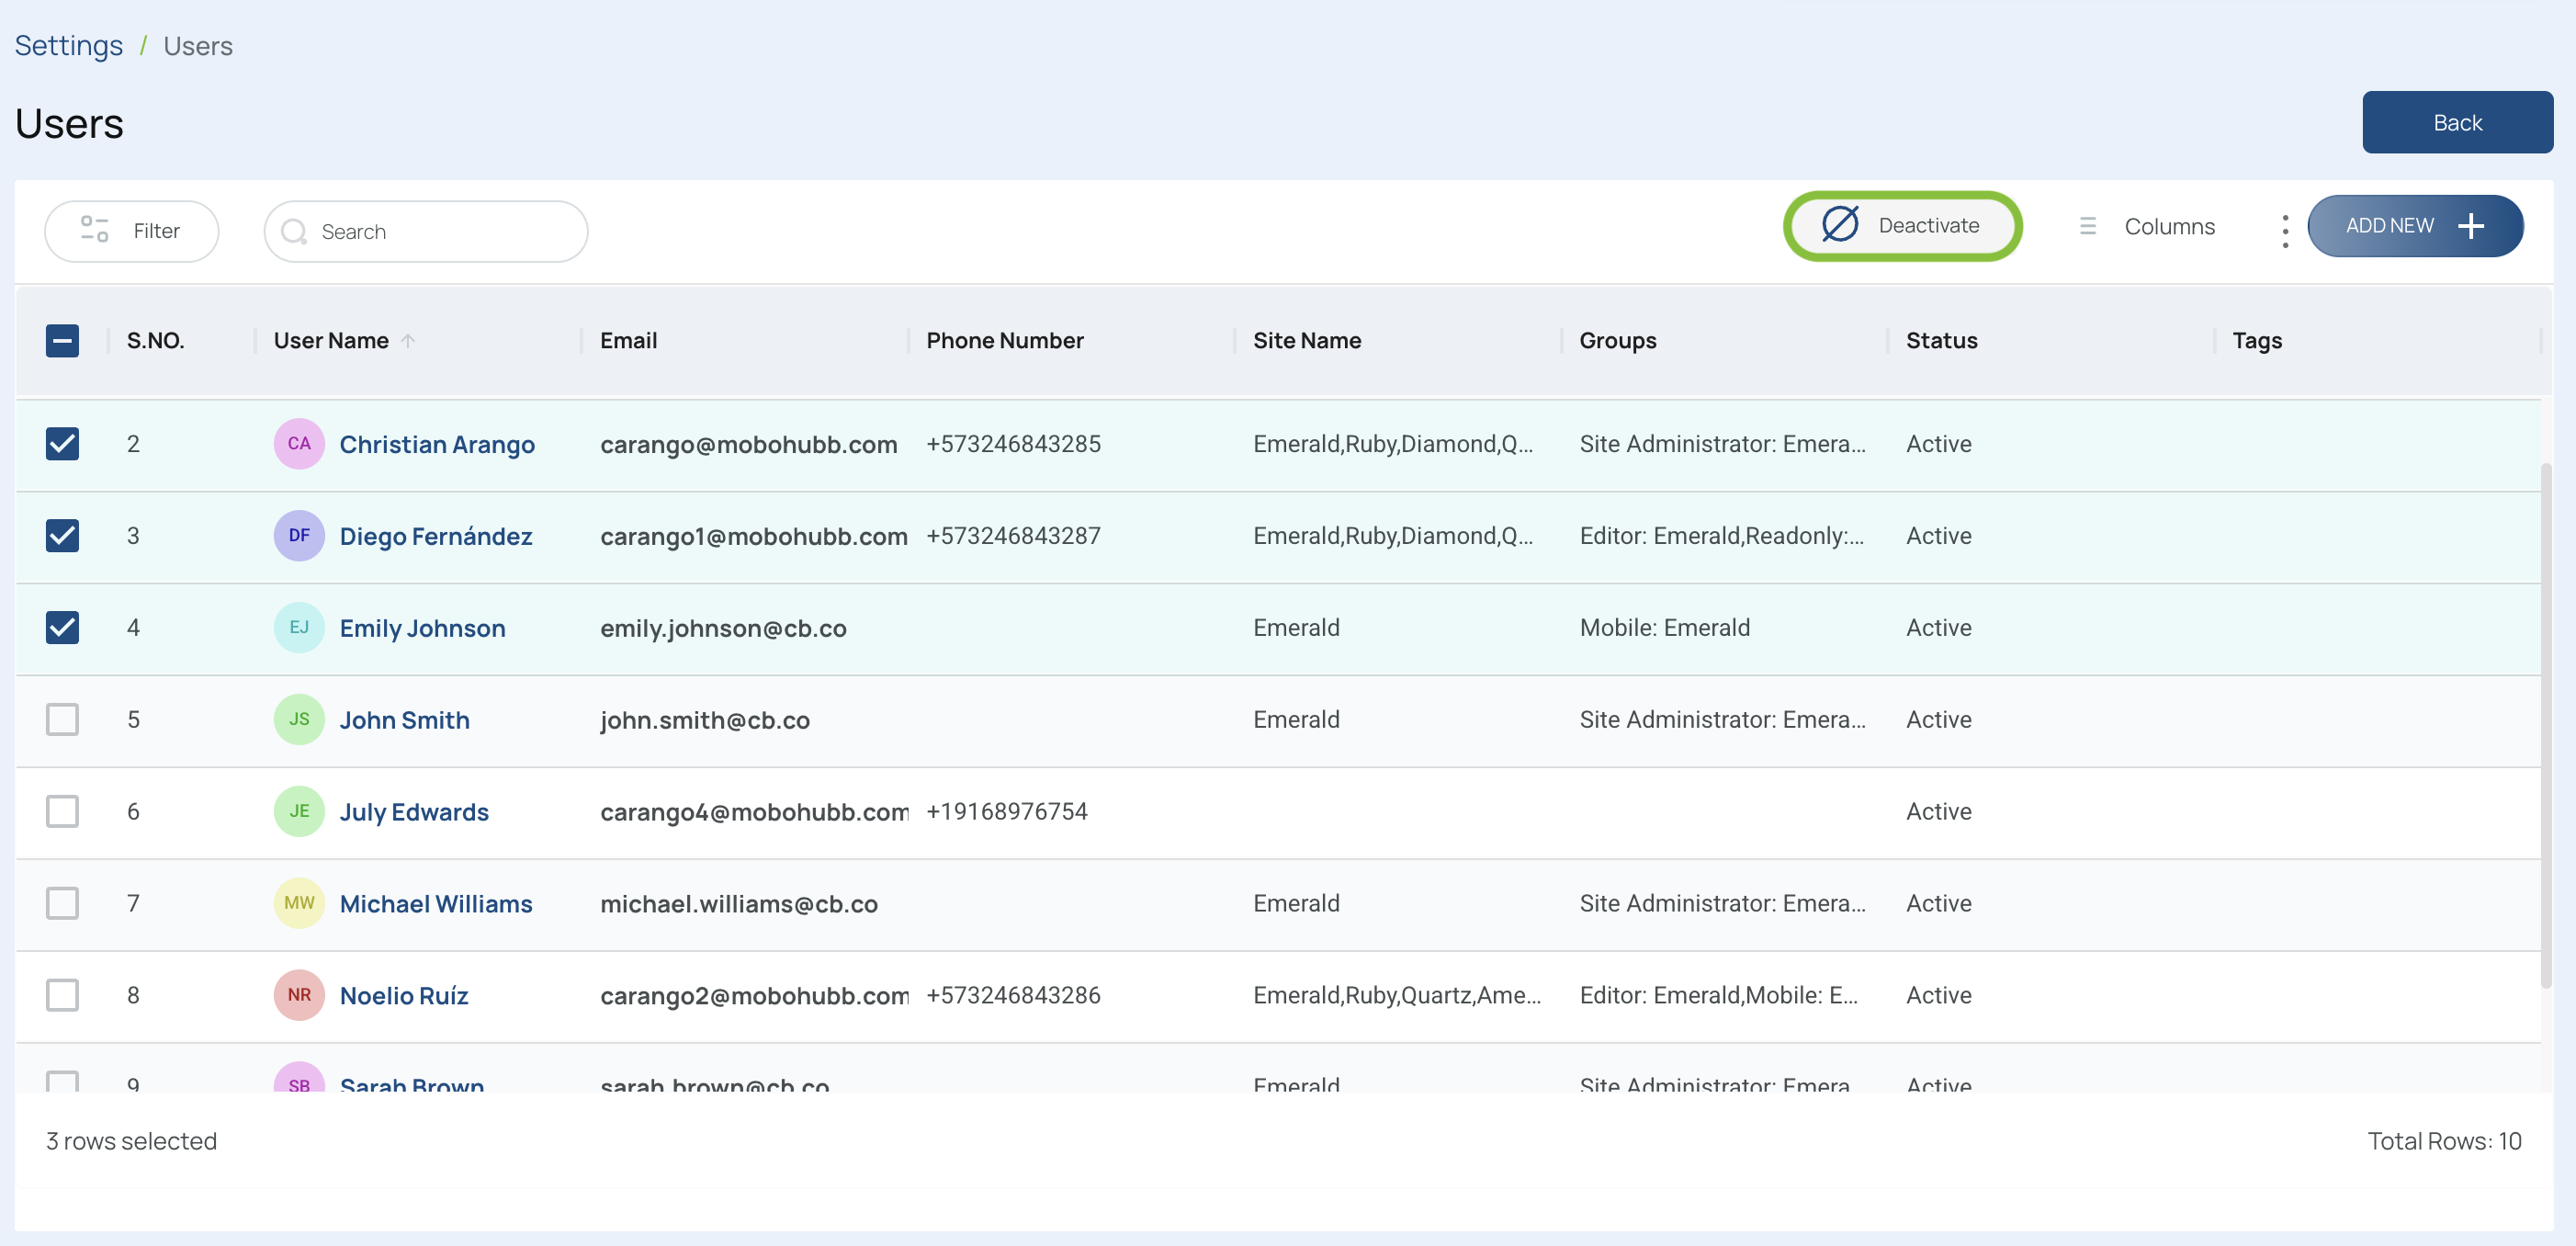
- Click "Activate" or "Deactivate" depending on your needs.
- Confirm the activation or deactivation:
- For deactivation, a pop-up notification will appear; click "Deactivate". For activation, a similar pop-up will appear; click "Activate."
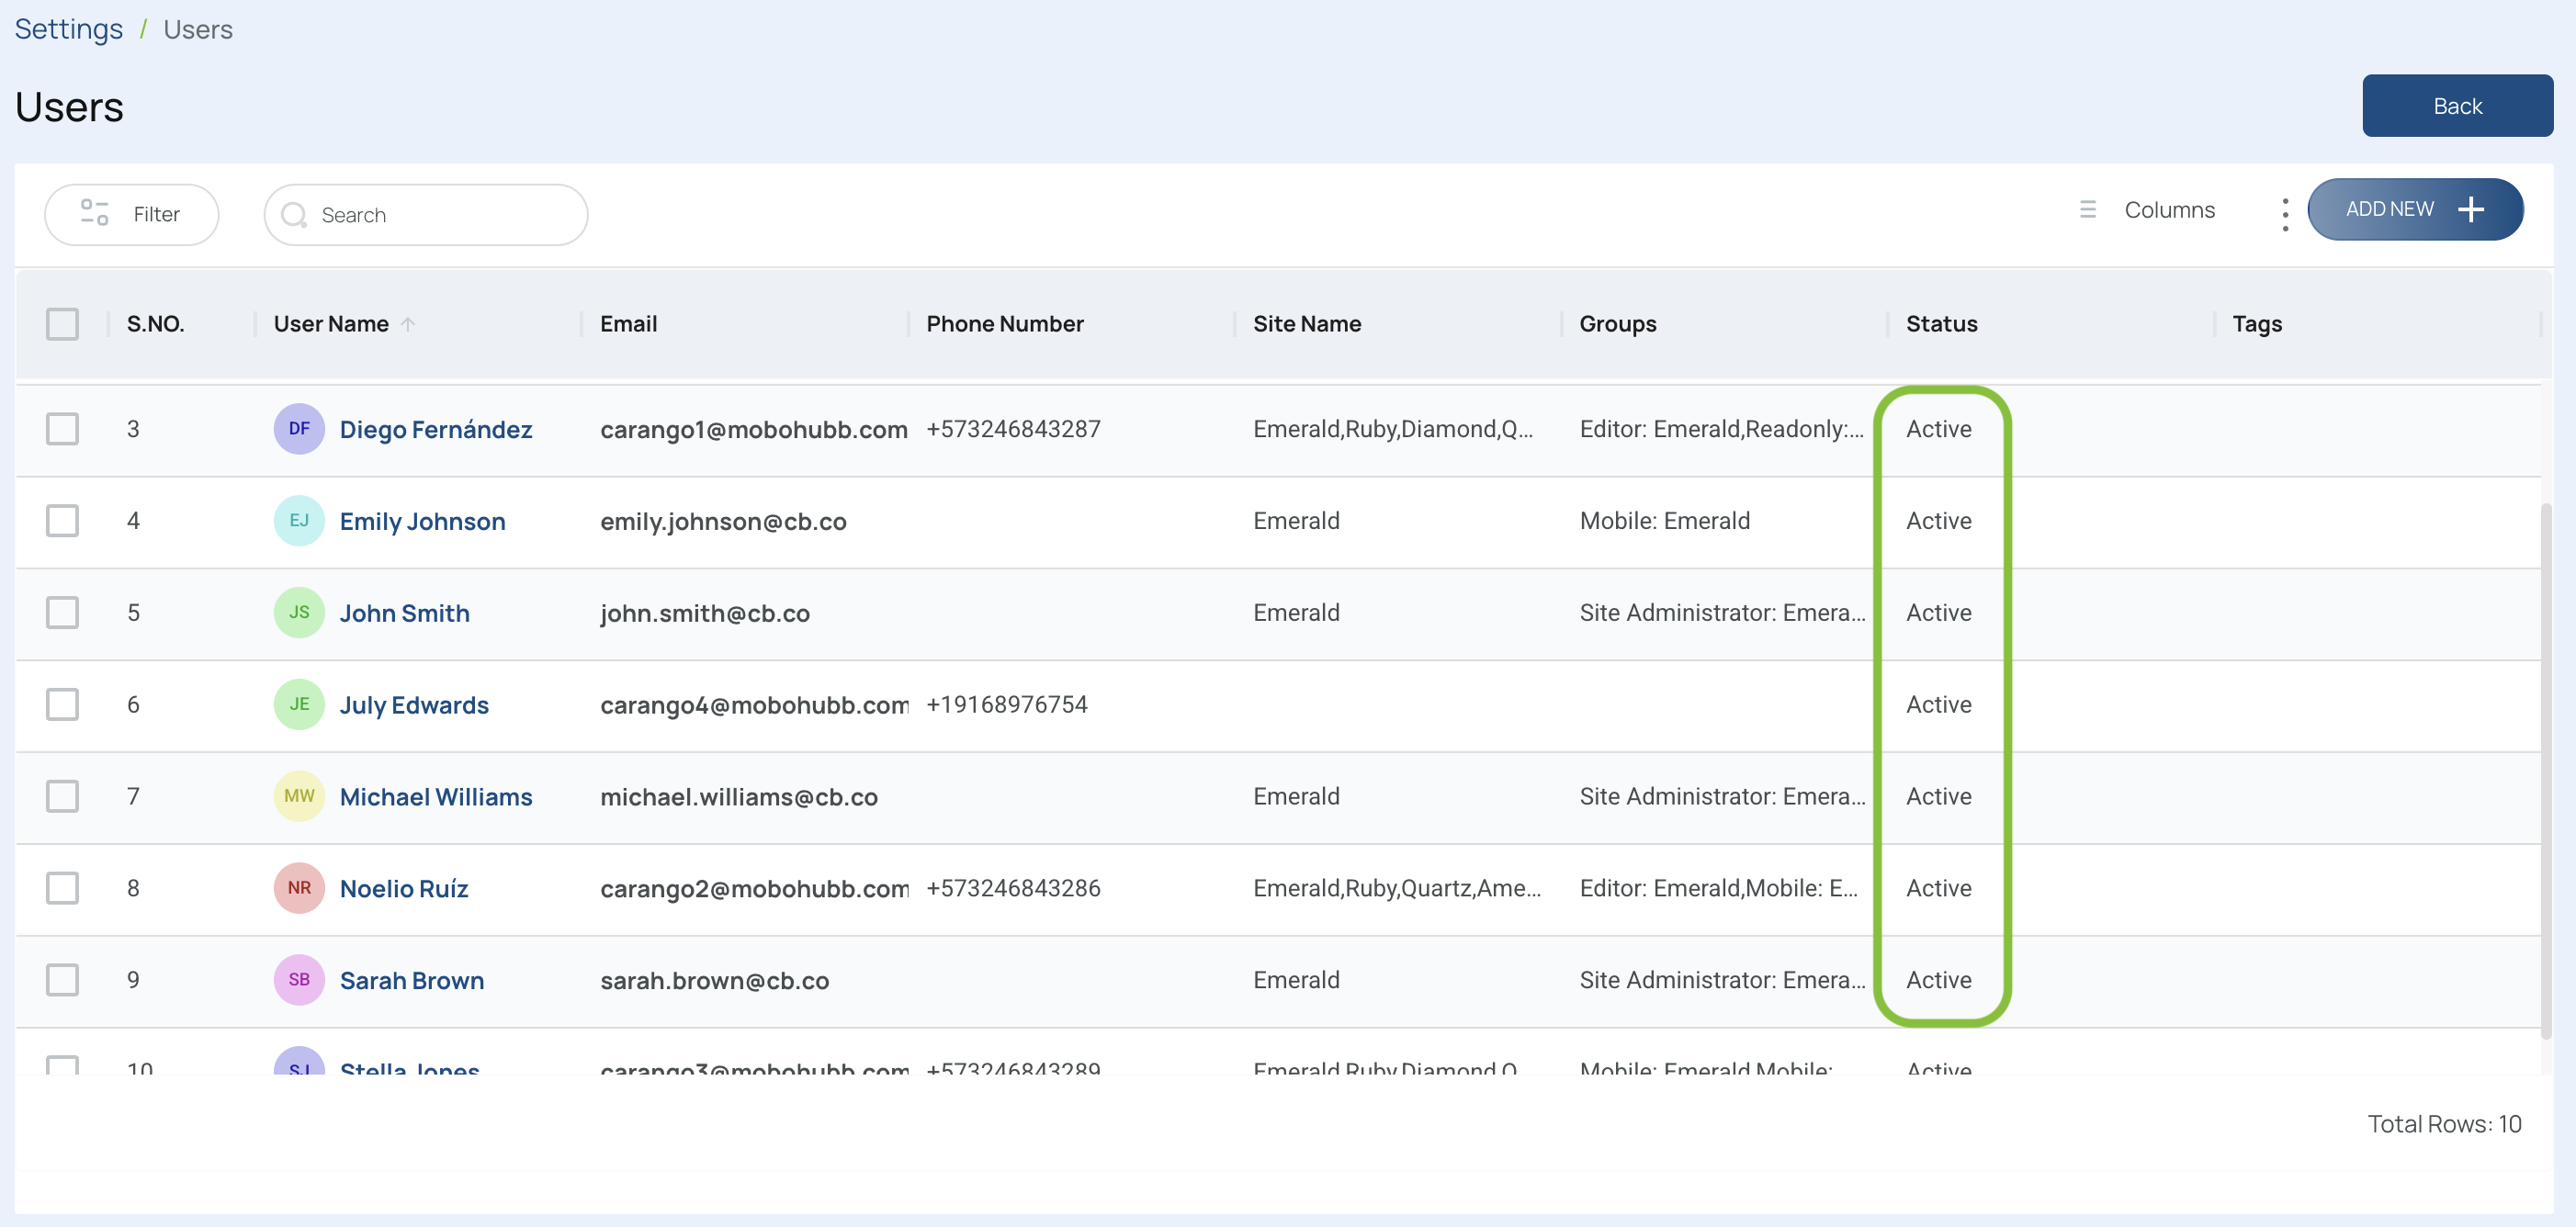
- Check the user status column to confirm the changes.