Site Management
Manage and configure your organization's sites in mobohubb. This comprehensive guide walks you through Site Information, Site Branding, and Mobile Configuration, helping you tailor each site to your unique workflow and visual identity.
In This Guide You'll Learn
- How to access Site Management and update a site's core information
- How to customize branding and time settings or inherit them from the organization
- How to configure mobile app behavior for each site, including GPS, security, timesheets, and breaks
Site Management lets you configure the main settings for each site in your organization. From this area, you can manage site details, branding, time settings, and mobile-specific configurations.
How to Access Site Management
- Navigate to Settings → General Settings → Site Management.
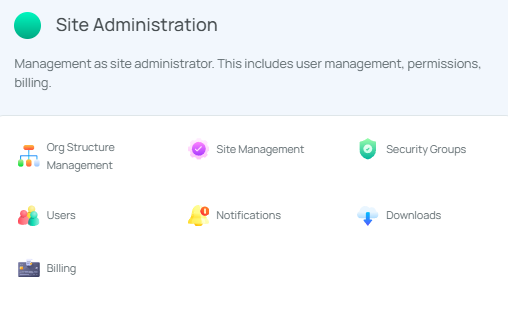
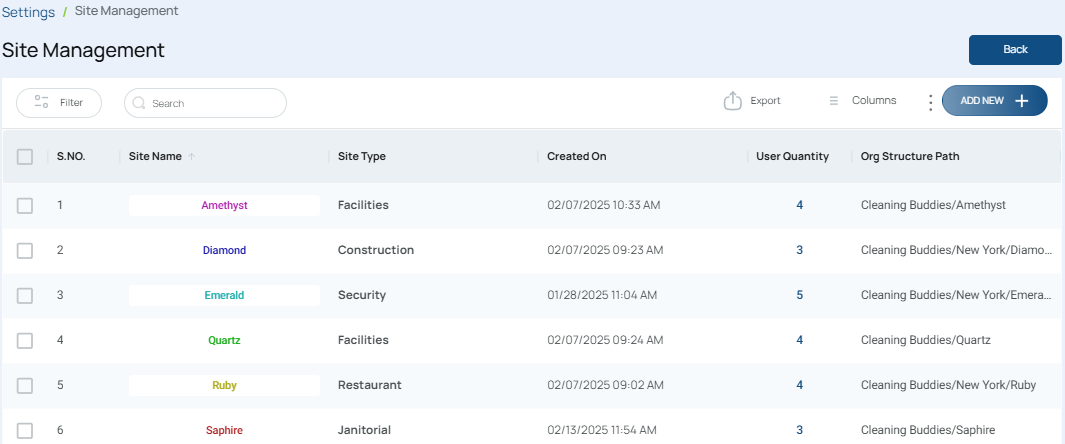
- Select a Site from the list.
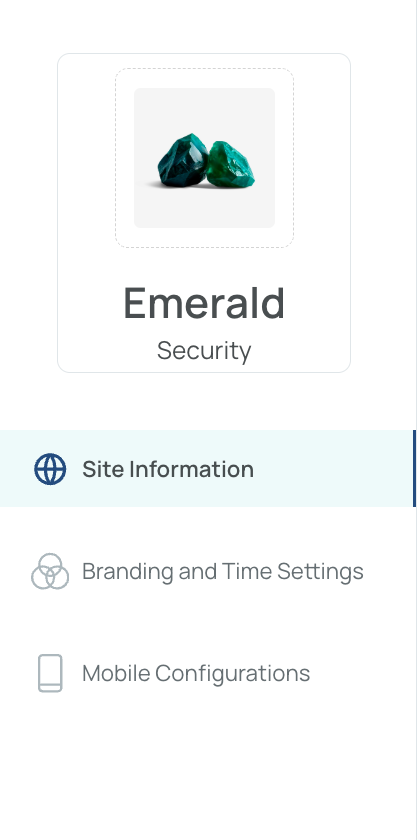
Site Management is divided into three main sections:
- Site Information
- Branding and Time Settings
- Mobile Configurations
Each section is available through its own tab.
Site Information
The Site Information tab allows you to manage the essential details of each site in your organization.
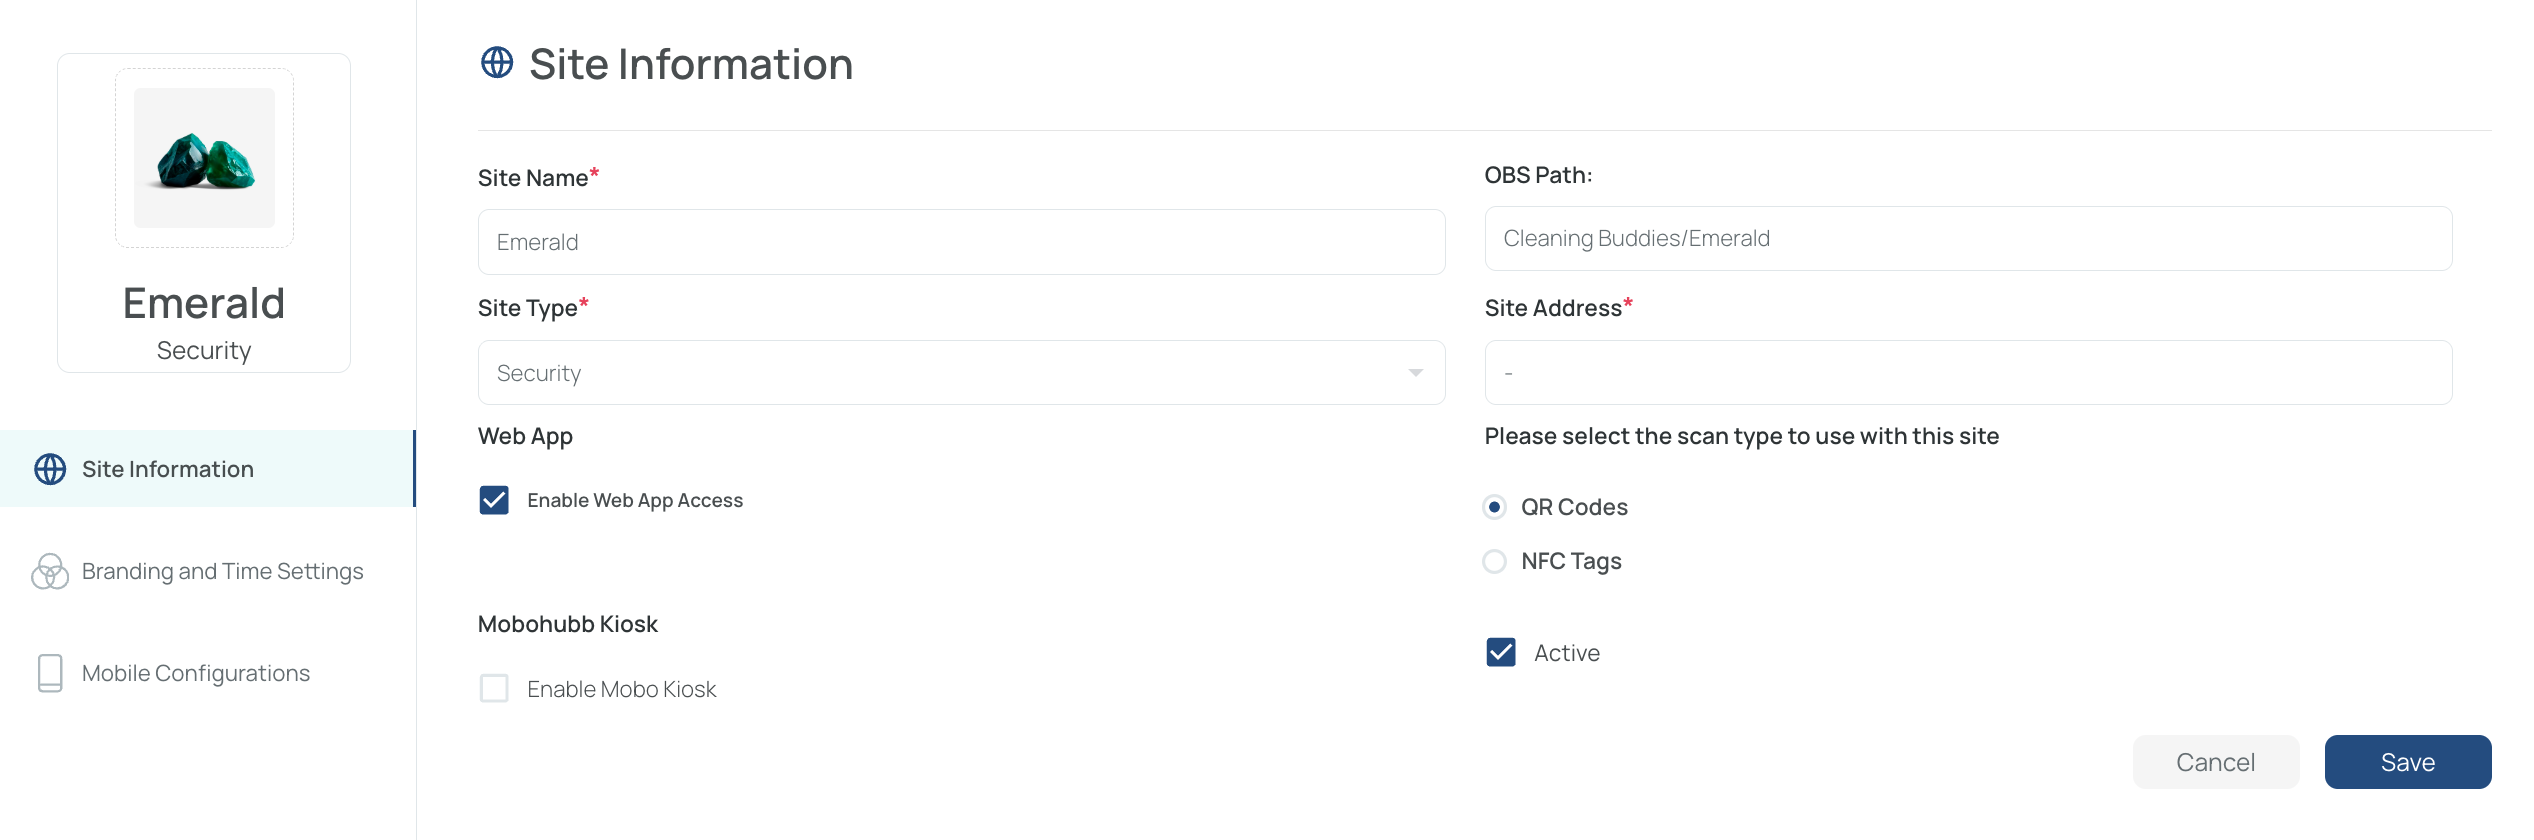
The available fields include:
- Site Name: A unique name used to identify the site
- OBS Path: The site path that represents the site's hierarchical position within the organizational structure. Rather than indicating a physical address or server directory, it shows the site's level and relationship to other sites or child sites within the organization
- Site Type: Security, facilities, janitorial, construction, restaurant, other, and more
- Site Address: The geographical location of the site or target audience
- mobohubb Kiosk: The Kiosk app creates a physical check-in station where employees can manually clock in, clock out, and manage breaks using a dedicated tablet or iPad. Learn more
- Enable Web App Access: Grants access to forms through the Web App
- Activate the Site: Lets you quickly deactivate or activate the site without deleting its record
- Type of Scan: Lets you choose between NFC tags or QR codes. Each site can only have one option active at a time
How to Update Site Information
- Under Site Management, select the site you want to modify.
- In the Site Information tab, review the fields and update them as needed.
- Click Save to apply your changes, or click Cancel to discard them.
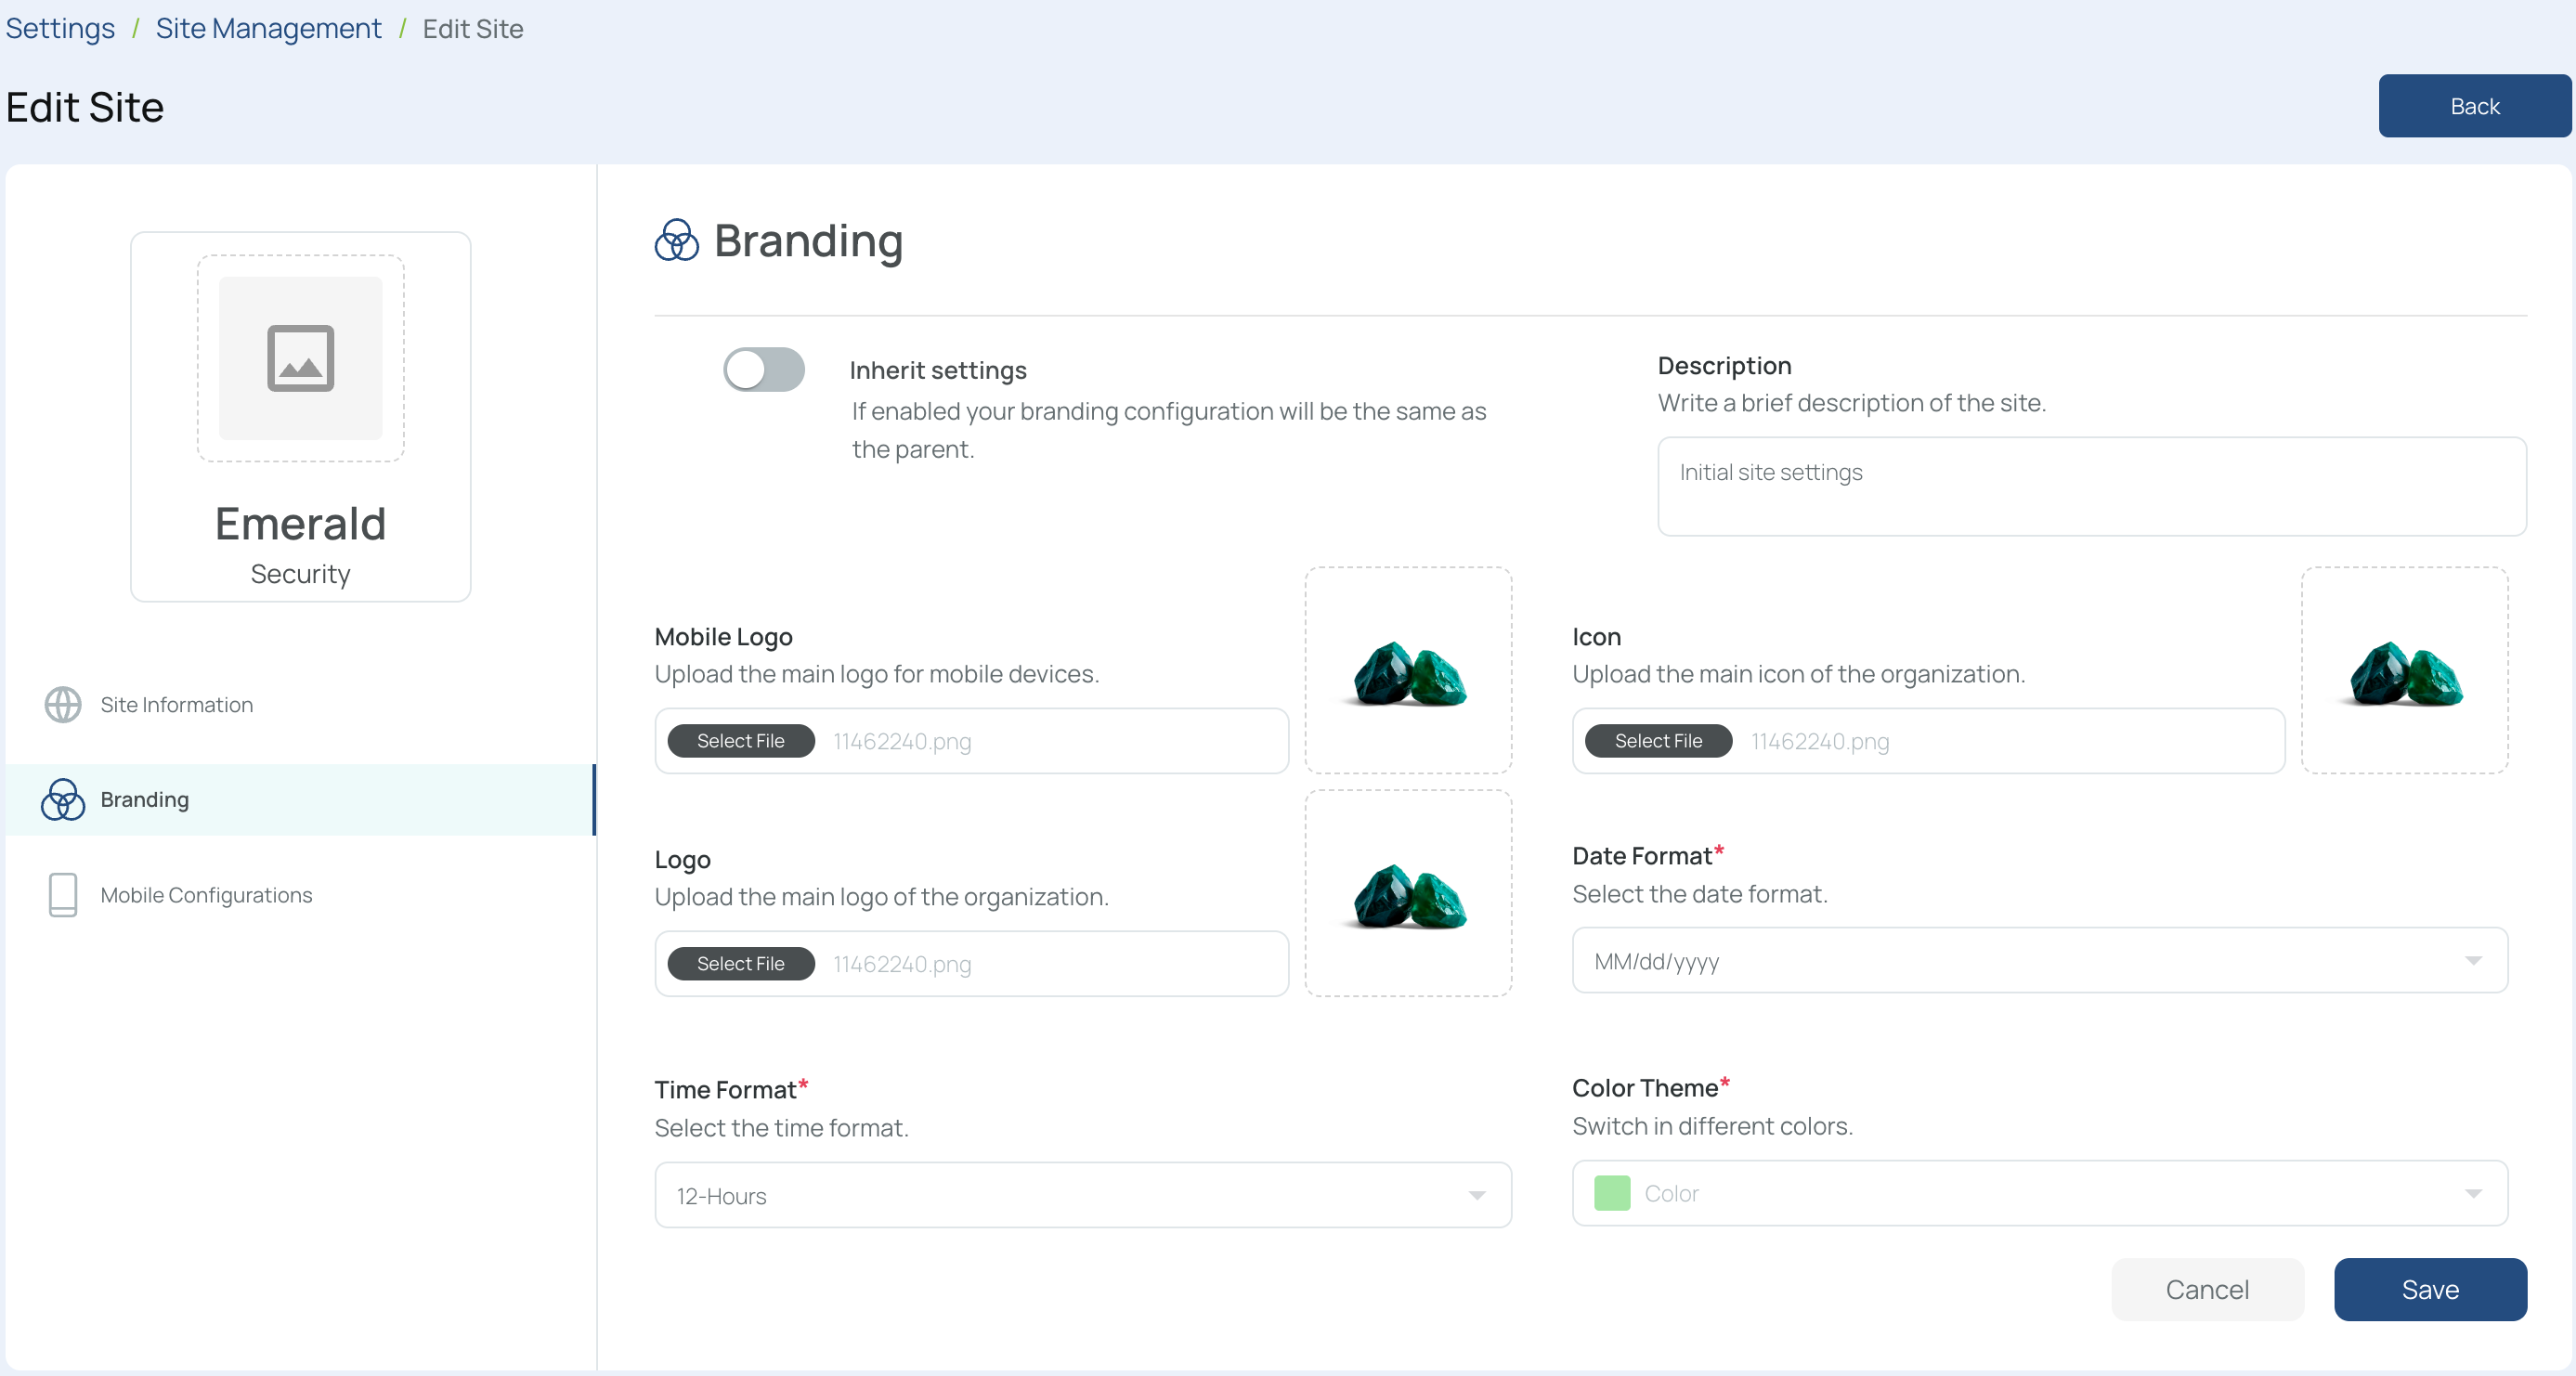
Branding and Time Settings
The Branding and Time Settings tab allows you to control the site's visual identity and time-related preferences.
How to Update Site Branding
- Open Branding and Time Settings, then go to the Branding section.
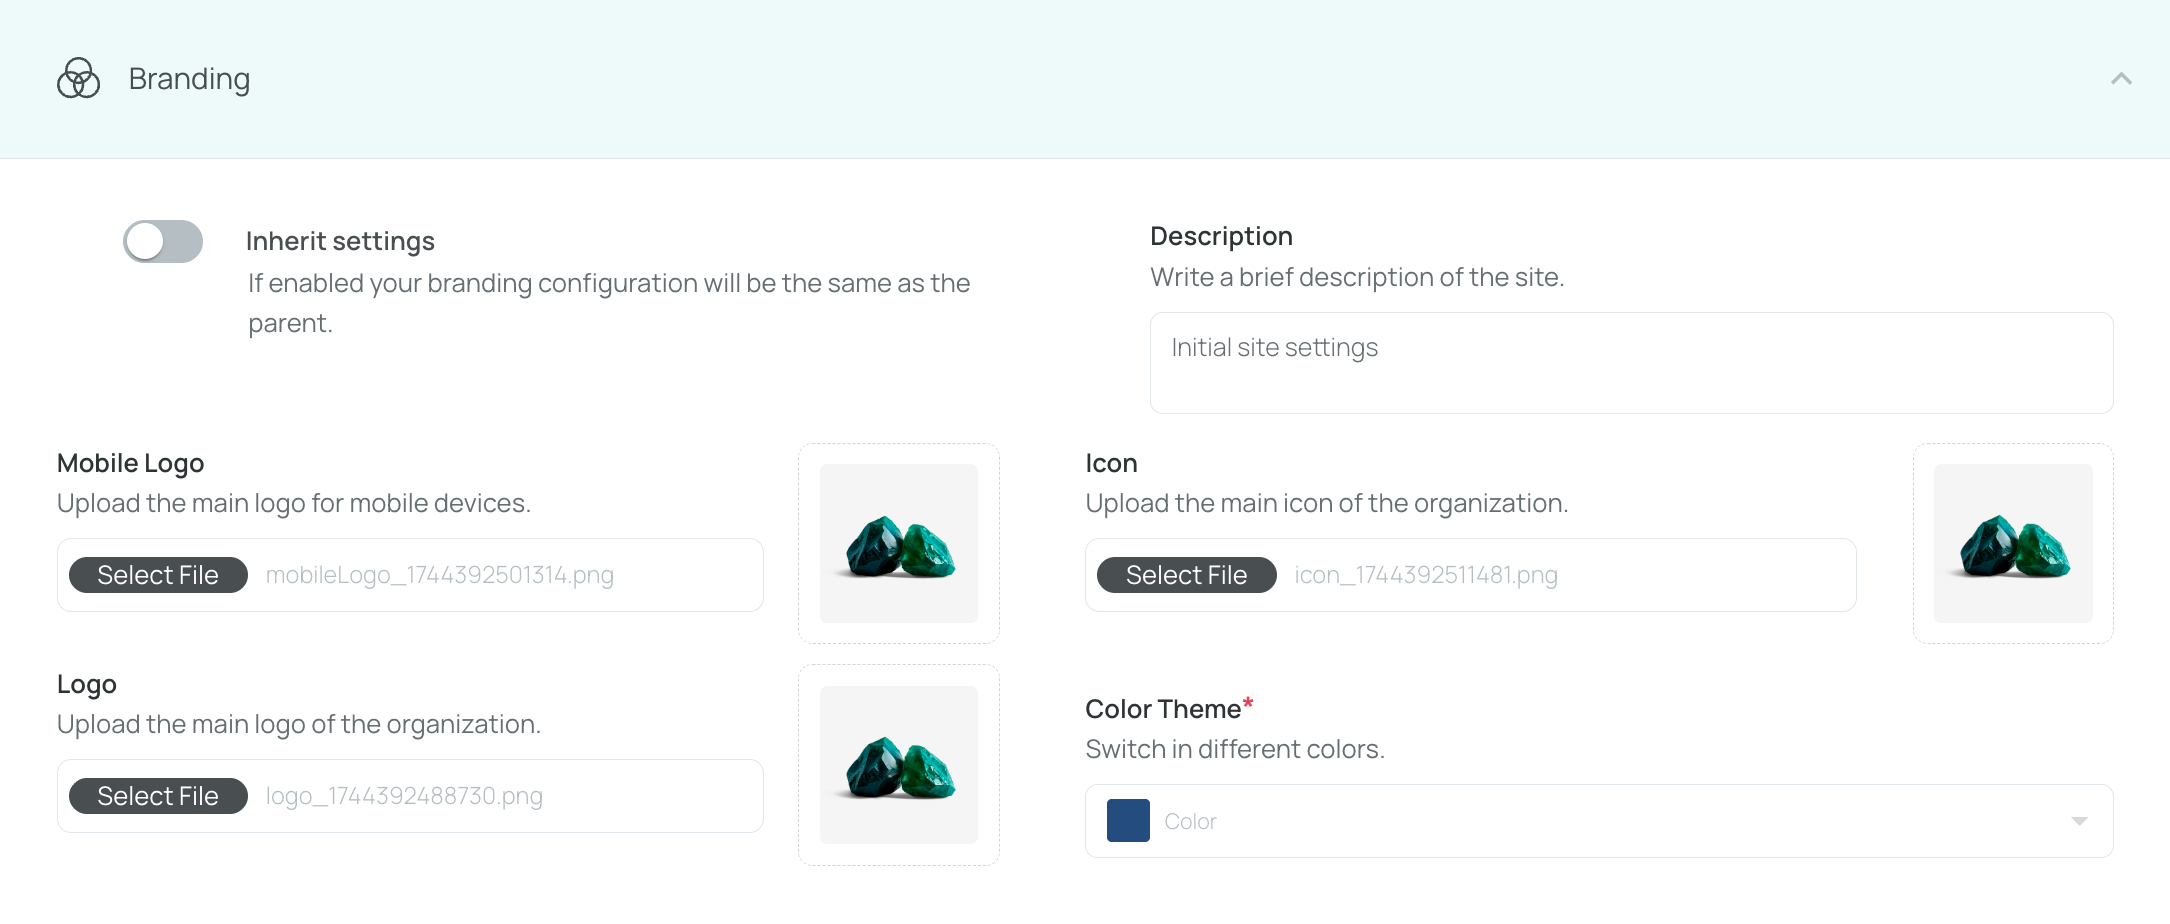
ImportantBy default, Inherit Settings is enabled. This applies the organization's branding and time settings to the site automatically.
To customize the site's branding or time settings, disable this option.
- Update the site-specific branding elements, including portal, web, and mobile logos and icons.
- Click Save to apply your changes.
The selected site will now use its own branding settings.
The available branding fields include:
- Description: A short text introducing the site's purpose or value
- Logo app mobile: The graphic symbol shown in the mobile app
- Icon: Displayed when the web app's menu collapses
- Main logo: Represents the organization on the web portal
- Date format: How dates appear, such as dd-mm-yyyy, yyyy-mm-dd, or mm-dd-yyyy
- Time format: 12-hour or 24-hour time display
- Color theme: The primary hue used in the portal's graphical interface
How to Modify Site Branding
- Under Site Management, choose the site you want to modify.
- Open the Branding and Time Settings tab.
- Disable Inherit Settings if you want custom branding.
- Adjust the branding details, such as logos, date and time formats, and theme color.
- Click Save to apply your changes.
How to Update Site Time Settings
In Branding & Time Settings, locate the Time Settings section and configure the fields as needed.
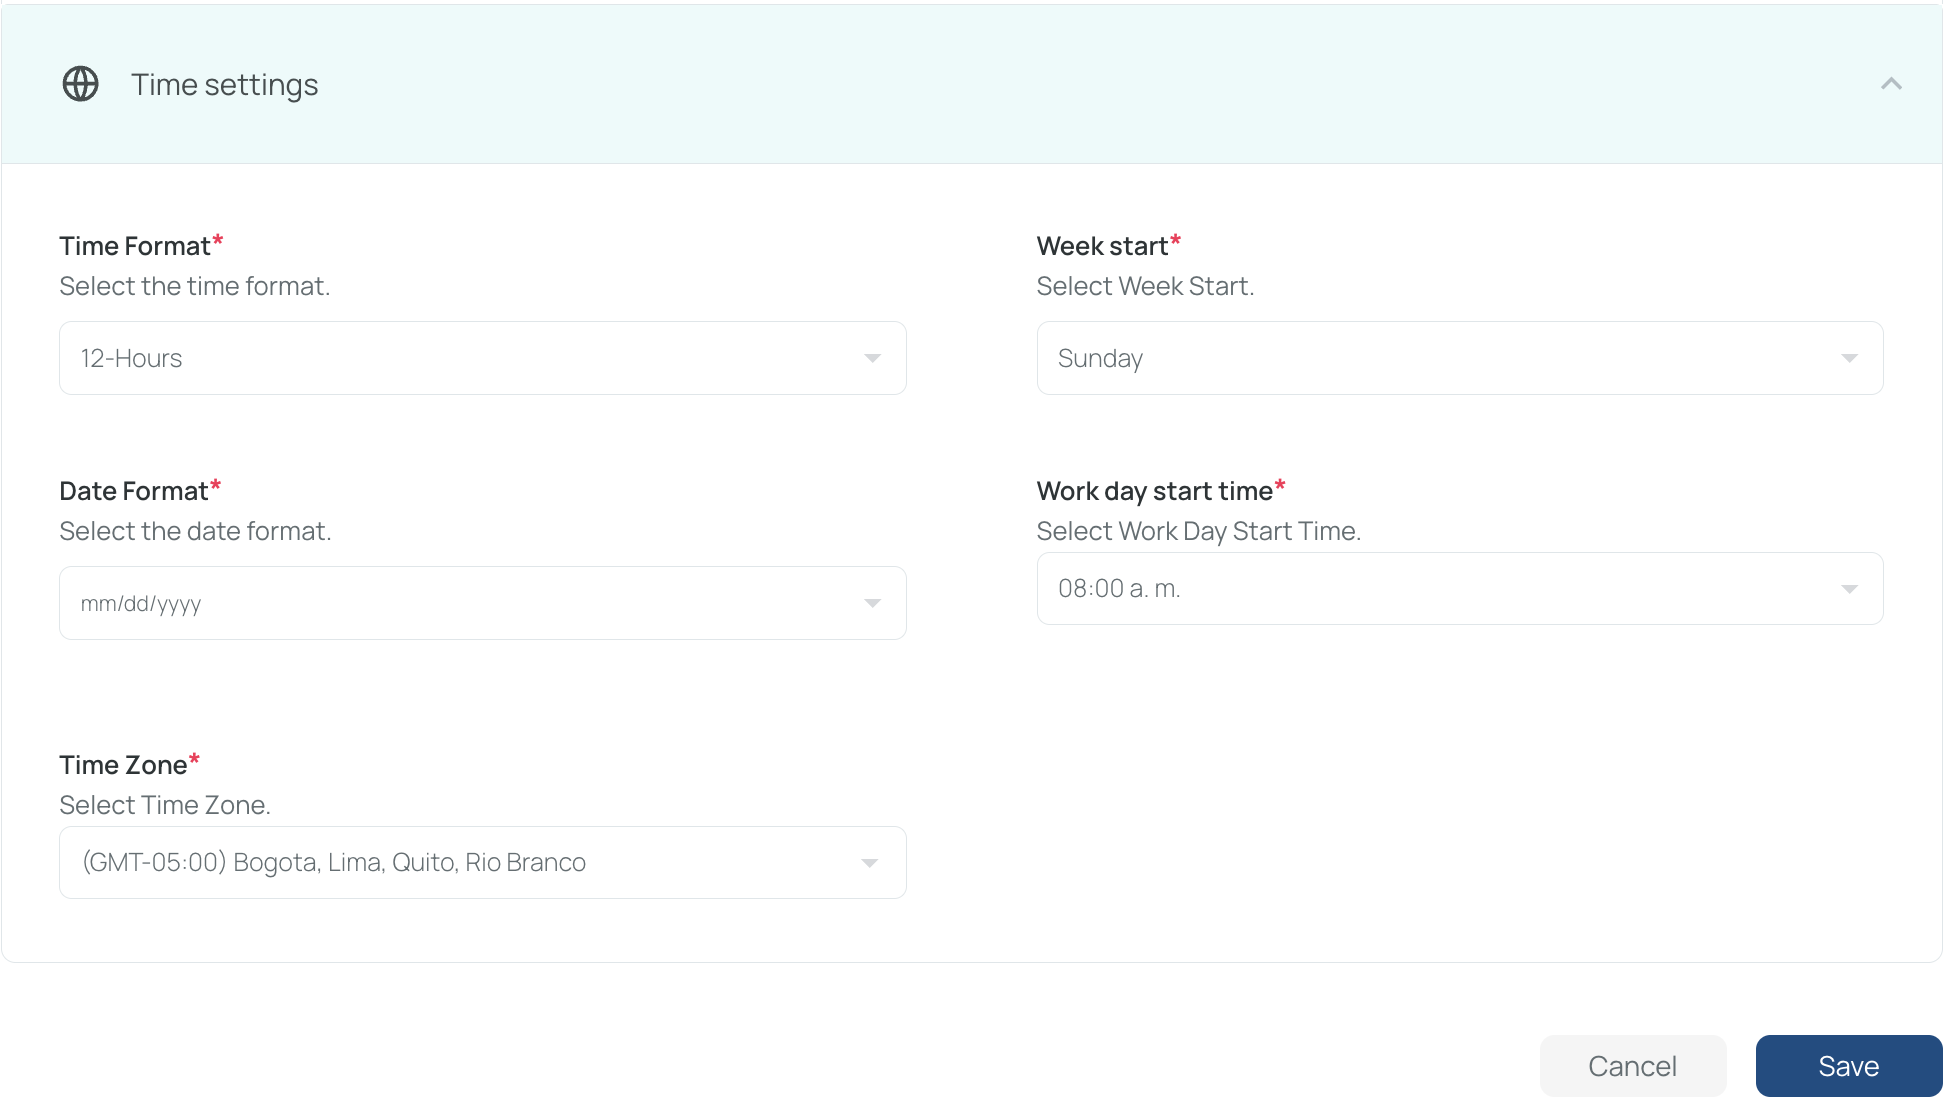
The available fields include:
- Time Format: Select 12-hour or 24-hour format
- Date Format: Select the preferred format, such as dd/mm/yy or dd/mm/yyyy
- Week Start: Define the first day of the work week
- Work Day Start Time: Define the start time of the workday for working days
- Time Zone: Select the appropriate time zone for the site
ImportantBy default, Inherit Settings is enabled. This applies the organization's branding and time settings to the site automatically.
To customize the site's branding or time settings, disable this option.
- Review the time settings fields.
- Update the values as needed.
- Click Save to apply your changes.
The site will now display information according to the selected time settings.
Mobile Configurations
The Mobile Configurations tab lets you define how the mobile app behaves for each site, including user interaction, visibility, security, and time tracking behavior.
- Open Mobile Configurations.
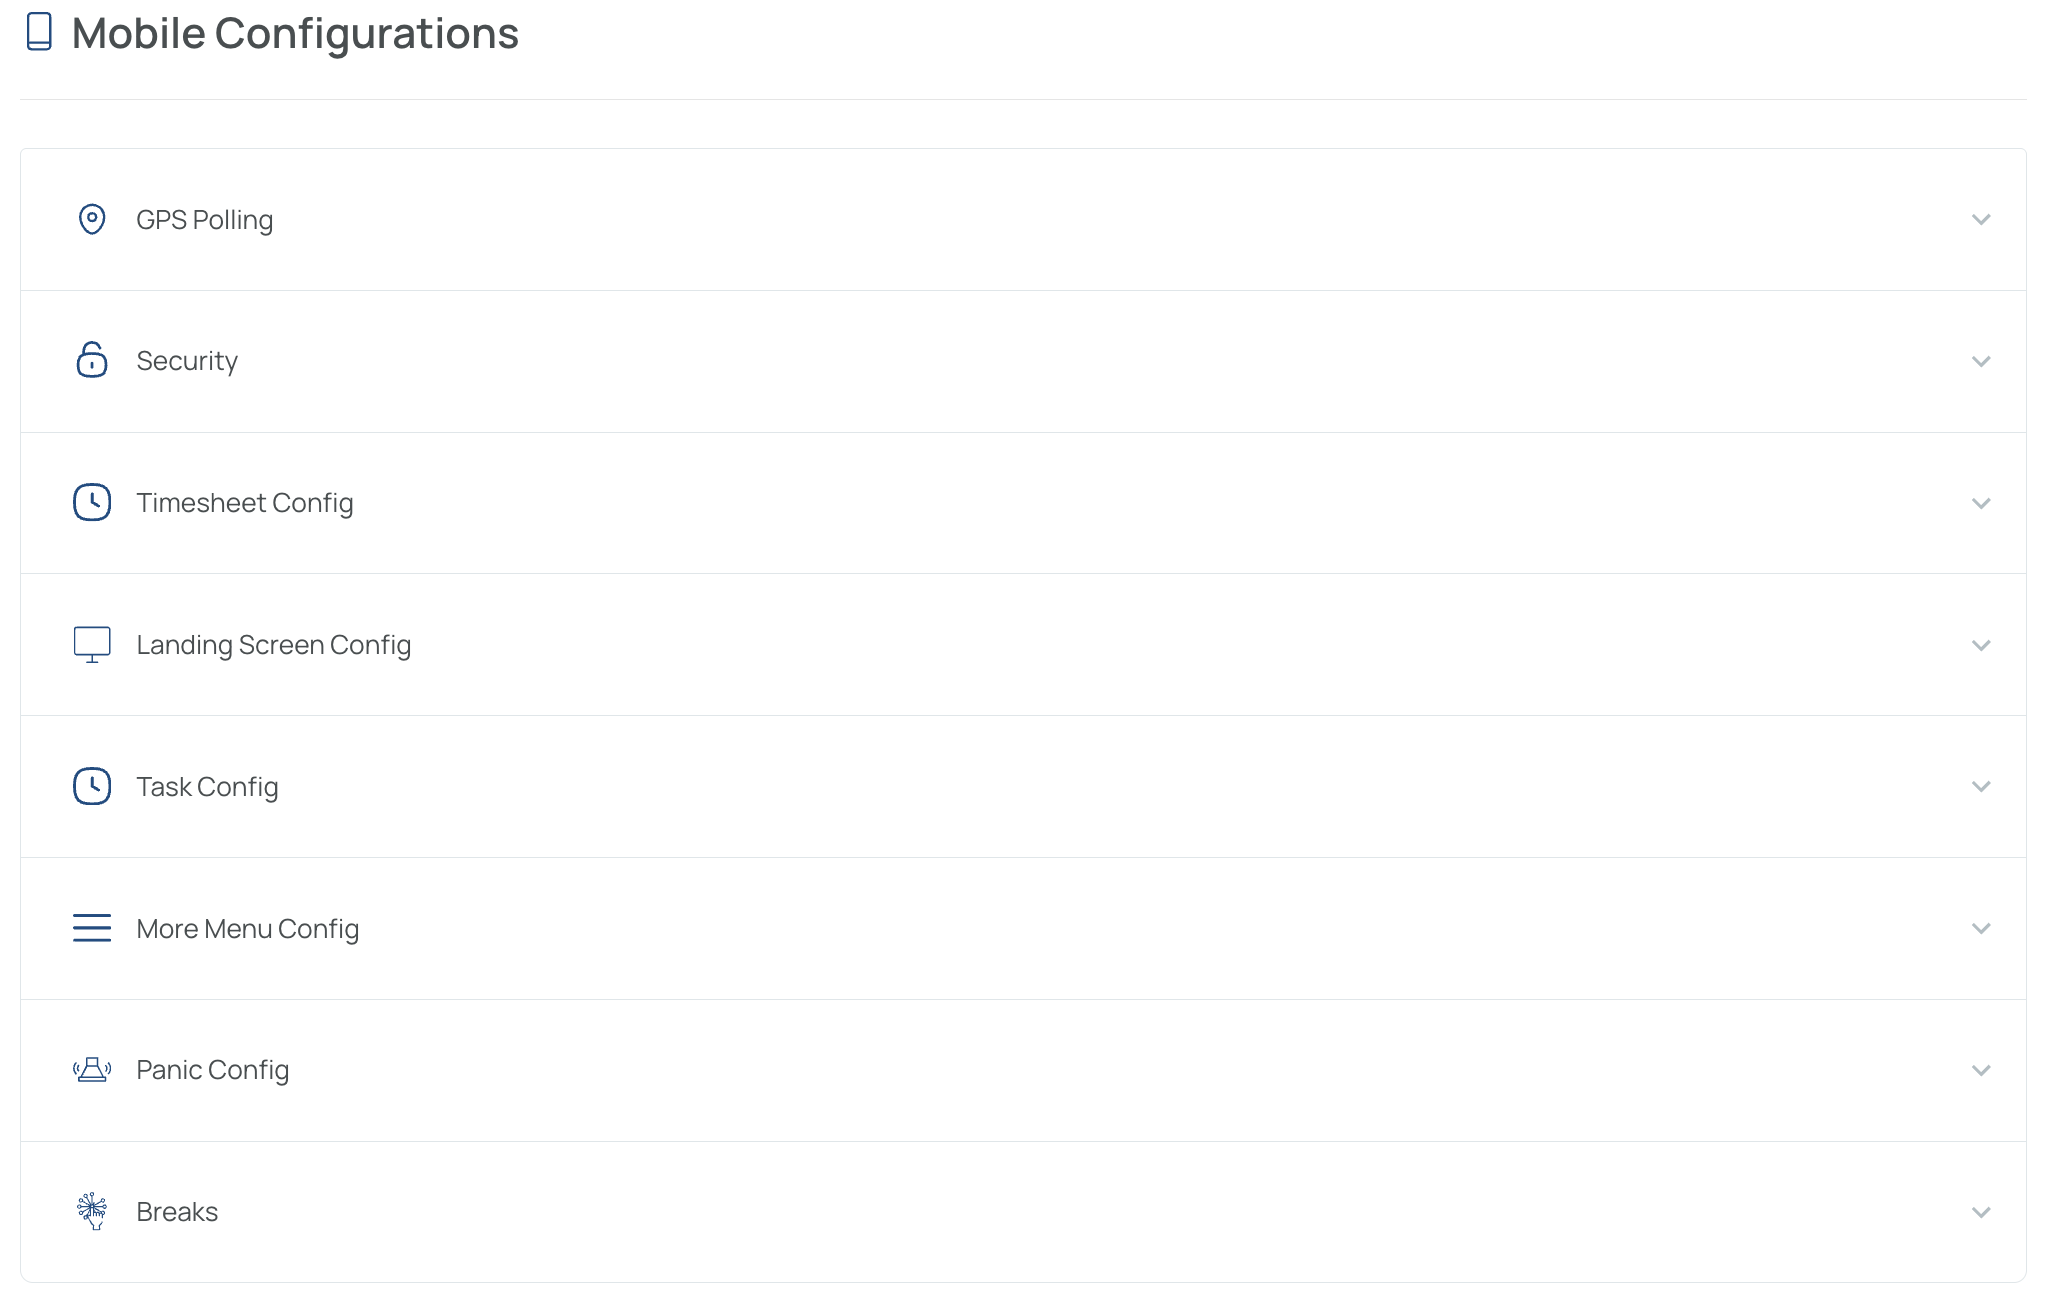
GPS Polling
Use this section to configure how often the system queries a device's GPS for user tracking or attendance.
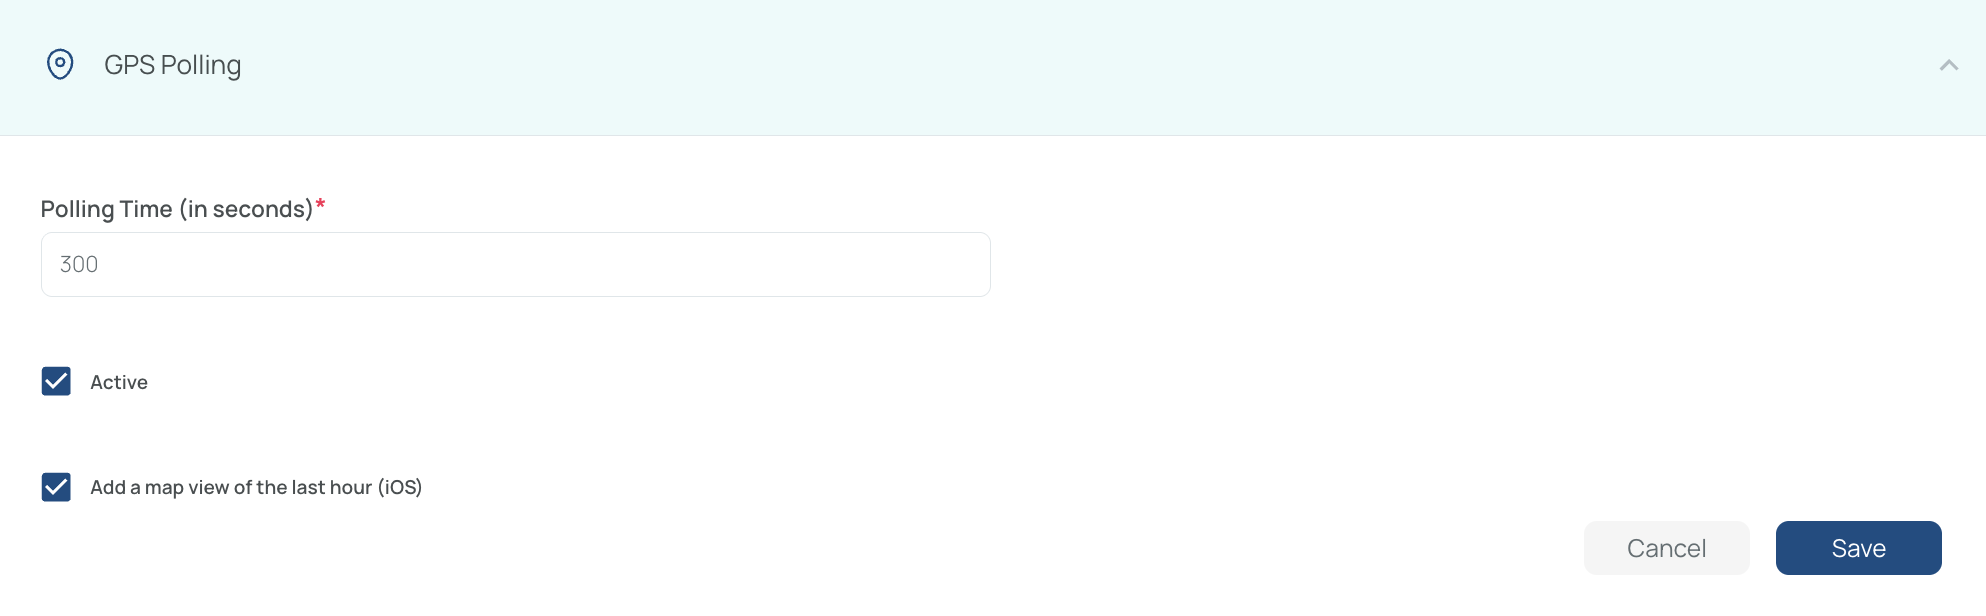
- Active: Defines whether GPS polling is active or not
- Interval: Set the polling interval in seconds
- Add a map view of the last hour (iOS): Additional setting available in this section
Security
Use this section to define the login behavior for the mobohubb app.

This setting allows users to stay logged in or requires them to log in each time they access the app.
Timesheet Configuration
Use this section to define timesheet-related behaviors in the mobile app.
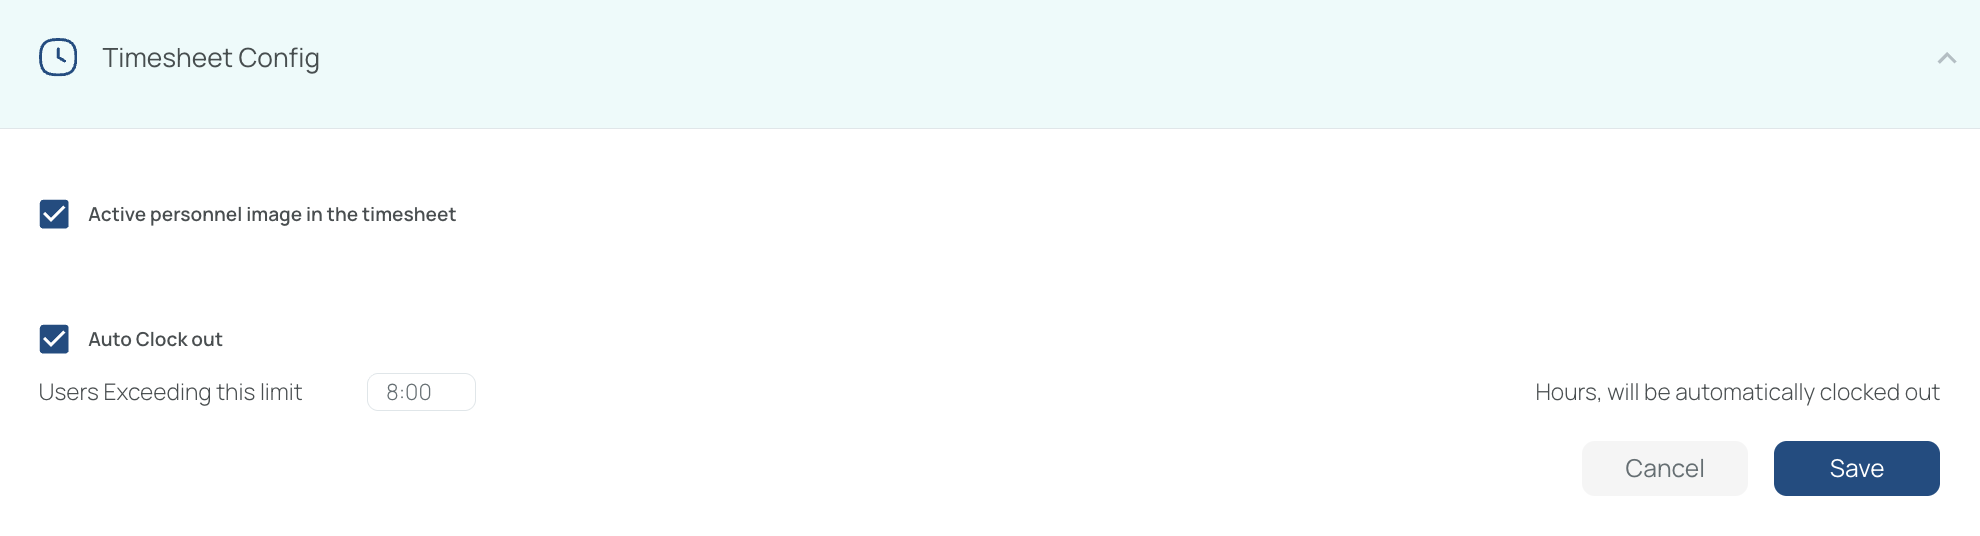
- Active personnel image in the timesheet: Activates image capture for clock events
- Auto Clock out: Sets the time limit after which an automatic clock-out is triggered
Landing Screen Configuration
Use this section to define the default landing experience in the mobile app.
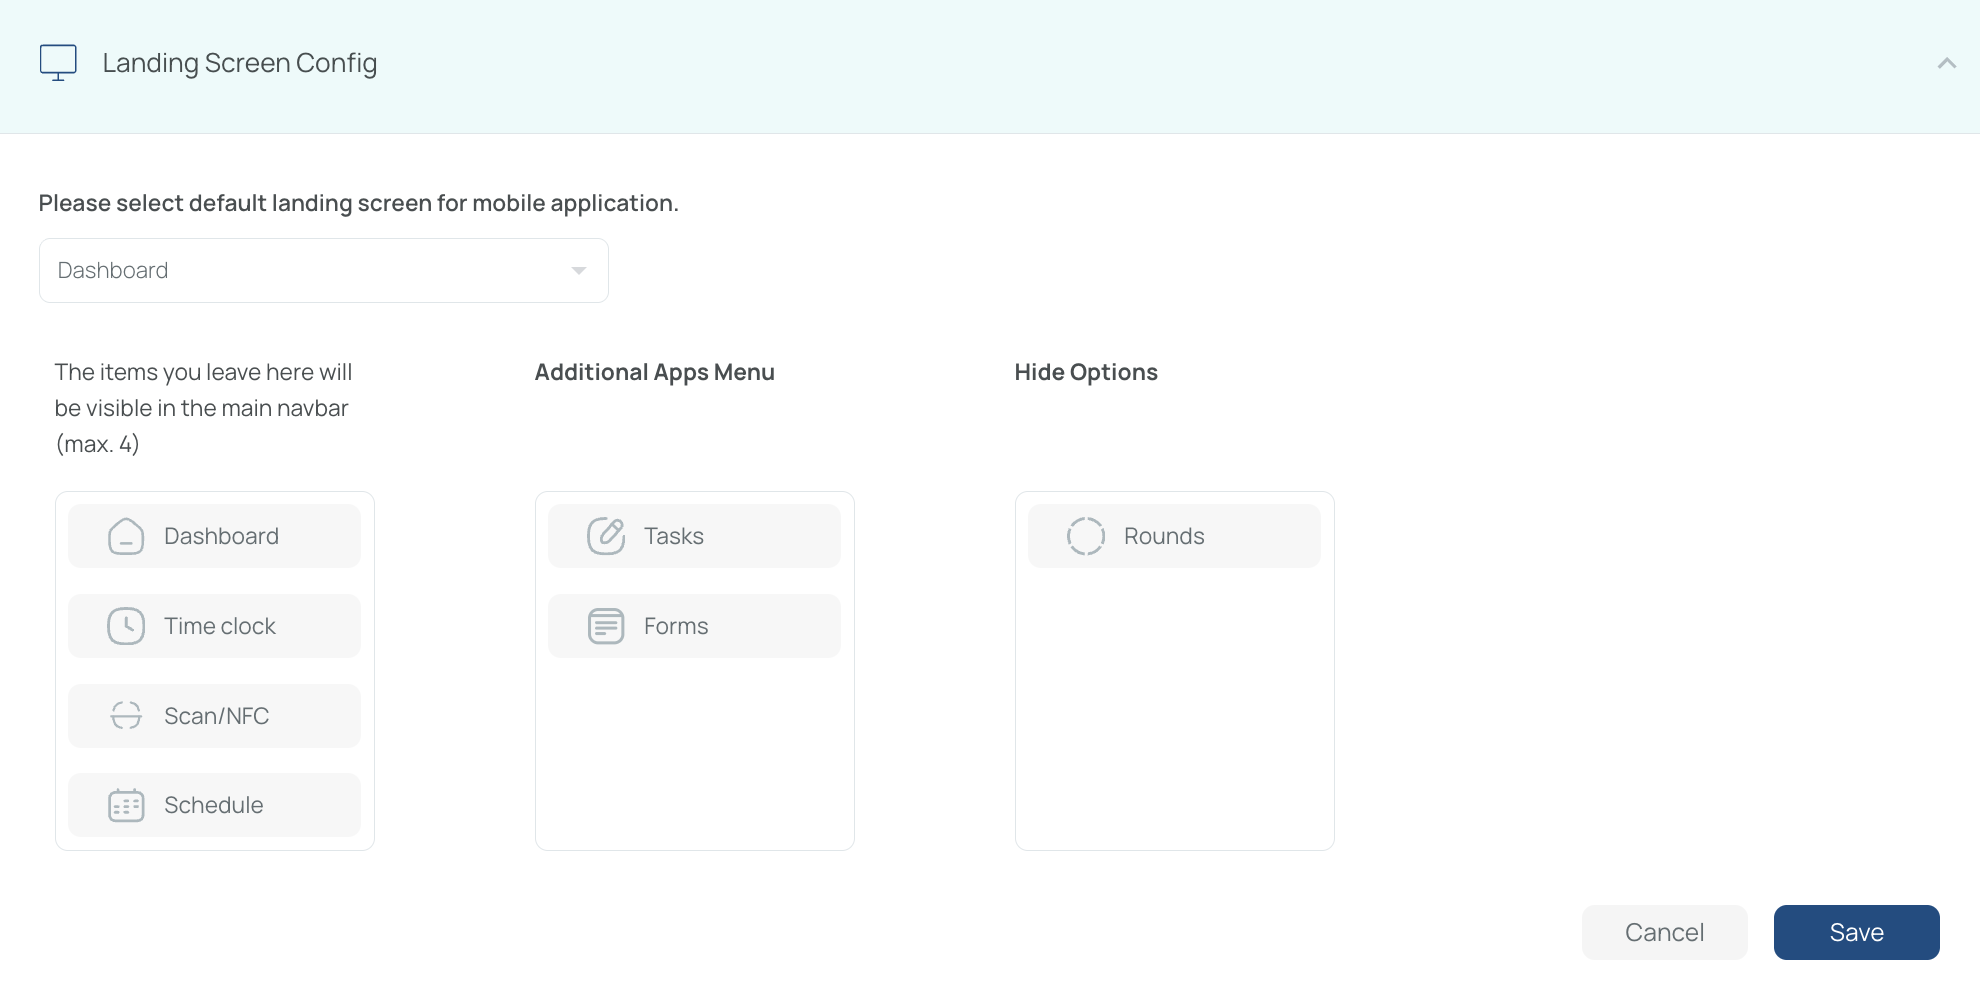
You can choose a default screen for the mobile app, such as:
- dashboard
- timeclock
- tasks
- forms
- schedule
- scan/NFC
- rounds
You can also select up to four items for the navigation bar. Extra items appear under Additional apps menu.
Task Config
Use this section to control how users complete tasks in the mobile app.

You can decide whether users mark tasks as complete with checkboxes or sliders.
- Show completed tasks: Shows completed tasks on the screen
More Menu Configuration
Use this section to choose which items appear in the mobile app's side menu.
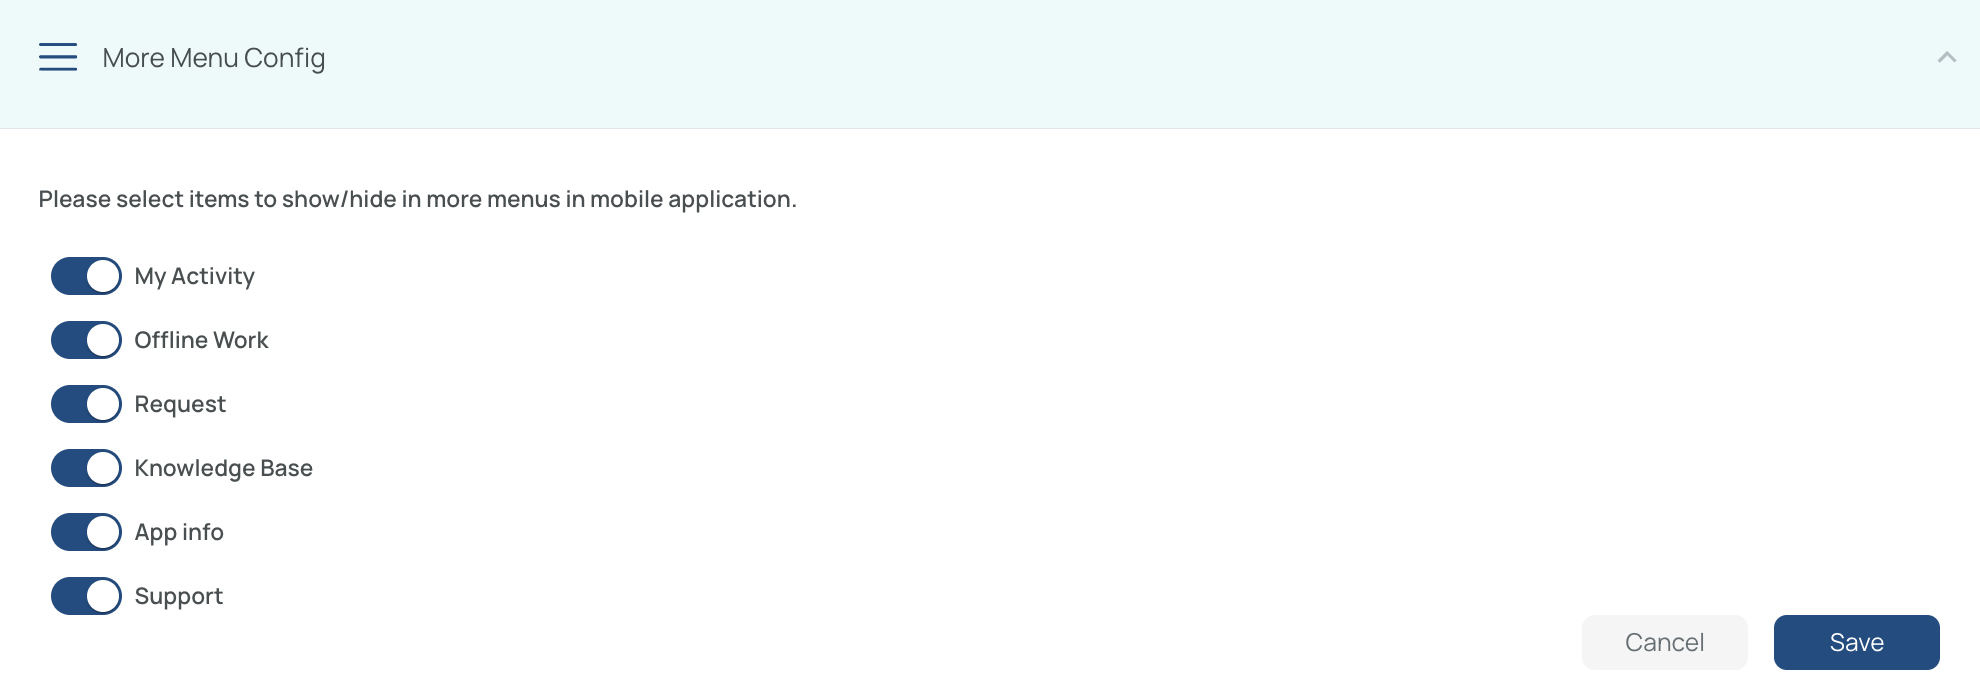
Available items include:
- My activity: List of user activities
- Offline work: Allows the user to operate without an internet connection, storing data locally until reconnected
- Requests: Lets users submit emergency or permit-type requests
- Knowledge base: Organizational guides, articles, and related content
- App info: App details
- Support: Contact mobohubb assistance
Panic Configuration
Use this section to configure emergency alerts from the mobile app.
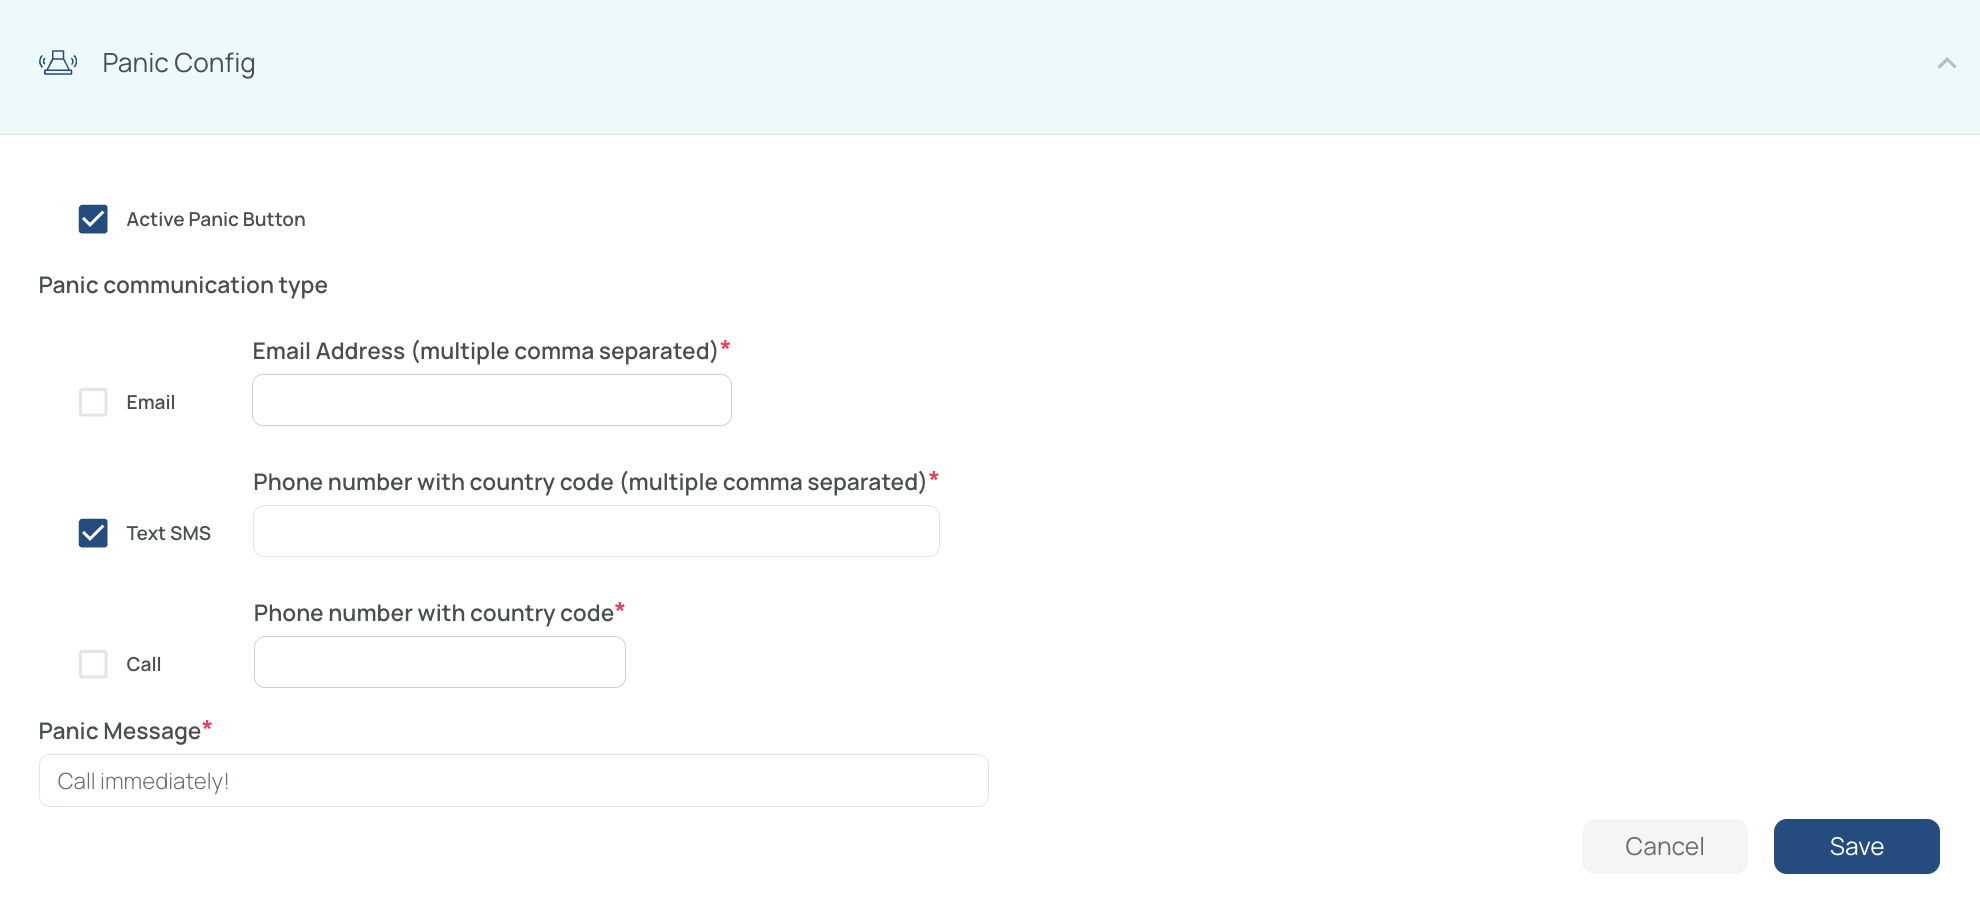
This feature allows a panic button to send emergency alerts by email, SMS, or call. The panic message can also be customized.
Breaks
Use this section to define how breaks are handled during the workday.
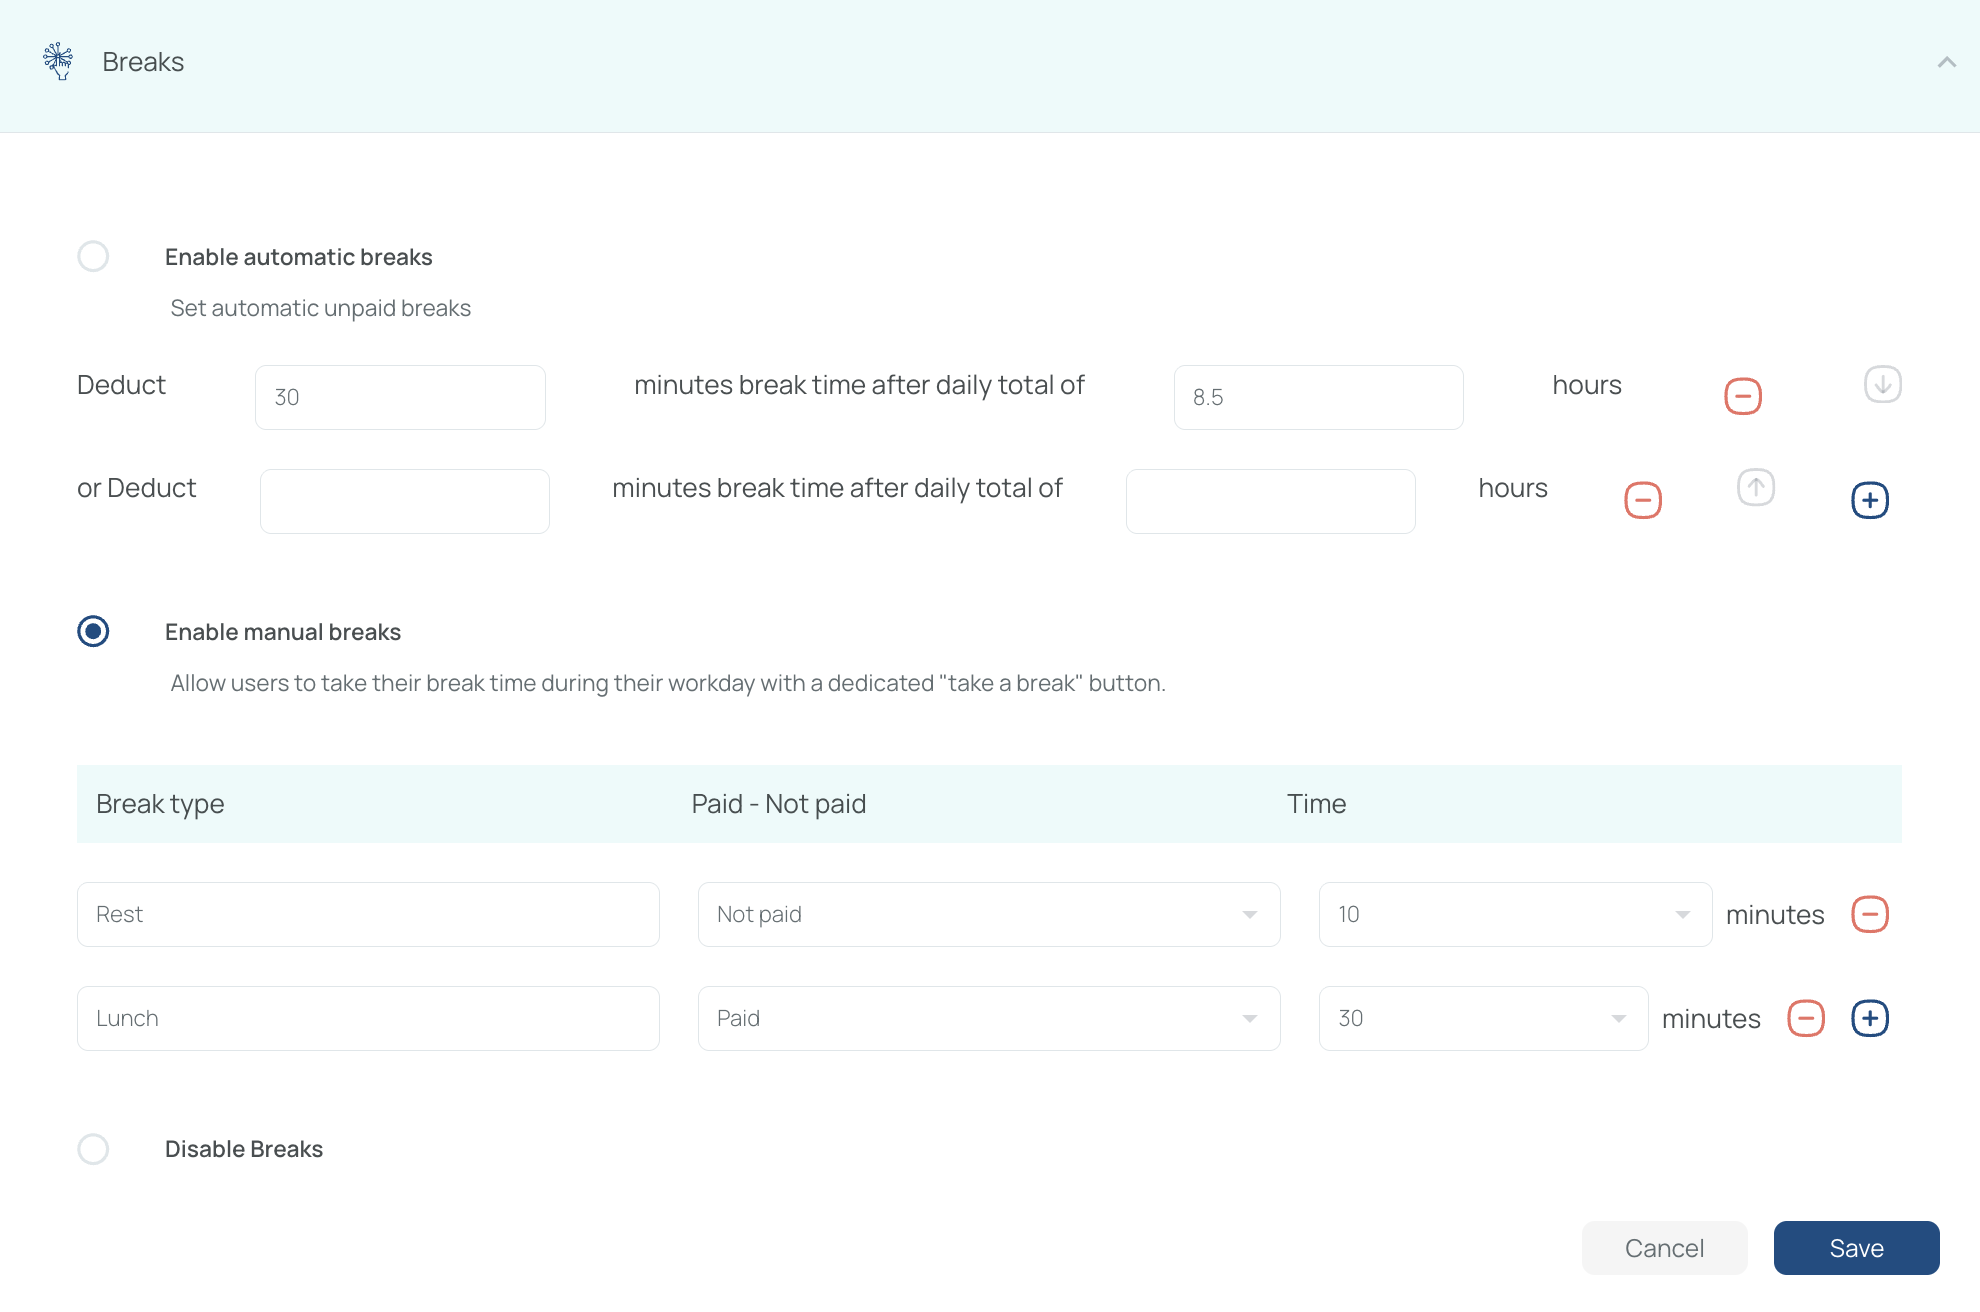
The available options are:
- Automatic: Set automatic unpaid breaks. This deducts predefined break time after a configured duration, or deducts a set number of break minutes after a daily total of set hours.
- Manual: Allows users to take breaks during their workday using a dedicated Take a Break button. Users can clock in and clock out of breaks, whether paid or unpaid. It is also possible to set specific time limits for breaks and lunch.
- Disable: Disables breaks altogether.